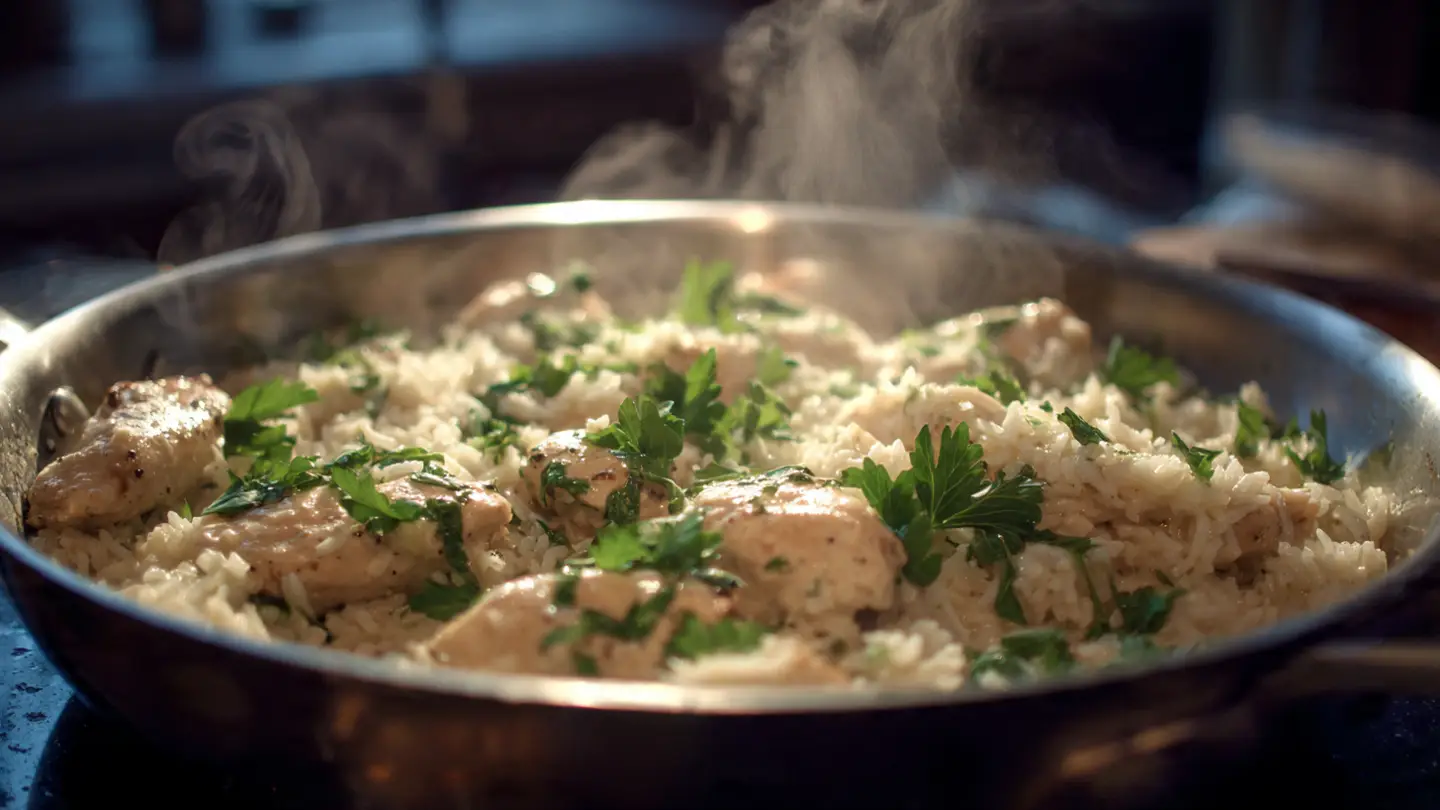
Crispy Oven-Baked Chicken and Rice
Making dinner should not be hard or take a long time. I love meals that go into the oven and come out ready to eat. This crispy chicken and rice is one of those meals. You only need one pan and a few simple items from your kitchen. It is warm, filling, and the chicken gets a nice crunch on top while the rice stays soft and fluffy.
You will learn how to cook everything together so the rice soaks up all the good juices from the meat. This is great for anyone who does not want to wash a lot of dishes. Most kids love it because it is simple and tastes like home. It is a win for everyone at the table.
Ready to get cooking? Let’s look at what you need to make this right now.
Everything You Need for This Meal
Getting your ingredients ready is the first step to a great dinner. I always check my pantry before I start. It is no fun to find out you are out of rice when the oven is already hot! For this dish, we use simple things you can find at any grocery store. You do not need fancy spices or expensive tools to make this taste like a five-star meal.
Recipe Quick Info
- Prep Time: 15 minutes
- Cook Time: 50 minutes
- Servings: 4 people
- Difficulty: Easy
The Best Ingredients for Success

The main part of this dish is the chicken. I suggest using chicken thighs with the skin still on. The skin is what gets crispy and brown in the oven. If you use chicken breast, it might get dry because it cooks faster than the rice. Thighs have more fat, which keeps them juicy and gives the rice a lot of flavor. You also need long-grain white rice. Do not use instant rice here because it will turn into mush before the chicken is done.
For the liquid, chicken broth is much better than plain water. It makes the rice taste savory instead of bland. You will also need some butter or oil to help with the crisping process. Salt, pepper, garlic powder, and maybe a little onion powder are all the spices you need. FYI, using fresh garlic is also a great choice if you have the time to peel it! I usually keep it simple with the dried stuff when I am in a hurry.
Kitchen Tools You Will Use

You do not need a lot of gear for this. A 9×13 inch baking dish is the best size. If the dish is too small, the rice will be too thick and won’t cook evenly. If it is too big, the broth might evaporate too fast. A glass or ceramic dish works perfectly. You also need a piece of aluminum foil. This is very important for the first half of the cooking time.
I also like to use a small bowl to mix my spices. This way, I can make sure the salt and pepper are spread out evenly. A measuring cup for the broth and rice is a must. If you guess the amounts, the rice might end up too hard or too wet. My first time making this, I just poured the water in without looking. It was a soggy mess! Now I always measure twice to be safe.
How to Cook It Step by Step
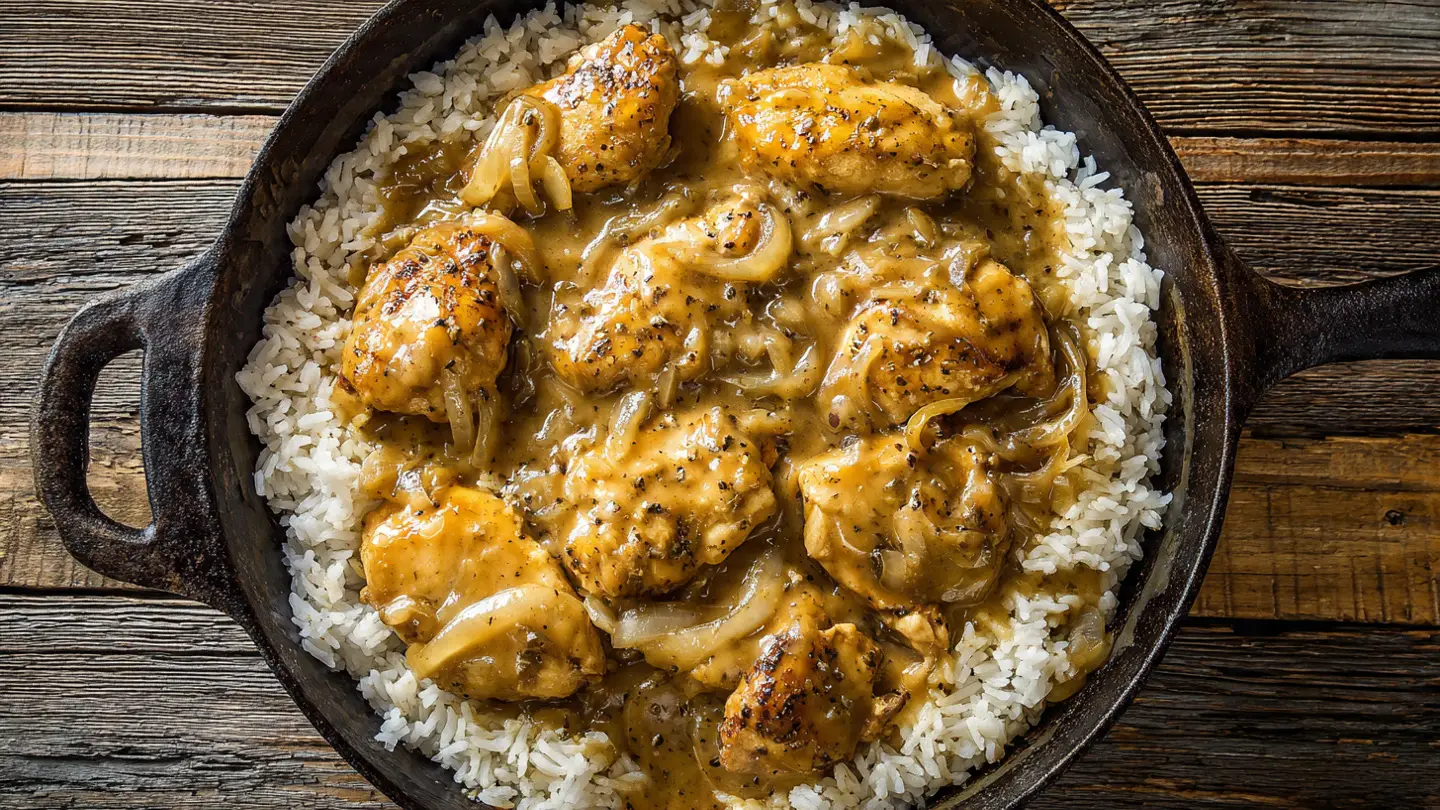
Now we get to the fun part. Cooking this meal is mostly about layering. You put the rice on the bottom and the chicken on top. As the heat rises, the rice cooks in the liquid while the chicken drips its tasty fats onto the rice. It is like they are helping each other taste better. Following the steps in order ensures that nothing burns and everything finishes at the same time.
Preparing the Rice Base

- Turn your oven on to 375 degrees. Let it get hot while you work.
- Pour two cups of dry white rice into your baking dish. Spread it out so it covers the whole bottom.
- Mix your chicken broth with a little bit of salt and garlic powder. Pour four cups of broth over the rice.
- Add a tablespoon of melted butter to the liquid. This stops the rice from sticking together too much.
Make sure the rice is in a flat layer. If there are big piles of rice in one corner, those parts won’t get soft. I use a spoon to push it around until it looks level. The broth should cover the rice completely. If it looks like too much water, don’t worry. The rice will drink it all up in the hot oven. It takes a lot of liquid to turn hard grains into soft, fluffy rice.
Getting the Chicken Ready

Dry your chicken thighs with a paper towel. This is a big secret for crispy skin! If the skin is wet, it will steam instead of fry. Once they are dry, rub them with oil or melted butter. Then, sprinkle your spice mix all over both sides. I like to be generous with the pepper because it gives a nice little kick. Do not be afraid to get your hands dirty here to make sure every spot is covered.
Place the chicken thighs on top of the rice and broth. Put them skin-side up. Space them out so they are not touching each other. This lets the hot air move around each piece of meat. If you crowd them, the skin on the sides will stay soft. We want that crunch all the way around! IMO, the crispy skin is the best part of the whole dinner, so I take my time with this step.
The Two-Stage Baking Method

Cover the dish tightly with aluminum foil. Make sure the edges are tucked in so no steam can get out. This steam is what cooks the rice. Put it in the oven for 30 minutes. During this time, the rice is doing most of the work. The chicken is starting to cook, but it won’t be brown yet. It might look a little pale when you first take the foil off, but don’t panic! That is normal.
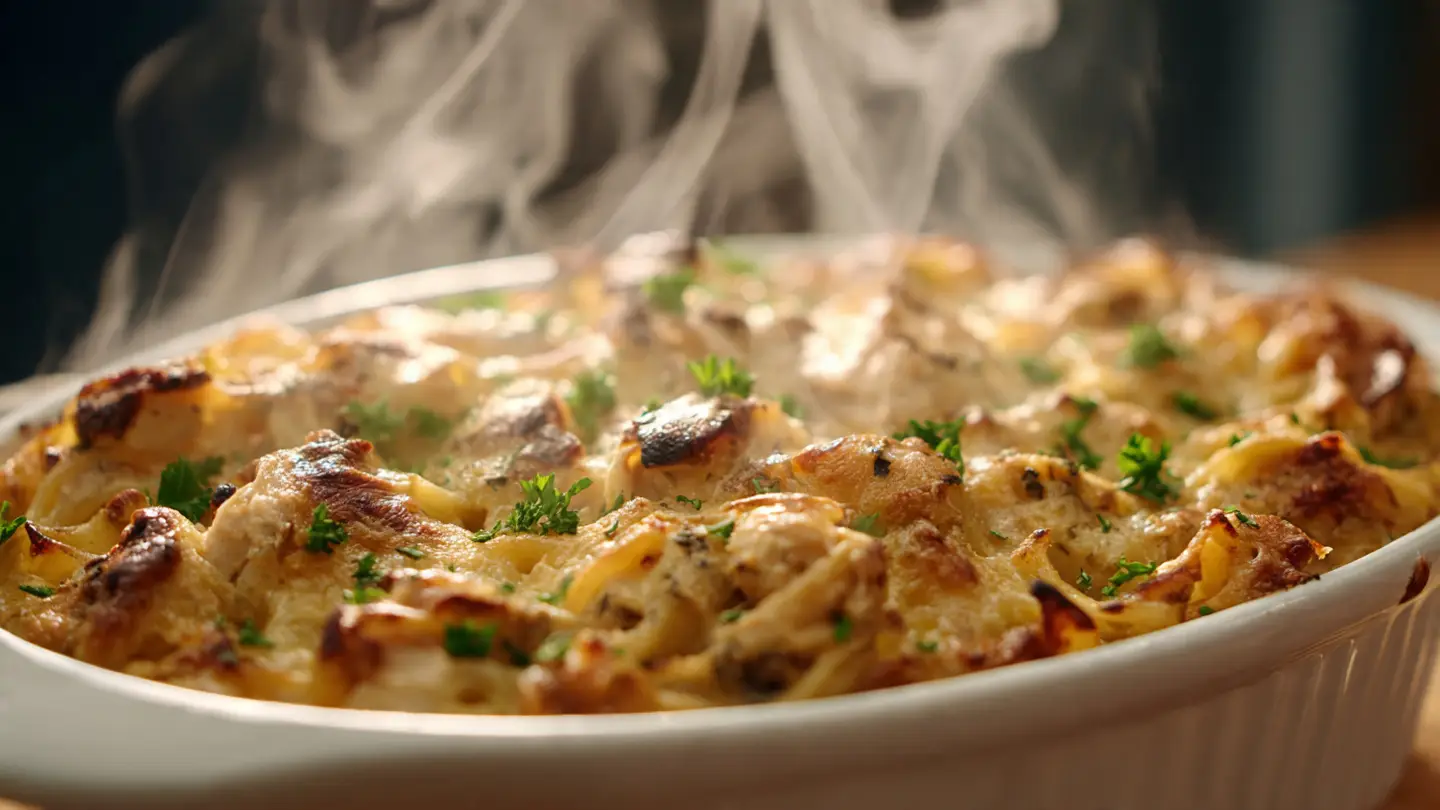
After 30 minutes, take the foil off and throw it away. Put the dish back in the oven for another 20 minutes. Now, the dry heat will hit the chicken skin directly. This is when the magic happens. The skin will turn golden brown and get very noisy and crunchy. The extra liquid in the rice will also finish drying up. Your kitchen will start to smell amazing right about now. It is hard to wait, but it is worth it!
Pro Kitchen Tips
- Dry the Meat: Use paper towels to pat the chicken skin very dry before adding oil.
- Right Rice: Use Jasmine or Basmati rice for the best smell and texture.
- Resting Time: Let the dish sit for 5 minutes after it comes out of the oven.
Making the Meal Even Better
Once you know the basic way to cook this, you can change it up. I like to try new things based on what is in my fridge. Sometimes I add vegetables, and sometimes I use different spices. This recipe is like a blank map. You can follow the main road, or you can take some fun turns. It is a very safe recipe to play with because rice and chicken go with almost anything.
Adding Vegetables for Health

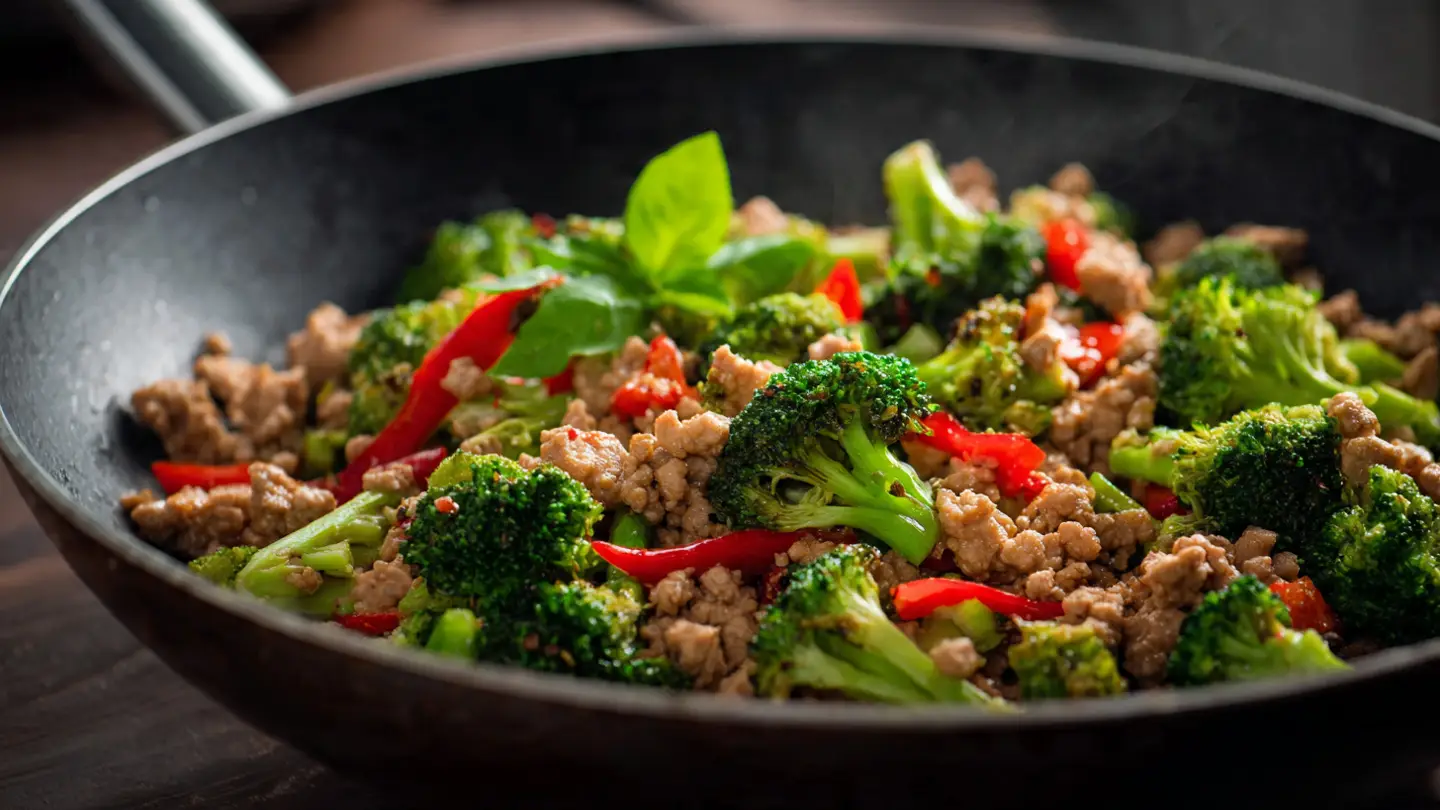
If you want to make this a full meal in one pan, add some veggies! I love putting frozen peas or small carrot bits into the rice before I bake it. You can also use chopped broccoli. Just remember that some vegetables have a lot of water in them. If you add a ton of squash or mushrooms, the rice might get a bit more wet than usual. I usually stick to hard veggies or frozen peas because they stay firm.
Another trick is to put the vegetables in halfway through. When you take the foil off, you can quickly toss some green beans around the chicken. They will roast in the oven for the last 20 minutes. This keeps them from getting too mushy. My kids actually eat their greens when they are covered in the chicken juices from the pan. It is a sneaky way to get everyone to eat their vitamins without any complaining.
Changing the Spice Profile

You can make this taste like it comes from different parts of the world. For a taco style, use cumin and chili powder on the chicken. You can even mix a little salsa into the rice liquid. If you want a lemon herb taste, put lemon slices on top of the chicken and use dried oregano. The lemon juice will soak into the rice and make it taste very fresh. It is amazing how much the flavor changes just by switching two or three jars in your spice rack.
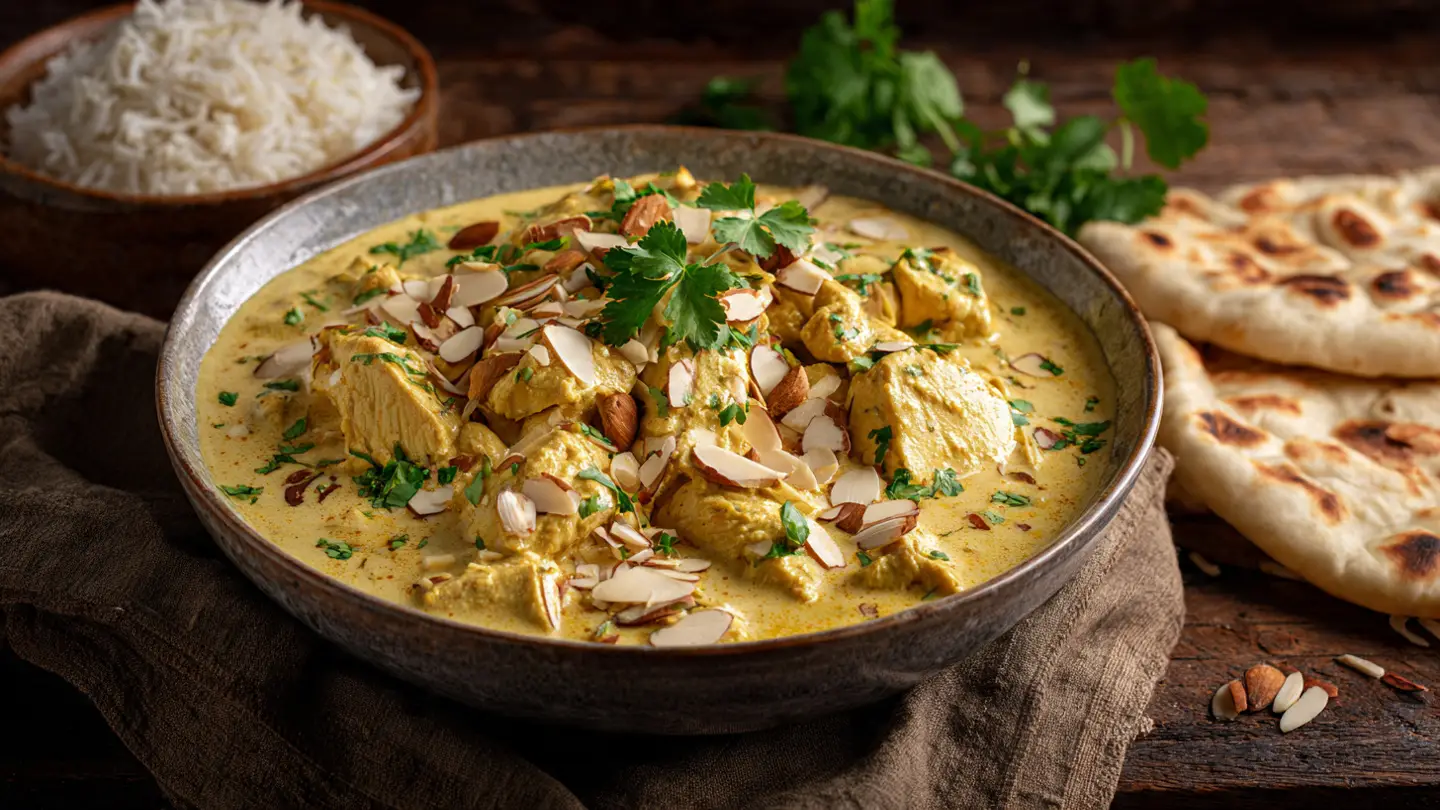
I once tried using a little bit of curry powder in the rice. It turned the rice a beautiful yellow color and tasted like a fancy restaurant dish. If you like heat, add some red pepper flakes. Just be careful! A little goes a long way. This recipe is very forgiving, so feel free to experiment. Just keep the amounts of rice and liquid the same, and you will be just fine. Have fun with it!
Ways to Serve Your Dish

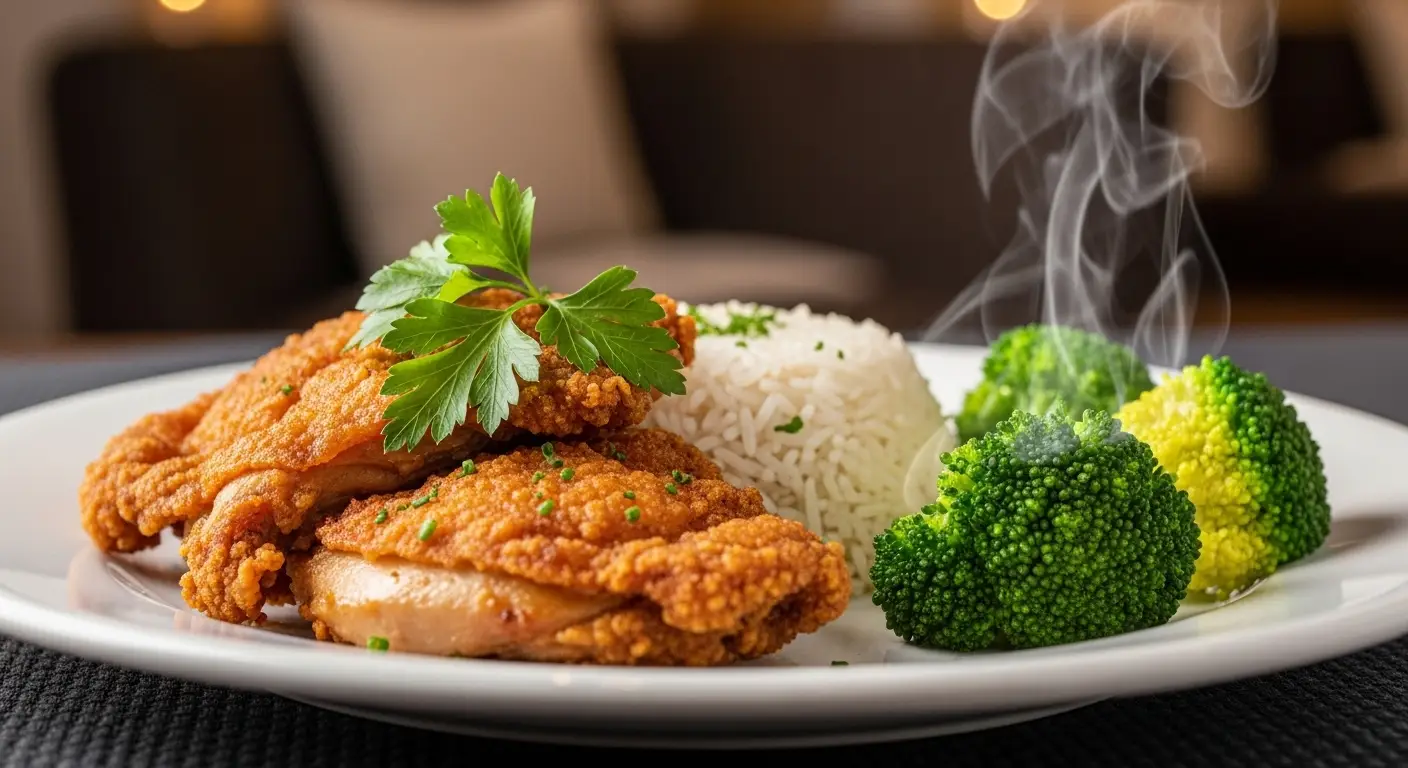
When the timer goes off, the chicken should be 165 degrees inside. Use a meat thermometer if you have one. Let the pan sit on the counter for five minutes before you scoop into it. This lets the rice firm up so it is not sticky. I like to sprinkle some fresh parsley on top to make it look pretty. A squeeze of fresh lime or lemon right before eating also helps cut through the richness of the chicken fat.
You can serve this with a simple side salad or some extra roasted carrots. Since the rice and meat are already in the pan, you don’t need much else. I usually just put the whole baking dish in the middle of the table and let everyone dig in. It feels very cozy and friendly that way. This dish is also great for lunch the next day. The rice stays good and the chicken can be reheated in a toaster oven to stay crispy.
Your Common Questions Answered
Can I use brown rice instead?
Brown rice takes much longer to cook and needs more water. If you use it, the chicken will overcook before the rice is soft. It is best to stick with white rice for this specific recipe.
What if my rice is still hard?
This happens if the foil was not tight enough or the oven was too cool. Add a splash more broth, cover it back up, and bake for 10 more minutes. It should soften right up!
Can I use frozen chicken?
I do not recommend it. Frozen chicken releases a lot of water as it thaws in the oven. This will make your rice very soggy and the skin will never get crispy. Always thaw your meat first.
Is this dish gluten-free?
Yes! Rice and chicken are naturally gluten-free. Just make sure your chicken broth does not have any hidden wheat. Most standard broths are safe, but checking the label is always a good idea.
How do I store the leftovers?
Put the leftovers in a container with a lid and keep them in the fridge for up to three days. To reheat, use an oven or air fryer to keep the chicken skin from getting soft and rubbery.
Enjoy Your Homemade Dinner
This crispy chicken and rice is a simple meal that makes everyone happy. It saves you time and gives you a warm, home-cooked feeling. I hope this recipe becomes a favorite in your house just like it is in mine. Happy cooking!