Savory Beef Tenderloin Roast for a Gourmet Holiday Dinner
Big holiday dinners can feel scary. I used to feel very nervous when I had to cook for my whole family. The meat is expensive and everyone is hungry. I want to help you feel brave in the kitchen. You will learn how to pick the right meat and how to cook it so it stays juicy. I will show you the best way to use your oven and how to tell when the roast is done. This article is your map to a great meal that looks like it came from a fancy shop.
By the end of this guide, you will know every secret for a soft and yummy beef roast. You will not have to guess about time or heat anymore. I have made many mistakes so you do not have to. We are going to walk through the steps together. It is time to make a dinner that your friends will talk about for a long time.
Ready to start your cooking adventure? Let’s get that oven ready.
Getting the Right Tools and Meat
Before you turn on the heat, you need to have your supplies ready. It is hard to fix things once the meat is hot. I learned this the hard way when I could not find my meat timer. A beef tenderloin is a very soft piece of meat. It does not have much fat, so it can dry out fast if you are not careful. You want to look for meat that has a nice red color. If you see white lines of fat inside the meat, that is good. Those lines make the meat taste better and stay moist.
You will also need a few basic things from your kitchen. A big pan that can go in the oven is best. You need a sharp knife to trim the meat. The most important tool is a digital meat thermometer. This is a little stick you poke into the meat to see how hot it is inside. Without this, you are just guessing. Guessing leads to dry meat, and nobody wants that for a holiday dinner. FYI, buying a good thermometer is the best thing you can do for your kitchen.
Choosing Your Beef at the Store

When you go to the store, look for a piece of meat called a whole tenderloin. It might look long and a bit thin on one end. I usually ask the person behind the meat counter for help. You can ask them to peel off the silver skin. This is a tough, shiny part on the outside that does not taste good. If they do it for you, it saves you a lot of work at home. It is a great way to make sure your roast is perfect without doing all the hard trimming yourself.
Think about how many people are coming over to eat. A good rule is to buy about half a pound of meat for each person. If your friends eat a lot, buy a bit more. Some shops sell the meat already tied with string. This is helpful because it keeps the meat in a round shape. A round shape helps the beef cook at the same speed all the way through. If one part is thin and another is thick, the thin part will burn before the thick part is ready.
Gathering Your Kitchen Gear

You do not need many tools, but you need the right ones. A roasting pan with a rack is perfect. The rack keeps the meat from sitting in its own juice. This helps the outside get a nice brown crust. If you do not have a rack, you can use sliced onions or carrots at the bottom of the pan. Place the meat on top of the veggies. This is a smart trick that adds flavor to the juices too. I love doing this because the onions taste amazing after they cook under the beef.
Keep a small bowl of salt and pepper nearby. You will use more salt than you think. Salt helps make the meat tender and brings out the flavor. You also want some oil that can get hot without smoking. Avocado oil or light olive oil works well. Do not use butter for the first part because it might burn. Butter is better for the very end when you want to add a little extra shine and rich taste to the top of the roast.
Pro Tips for Success
- Dry the meat: Use a paper towel to pat the beef dry before you cook. Wet meat will not get a brown crust.
- Room heat: Let the meat sit on the counter for one hour before it goes in the oven. This helps it cook evenly.
- Salt early: Put salt on the meat the night before if you can. It makes the inside taste better.
Preparing the Meat for the Oven
Now that you have your meat, it is time to get it ready. This part is very important. If you just throw the meat in the oven, it will not taste as good. You want to make sure the meat is the same thickness from end to end. If one end is very thin, you can fold it under and tie it with kitchen string. This makes the whole roast look like a long log. It is a simple step that makes a huge difference in how the meat cooks. I once forgot to tie my roast, and the tail end was like a rock while the middle was still raw.
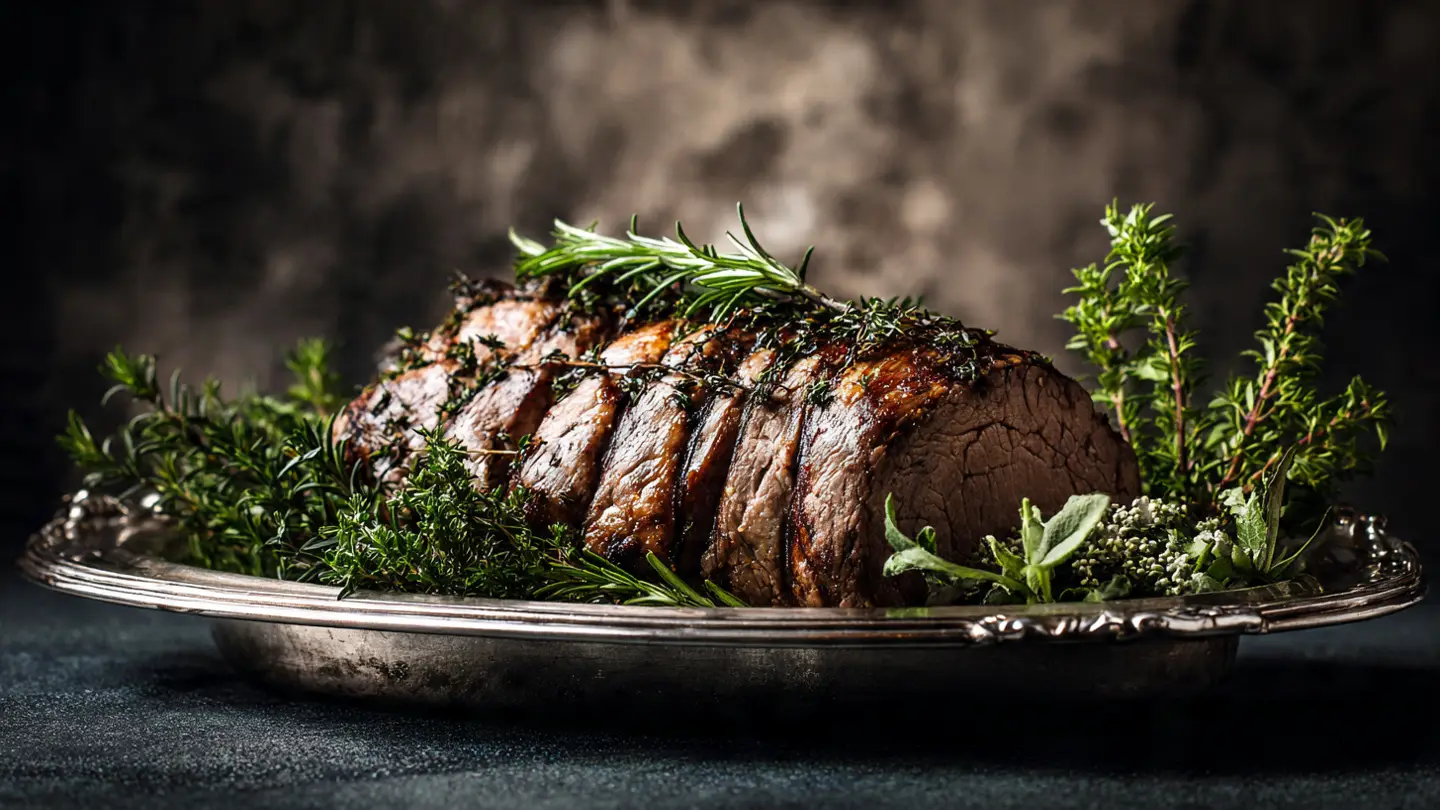
Next, you need to add flavor. Beef tenderloin is soft, but it does not have a very strong taste on its own. You need to help it out. Most people use salt, pepper, and maybe some garlic. You can also use fresh herbs like rosemary or thyme. Chop them up small and rub them all over the meat. Use your hands to really push the spices into the meat. It feels a bit messy, but it is the best way to make sure every bite is yummy. IMO, fresh herbs are always better than the dried ones in a jar for big dinners.
Tying the Roast with String

Tying the meat is easier than it looks. You want to wrap the string around the meat every inch or two. This holds the muscles together. When the meat stays tight, the juices stay inside. If the meat is loose, the juices can leak out and make the meat dry. You do not need to be an expert at knots. Just make sure it is snug. If you bought your meat from a butcher, they might have done this for you already. If not, just take your time and do your best.
This step is also about how the food looks. A tied roast looks very professional when you bring it to the table. It makes people think you spent hours working on it. In reality, it only takes about five minutes. Just remember to cut the strings off before you serve the food. You don’t want your guests eating pieces of string! This is a small mistake that can happen when you are in a rush to eat.
Rubbing in the Spices

After the meat is tied, it is time for the rub. I like to use a mix of salt, pepper, and garlic powder. If you want it to be extra fancy, mix some oil with the spices to make a paste. Rub this paste all over the beef. Make sure you get the ends too. The salt is the most important part here. It goes deep into the meat and makes it soft. If you are worried about too much salt, just remember that this is a large piece of meat. It needs a good amount of seasoning to taste good.
You can also add a little bit of mustard to your rub. It sounds strange, but it helps the spices stick to the meat. It also gives the crust a nice tang. Do not worry, your meat will not taste like a hot dog! The mustard flavor mostly goes away in the hot oven. It just leaves behind a great crust. This is a secret tip that most people do not know about. It makes your holiday dinner stand out from the ones your friends make.
Cooking and Serving the Perfect Roast
Cooking the meat is the part that makes people the most nervous. But you have a plan! You are going to use two different heats. First, you will brown the meat in a pan or a very hot oven. This creates the “sear.” The sear is that brown, tasty outside layer. After that, you turn the heat down to finish cooking the inside. This “low and slow” method keeps the meat from getting tough. It is the secret to a gourmet meal. If you cook it at high heat the whole time, the outside will burn and the inside will stay cold.
While the meat cooks, your house will start to smell amazing. This is when you can relax a little. Set a timer for about 20 minutes to check the progress. Every oven is a little bit different. Some are hotter than others. This is why you cannot just follow a clock. You must follow the temperature. This is the only way to be 100% sure the meat is ready. I always tell my friends that the thermometer is the boss of the kitchen, not the oven timer.
The Importance of Searing

Searing is like putting a jacket on the meat. It locks in the flavor. You can do this in a big pan on the stove before you put the roast in the oven. Use a little bit of oil and wait until the pan is very hot. Put the meat in and let it sit for a minute until it turns dark brown. Turn it and do the same for all sides. It might smoke a little, and that is okay. Just turn on your kitchen fan. This step adds so much flavor that you should never skip it.
If your pan is too small, you can sear the meat in the oven instead. Set your oven to 450 degrees. Put the meat in for about 15 minutes. Once the outside looks brown, turn the oven down to 325 degrees. This is an easier way if you don’t want to mess with a hot pan on the stove. Both ways work well for a holiday dinner. I usually use the oven method when I am cooking for a lot of people because it is less messy.
Watching the Temperature

This is the moment of truth. You want to pull the meat out of the oven when it reaches the right heat. For a medium-rare roast, which is what most people like, you want the thermometer to say 130 degrees. The temperature will go up a little bit more after you take it out. This is called “carry-over cooking.” If you wait until it says 140 in the oven, it might end up being too well-done by the time you eat it. Keep a close eye on it during the last 10 minutes.
Poke the thermometer into the thickest part of the meat. Do not let the tip touch the pan or the bone if there is one. You want the heat of the center of the meat. If you have guests who like their meat cooked more, the ends of the roast will naturally be more done than the middle. This is great because you can give everyone the piece they like best. It makes hosting much easier when you can please everyone with just one roast.
Letting the Meat Rest

Once the meat comes out of the oven, you must wait. This is the hardest part! The meat needs to rest for at least 15 to 20 minutes. If you cut it right away, all the juices will run out onto the board. This leaves the meat dry and gray. While the meat rests, the juices move back into the center of the muscles. This makes every slice soft and wet. Cover the roast loosely with some foil to keep it warm, but do not wrap it tight or it will keep cooking too much.
This resting time is perfect for making a quick sauce or finishing your side dishes. You can use the bits left in the pan to make a gravy. Just add a little broth and a splash of juice or wine. Scrape the bottom of the pan to get all the brown bits. They have the most flavor! By the time your sauce is ready, the meat will be perfectly rested and ready to slice. I promise that waiting those 20 minutes is worth it for the taste.
Slicing and Serving Your Masterpiece

Now it is time to show off. Use a very sharp knife to cut the meat into thick slices. I like mine to be about one inch thick. This feels very fancy and keeps the meat warm on the plate. Cut across the grain of the meat. This means you are cutting through the long lines of muscle. It makes the meat much easier to chew. If you cut the wrong way, the meat might feel tough even if it is cooked perfectly. Look closely at the meat to see which way the lines go before you start.
Arrange the slices on a big plate. You can put some green herbs around the edges to make it look pretty. Pour any juices from the cutting board back over the meat. Those juices are like gold! Serving this roast is a big moment. Take a second to be proud of yourself. You just cooked a gourmet meal! Your friends and family will be so happy. Enjoy the smiles and the good food. You earned it.
Better Holiday Dinner Questions
How do I know if the meat is bad?
Fresh beef should be bright red. If it looks gray or smells sour, do not buy it. It should feel firm, not slimy to the touch.
Can I use a frozen roast?
Yes, but you must thaw it in the fridge for two days first. Never cook a beef tenderloin while it is still frozen in the middle.
What if I do not have a thermometer?
It is very hard to get it right without one. You can try poking it with a finger. It should feel like the soft part of your palm.
What sides go best with this meat?
Mashed potatoes and roasted green beans are classic choices. The simple flavors let the beef be the star of the show.
How long do leftovers stay good?
You can keep cooked beef in the fridge for three days. It makes great cold sandwiches the next day with a little bit of mayo.
Time to Enjoy Your Feast
You now have all the tools to make a perfect beef tenderloin roast. Remember to buy good meat, use a thermometer, and let it rest. Your holiday dinner will be a huge success. Cooking is a skill that gets better every time you try. Take a deep breath and have fun in your kitchen today!