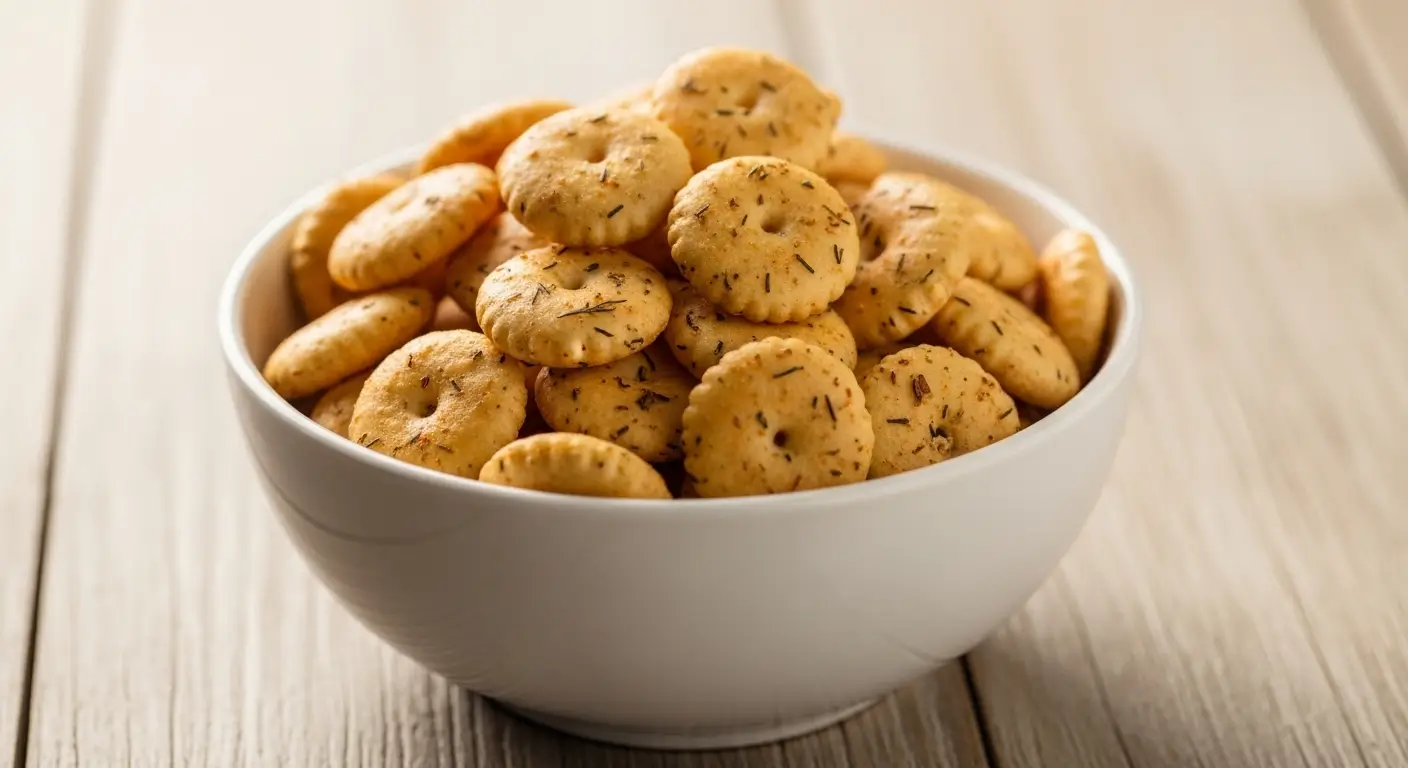
Savory Baked Tortilla Strips for Your Favorite Salsa or Dips
I love snacks that crunch. There is something so good about a salty, crispy chip hitting a bowl of fresh salsa. For a long time, I just bought bags from the store. They were okay, but they often felt too greasy or had way too much salt. One day, I ran out of chips right before a party. I had a stack of corn tortillas in my fridge and decided to try something new. I cut them up, tossed them with a little oil, and baked them until they were golden brown. The result was amazing. My friends ate every single one in minutes.
Making your own tortilla strips is one of the easiest things you can do in the kitchen. It saves money and lets you control exactly what goes into your food. You do not need a deep fryer or a big mess of hot oil. A simple baking sheet and your oven will do all the hard work. In this guide, I will show you how to pick the best tortillas, how to cut them perfectly, and how to get that perfect crunch every time. You will never want to go back to the bagged stuff again.
Grab your apron and get ready to make the best snack ever! Check out the simple steps below to get started.
Getting Ready for Your Crunchy Snack
Before we start cooking, we need to make sure we have the right tools and ingredients. You do not need anything fancy. Most of these things are likely in your kitchen right now. I like to use corn tortillas because they have a great flavor and get very crispy. You can use flour ones if you want, but they will be a bit softer and puff up more. For this recipe, we are sticking with the classic corn version for that traditional crunch. It is important to have a good baking sheet that does not stick. If yours is old, you can use a piece of parchment paper to help.
What You Will Need to Shop For

First, you need a pack of corn tortillas. Look for the ones that feel a bit firm but can still bend without snapping. If they are too dry, they might crumble when you cut them. Next, grab some oil. I usually use olive oil or avocado oil. These have a nice flavor and handle the heat of the oven well. You only need a tiny bit, which makes this much better for you than deep-fried chips. IMO, the oil is the secret to getting that golden color we all love.
- One pack of yellow or white corn tortillas (10 to 12 count)
- Two tablespoons of light olive oil or vegetable oil
- One teaspoon of fine sea salt
- Half a teaspoon of garlic powder
- One lime for fresh juice (this adds a great zing!)
You can also get creative with your spices. Sometimes I add a little chili powder or cumin if I want a taco flavor. If you like heat, a tiny pinch of cayenne pepper goes a long way. The best part about making these at home is that you are the boss of the flavor. You can make one batch spicy and one batch plain for the kids. It is a very flexible recipe that everyone can enjoy.
The Best Tools for the Job

You need a large baking sheet so the strips have plenty of room. If you crowd them, they will steam instead of getting crispy. I learned this the hard way! One time I piled them all on top of each other and ended up with chewy, sad tortillas. Give them space to breathe. A sharp knife or a pizza cutter is also a must. A pizza cutter is actually my favorite way to do this because it moves fast and keeps the lines straight. It is a total pro move that makes the job go by in seconds.
A large mixing bowl is helpful too. You can toss the strips with the oil and spices in the bowl to make sure every single piece is coated. If you just drizzle oil on the pan, some strips will be oily and others will stay dry. Using a bowl ensures everything is even. You will also want a pair of tongs or a thin spatula to flip the strips halfway through. This helps both sides get that perfect toasted look and feel.
Recipe Quick Info
- Prep Time: 10 minutes
- Cook Time: 12-15 minutes
- Servings: 4 people
- Difficulty: Very Easy
The Step-by-Step Way to Crispy Perfection
Now that we have our gear, it is time to get cooking. The process is very fast, so make sure your oven is preheated before you start cutting. I usually set mine to 375 degrees. This temperature is high enough to crisp them quickly but low enough that they won’t burn in a heartbeat. You have to watch them closely near the end of the time. They go from perfect to burnt very fast. I have definitely scorched a few batches while looking at my phone, so stay focused!
Preparing Your Tortilla Strips

Start by stacking about five or six tortillas on top of each other. This makes the cutting go much faster. Use your knife or pizza cutter to slice the stack in half. Then, slice each half into strips about half an inch wide. You can make them thinner or thicker depending on what you like. I find that half-inch strips are the best for dipping because they are strong enough to hold a big scoop of guacamole without breaking. If they are too thin, they might snap under the weight of a heavy dip.
Once they are all cut, put them into your big bowl. Drizzle your oil over the top and sprinkle on your salt and spices. Use your hands to toss them around. This is a bit messy but it works the best. You want to make sure every strip has a thin coat of oil. This oil is what makes the heat from the oven crisp up the corn. If a strip is dry, it will just turn into a hard cracker instead of a light, crispy chip. FYI, a little oil goes a long way here.
Baking and Flipping for Even Color

Spread the strips out on your baking sheet. Try to make sure they are not touching too much. It is okay if a few overlap, but a single layer is the goal. Slide the tray into the middle rack of your oven. Set your timer for seven minutes. While they bake, you will start to smell that amazing toasted corn scent. It smells just like a professional kitchen! After seven minutes, pull the tray out and use your tongs to move the strips around. This ensures the heat hits all the different angles.
Put them back in for another five to eight minutes. This is the part where you need to be careful. Every oven is a little bit different. My oven runs a bit hot, so mine are usually done at the twelve-minute mark. You are looking for a light golden-brown color and a firm texture. They might feel just a tiny bit soft when you first pull them out, but they will harden up as they cool down. Let them sit on the tray for at least five minutes before you try to eat them.
Flavor Boosts and Variations

Once they are out of the oven, I like to squeeze a fresh lime over them while they are still warm. The juice hits the hot chips and the flavor sinks right in. It adds a brightness that cuts through the salt. If you want a sweet treat, you can actually use this same method with flour tortillas, butter, and cinnamon sugar. Those are great for dipping into fruit salsa or yogurt. But for savory dips, stick to the corn and salt combo. It is a classic for a reason and it never fails to satisfy a crowd.
Another tip is to use nutritional yeast if you want a cheesy flavor without using real cheese. It is a yellow powder that tastes like cheddar but is totally dairy-free. I use it all the time when I want something a bit different. You could also use ranch seasoning powder for a cool, herby taste. The options are endless once you master the basic baking method. This recipe is a great base for all your snack experiments. Just remember to keep the seasoning light so it does not overpower the corn flavor.
The Best Ways to Serve and Store
You have made these beautiful, crispy strips, so now you need something to dip them in. While they are great on their own, they truly shine when paired with a good bowl of something flavorful. I usually make these for movie nights or when I have friends over to watch a game. They look much more impressive than a bowl of chips from a bag. People can tell they are homemade, and they always ask for the recipe. It is a great way to show a little extra love to your guests.
Perfect Dips for Your Strips

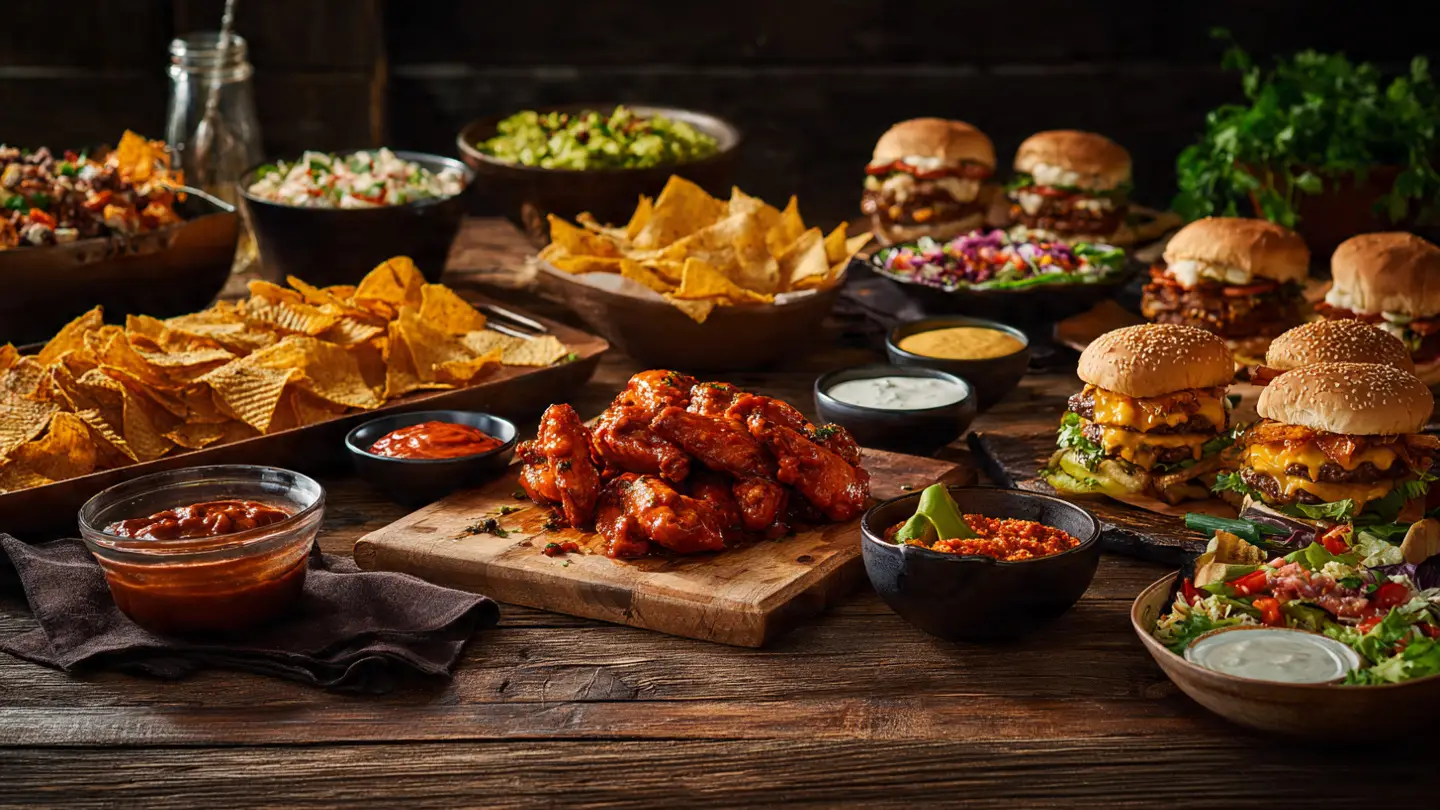
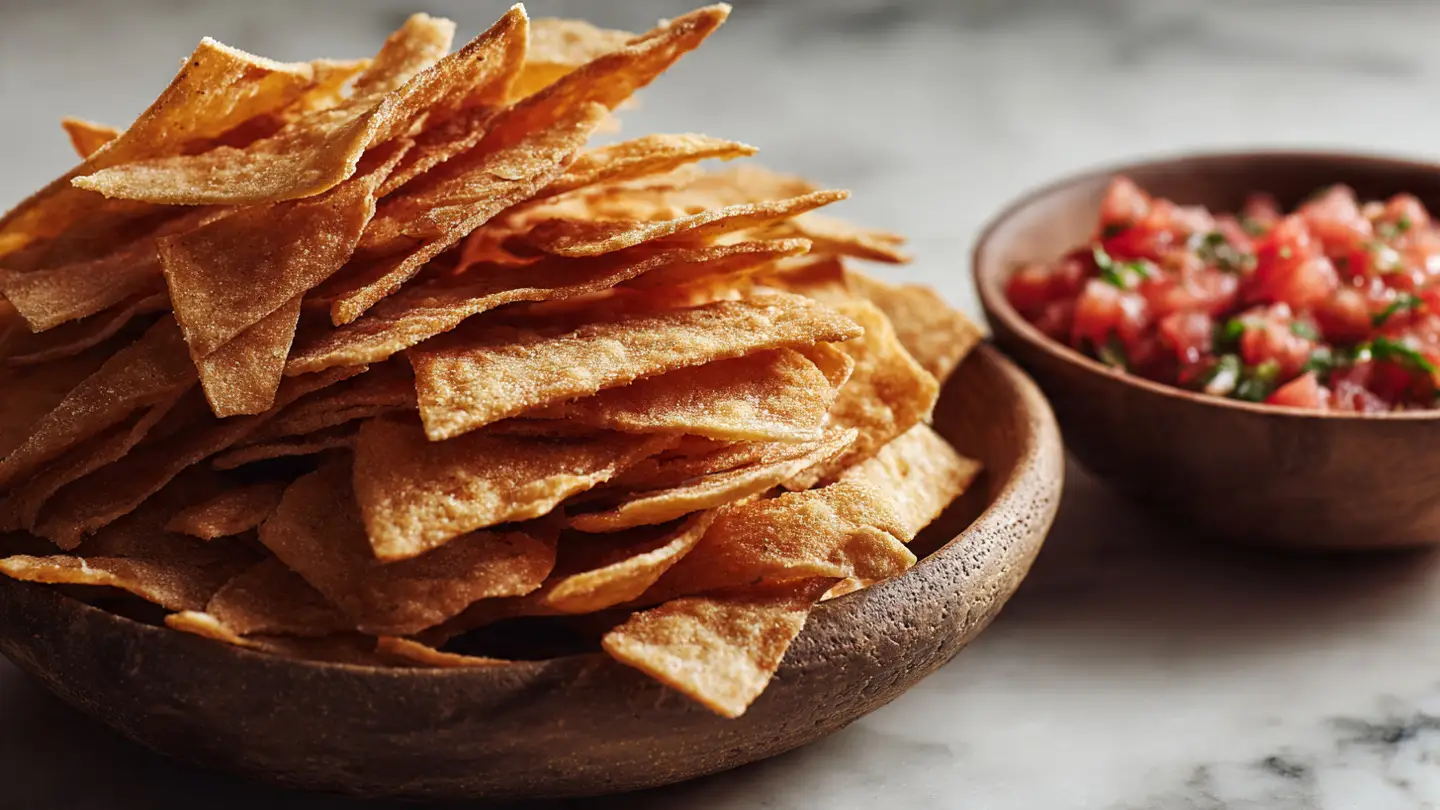
These strips are built for heavy lifting. My favorite thing to serve them with is a thick, chunky guacamole with lots of lime and onions. Because we cut these into sturdy strips, they can hold a lot of dip. They also work perfectly with a hot bean dip or a melted cheese sauce. If you want something lighter, try a fresh pico de gallo. The juice from the tomatoes soaks into the strips just enough to make them flavorful but keeps the crunch. It is a match made in snack heaven.
I also love using these as a topping for soup. If you make a big pot of chicken tortilla soup, these strips are the perfect garnish. Drop a handful on top right before you eat. They add a great texture to the soft beans and chicken. You can also crush them up and put them on a salad for a bit of a taco salad vibe. They are much more versatile than just being a side for salsa. I even use the broken bits at the bottom of the tray to top my morning scrambled eggs!
Keeping the Crunch Alive

If you have leftovers, you need to store them correctly. If you leave them out on the counter, they will get stale and chewy. Humidity is the enemy of the crunch. Once they are completely cool—and I mean completely cool—put them in an airtight container or a zip-top bag. If you put them in while they are still warm, the steam will make them soggy in minutes. I have made this mistake before, and it is very disappointing to wake up to soft chips.
They will stay fresh for about three to four days in a sealed bag. If they do get a little soft, don’t throw them away! You can put them back on a baking sheet and pop them in a 350-degree oven for two or three minutes. This will “wake them up” and bring back that crispy texture. It is a great trick to save a snack that has been sitting for a couple of days. However, they are so good that they rarely last more than one afternoon at my house.
Common Mistakes to Avoid
- Overcrowding: Don’t let the strips overlap too much or they won’t get crispy.
- Too Much Oil: Using too much oil will make them heavy and greasy instead of light.
- Walking Away: Don’t leave the kitchen while they bake; they burn very fast at the end.
- Storing While Warm: Always wait for them to cool 100% before putting them in a bag.
Questions You Might Have
Making homemade snacks can sometimes feel tricky the first time. Here are some answers to things people often ask me about this recipe. I want to make sure your first batch is a total success!
Frequently Asked Questions
Can I use flour tortillas instead of corn?
Yes, you can. Flour tortillas will be airier and softer. They brown faster, so watch them closely. They taste more like a cracker than a corn chip.
Why are my tortilla strips chewy?
This usually happens if you didn’t bake them long enough or if the oven wasn’t hot enough. It can also happen if the tray was too crowded. Try baking them for 2 more minutes.
Do I have to use oil?
You can bake them dry, but they won’t have the same crunch or flavor. The oil helps the heat cook the tortilla and gives it that classic chip feel.
What is the best way to cut them?
A pizza cutter is the fastest way! It rolls right through the stack and gives you very straight lines without squishing the bread.
How long do these stay fresh?
In an airtight container, they stay crunchy for about 3 to 4 days. If it is very humid outside, they might get soft sooner.
Time to Enjoy Your Homemade Chips
Baked tortilla strips are a simple, healthy, and cheap way to make snack time better. By using your oven instead of a fryer, you get all the crunch without the heavy grease. Just remember to watch the oven closely so they do not burn. Once you try these with your favorite salsa, you will never want store-bought chips again. Happy snacking!