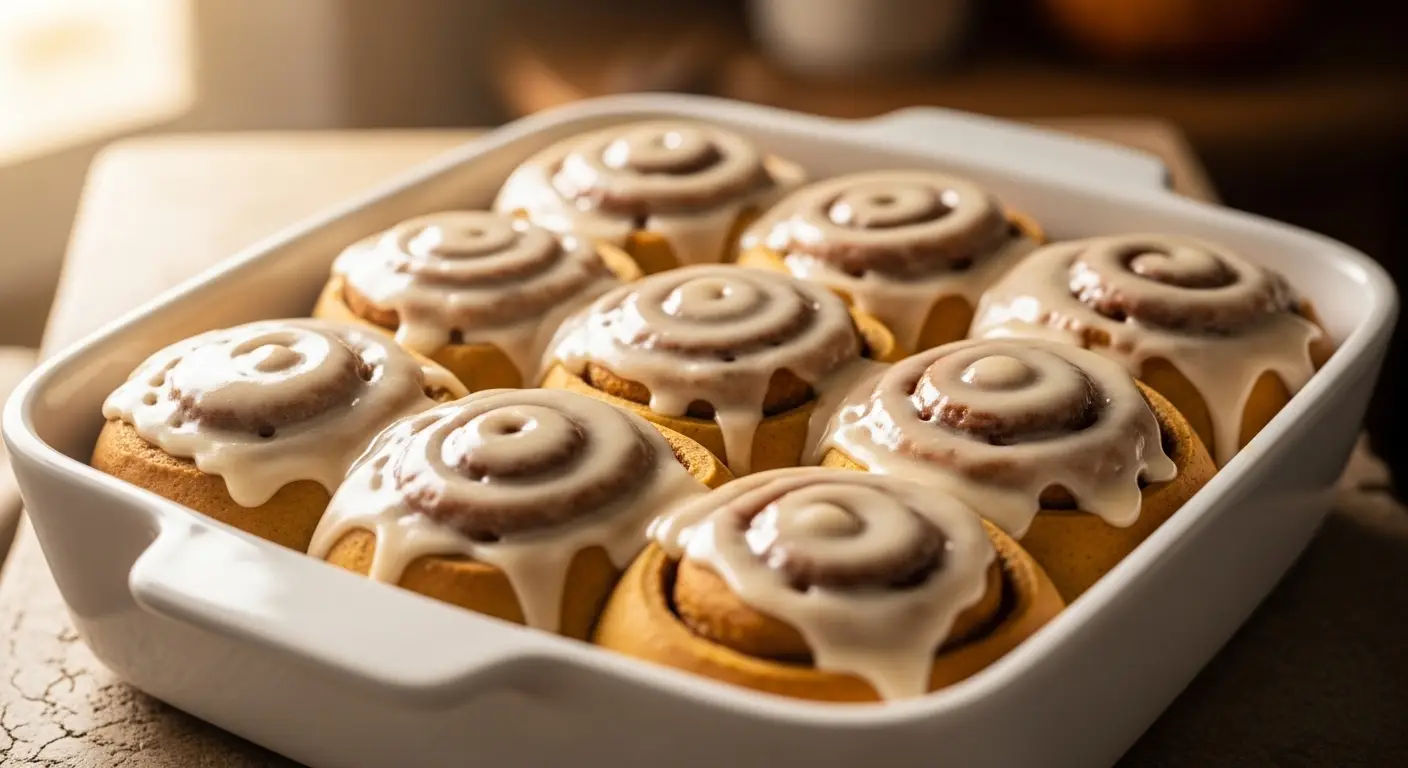
Japanese Souffle Pancakes
Have you ever seen those tall, jiggly pancakes on the internet? They look like soft clouds on a plate. These are called Japanese souffle pancakes. They are much taller than regular pancakes. They are also much lighter. When you cut into one, it feels like eating a sweet marshmallow. People in Japan love to wait in long lines just to get a taste of these treats. Now, you can make them in your own kitchen without the long wait.
I remember the first time I tried to make these. I thought they would be just like normal pancakes. I was very wrong! My first batch turned out flat and sad. They looked like regular pancakes that had a bad day. I learned that you cannot rush this recipe. It takes a bit of patience and a very gentle hand. But once you see them stand tall in your pan, you will feel like a kitchen hero. It is a very cool feeling to see them jiggle when you shake the plate.
In this guide, I will show you every step to get that perfect height. You will learn how to mix the batter and how to cook them so they do not fall over. We will talk about the tools you need and the best toppings to use. By the end of this page, you will be ready to make a breakfast that looks like it came from a fancy cafe. Ready to get cooking? Let’s start mixing!
Check out the list below to see what you need to get started.
Everything You Need to Get Started
Before you turn on the stove, you need to gather your things. This recipe is all about the eggs. Most of the lift comes from the egg whites. If you don’t have fresh eggs, the pancakes might not grow tall. You also need a good non-stick pan. If the pancakes stick, they will tear when you try to flip them. That would be a big bummer! Make sure your pan has a lid too. The lid helps trap steam, which cooks the inside of the tall pancake.
The Ingredients List

To make these fluffy clouds, you need a few simple items. Most of these are likely in your pantry right now. You will need two large eggs. It is best if they are cold from the fridge. Cold egg whites whip up into a stronger foam than warm ones. You also need two tablespoons of whole milk. Milk adds moisture and a nice flavor to the base of the cake. A tiny bit of vanilla extract makes them smell amazing while they cook.
- 2 large eggs (separated into whites and yolks)
- 2 tablespoons whole milk
- 1/4 teaspoon vanilla extract
- 4 tablespoons cake flour (sifted)
- 1/2 teaspoon baking powder
- 2 tablespoons white granulated sugar
- 1 tablespoon neutral oil (like canola or grape seed for the pan)
- 2 tablespoons water (for steaming)
Using cake flour is a big secret for this recipe. Regular flour is a bit too heavy. Cake flour is very fine and light. It helps the pancake stay airy and soft. If you only have regular flour, you can use it, but the pancakes might be a little more chewy. Don’t forget the baking powder! Even though the eggs do most of the work, the baking powder gives a little extra insurance to keep them high.
The Tools for Success

You do not need a lot of fancy machines, but a hand mixer is very helpful. You could whip the egg whites by hand with a whisk, but your arm will get very tired. A hand mixer makes the job fast and easy. You also need a wide non-stick frying pan. Since these pancakes are big, you want enough space to flip them without hitting the edges of the pan. A flat spatula is also a must-have for the big flip.
Another tool that helps is a fine-mesh sieve. Sifting the flour is important. It removes any lumps so the batter stays smooth. Small lumps can weigh down the air bubbles we work so hard to create. Lastly, find a small measuring spoon for the water. Adding a tiny bit of water to the pan creates steam. That steam is the magic trick that cooks the middle of the pancake without burning the bottom.
Recipe Quick Info
- Prep Time: 15 minutes
- Cook Time: 20 minutes
- Servings: 2 people (about 4-5 pancakes)
- Difficulty: Medium
How to Make the Perfect Pancake
Making the batter is a two-part job. First, you make a thick yellow paste with the yolks and flour. Second, you make a white fluffy foam with the egg whites and sugar. This foam is called meringue. Joining these two parts together is the most important part of the whole process. If you mix too hard, the air goes away and the pancakes stay flat. You have to be as gentle as if you were holding a tiny baby bird.
Step 1: Mixing the Base

- Separate your eggs. Put the whites in one large bowl and the yolks in a smaller bowl. Make sure no yolk gets into the whites! If even a tiny drop of yellow gets in the whites, they will not whip up.
- Add the milk and vanilla to the egg yolks. Whisk them until they are combined and look pale yellow.
- Sift the cake flour and baking powder into the yolk mixture. Whisk gently until the paste is smooth. It should be thick, like heavy cream.
Do not over-mix this part. Just stir until you don’t see any more white flour. If you stir too much, the flour gets tough. We want these pancakes to melt in your mouth, not feel like bread. Once the yolk mixture is ready, set it aside. Now it is time for the fun part: making the fluff!
Step 2: Whipping the Egg Whites

This is where the magic happens. Turn your hand mixer to a medium speed. Start beating the egg whites until they look bubbly. Now, add the sugar slowly. I like to add it in three small parts. Keep beating the whites until they become thick and shiny. You are looking for “stiff peaks.” This means when you lift the mixer up, the white foam stands straight up and does not flop over. FYI, this usually takes about 3 to 5 minutes.
Be careful not to go too far. If the whites start looking dry or chunky, you have beaten them too much. They should look like glossy shaving cream. This foam is what holds the pancake up in the pan. If the foam is weak, the pancake will fall. If you are worried, stop the mixer every minute to check the peaks. It is better to go slow than to ruin the eggs.
Step 3: Folding the Batter

Now we combine the two bowls. Take about one-third of your white foam and put it into the yolk bowl. Use your spatula to stir it in. This first scoop lightens up the heavy yolk paste. Once it is mixed, pour all of the yolk mixture into the big bowl with the rest of the white foam. This is the part where you must be very gentle. Do not stir in circles like you are making a cake.
Instead, use a “fold” motion. Cut down through the middle with your spatula, scrape the bottom, and lift it over the top. Rotate the bowl as you go. Stop as soon as the color is even. You might see a few tiny white streaks, and that is okay. It is better to have a few streaks than to lose all the air. The batter should look very thick and hold its shape. If it runs like water, something went wrong with the whipping.
Step 4: Cooking on the Stove

- Heat your non-stick pan on the lowest setting possible. Add a tiny bit of oil and wipe it around with a paper towel. You want a very thin layer.
- Scoop the batter into the pan. I usually make three pancakes at a time. Put one big scoop down for each. Then, put another scoop on top of those. This builds the height.
- Add 1 tablespoon of water to the empty spaces in the pan. Do not get the pancakes wet! Put the lid on immediately.
- Cook for about 5 to 6 minutes. The bottom should be golden brown and the top should look slightly set.
The low heat is very important. If the heat is too high, the bottom will burn before the middle is cooked. I once tried to hurry and ended up with a burnt outside and raw liquid inside. It was not a good breakfast! Keep the lid on the whole time. The steam helps the pancakes rise even higher. It acts like a little oven inside your pan.
Step 5: The Big Flip

Flipping these is the most nervous part for many people. After about 6 minutes, take the lid off. Very gently slide your spatula under a pancake. If it feels too soft, give it another minute. If it feels solid enough, flip it over carefully. Do not drop it! Just roll it over gently. It should look like a giant toasted marshmallow on top.
Add another tablespoon of water to the pan and put the lid back on. Cook for another 5 minutes on the second side. When they are done, they should feel firm but springy when you touch the sides. Slide them onto a plate right away. They will sink a little bit as they cool, which is normal. But if they stay tall for at least a few minutes, you did a great job!
Pro Tips for Success
- Keep it Cold: Use eggs straight from the fridge for the best foam.
- Low Heat: Use the lowest flame your stove can handle.
- Clean Bowl: Make sure your mixing bowl has no oil or grease in it.
- No Peeking: Don’t lift the lid too often or the heat escapes.
Making Your Pancakes Extra Special
Now that you have these beautiful pancakes, you need to dress them up. In my opinion, the best way to eat these is with a big pat of butter and a lot of maple syrup. But you can get much more creative than that. Since the pancakes are not very sweet on their own, they go well with almost any fruit. Fresh berries are a classic choice. They add a nice tart flavor to the sweet syrup.
Serving Suggestions

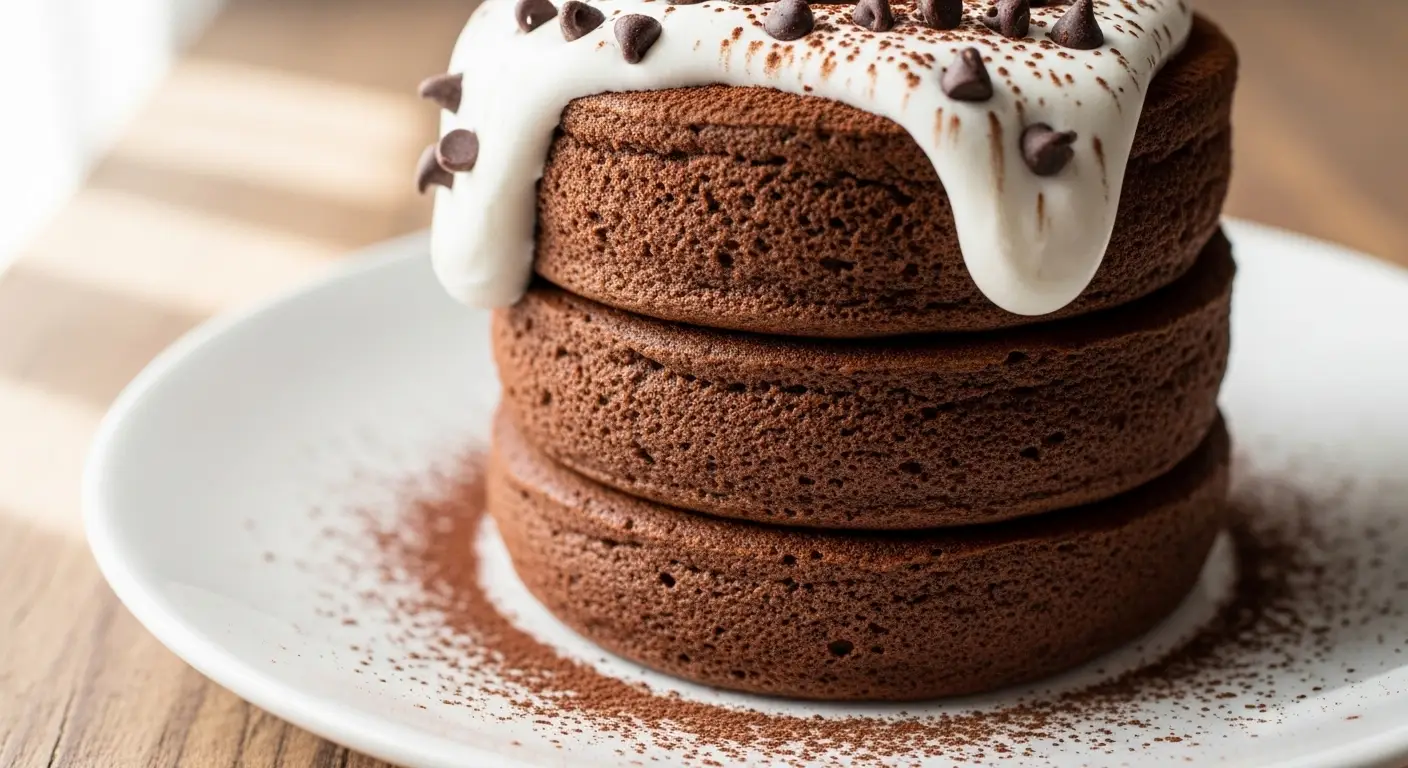
To make them look like they came from a restaurant, dust some powdered sugar over the top. You can also add a big dollop of whipped cream. Some people like to put chocolate sauce or honey on them. If you want a more traditional Japanese flavor, you can try matcha (green tea) powder or sweet red bean paste. These flavors are very popular in Tokyo cafes.
Serve them immediately! These pancakes are like a souffle; they will eventually deflate as they sit. They are best when they are hot and at their tallest. If you are cooking for a crowd, you can keep the first batch in a warm oven (at a very low temp) while you finish the rest. Just don’t leave them in there too long, or they will dry out. IMO, eating them fresh from the pan is the only way to go.
Variations to Try

Once you master the basic recipe, you can change things up. You can add a teaspoon of matcha powder to the yolk mixture for green tea pancakes. Or, add a tablespoon of cocoa powder for chocolate ones. Just remember that adding heavy things might make them rise a little less. Some people even put a small piece of chocolate inside the batter while it cooks for a molten center.
Another fun idea is to use different extracts. Instead of vanilla, try almond extract or lemon zest. These small changes can make the recipe feel brand new every time. You can even make savory ones by leaving out the sugar and vanilla, then serving them with bacon and eggs. Though, the sweet version is definitely the most popular for a reason!
Common Questions and Fixes
Why did my pancakes turn out flat?
This usually happens if the egg whites were not beaten to stiff peaks or if you mixed the batter too hard. Be very gentle when folding the foam into the yolks.
Can I make the batter ahead of time?
No, you must cook the batter right away. The air bubbles will pop if the batter sits too long, and your pancakes will not rise in the pan.
Do I have to use cake flour?
Cake flour makes them lighter, but all-purpose flour works too. If using regular flour, the texture will be a bit more like a traditional pancake but still fluffy.
Why is the middle of my pancake raw?
The heat was likely too high or you didn’t use a lid. Low heat and steam are needed to cook the tall center without burning the bottom.
Can I use a ring mold for these?
Yes! Using a metal ring mold helps them stay perfectly round and very tall. Just make sure to grease the inside of the mold so they don’t stick.
Enjoy Your Fluffy Clouds
You have now learned the secrets to making amazing Japanese souffle pancakes. It takes a little practice to get the egg whites just right, but the result is worth it. These pancakes turn any morning into a special event. Just remember to be gentle, keep the heat low, and enjoy the jiggle! You did a great job today.