Best Ever Homemade Fruit Leather with No Added Sugar
I remember the first time I tried to make fruit snacks at home. I bought a big bag of strawberries and just hoped for the best. My kitchen smelled amazing, but I ended up with a sticky mess because I did not know the right tricks. Now, I make fruit leather every single week for my family. It is much better than the store-bought kind because you know exactly what is inside. No weird chemicals or extra corn syrup are needed here.
In this guide, you will learn how to turn plain fruit into a chewy, sweet treat. I will show you how to pick the best fruit and how to dry it perfectly in your oven. You do not need a fancy machine to do this. We will use simple tools you already have in your kitchen drawers. It is a great way to save fruit that is getting a little too soft to eat fresh.
Making your own snacks feels like a fun science project that you can actually eat. Plus, it saves a lot of money compared to those tiny boxes at the grocery store. Ready to turn your kitchen into a snack factory? Let’s get started!
Check out my favorite steps below to get the perfect chew every time!
Getting Started with Real Fruit Snacks
Fruit leather is just fruit that has most of its water removed. When you take out the water, the natural sugars get stronger. This makes the snack taste very sweet even without adding white sugar. It is a healthy choice for kids and adults who want something sweet but good for them. You can use almost any fruit you like, from apples to zesty berries. I love using whatever is on sale at the market.
The process is very simple: blend, spread, and bake. You do not need to be a pro chef to get this right. The most important thing is patience. You cannot rush the drying process or you will burn the edges while the middle stays wet. I learned that the hard way during my first try! If you follow these steps, you will have a tray of beautiful, shiny fruit leather by tonight.
The Short List of Ingredients
You only need a few things to make this recipe work. The main star is the fruit itself. I suggest using about 3 to 4 cups of chopped fruit for one large baking sheet. You can use one kind of fruit or mix them together. Strawberry and banana is a classic choice, but mango and lime is also very tasty. If your fruit is a bit sour, you can add a small splash of apple juice to help it out.
A little squeeze of lemon juice is a secret trick I always use. It keeps the colors bright so your snacks don’t turn brown and dull. If you are using very dry fruit like apples, you might need a tablespoon or two of water to help your blender spin. That is really it! No honey, no syrup, and definitely no fake colors. This is as pure as a snack can get.
Tools You Will Need

You do not need a dehydrator to make this at home. Your regular kitchen oven works just fine as long as it can go to a low heat. You will also need a good blender or a food processor. The goal is to get the fruit as smooth as possible. If there are big chunks, the leather will not dry evenly, and you might get a soggy spot in the middle of your snack.
The most important tool is what you put on your baking tray. I highly recommend a silicone baking mat. Plastic wrap can work, but it sometimes crinkles or melts if the oven gets too hot. Parchment paper is okay, but the fruit can stick to it quite badly. A silicone mat lets the fruit leather peel off like a sticker. It is very satisfying to pull it off in one big piece! FYI, investing in a mat will save you a lot of frustration.
How to Prep the Fruit

Start by washing your fruit very well. Take off any stems, pits, or seeds that are too hard. You do not have to peel apples or pears if you have a strong blender, as the skins have good vitamins. Chop the fruit into small pieces so the blender can handle them easily. Toss them into the blender with your lemon juice and blend until it looks like a thick smoothie. Give it a taste! If it tastes good now, it will taste even better later.
If you are using berries with tiny seeds like raspberries, you might want to push the puree through a fine strainer. This is not required, but it makes the leather much smoother on your tongue. I usually skip this step because I don’t mind the seeds, but some kids are picky about them. Once your puree is smooth, you are ready for the oven. Make sure there are no large lumps left behind.
Recipe Quick Info
- Prep Time: 15 minutes
- Cook Time: 4 to 6 hours
- Servings: 8 fruit strips
- Difficulty: Very Easy
Baking and Perfecting Your Snacks
The middle of the process is when most people make a mistake. They want to turn up the heat to finish faster, but this is a bad idea! High heat will make the edges crisp and dry while the middle stays raw. Low and slow is the only way to make fruit leather. You are really just drying it out, not cooking it. It takes time, but the smell in your house will be like a candy shop all day.
You also need to make sure your puree is spread thin. If it is too thick, it will take twice as long to dry. If it is too thin, it will turn into a hard cracker that snaps instead of bends. Finding the middle ground is the secret to a great snack. I suggest spreading it to about 1/8 inch thick on your baking sheet. A little thicker is better than too thin.
Spreading the Puree Smooth

Pour your puree onto the silicone mat in the middle of your baking tray. Tilt the tray back and forth to help the fruit move to the corners. You can also use a spatula to push it around. Try to get it very even from one side to the other. This is the hardest part, but it gets easier with practice. Leave about an inch of space at the edges because the fruit can spread as it warms up.
Make sure there are no bubbles or thin spots. If you see the mat through the fruit, it is too thin. I learned this the hard way when I ended up with holes in my strawberry leather! IMO, it helps to tap the tray on the counter a few times to get it perfectly flat. This also pops any little air bubbles that are hiding in the fruit. Your tray should look like a smooth, shiny lake of fruit.
Setting Your Oven Low

Turn your oven to the lowest possible setting. For most ovens, this is around 170 degrees or even 150 degrees. If your oven is too hot, you can leave the door open just a tiny crack with a wooden spoon. This helps the steam get out and keeps the heat low. Put your tray in the middle rack. Now, you wait! It will take between 4 to 6 hours to dry completely.
I check mine every hour or so to see how it is doing. You will see the fruit go from shiny and wet to a matte, dull look. It shouldn’t look like a liquid anymore. If you touch it with your finger and it doesn’t stick, it is almost done. If your oven has a fan, turn it on! The moving air helps the water leave the fruit much faster. This is how professional machines work, too.
Testing for Doneness

The big test is the touch test. Lightly press your finger in the center of the leather. If it feels tacky or sticky, it needs more time. If it feels smooth and leather-like, it is done. It should peel away from the mat easily. If the edges are getting hard but the middle is still wet, your oven might be too hot. You can always turn off the oven and let it sit inside as it cools down.
Once it is ready, take it out of the oven and let it cool completely on the tray. It will get a little firmer as it reaches room temperature. Don’t try to peel it while it is hot, or it might stretch and tear. Patience is key here. I know it smells good, but waiting 20 minutes makes it much easier to handle. Once cool, you can peel the whole sheet off the mat.
Pro Tips for Success
- Use Ripe Fruit: The riper the fruit, the sweeter the leather will be without sugar.
- Don’t Rush: Trying to dry it at 350 degrees will just make fruit soup.
- Watch the Edges: If the edges get too crisp, trim them off with scissors.
Cutting and Storing Your Snacks
Now comes the fun part! You have a large sheet of fruit that you can cut into whatever shapes you want. Most people like long strips that they can roll up. This makes them easy to put in a lunch box or take on a hike. You can also use cookie cutters to make stars or hearts. This is a fun activity to do with kids, and they will be so proud of their homemade snack.
Keeping your fruit leather fresh is important so it stays chewy. If you leave it out on the counter, it can get dry and hard. If you put it in a place that is too humid, it might get sticky again. I will show you the best way to wrap them so they last for weeks. Most of the time, they get eaten in just a few days at my house anyway!
Rolling and Wrapping

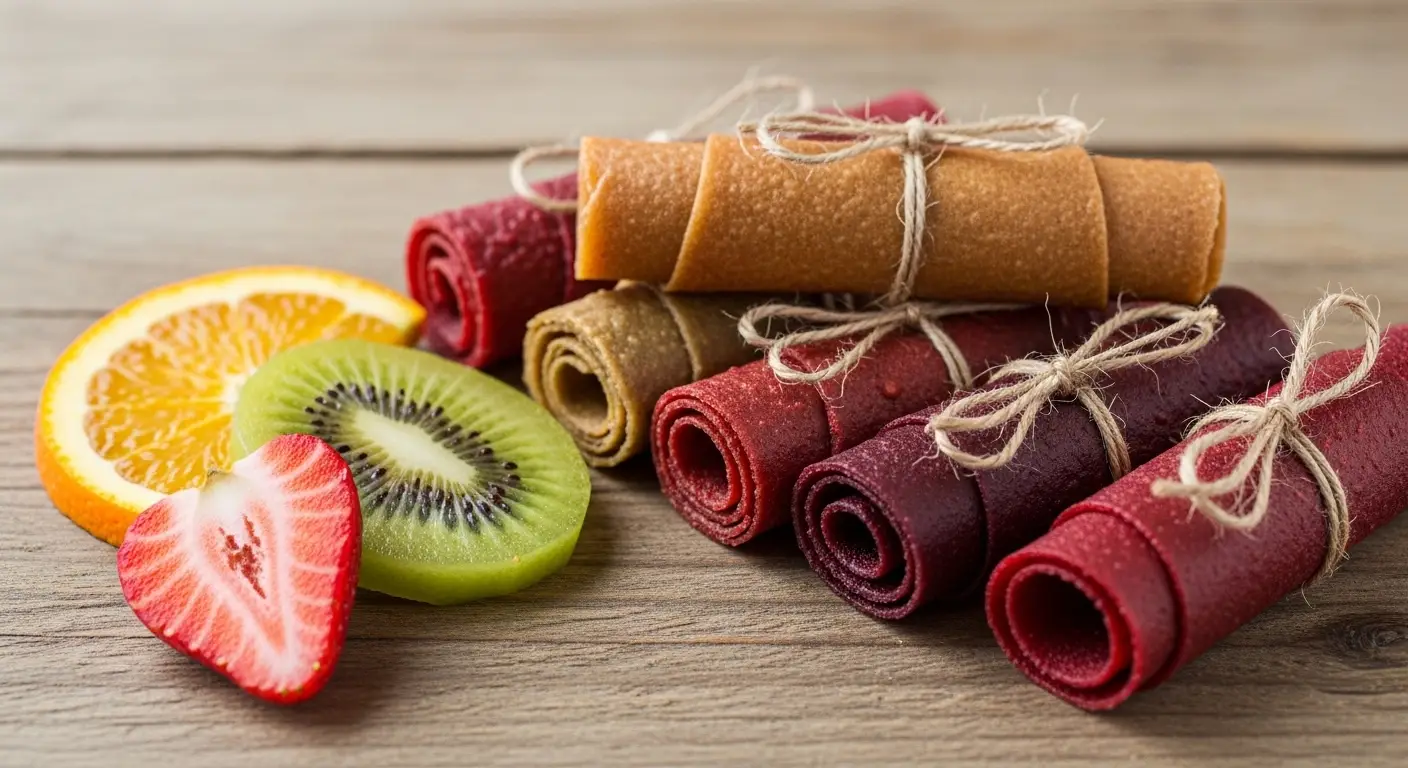
Take your sheet of fruit leather and lay it on a piece of parchment paper. Use clean kitchen scissors or a pizza cutter to slice it into long strips. Each strip should be about two inches wide. Once you have your strips, you can roll them up with the parchment paper still attached. This keeps the fruit from sticking to itself in a big ball. It also makes it look like the fruit rolls you buy at the store!
If you don’t want to use paper, you can just roll them up and put them in a container. They might stick together a little bit, but they will still taste great. I like to tie mine with a little piece of string for a cute look if I am giving them as a gift. It makes a very sweet present for friends who like healthy eating. These are perfect for school lunches because they don’t make a mess.
How to Store Them Long Term

You should put your fruit leather rolls into an airtight container or a zip-top bag. If they are stored well, they can stay fresh for up to two weeks on your counter. If you want them to last longer, you can put the container in the fridge. They can stay good in the fridge for about a month. For very long storage, you can even freeze them! Just make sure they are wrapped tightly so they don’t get ice on them.
I always label my jars with the date and what kind of fruit is inside. This helps me remember which one is which, especially if I make a lot of different flavors at once. If your fruit leather gets too hard after a while, you can put it in a bowl with a slice of bread for a few hours. The fruit will pull the moisture from the bread and get soft again. It is a neat little trick I use for all my dried snacks.
Fun Variations to Try
Once you know the basics, you can get creative with your flavors. I love adding a pinch of cinnamon to apple leather. It tastes like an apple pie without the crust! You can also add a little bit of vanilla extract to strawberry puree. Some people even like to add a tiny bit of salt to watermelon leather to make the flavor pop. There are no rules here, so try whatever sounds good to you.
You can also mix veggies into your fruit leather for extra health. A little bit of cooked spinach or carrots can be blended with sweet fruit like mango or pineapple. The fruit is so sweet that you won’t even taste the veggies! This is a great way to help picky eaters get more greens. Just remember that adding veggies might change the color a bit, but the taste will still be awesome. This may not work if you use too many bitter greens like kale, so stick to mild ones like spinach.
Your Fruit Snack Questions Answered
What fruit works best for this?
Apples, pears, peaches, and berries work best. They have lots of natural pectin which helps the leather hold its shape. Mangoes are also great because they get very sweet and chewy.
Why did my fruit leather turn brittle?
It was likely in the oven for too long or the temperature was too high. If it snaps like a cracker, you can dip it in water or juice to soften it up, but next time try a shorter baking time.
Can I use frozen fruit for this recipe?
Yes! Just thaw the fruit first and drain any extra water. Frozen fruit is often picked at the peak of ripeness, so it makes very sweet fruit leather without any extra sugar.
Do I need to peel the fruit first?
You don’t have to peel apples or pears if you have a strong blender. The skins are healthy and will blend right in. However, you should peel fuzzy fruits like peaches or thick skins like mangoes.
Is this snack okay for toddlers?
Yes, but make sure to cut it into very small pieces. Fruit leather is chewy and can be a choking hazard for very young kids. Always watch them while they eat any sticky or chewy snack.
Start Your Healthy Snack Journey
Making fruit leather is a great way to eat more fruit and less candy. It is easy, cheap, and tastes amazing. Once you try it, you will never go back to the store-bought ones. Grab some fruit today and give it a try!