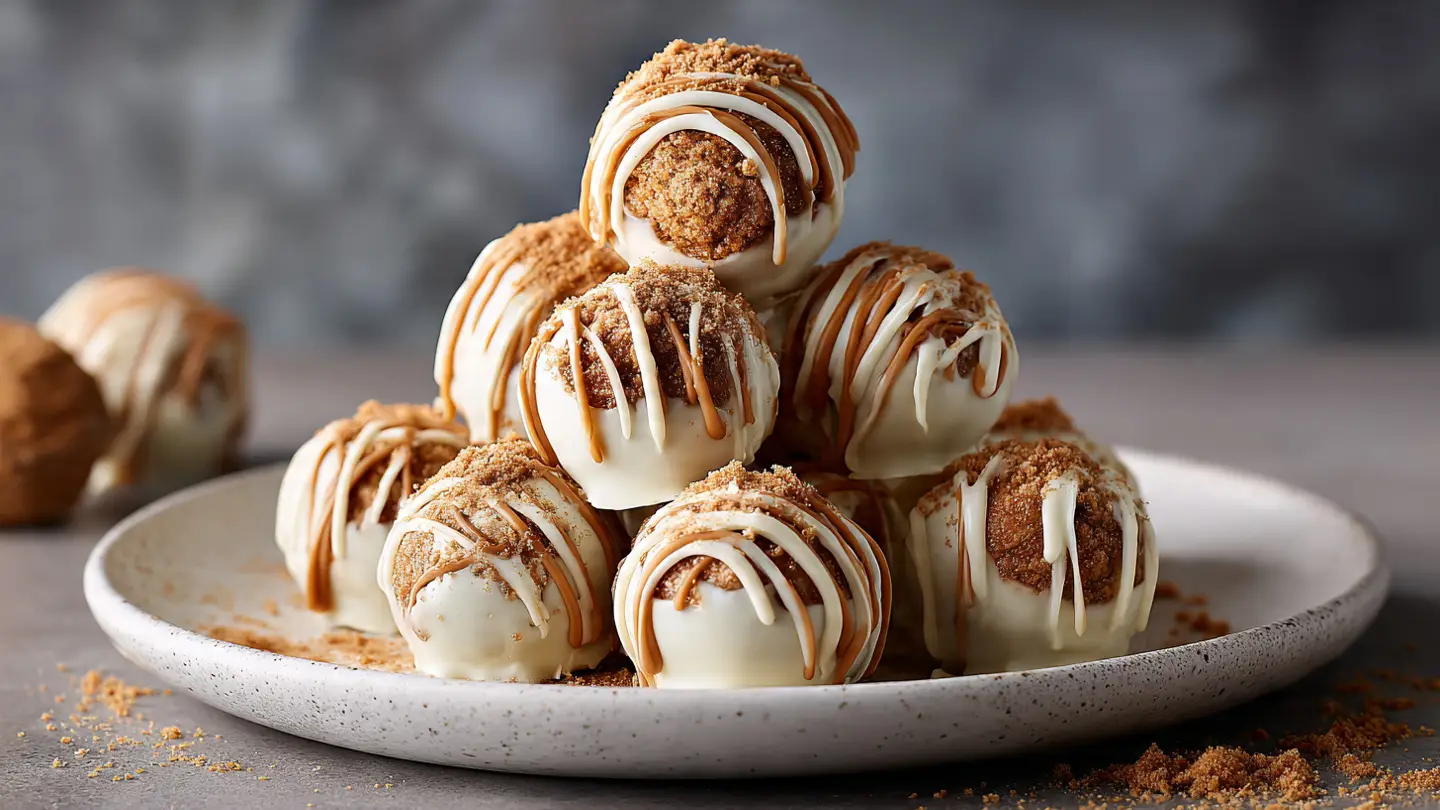
Ding Dong Cake: A Giant Version of Your Favorite Snack
Everyone knows the small chocolate cakes wrapped in silver foil. They are round, covered in chocolate, and have a surprise white cream in the middle. I grew up eating these as a special treat in my lunch box. They were the best part of my school day. Now that I am older, I wanted to make a version that is big enough for a whole party. This giant Ding Dong cake looks just like the snack but tastes even better because it is fresh.
In this post, I will show you how to bake the dark chocolate layers. You will learn how to make a special cooked cream filling that is not too sweet. Finally, we will cover the whole thing in a shiny chocolate glaze. This cake is rich, tall, and very fun to share with friends. It takes some time to put together, but the result is a total showstopper. Let’s get our bowls and spatulas ready to bake something amazing.
Want to see how to make this childhood favorite at home? Let’s get started!
Recipe Quick Info
- Prep Time: 45 minutes
- Cook Time: 35 minutes
- Servings: 12 people
- Difficulty: Intermediate
The Best Ingredients for Your Giant Cake
To make a cake that tastes like the real thing, you need the right items. Most of these are basic things you already have in your pantry. I like to use dark cocoa powder because it gives that deep black color that the snack cakes have. If you use regular cocoa, the cake will be lighter brown, which is still tasty but looks a bit different. Quality chocolate makes a big difference here since the coating is a huge part of the flavor.
The filling is the most important part. It is not just a regular frosting. It is a special kind of cream called ermine frosting. This involves cooking flour and milk together first. It sounds strange, but it creates a texture that is light and fluffy like a cloud. It is much closer to the snack cake filling than a heavy buttercream would be. Make sure your butter is at room temperature so it mixes well with the cooked base.
Gathering Your Baking Supplies

First, check your cupboards for the dry goods. You will need all-purpose flour, granulated sugar, and baking soda. For the chocolate flavor, grab a box of unsweetened cocoa powder. I usually reach for the Dutch-process kind because it is less acidic and very dark. You also need a little bit of salt to make the chocolate flavor pop. Salt is a secret weapon in baking that helps everything taste more balanced and rich.
Next, get your wet ingredients ready. This recipe uses large eggs, whole milk, and vegetable oil. The oil is better than butter for this specific cake because it keeps the sponge very moist, even after it sits in the fridge. You will also need vanilla extract for that classic sweet smell. Lastly, keep some hot coffee or boiling water nearby. Adding a hot liquid at the end of the mixing process helps the cocoa powder bloom and creates a very smooth batter.
What You Need for the Filling and Glaze

The filling requires just five simple items. You need whole milk, granulated sugar, all-purpose flour, unsalted butter, and vanilla. Make sure you have a small saucepan to cook the milk and flour. It is helpful to have a stand mixer or a hand mixer for this part. You will be beating the mixture for a few minutes to get it fluffy. If the butter is too cold, the filling will have lumps, and nobody wants a lumpy cake center.
For the chocolate glaze, or ganache, you need semi-sweet chocolate chips and heavy cream. Do not use milk for the glaze or it will be too thin and won’t set properly. You want a coating that stays shiny but firm enough to slice. I sometimes add a tiny bit of corn syrup to the glaze. This makes it extra glossy like a mirror. It is an optional step, but it makes the cake look very professional and fancy.
How to Bake and Build the Cake
Baking this cake is a multi-step process. You cannot rush it, or the layers might break. I learned this the hard way once when I tried to frost a warm cake. The filling just melted into a puddle, and I had a big mess on my hands. Now, I always make sure my cake layers are completely cold before I even think about the cream. It is actually best to bake the cake a day early if you have the time.
Building the cake is like a fun construction project. You have two big layers of chocolate cake with a thick wall of white cream in between. Because this cake is so soft, handling it carefully is key. I use a wide spatula to move the layers around. If you feel nervous about the cake breaking, you can pop the layers in the freezer for twenty minutes. This makes them firm and much easier to stack without any cracks forming.
Mixing the Chocolate Batter

- Preheat your oven to 350 degrees. Grease two 8-inch round cake pans.
- In a big bowl, whisk together 2 cups of sugar, 1 and 3/4 cups of flour, 3/4 cup of cocoa, and 1.5 teaspoons each of baking soda and baking powder.
- Add 2 eggs, 1 cup of milk, 1/2 cup of oil, and 2 teaspoons of vanilla. Mix until smooth.
- Carefully stir in 1 cup of boiling water or hot coffee. The batter will be very thin, but that is okay!
- Pour the batter into the pans and bake for about 30 to 35 minutes.
When you add the hot water, the batter might splash, so go slow. The hot liquid reacts with the cocoa to create a very intense chocolate flavor. You will know the cakes are done when a toothpick comes out clean. Let them cool in the pans for ten minutes before moving them to a wire rack. They need to be totally cold before you add the filling. I usually put mine in the fridge for an hour to be safe.
Making the Creamy Center

- Whisk 1 cup of milk and 5 tablespoons of flour in a small pot over medium heat.
- Stir constantly until it becomes a very thick paste, like pudding.
- Take it off the heat and let it cool completely. You can put it in a bowl and cover it with plastic wrap so a skin doesn’t form.
- In a separate bowl, beat 1 cup of room temperature butter and 1 cup of sugar until light and fluffy.
- Add the cooled flour paste one spoonful at a time while mixing. Add vanilla and beat for 5 minutes until it looks like whipped cream.
This filling is the secret to the whole recipe. Most people use powdered sugar for frosting, but this cooked method uses granulated sugar. Because you beat it for so long, the sugar dissolves into the butter and flour base. It becomes incredibly smooth and not too heavy. IMO, this is the best frosting in the world. It tastes just like the inside of the snack cakes we loved as kids. Just make sure the flour paste is cold before you add the butter, or the butter will melt.
Assembling the Giant Snack

Now comes the exciting part! Place one cake layer on a plate or a cake board. Take all of that fluffy white filling and pile it right in the center. Spread it out to the edges using a flat knife. Try to make the top of the cream as level as possible. Then, gently pick up the second cake layer and set it on top of the cream. Press down just a little bit to make sure it sticks, but don’t squash the filling out the sides.
Once the cake is stacked, use a knife to smooth out any cream that poked out the sides. You want the sides of the cake to be even. Here is a pro tip: put the cake back in the fridge for at least 30 minutes now. This is called setting the cake. It makes the whole structure stable so when you pour the warm chocolate over it, the cake doesn’t slide apart. A cold cake is a happy cake during the glazing phase.
Applying the Chocolate Glaze

To make the glaze, heat 1 cup of heavy cream until it starts to simmer. Do not let it boil over. Pour the hot cream over 1 and 1/2 cups of chocolate chips. Let it sit for five minutes, then whisk it until it is shiny and dark. If you want it extra smooth, you can strain it through a mesh sieve. This removes any tiny lumps of chocolate that didn’t melt. Let the glaze sit on the counter for about 10 minutes so it thickens slightly.
Take your cold cake out of the fridge. Put the cake on a wire rack with a piece of parchment paper underneath. Pour the glaze right into the middle of the cake. Let it run over the edges and down the sides. Use a small spatula to push the glaze toward the edges if it gets stuck. The parchment paper will catch all the drips so you don’t make a mess on your counter. Once the cake is covered, let it sit until the chocolate is firm. This usually takes about an hour at room temperature or 20 minutes in the fridge.
Perfect Cake Tips
- Don’t Skip Cooling: If the cake is warm, the filling will melt and turn into a liquid mess.
- Use Quality Cocoa: Dark or Dutch-processed cocoa gives that authentic snack cake look and flavor.
- Level the Cakes: If your cakes have a dome on top, slice the hump off with a bread knife so they sit flat.
Serving and Storing Your Creation
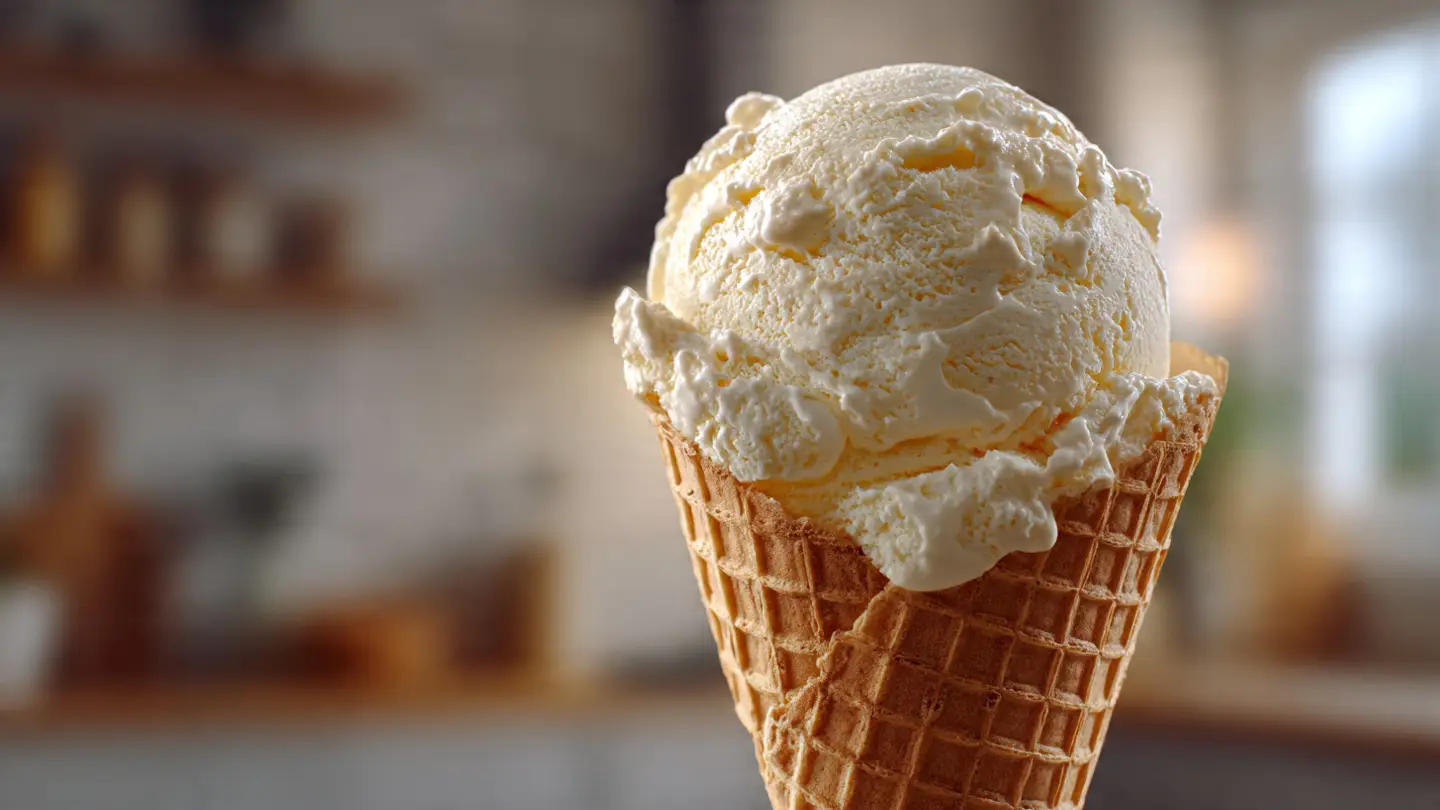
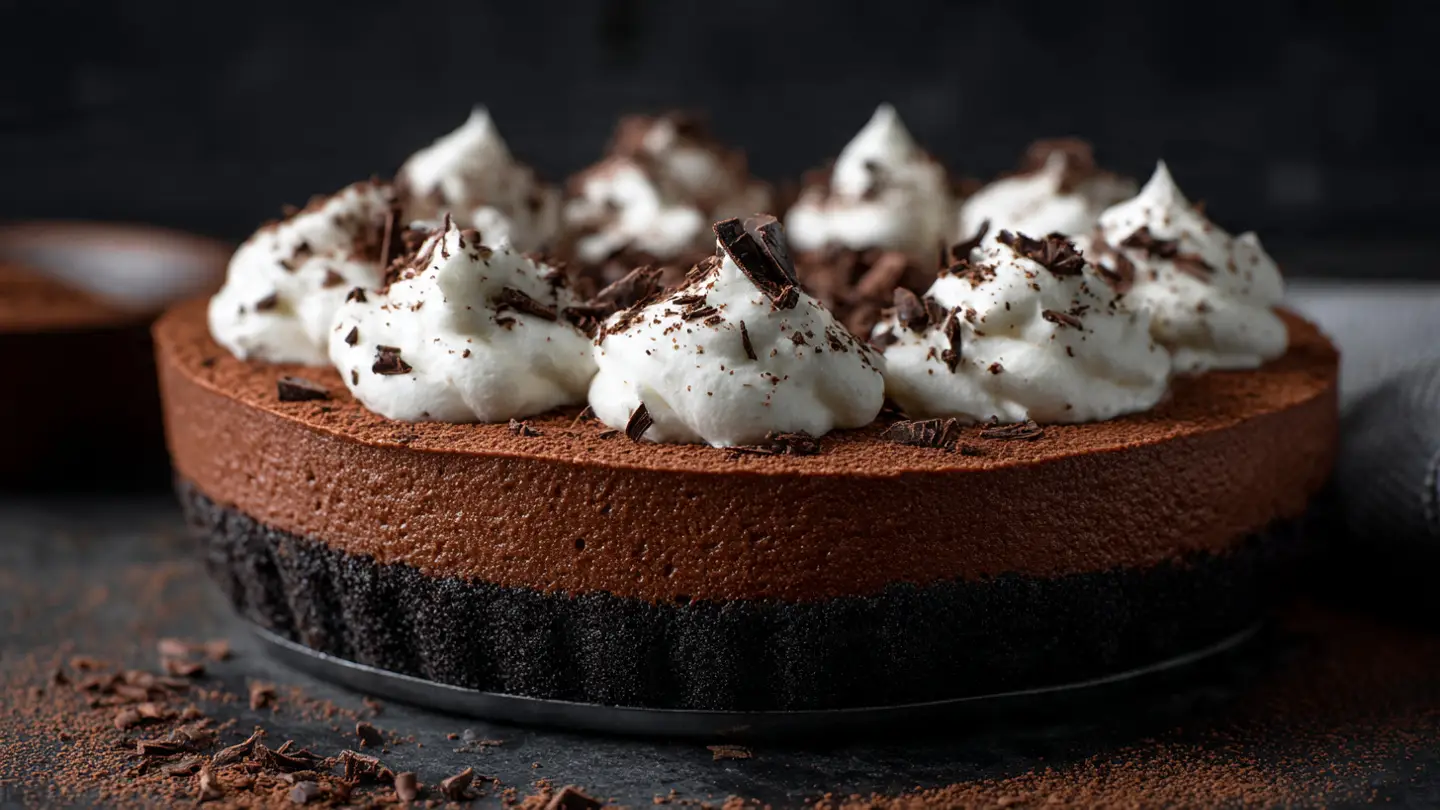
This cake is very rich, so you can cut it into small slices. It looks amazing when you cut into it because of the bright white center against the dark chocolate. I love serving this at birthday parties because everyone recognizes what it is supposed to be. It brings back a lot of memories for people. You can serve it as it is, or add a scoop of vanilla ice cream on the side for an extra treat.
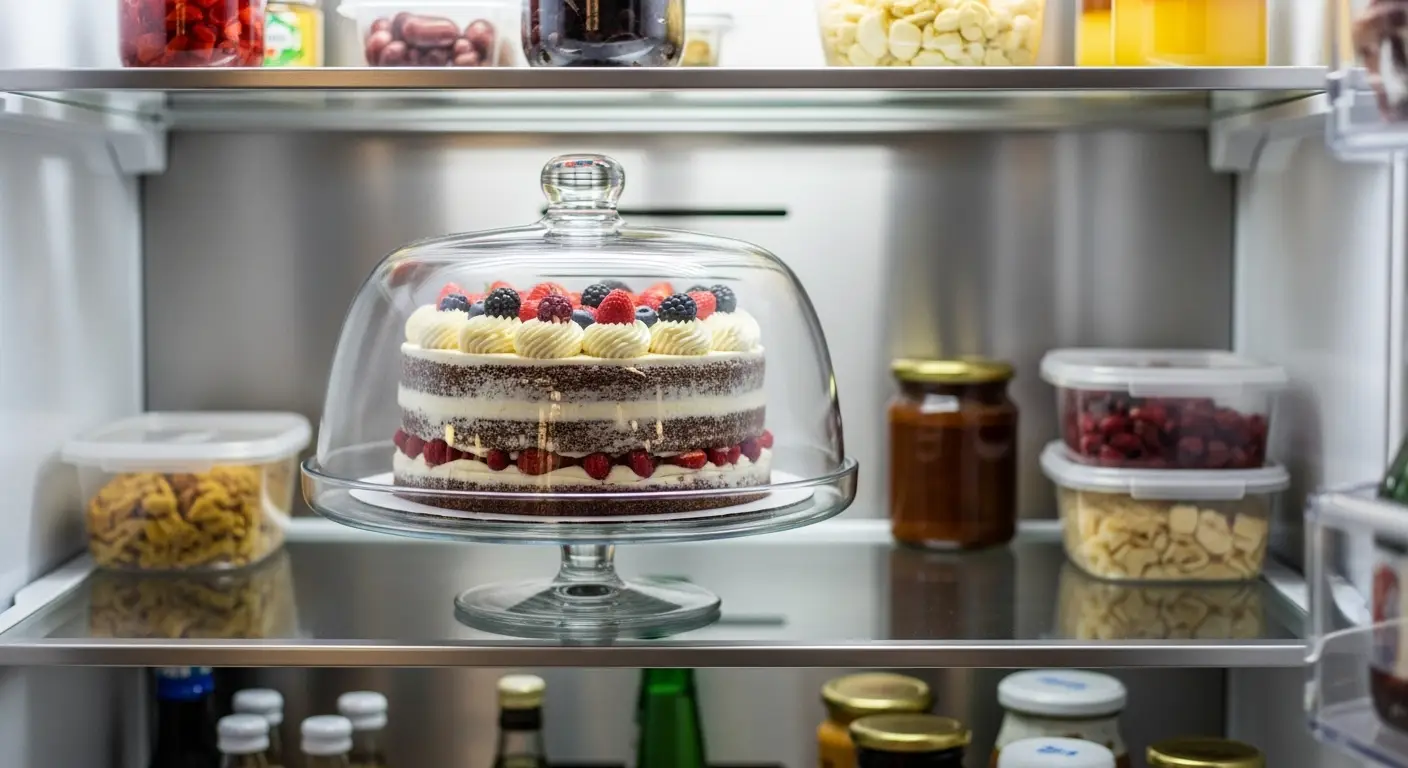
Because the filling has milk and butter, you need to be careful with how you store it. It is not a cake that should sit on the counter for days. It stays fresh and delicious if you handle it correctly. The chocolate glaze also helps keep the cake moist by sealing the air out. This means the cake actually tastes great even a couple of days after you make it. In fact, some people think it tastes better on the second day!
Best Ways to Slice the Cake

Slicing a cake with a soft glaze can be tricky. If the glaze is too cold, it might crack. If it is too warm, it will smear. The best way to get a clean cut is to use a large knife dipped in hot water. Wipe the knife dry, then make one long slice through the cake. The heat from the metal will melt through the glaze perfectly. Wipe the knife clean after every single cut to keep the white filling from getting all over the dark chocolate edges.
I usually cut this cake into 12 wedges. Since it is a tall cake with a lot of sugar, a thin slice is usually enough for most people. If you are serving kids, you might even get 16 slices out of it. The combination of the spongy cake and the creamy center is very filling. It is a heavy dessert, so keep that in mind when planning your meal. It is the perfect ending to a simple dinner like grilled chicken or a light salad.
Storage and Leftovers

You must store this cake in the refrigerator. The cream filling is made with dairy and can spoil if left out too long. Put the cake in a cake carrier or cover it loosely with plastic wrap. It will stay fresh for about 4 to 5 days in the fridge. If you use plastic wrap, be careful not to let it touch the top of the glaze, or it might stick and ruin the smooth look. I like to use toothpicks to hold the wrap away from the surface of the cake.
If you have leftovers that you won’t eat quickly, you can actually freeze individual slices. Wrap each slice tightly in plastic wrap and then put them in a freezer bag. They will stay good for up to two months. When you want a treat, just take a slice out and let it thaw in the fridge overnight. FYI, eating a semi-frozen slice is also a very delicious experience! It tastes a bit like an ice cream sandwich when it is still very cold.
Common Questions About Ding Dong Cake
Can I use a box cake mix instead?
Yes! You can use a dark chocolate box mix to save time. Just follow the box directions but add an extra egg to make it sturdier for stacking.
Why did my filling turn out runny?
This usually happens if the flour and milk paste was still warm when you added the butter. Make sure the paste is completely cold before mixing.
Do I have to use coffee in the batter?
No, you can use boiling water instead. The coffee just makes the chocolate taste stronger, but the cake won’t taste like coffee at all.
What if I don’t have heavy cream for the glaze?
You can use canned chocolate frosting and melt it slightly in the microwave, then pour it over. It won’t be as fancy as ganache, but it works!
How do I stop the cake from sliding?
Chilling the cake is the best way. After you put the filling in, let the cake sit in the fridge for 30 minutes before adding the glaze.
A Sweet Trip Down Memory Lane
Making this giant Ding Dong cake is a wonderful way to bring a bit of childhood magic into your kitchen. It looks impressive, tastes nostalgic, and shows that homemade treats are always worth the extra effort. Whether it is for a birthday or just a fun weekend project, this cake will surely make everyone smile. Enjoy every chocolatey bite of your giant snack!