Craving delicious dinners without the hassle? Discover 10 effortless, gourmet-tasting recipes that will make you forget takeout! From creamy mac & cheese to quick salmon and one-pan wonders, save money and impress your taste buds with these easy weeknight meals.
The Ultimate Creamy Baked Mac & Cheese

Why we love this
A quintessential comfort food that’s surprisingly easy to make and universally loved. The crispy topping and gooey interior are simply irresistible, making it a perfect hearty meal for any night.
What You’ll Need
- Elbow macaroni
- Butter
- All-purpose flour
- Milk (whole or 2%)
- Cheddar cheese, shredded
- Gruyère or another melting cheese, shredded
- Salt and black pepper to taste
- Panko breadcrumbs (for topping)
- Fresh parsley, chopped (for garnish)
How to Make It
- Cook macaroni according to package directions until al dente. Drain well and set aside.
- In a large saucepan or Dutch oven, melt butter over medium heat. Whisk in flour to create a roux, cooking for 1-2 minutes until lightly golden.
- Gradually whisk in the milk, bringing the mixture to a gentle simmer while continuously stirring, until the sauce thickens.
- Remove the saucepan from the heat. Stir in the shredded cheddar and Gruyère cheeses until they are completely melted and the sauce is smooth. Season generously with salt and pepper.
- Combine the cooked macaroni with the creamy cheese sauce, tossing gently to ensure all noodles are coated.
- Transfer the macaroni and cheese mixture into a greased baking dish. Sprinkle the top evenly with panko breadcrumbs.
- Bake in a preheated oven at 375°F (190°C) for 20-25 minutes, or until the topping is golden brown and the cheese sauce is bubbly. Garnish with fresh parsley before serving.
Elegant Savory Veggie & Cheese Tart

Why we love this
A beautiful and versatile dish that’s perfect for a light dinner or brunch. It looks impressive but comes together with minimal effort, especially when using a pre-made crust. It’s also a great way to use up leftover vegetables.
What You’ll Need
- 1 sheet pre-made puff pastry or pie crust
- 1 cup mixed chopped vegetables (e.g., bell peppers, zucchini, cherry tomatoes, spinach)
- 2 large eggs
- 1/2 cup heavy cream or milk
- 1/2 cup shredded Gruyère or crumbled feta cheese, divided
- 1 tbsp olive oil
- Salt and black pepper to taste
- Fresh herbs (thyme or oregano), chopped (for garnish)
How to Make It
- Preheat your oven to 400°F (200°C). Lightly grease a tart pan or pie dish.
- Carefully unroll the puff pastry or pie crust and gently press it into the prepared tart pan, trimming any excess edges. Prick the bottom of the crust with a fork several times.
- Heat olive oil in a skillet over medium heat. Add the chopped vegetables and sauté for 5-7 minutes until they are slightly tender-crisp. If using spinach, add it last and cook until just wilted.
- In a medium bowl, whisk together the eggs and heavy cream until well combined. Season with salt and pepper. Stir in half of the shredded cheese.
- Arrange the sautéed vegetables evenly over the bottom of the prepared crust in the tart pan.
- Pour the egg and cream mixture over the vegetables. Sprinkle the remaining cheese evenly over the top of the tart.
- Bake for 25-35 minutes, or until the crust is golden brown and the filling is set and lightly puffed.
- Let the tart cool slightly before slicing and serving. Garnish with fresh herbs.
Speedy Pan-Seared Salmon with Creamy Penne

Why we love this
A sophisticated meal that’s surprisingly quick to prepare, making it ideal for a weeknight when you want something special without the fuss. The flaky, perfectly seared salmon pairs beautifully with a rich, creamy Parmesan pasta.
What You’ll Need
- 2 salmon fillets (about 6 oz each)
- 8 oz penne pasta
- 1 tbsp olive oil, plus more for pasta sauce
- 2 cloves garlic, minced
- 1 cup heavy cream
- 1/2 cup grated Parmesan cheese, plus extra for serving
- Juice of 1/2 lemon
- Fresh parsley, chopped (for garnish)
- Salt and black pepper to taste
How to Make It
- Cook penne pasta according to package directions until al dente. Drain and set aside, reserving about 1/4 cup of pasta water.
- While the pasta cooks, pat the salmon fillets dry with paper towels. Season both sides generously with salt and black pepper.
- Heat 1 tablespoon of olive oil in a large skillet over medium-high heat. Once hot, place salmon fillets skin-side down (if applicable). Sear for 4-5 minutes until the skin is crispy and golden.
- Flip the salmon fillets and cook for another 3-4 minutes, or until cooked through and easily flakes with a fork. Remove salmon from the skillet and keep warm.
- In the same skillet (add a little more olive oil if needed), add the minced garlic and sauté for 30 seconds until fragrant.
- Pour in the heavy cream and bring it to a gentle simmer. Stir in the Parmesan cheese until it melts and the sauce is smooth. If the sauce is too thick, add a splash of reserved pasta water. Season the sauce with salt and pepper to taste.
- Add the cooked penne pasta to the creamy sauce, tossing to coat thoroughly.
- Serve the creamy penne topped with the pan-seared salmon. Garnish with fresh parsley and a squeeze of lemon juice.
Irresistible Crispy Golden Fried Chicken

Why we love this
Forget the drive-thru and create this incredible homemade fried chicken that boasts a perfect, shatteringly crispy coating and a wonderfully juicy interior. It’s a comforting classic that’s a true crowd-pleaser and surprisingly achievable at home.
What You’ll Need
- 8-10 pieces of chicken (drumsticks, thighs, or breasts)
- 2 cups all-purpose flour
- 1/2 cup cornstarch
- 1 tbsp paprika
- 1 tbsp garlic powder
- 1 tbsp onion powder
- 1 tsp cayenne pepper (optional, for heat)
- 2 tsp salt
- 1 tsp black pepper
- 2 cups buttermilk (or milk with 2 tbsp lemon juice, let sit 5 mins)
- Vegetable oil or peanut oil (for deep frying)
How to Make It
- In a large bowl, whisk together the flour, cornstarch, paprika, garlic powder, onion powder, cayenne pepper (if using), salt, and black pepper. This is your dry dredge.
- Pour the buttermilk into another shallow bowl.
- Dip each chicken piece first into the buttermilk, ensuring it’s fully coated, then transfer it to the flour mixture. Dredge thoroughly, pressing the flour onto the chicken to ensure an even, thick coating. Shake off any excess. Place coated chicken on a wire rack.
- Heat several inches of vegetable or peanut oil in a large, heavy-bottomed skillet or Dutch oven to 350°F (175°C). Use a thermometer to monitor the temperature.
- Carefully place 3-4 chicken pieces into the hot oil, ensuring not to overcrowd the pan (this can lower the oil temperature).
- Fry the chicken for about 6-8 minutes per side, or until golden brown and cooked through. The internal temperature should reach 165°F (74°C) at the thickest part.
- Remove the cooked chicken with tongs and place it on a wire rack set over paper towels to drain excess oil. Repeat with remaining chicken pieces, allowing the oil to come back to temperature between batches.
- Serve hot and enjoy your crispy, golden fried chicken!
Hearty & Homestyle Classic Beef Lasagna
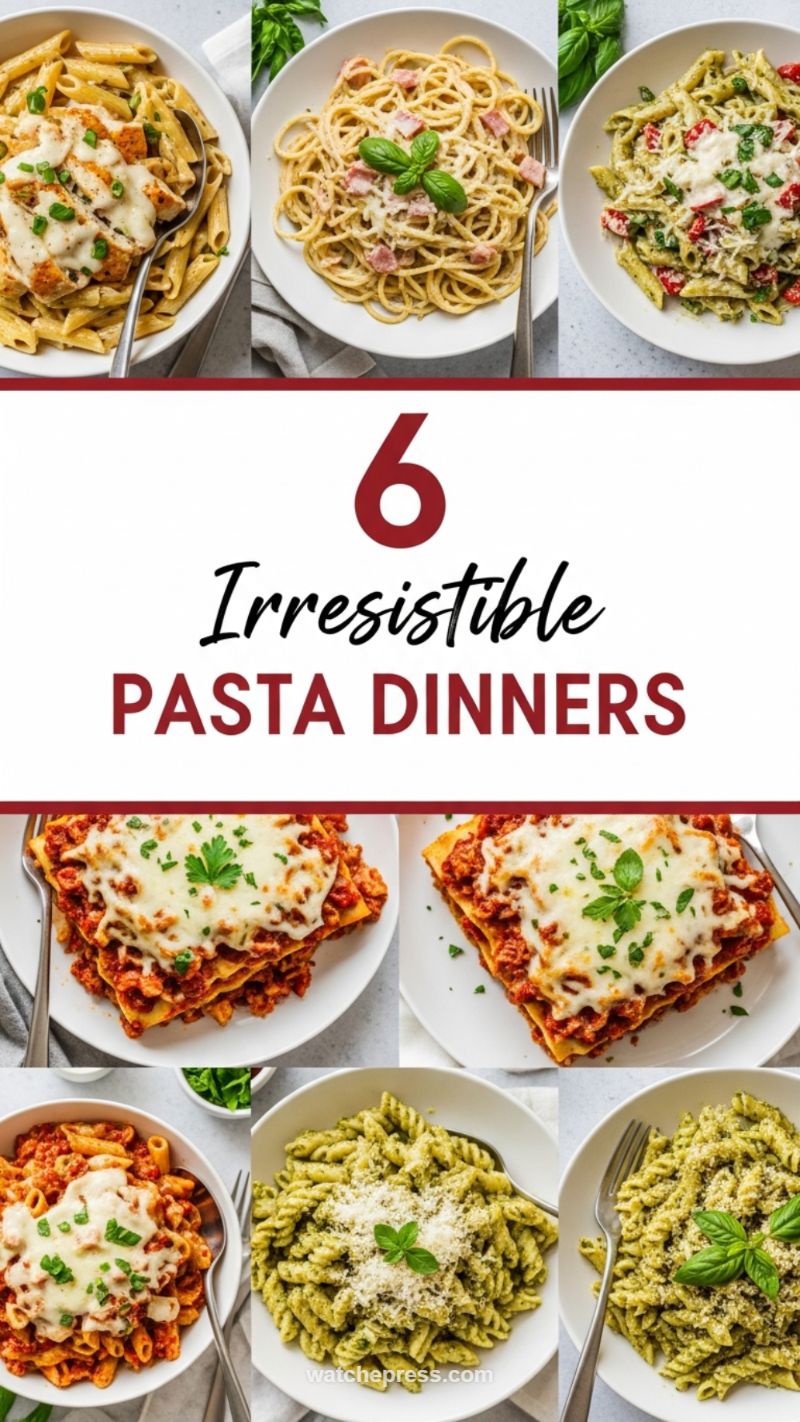
Why we love this
A true comfort food masterpiece, classic beef lasagna is perfect for feeding a crowd, making ahead, or enjoying as satisfying leftovers. Layers of rich meat sauce, tender pasta, and creamy, cheesy goodness make every bite pure heaven.
What You’ll Need
- 12-15 lasagna noodles (oven-ready or regular)
- 1 lb ground beef
- 1 small onion, chopped
- 2 cloves garlic, minced
- 1 (28 oz) can crushed tomatoes
- 1 (6 oz) can tomato paste
- 2 tsp Italian seasoning
- 15 oz ricotta cheese
- 1 large egg
- 1/2 cup grated Parmesan cheese, plus extra for topping
- 2 cups shredded mozzarella cheese, divided
- 2 tbsp fresh parsley, chopped
- 1 tbsp olive oil
- Salt and black pepper to taste
How to Make It
- If using regular lasagna noodles, cook them according to package directions until al dente. Drain and rinse with cold water to prevent sticking.
- Heat olive oil in a large skillet or Dutch oven over medium-high heat. Add ground beef and cook, breaking it up with a spoon, until browned. Drain any excess fat.
- Add chopped onion and minced garlic to the skillet with the beef. Cook for 5-7 minutes until the onion is softened and translucent.
- Stir in the crushed tomatoes, tomato paste, and Italian seasoning. Bring the sauce to a simmer, then reduce heat and let it cook for at least 15-20 minutes to allow flavors to meld. Season with salt and pepper.
- In a separate medium bowl, combine the ricotta cheese, egg, 1/2 cup Parmesan cheese, chopped parsley, salt, and pepper. Mix well.
- Preheat oven to 375°F (190°C). To assemble the lasagna: Spread a thin layer of meat sauce on the bottom of a 9×13 inch baking dish.
- Arrange a layer of lasagna noodles over the sauce. Top with half of the ricotta mixture, then a layer of mozzarella cheese, and another layer of meat sauce.
- Repeat the layers: noodles, remaining ricotta, mozzarella, and meat sauce. Finish with a final layer of noodles, generously topped with the remaining meat sauce, mozzarella, and a sprinkle of extra Parmesan cheese.
- Cover the baking dish loosely with aluminum foil and bake for 25 minutes. Remove the foil and bake for an additional 20-25 minutes, or until the cheese is melted, bubbly, and lightly golden brown.
- Let the lasagna rest for 10-15 minutes before slicing and serving.
Nutritious Glazed Salmon with Roasted Seasonal Vegetables

Why we love this
This vibrant and flavorful dish is a perfect example of healthy eating that doesn’t sacrifice taste. The tender, flaky salmon, enhanced with a delicious glaze, and perfectly roasted seasonal vegetables make for a balanced and incredibly satisfying weeknight meal.
What You’ll Need
- 2 salmon fillets (about 6 oz each)
- 2 cups mixed seasonal vegetables (e.g., broccoli florets, chopped carrots, bell peppers, green beans)
- 2 tbsp olive oil
- 1 tsp garlic powder
- 1 tsp onion powder
- Salt and black pepper to taste
- For the Glaze:
- 2 tbsp soy sauce (or tamari for gluten-free)
- 1 tbsp honey (or maple syrup)
- 1 tsp fresh ginger, grated
How to Make It
- Preheat your oven to 400°F (200°C). Line a large baking sheet with parchment paper for easy cleanup.
- On the baking sheet, toss the mixed seasonal vegetables with olive oil, garlic powder, onion powder, salt, and pepper until evenly coated. Spread them in a single layer. Roast for 15 minutes.
- While the vegetables are roasting, prepare the glaze: In a small bowl, whisk together the soy sauce, honey (or maple syrup), and grated fresh ginger until well combined.
- Remove the baking sheet from the oven. Push the roasted vegetables to one side of the pan. Place the salmon fillets on the other side.
- Generously brush the tops and sides of the salmon fillets with the prepared glaze.
- Return the baking sheet to the oven and roast for an additional 12-15 minutes, or until the salmon is cooked through and easily flakes with a fork, and the vegetables are tender-crisp.
- Serve immediately, enjoying the healthy and flavorful combination.
Quick & Crispy Air Fryer Vegetable Spring Rolls

Why we love this
A healthier and incredibly satisfying take on a takeout favorite, these air-fried spring rolls are unbelievably crispy without the excess oil. They make a fantastic light dinner, appetizer, or side dish that’s quick to prepare.
What You’ll Need
- 12-15 spring roll wrappers (typically found in the refrigerated section)
- 2 cups pre-shredded coleslaw mix (or finely chopped cabbage, carrots, and bell peppers)
- 2 cloves garlic, minced
- 1 tsp fresh ginger, grated
- 1 tbsp soy sauce
- 1 tsp sesame oil
- Optional: 1/2 cup cooked vermicelli noodles, 1/4 cup chopped green onions
- Olive oil spray or a small amount of oil for brushing
- Dipping sauce (sweet chili, soy-ginger, or duck sauce)
How to Make It
- In a large skillet over medium heat, sauté the coleslaw mix/chopped vegetables with minced garlic and grated ginger for 5-7 minutes until they are tender-crisp. Stir in soy sauce and sesame oil. If using, add cooked vermicelli noodles and green onions. Let the filling cool slightly.
- Lay a spring roll wrapper on a clean, dry surface with one corner pointing towards you (diamond shape). Place about 2-3 tablespoons of the cooled filling near the bottom corner.
- Fold the bottom corner over the filling. Fold in the left and right sides tightly. Then, roll the spring roll upwards from the bottom, sealing the top edge with a little water if needed.
- Lightly brush or spray the assembled spring rolls with olive oil on all sides.
- Arrange the spring rolls in a single layer in your air fryer basket, making sure not to overcrowd. You may need to cook in batches.
- Air fry at 375°F (190°C) for 10-15 minutes, flipping them halfway through, until they are golden brown and wonderfully crispy.
- Serve hot with your favorite dipping sauce for a delicious and effortless meal.
Flavorful One-Pan Italian Sausage & Peppers
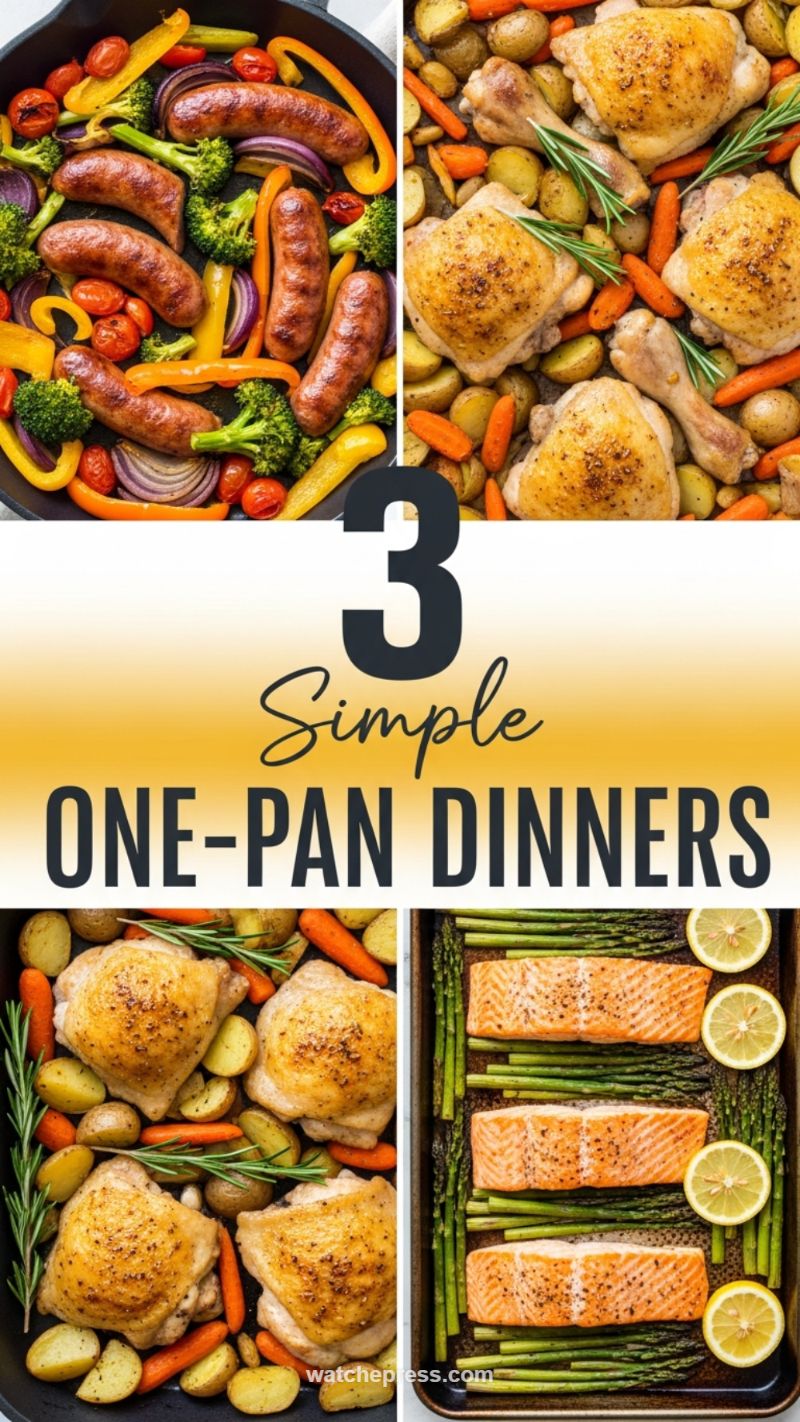
Why we love this
This rustic and flavorful dish is the epitome of minimal cleanup, maximum taste! Savory Italian sausages pair perfectly with sweet bell peppers and onions, all roasted together on a single sheet pan for a vibrant and hearty meal that requires hardly any effort.
What You’ll Need
- 1 lb Italian sausages (sweet or hot, about 4-6 links)
- 3 large bell peppers (various colors), cored and sliced
- 1 large red onion, sliced
- 2 tbsp olive oil
- 1 tsp dried oregano
- 1/2 tsp garlic powder
- Salt and black pepper to taste
- Optional: 1 cup cherry tomatoes, fresh basil for garnish
How to Make It
- Preheat your oven to 400°F (200°C). Line a large rimmed baking sheet with parchment paper for easy cleanup.
- On the baking sheet, combine the sliced bell peppers and red onion. Drizzle with olive oil, then sprinkle with dried oregano, garlic powder, salt, and pepper. Toss the vegetables to ensure they are evenly coated.
- Arrange the Italian sausages among the vegetables on the baking sheet. If using, add the cherry tomatoes now. Make sure everything is in a single layer to allow for even roasting.
- Roast for 30-40 minutes, flipping the sausages and stirring the vegetables halfway through, until the sausages are cooked through (internal temperature of 160°F/71°C) and browned, and the vegetables are tender and slightly caramelized.
- Once cooked, remove the baking sheet from the oven.
- Serve the Italian sausage and peppers directly from the pan, perhaps with a side of crusty bread, over pasta, or with rice. Garnish with fresh basil, if desired.
Delightful Cheesy Mini Spinach & Feta Tarts

Why we love this
These adorable mini tarts are bursting with savory flavors, making them an excellent choice for a light yet elegant dinner or a sophisticated appetizer. They’re surprisingly easy to make, especially when using convenient store-bought pastry.
What You’ll Need
- 1 package mini phyllo shells (15 count) or 1 sheet puff pastry
- 5 oz fresh spinach
- 4 oz feta cheese, crumbled
- 2 oz cream cheese, softened
- 1 large egg
- 1/2 tsp garlic powder
- 1/4 tsp onion powder
- 1 tbsp olive oil
- Salt and black pepper to taste
- Optional: halved cherry tomatoes or a sprinkle of shredded mozzarella for topping
How to Make It
- Preheat oven according to the phyllo shell package directions (usually around 350°F / 175°C). If using puff pastry, thaw it and cut it into small squares, then press into a mini muffin tin.
- Heat olive oil in a skillet over medium heat. Add the fresh spinach and sauté until it is completely wilted. Remove from heat and, once cool enough to handle, squeeze out as much excess water as possible. Chop the spinach finely.
- In a medium bowl, combine the wilted and chopped spinach, crumbled feta cheese, softened cream cheese, and the egg. Stir in garlic powder, onion powder, salt, and pepper until all ingredients are well mixed.
- Carefully place the mini phyllo shells on a baking sheet. Evenly spoon the spinach-feta mixture into each phyllo shell (or fill the puff pastry cups in the muffin tin).
- If desired, top each tart with a halved cherry tomato or a sprinkle of mozzarella cheese.
- Bake for 12-15 minutes, or until the pastry is golden brown and the filling is set and lightly puffed.
- Serve these delightful mini tarts warm for a simple yet impressive dinner.
Gourmet Baked Ham & Cheese Croissant Sandwiches

Why we love this
Elevate a simple sandwich into a dinner-worthy meal with these warm, buttery, and cheesy croissants. They’re incredibly satisfying and feel wonderfully indulgent without requiring much effort, perfect for a cozy weeknight.
What You’ll Need
- 4 large, fresh croissants
- 8 slices deli ham (good quality)
- 8 slices Swiss cheese (or Gruyère)
- 2 tbsp Dijon mustard
- 3 tbsp unsalted butter, melted
- 1 tsp Worcestershire sauce
- 1/2 tsp poppy seeds
- Optional: Sliced tomato or arugula for serving
How to Make It
- Preheat your oven to 350°F (175°C). Line a baking sheet with parchment paper.
- Carefully slice each croissant horizontally, almost all the way through, creating a pocket without fully separating the halves.
- Spread a thin layer of Dijon mustard on the bottom half of each croissant.
- Layer two slices of ham and two slices of Swiss cheese inside each croissant. Replace the top half of the croissant.
- In a small bowl, whisk together the melted butter, Worcestershire sauce, and poppy seeds until well combined.
- Place the filled croissants on the prepared baking sheet. Brush the tops and sides of each croissant generously with the butter mixture.
- Bake for 10-15 minutes, or until the cheese is melted and bubbly, and the croissants are golden brown and warmed through.
- Serve immediately, optionally adding fresh sliced tomatoes or a handful of arugula for a touch of freshness and balance.