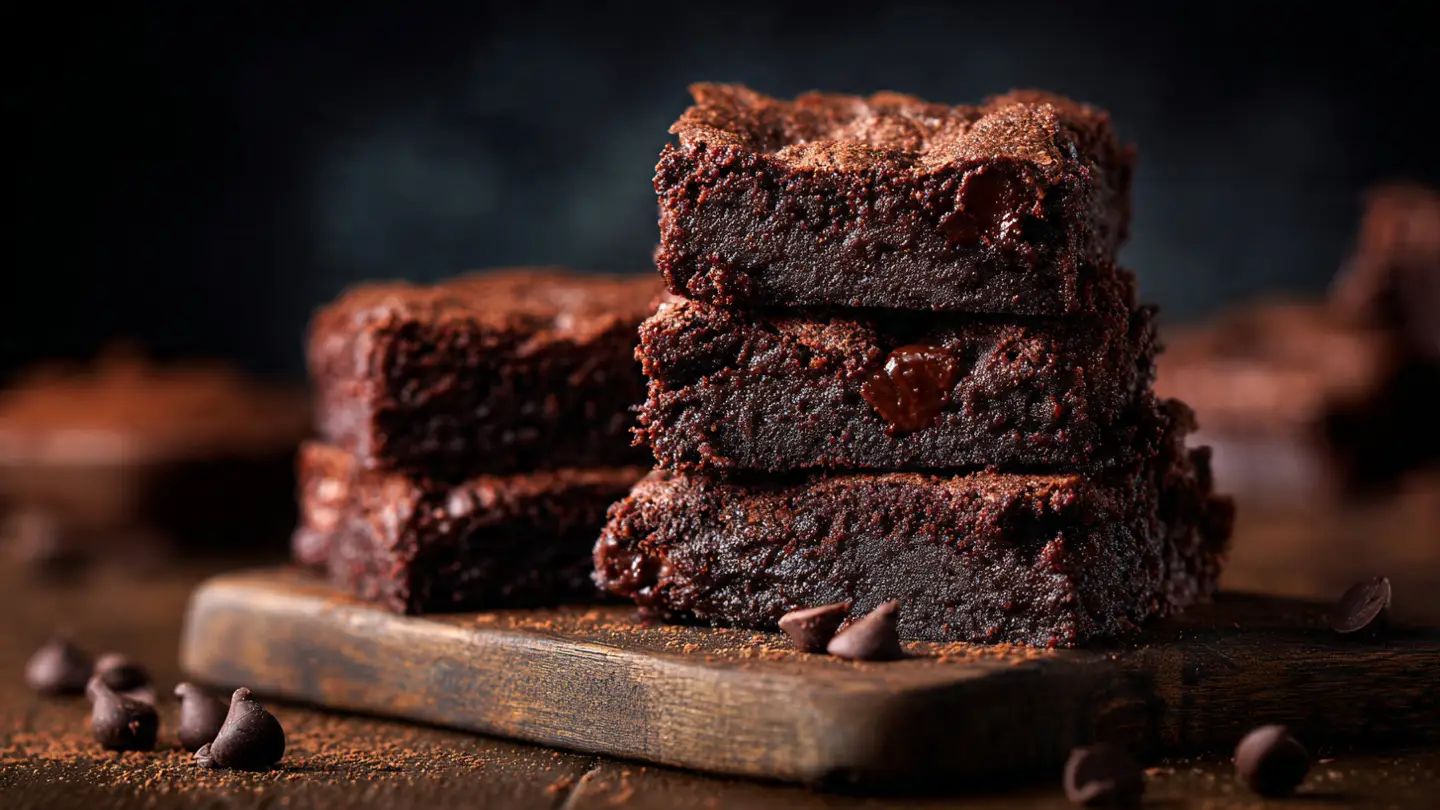
No-Bake Oreo Cheesecake: The Easiest Recipe
I love dessert, but I do not always love my oven. Sometimes the weather is too hot to turn it on. Other times, I just want something sweet without the stress of baking. That is why I am so excited to share my favorite No-Bake Oreo Cheesecake recipe with you. It is thick, creamy, and packed with chocolate cookie chunks.
This recipe is great for kids, beginners, or anyone who wants a fancy treat with very little work. You do not need eggs, and you definitely do not need a water bath. By the end of this page, you will know exactly how to make a professional dessert right in your own kitchen. Let’s get started on this easy treat!
Check out the steps below to make your new favorite snack.
Recipe Quick Info
- Prep Time: 30 minutes
- Chill Time: 6 hours
- Servings: 12 slices
- Difficulty: Very Easy
Gathering Your Simple Ingredients
Before we start mixing, we need to make sure we have everything on the counter. Using the right items makes a huge difference in how the cheesecake sets up. I once tried to use low-fat cream cheese because it was all I had left. It tasted okay, but the cake was way too soft and messy! Use the full-fat kind for the best results.
What You Need for the Crust

The base of any good cheesecake is the crust. For this one, we are using the classic chocolate sandwich cookies everyone knows. You will need about 24 cookies for the bottom and sides. You do not need to take the white cream out of the middle. Just keep the cookies whole before you crush them up.
You will also need 5 tablespoons of unsalted butter. I usually melt mine in the microwave for about 30 seconds. The butter acts like glue to hold the cookie crumbs together. If you use salted butter, it might taste a little funny with the sweet cream, so stick to unsalted if you can find it. This simple mix creates a crunchy, dark base that balances the sweet filling perfectly.
The Creamy Filling Ingredients

The filling is where the magic happens. You need 16 ounces of cream cheese. Make sure it is at room temperature. If it is cold, you will get tiny lumps in your cake, and nobody likes a lumpy dessert. I also use a half cup of white sugar and a teaspoon of vanilla extract for flavor. The vanilla makes everything smell like a bakery.
To make it fluffy, you need heavy whipping cream or a whipped topping. I prefer heavy cream because it tastes more real. You will also need about 10 more cookies to crush and fold into the white mix. This gives the inside of the cake those pretty black and white swirls. It is a simple list of things you can find at any grocery store.
The Step-by-Step Cooking Guide
Now that we have our ingredients, it is time to build the cake. It is important to follow the order of these steps. If you mix things too fast or in the wrong way, the texture might change. I learned the hard way that you cannot just throw everything in one bowl at once! Take your time and enjoy the process.
How to Make the Perfect Crust

- Put your cookies into a large plastic bag and zip it tight.
- Use a rolling pin or a heavy cup to smash the cookies until they look like coarse sand.
- Pour the crumbs into a bowl and stir in the melted butter until it looks wet.
- Press the mix into the bottom of a 9-inch pan. Use the bottom of a flat glass to push it down hard.
- Put the pan in the fridge while you make the filling.
Making sure the crust is pressed down tight is a big deal. If you leave it loose, the crust will fall apart when you try to cut a slice later. I like to bring the crumbs up the sides of the pan just a little bit. It makes the final cake look like it came from a fancy cafe. Just make sure the butter is mixed in well so every crumb is coated.
Mixing the Cheesecake Filling

Start by beating the soft cream cheese and sugar in a big bowl. Use a hand mixer if you have one. You want it to look smooth and shiny. Once the sugar is gone, add the vanilla. In a different bowl, whip your heavy cream until it gets thick and holds its shape. This is called “stiff peaks.” If you turn the bowl upside down, the cream should stay inside!
Next, gently fold the whipped cream into the cream cheese mix. Do not stir it hard! Use a spatula to turn it over slowly. This keeps the air inside so the cake is light and fluffy. Finally, stir in your crushed Oreo pieces. I leave some pieces big because I love finding a whole chunk of cookie in my slice. IMO, the big chunks are the best part of the whole dessert.
Assembling and Chilling Your Cake

Take your chilled crust out of the fridge. Pour the white filling over the top and spread it out with a spoon. You want the top to be as flat as possible. I usually tap the pan on the counter a few times to get rid of any air bubbles hiding inside. Now comes the hardest part: waiting. You must let this sit in the fridge for at least six hours.
I usually make mine the night before I need it. If you try to cut it after only two hours, it will be soft like pudding. It will still taste good, but it won’t look like a cake. Let the cold air do its job to firm up the fats in the cream cheese. Cover the pan with plastic wrap so it does not smell like the leftovers in your fridge. Patience is the secret ingredient here.
Tips for the Best Results
Even though this is an easy recipe, a few small tricks can make it even better. I have made this dozens of times, and I find something new to improve every time. For example, did you know that the temperature of your kitchen can change how the cream whips? It is true! Small details like that matter when you want a perfect result.
Common Mistakes to Avoid

The biggest mistake is using cold cream cheese. If you forget to take it out of the fridge, you can put the sealed foil packs in a bowl of warm water for 10 minutes. Another mistake is over-mixing the whipped cream. If you mix it too long, it turns into butter! Stop as soon as it looks thick like shaving cream. This ensures the cake stays light instead of feeling heavy and greasy.
Also, do not skip the chilling time. I know it is tempting to eat it right away, but the structure needs time to set. If your kitchen is very warm, the filling might stay soft. If that happens, you can put it in the freezer for one hour before serving. This helps it hold its shape while you plate it for your friends. FYI, cold tools help whipped cream form faster, so put your bowl in the freezer for a few minutes first.
How to Decorate and Serve

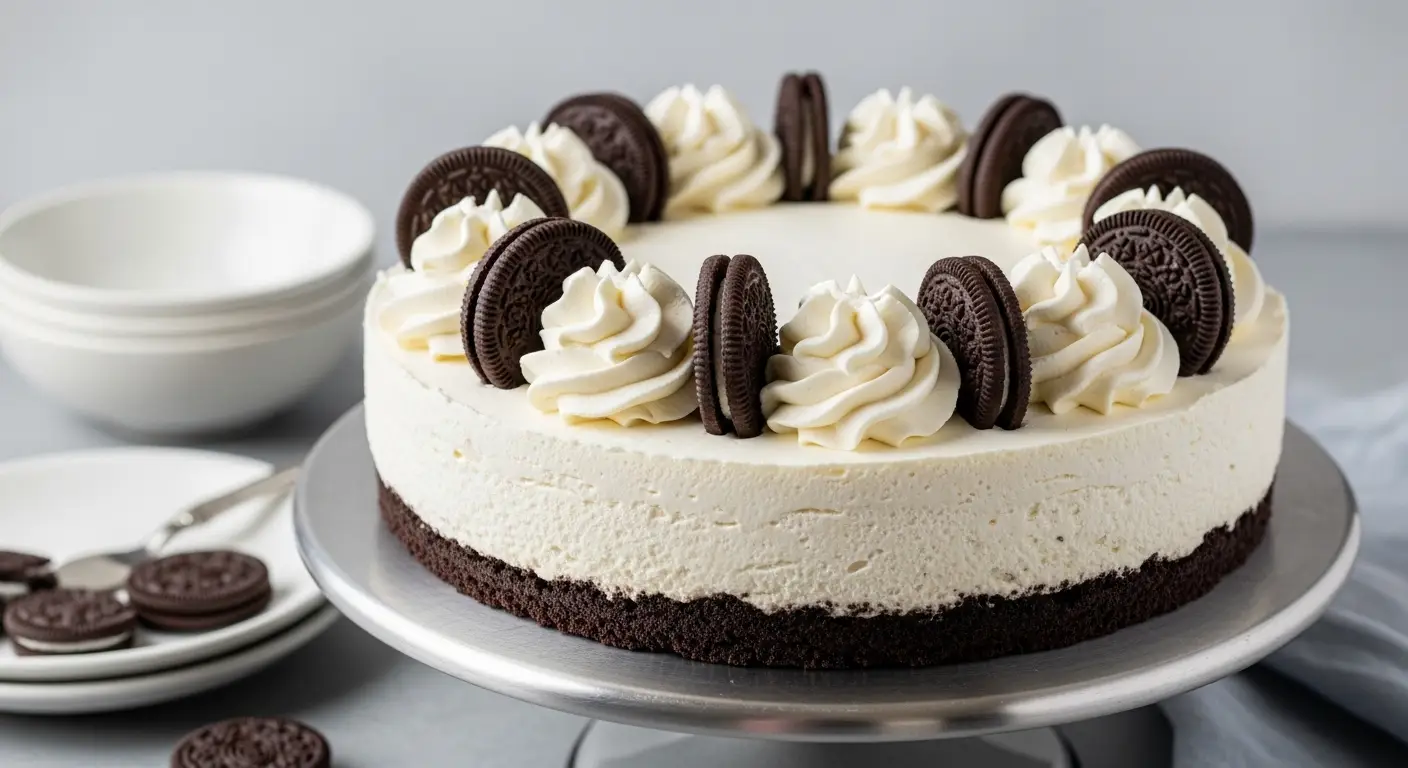
When you are ready to serve, run a thin knife around the edge of the pan. This helps the cake come away from the metal without tearing. You can add extra whipped cream on top or a drizzle of chocolate syrup. I like to take a few whole cookies and stick them into the top of the cake like little flags. It looks very cute for a birthday party.
To get a clean slice, wipe your knife with a warm, wet cloth between every cut. This keeps the crumbs from the crust from getting into the white filling. You can serve this with a glass of cold milk or a cup of coffee. It is a very rich dessert, so small slices are usually enough for most people. Everyone will be impressed that you made this without even using the stove!
Expert Success Tips
- Cold Cream: Always use heavy cream straight from the fridge for the best volume.
- Cookie Texture: Leave some crumbs a bit larger in the crust for a better crunch.
- Springform Pan: Use a pan with a removable bottom to make serving much easier.
Easy Variations to Try

Once you master the basic recipe, you can change it up. You can use Mint Oreos for a cool, refreshing taste. Or try the Golden Oreos with a little caramel sauce for a “blonde” version of this cake. I once tried adding a swirl of peanut butter into the filling, and it was a huge hit at my house. The base recipe is like a blank canvas for your favorite flavors.
If you want a fruitier version, you can leave out the cookies in the filling and top it with fresh strawberries. The cream cheese base works with almost anything. You can even make mini versions using a muffin tin. Just put a whole cookie at the bottom of each cupcake liner, pour the filling on top, and let them chill. These are perfect for school bake sales or large parties where people want finger foods.
Fun Facts and Storage
This cheesecake is not just yummy; it is also very easy to keep for later. Most people ask me how long it stays fresh. Since there are no eggs or flour, you do not have to worry about it going bad quickly like some other cakes. However, because it has a lot of dairy, you must keep it cold. It is a great “make-ahead” dessert for busy weeks.
How to Store Your Leftovers

If you have any cake left, keep it in the fridge. It will stay good for about 4 to 5 days. Make sure it is covered tightly so it does not dry out. The crust might get a little softer after the third day, but it still tastes great. I actually think the flavors blend together even better after it sits for a day in the refrigerator.
You can also freeze this cheesecake! Wrap individual slices in plastic wrap and then put them in a freezer bag. They will stay fresh for up to one month. When you want a snack, just take a slice out and let it thaw on the counter for 20 minutes. It tastes almost like a cheesecake ice cream bar when it is slightly frozen. It is the perfect way to make the treat last longer.
Common Questions About No-Bake Cakes
Can I use low-fat cream cheese?
You can, but the cake will be softer. Full-fat cream cheese helps it stay firm and creamy. Low-fat versions have more water and might make the crust soggy.
What if I do not have a springform pan?
You can use a regular pie dish or an 8×8 square baking pan. It might be harder to get the slices out perfectly, but it will still taste amazing!
Why is my cheesecake filling runny?
This usually happens if the whipped cream wasn’t thick enough or if the cream cheese was too warm. Try chilling it in the freezer for an hour to help it firm up.
Do I need to remove the Oreo cream?
No! Keep the cream inside the cookies. It adds sweetness and helps the crust stay together. It also makes the filling taste even better when you mix in the chunks.
Can I make this recipe vegan?
Yes! You can use vegan cream cheese and a dairy-free whipped topping. Most Oreo cookies are actually vegan already, which makes it an easy swap.
Enjoy Your Homemade Dessert
Making a No-Bake Oreo Cheesecake is a fun way to bring something special to the table without a lot of stress. It is thick, sweet, and full of chocolate. Whether you are making it for a party or just a Tuesday night treat, I know you will love it. Now go grab your cookies and start smashing!