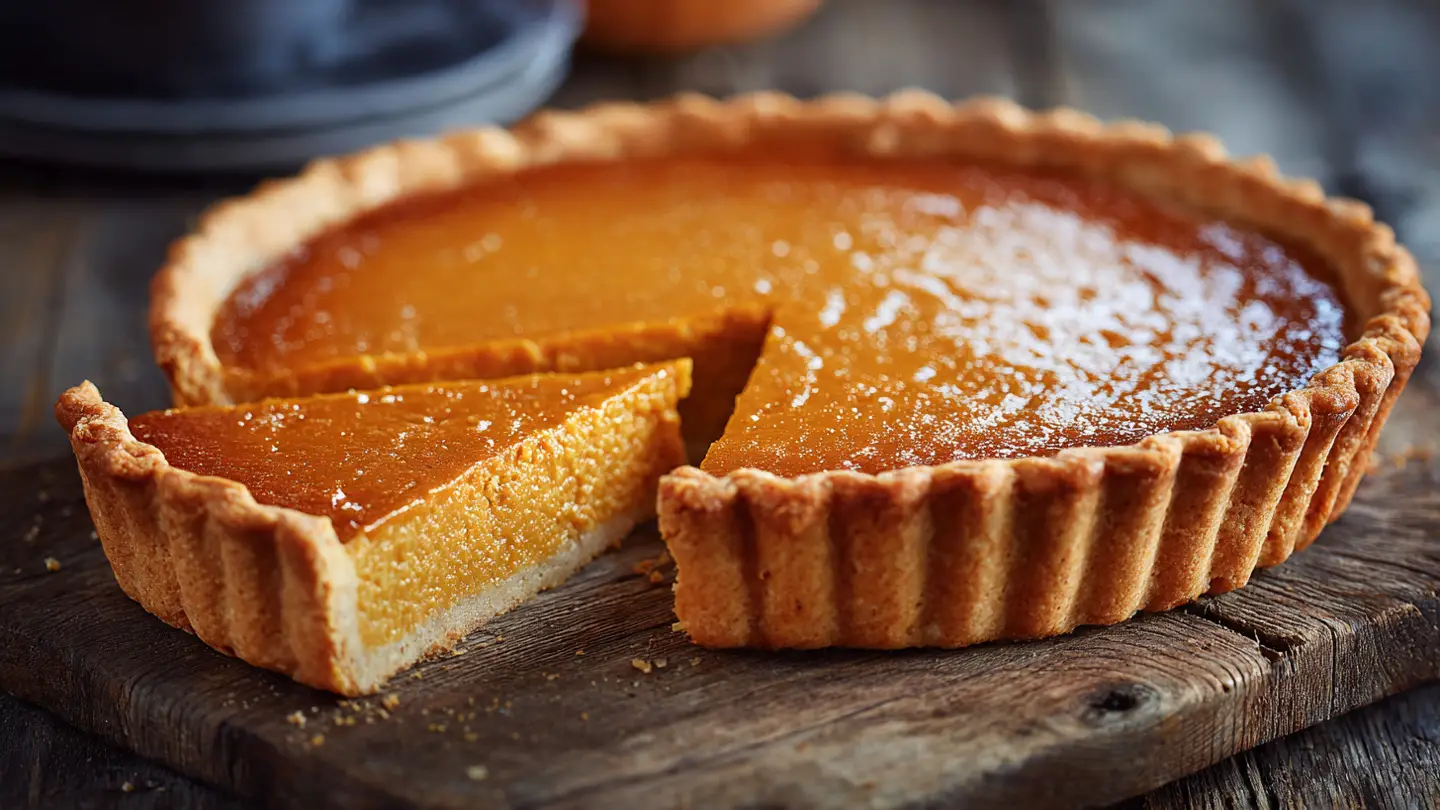
The Absolute Best Pumpkin Pie Recipe
I love pumpkin pie more than almost any other food. Every year when the leaves turn brown and the air gets cold, I start thinking about that orange filling and flaky crust. This is not just a regular pie you buy at the store. This is a special treat that makes your whole house smell like cinnamon and sugar. You will learn how to make a pie that is creamy, sweet, and perfectly spiced. I will show you every step so you can feel like a pro in your own kitchen.
Making a pie can seem scary if you have never done it before. I used to be afraid of making the crust myself. One time, I even dropped a whole pie on the floor right before dinner! It was a big mess, but it taught me that mistakes happen to everyone. This guide is here to help you avoid those mistakes. By the end of this page, you will know exactly what to do. You will have a beautiful dessert that your friends and family will love to eat.
Let’s get your apron on and start baking together!
Gathering the Right Stuff for Your Pie
Before we start mixing, we need to make sure we have everything. Using the right tools and food makes a huge difference. You do not need fancy machines to make a great pie. Most of what I use is probably already in your cupboard. I like to keep things simple and easy. If you have a big bowl and a spoon, you are halfway there already! Cooking is a lot more fun when you are not searching for a lost measuring cup in the middle of a recipe.
The Ingredients You Need

To make this pie, you need a few basic things from the grocery store. Most of these items are cheap and easy to find. I always tell people to check their pantry first. You might already have the spices and sugar waiting for you. For the best flavor, try to find a high-quality pumpkin puree. Make sure it is not pumpkin pie filling, which already has sugar and spices in it. We want the plain stuff so we can control the taste ourselves.
- Pumpkin Puree: One 15-ounce can of plain pumpkin.
- Eggs: Three large eggs to make the filling stay together.
- Brown Sugar: This adds a deep, rich sweetness that white sugar lacks.
- Heavy Cream: This makes the pie very smooth and creamy.
- Spices: Cinnamon, ginger, cloves, and a little bit of salt.
- Vanilla: A small splash makes everything taste better.
- Pie Crust: One 9-inch crust, either homemade or store-bought.
Recipe Quick Info
- Prep Time: 20 minutes
- Cook Time: 55 minutes
- Servings: 8 people
- Difficulty: Easy
Essential Kitchen Tools

You only need a few tools to get the job done right. A big mixing bowl is a must-have for the filling. I prefer using a whisk because it helps get all the lumps out of the pumpkin. If you don’t have a whisk, a big fork or a sturdy spoon will work too. You also need a 9-inch pie plate. I like glass plates because you can see if the bottom of the crust is turning brown. This helps you know if it is fully cooked without cutting into it.
Measuring cups and spoons are also very important. Baking is like a science project. If you put in too much salt or not enough sugar, the pie will taste funny. I learned this the hard way when I once confused salt for sugar! My family still laughs about that salty pie. Make sure you read the labels on your jars before you pour them in. It only takes a second to double-check, and it saves your dessert.
How to Bake Your Perfect Pie
Now that we have all our stuff, it is time to start the fun part. Baking is like magic because you turn a bunch of separate things into one yummy treat. I like to turn on some music and take my time. There is no need to rush. When you move slowly and follow the steps, the pie always turns out better. Remember to wash your hands before you start touching the food. Clean hands make for a clean kitchen and happy eaters.
Step-by-Step Filling Instructions

- Heat your oven to 425 degrees. This high heat helps the crust start cooking fast.
- Put your pumpkin puree and brown sugar into a big bowl. Mix them until they look like one smooth paste.
- Add the eggs one by one. Whisk them in until you can’t see any yellow streaks anymore.
- Pour in the heavy cream and the vanilla. Stir slowly so the cream doesn’t splash out of the bowl.
- Add your cinnamon, ginger, cloves, and salt. Mix well until the filling smells like a spice shop.
- Place your pie crust into the pie plate and pinch the edges to make them look pretty.
- Pour the orange filling into the crust. Be careful not to fill it too high, or it might spill in the oven.
One trick I use is to put the pie plate on a flat baking sheet. This makes it much easier to put the pie into the oven and take it out. If the filling spills a little, it lands on the sheet and not on the bottom of your oven. Believe me, cleaning burnt pumpkin off the bottom of an oven is not a fun job! IMO, this is the best way to keep your kitchen clean while you bake.
Baking and Cooling the Pie

Baking the pie is a two-step process. First, we bake it at 425 degrees for 15 minutes. This makes the crust strong. Then, we turn the heat down to 350 degrees for another 40 to 50 minutes. You know the pie is done when the edges are firm but the middle still wiggles just a little bit. It should look like Jell-O when you move the pan. If the middle is liquid, it needs more time. If it doesn’t move at all, it might be overcooked.
Cooling is the hardest part because the pie smells so good! You must let it sit on the counter for at least two hours. If you cut it while it is hot, the filling will run out like soup. As the pie cools, it becomes solid and easy to slice. I usually make my pie the day before I want to eat it. This gives it plenty of time to get firm in the fridge. Cold pumpkin pie actually tastes even better than warm pie to most people.
Pro Baker Tips
- Prevent Cracks: Do not overbake the pie. Take it out while the center still has a tiny wiggle.
- Protect the Crust: If the edges of the crust get too dark, cover them with small strips of tin foil.
- Room Temp Eggs: Take your eggs out of the fridge 30 minutes before baking for a smoother mix.
Secrets for a Better Crust

The crust is just as important as the filling. If you are using a store-bought crust, try to find the kind that comes in a roll rather than the frozen ones in a tin. The rolls taste more like homemade dough. If you make your own crust, make sure your butter is very cold. Cold butter creates little pockets of air that make the crust flaky. If the butter melts before it goes in the oven, the crust will be hard and tough like a cracker.
I like to brush the edges of my crust with a little bit of egg wash. An egg wash is just one egg mixed with a teaspoon of water. Use a small brush to put it on the rim of the pie before baking. This gives the crust a beautiful shine and a deep golden color. It makes your pie look like it came from a fancy bakery. FYI, people will think you spent hours on it even though it only took a minute!
Serving and Toppings

Pumpkin pie is great on its own, but toppings make it a party. Most people love a big scoop of whipped cream. You can buy a spray can or make your own by whipping heavy cream with a little sugar. Another fun idea is to put a scoop of vanilla ice cream on the side. The cold ice cream feels very nice with the spicy pie. Some people even like a drizzle of caramel sauce over the top for extra sweetness.
When you slice the pie, use a sharp knife. To get a clean cut, wipe the knife with a paper towel between every slice. This keeps the orange filling from sticking to the blade and making a mess of the next piece. I find that an 8-piece cut is perfect for a 9-inch pie. Each person gets a good-sized slice that isn’t too big or too small. Make sure everyone gets a piece of the crust because that is often the best part!
Keeping Your Pie Fresh
If you have any pie left over, you need to store it the right way. Because the filling has eggs and cream, it cannot sit on the counter for more than a few hours. I always put my leftover pie in the refrigerator. Wrap it tightly with plastic wrap or put it in a container with a lid. This keeps it from smelling like other food in the fridge. A good pumpkin pie will stay fresh and tasty for about three to four days if you keep it cold.
Freezing and Saving for Later

Did you know you can freeze pumpkin pie? This is a great trick if you want to get your holiday cooking done early. You can bake the pie, let it cool completely, and then wrap it very well. First use plastic wrap, then a layer of silver foil. It can stay in the freezer for up to one month. When you are ready to eat it, let it thaw in the fridge for a whole day. Don’t try to use a microwave to thaw it, or the crust will get soggy.
One limitation to remember is that the texture might change a tiny bit after freezing. The filling might get a few small cracks, but it will still taste just as good. If you see cracks, just hide them with extra whipped cream! No one will ever know. This is a great way to save time when you have a lot of people coming over for dinner. I always feel much calmer when my dessert is already finished and waiting in the freezer.
Storage Tips
- Fridge: Up to 4 days in a sealed container.
- Freezer: Up to 1 month if wrapped tightly.
- Reheat: 10 minutes in a 300-degree oven to crisp the crust.
Common Mistakes to Avoid

The most common mistake is taking the pie out too late. If the pie looks puffy like a balloon, it is overcooked. It will shrink as it cools and leave big cracks on the top. Another mistake is using cold filling in a hot crust. Try to let your pumpkin mixture sit on the counter for a bit so it isn’t freezing cold when it goes into the oven. This helps the pie cook more evenly from the outside to the center.
Also, don’t skip the salt! It might sound weird to put salt in a sweet pie, but it makes the pumpkin flavor much stronger. Without salt, the pie can taste a bit flat or boring. Just a small pinch is all you need to make the flavors pop. I also suggest not over-mixing the eggs. If you beat them too much, you will get bubbles on top of your pie. Just whisk until they disappear into the orange pumpkin and then stop.
Fun Facts About Pumpkin Pie
Can I use fresh pumpkin instead of a can?
Yes, you can! You must roast the pumpkin and mash it until it is very smooth. It takes more work but tastes very fresh.
Why is my pie crust soggy on the bottom?
This happens if the oven isn’t hot enough. Make sure to start at 425 degrees. You can also bake the crust alone for 10 minutes first.
What is the best way to slice the pie?
Use a long, sharp knife. Wipe the knife clean after every single cut to keep the edges of the slices looking neat and pretty.
Do I have to use heavy cream?
Heavy cream is best for a thick filling. You can use whole milk, but the pie will be a little thinner and less rich.
How do I know when the pie is done?
Give the pan a gentle shake. The edges should be still, but the center should jiggle slightly like set gelatin.
Enjoy Your Homemade Treat
Making your own pumpkin pie is a wonderful way to show love to your family and friends. It takes a little time and patience, but the result is a delicious dessert that tastes much better than anything from a store. Remember to keep an eye on your oven and let the pie cool completely before you eat it. I hope this recipe brings a smile to your face and a yummy smell to your home. Happy baking!