The Best Southern Banana Pudding with Nilla Wafers
Banana pudding is more than just a sweet treat. In the South, it is a way to show love. I remember my grandmother making this every Sunday. The smell of sweet cream and ripe bananas filled her small kitchen. She always used a glass bowl so we could see the pretty layers. This dish is perfect for a big family dinner or a summer picnic. It is cold, creamy, and soft. You do not need a stove to make the best version. Some people cook their pudding, but I think the cold way tastes better. It stays thicker and fluffier that way.
Today, I will show you how to make this classic dessert at home. You only need a few simple things from the grocery store. We will use real whipped cream and cream cheese to make it extra rich. Many people call this ‘pudding,’ but it is really more like a trifle. You layer cookies, fruit, and cream together. Then, you let it sit in the fridge. This wait is the hardest part, but it makes the cookies soft like cake. Follow these steps, and you will have a dessert everyone asks for again and again.
Ready to get started on this creamy dream? Let’s look at what you need to put in your shopping cart.
Gathering Your Ingredients for Success
Before you start mixing, you need to have everything ready. This recipe is simple, but the quality of your fruit matters a lot. If your bananas are too green, they will be hard and sour. If they are too black, they will be mushy and too sweet. I like to use bananas that have just a few brown spots. They are sweet but still firm enough to slice neatly. You also want to make sure your cream cheese is very soft. If it is cold, you will get little lumps in your pudding. No one wants to bite into a chunk of plain cheese when they expect sweet cream!
The Shopping List for Banana Pudding

- 2 bags of Nilla Wafers (keep some extra for the top)
- 6 to 8 large ripe bananas
- 1 block of cream cheese (8 ounces, softened to room temperature)
- 1 can of sweetened condensed milk (14 ounces)
- 1 large container of frozen whipped topping (or 3 cups of homemade whipped cream)
- 2 cups of cold whole milk
- 1 box of instant vanilla pudding mix (5 ounces)
- 1 teaspoon of vanilla extract
I always buy two boxes of cookies just in case. My kids usually sneak a few while I am not looking! Also, using whole milk is important here. Skinny milk or water will make the pudding runny. You want it to stand up tall when you scoop it out. If you want to make your own whipped cream, you can use heavy cream and a little sugar. It takes more work, but it tastes amazing. IMO, the boxed stuff works great too and saves a lot of time on a busy day.
Why We Use These Specific Items

Each item has a job to do. The cream cheese adds a little tang so the dessert is not too sweet. The sweetened condensed milk makes it thick and velvety. Without it, the pudding would feel like a snack pack from a lunch box. The vanilla pudding mix acts like a glue. it helps everything stay together so your layers do not slide around. Most people in the South swear by Nilla Wafers. They have a special vanilla taste that other cookies just do not have. They soak up the moisture from the pudding and turn into soft little clouds.
Recipe Quick Info
- Prep Time: 20 minutes
- Cook Time: 0 minutes (No bake!)
- Servings: 12 people
- Difficulty: Easy
Step By Step Instructions for the Best Results
Making this pudding is all about the order of operations. You cannot just throw it all in a bowl and stir. If you do that, it will look like a mess. We want beautiful layers that look like a professional bakery made them. I once tried to rush this and didn’t beat the cream cheese long enough. I ended up with tiny white dots everywhere. It still tasted good, but it looked funny. Take your time with the mixer. It makes a big difference in how the pudding feels in your mouth. You want it to be as smooth as silk.
Mixing the Creamy Base

- Place your softened cream cheese in a large bowl. Beat it with a hand mixer until it is very smooth.
- Slowly pour in the sweetened condensed milk. Keep mixing until there are no lumps left.
- In a separate bowl, whisk together the cold milk and the instant pudding mix. Do this for about two minutes until it starts to get thick.
- Pour the pudding mixture into the cream cheese mixture. Stir them together gently with a big spoon.
- Fold in half of your whipped topping. To ‘fold’ means to turn the spoon over gently so you don’t pop the air bubbles. This keeps the pudding fluffy.
I find that using a rubber spatula is best for folding. It scrapes the bottom of the bowl so you don’t miss any spots. Make sure the pudding and cream cheese are totally blended. You should have a pale yellow, thick cream that smells like vanilla heaven. If it feels too thin, put it in the fridge for ten minutes. It will firm up as it gets cold. This is the base that will hold all your bananas and cookies in place.
Layering the Cookies and Bananas

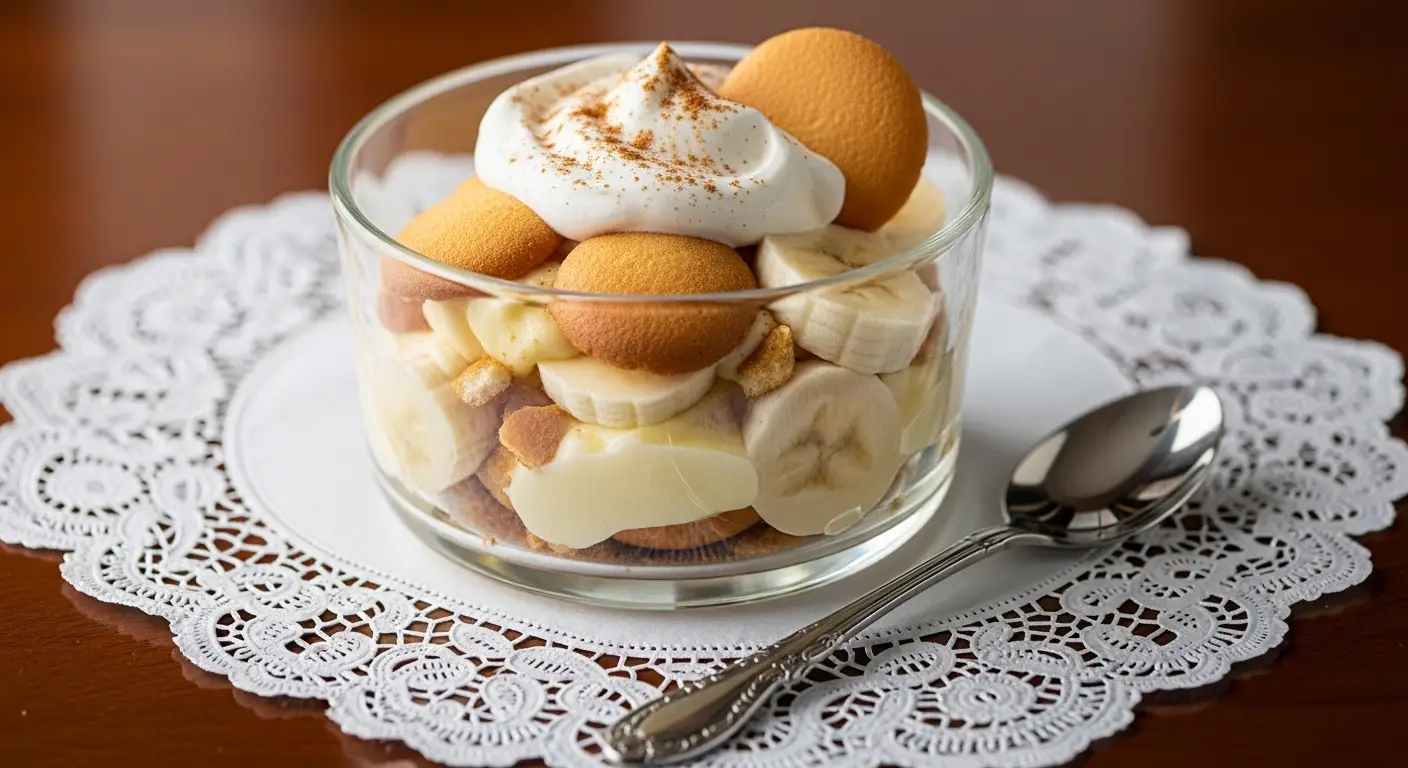
Now comes the fun part. Grab a large glass bowl or a 9×13 inch pan. I like the glass bowl because you can see the stripes of cookies and cream. First, put a single layer of Nilla Wafers on the very bottom. You can even stand some up against the sides of the bowl to make it look fancy. Next, peel your bananas and slice them into rounds. Put a layer of bananas right on top of the cookies. Try to cover as many cookies as you can. This ensures every bite has fruit in it.
Do not slice all your bananas at once! They turn brown quickly once the air hits them. I slice two, layer them, and then slice two more. This keeps the fruit looking fresh and bright. If you are worried about them browning, you can toss the slices in a little lemon juice. But honestly, if you eat the pudding within a day, they stay just fine. The pudding covers them and keeps the air out anyway. This layer of fruit is the heart of the dish.
Building the Final Tower

Pour about one-third of your pudding mixture over the bananas. Spread it out with a spoon so it is flat. Now, repeat the whole process. Add another layer of cookies, then another layer of bananas. Pour more pudding on top. Keep going until you run out of ingredients. I usually get about three layers in a standard bowl. On the very top, spread the rest of the whipped topping. This acts like a white blanket over the dessert. It looks so clean and pretty!
For a final touch, crush a few cookies in your hands. Sprinkle the crumbs over the top. You can also stick a few whole cookies into the cream at an angle. This tells people exactly what is inside. I like to add a few fresh banana slices on top right before serving. Don’t put the top bananas on yet if it is going in the fridge for a long time. They will get dark and look sad. Wait until the guests are at the table for the final garnish.
Pro Tips for Success
- Cold Ingredients: Keep your milk and pudding mix very cold until the second you use them.
- Soft Cheese: Leave the cream cheese on the counter for at least two hours before starting.
- The Chill: Let the pudding sit for at least 4 hours. 24 hours is even better!
Secrets for the Best Texture and Taste
People often ask me why my pudding is better than the store-bought kind. The secret is the wait time. When you first finish making it, the cookies are crunchy. If you eat it right away, it feels like eating cookies and milk. That is okay, but it is not Southern banana pudding. You want the cookies to pull moisture from the cream. They should become soft, like a sponge cake. This only happens if you let it sit in the refrigerator for several hours. I usually make mine the night before a party.
How to Prevent Soggy Bananas

Nobody likes mushy, brown bananas. To keep them fresh, make sure they are fully covered by the pudding. The pudding acts like a seal. It stops the oxygen from touching the fruit. Also, choose bananas that are yellow with no green left on the tips. If they are too ripe, they will release too much water and make the pudding runny. FYI, if you have to use very ripe bananas, just eat the pudding faster! It will still taste great, but it won’t stay firm for as many days.
Another trick is to use slightly thicker slices. If you slice them paper-thin, they disappear into the cream. I like my slices to be about half an inch thick. This gives the dessert some ‘body’ or texture. When you take a big spoonful, you want to feel the different layers. You want the snap of the cookie, the soft fruit, and the light cream all at once. It is a balance that makes this dish a classic.
Variations You Can Try

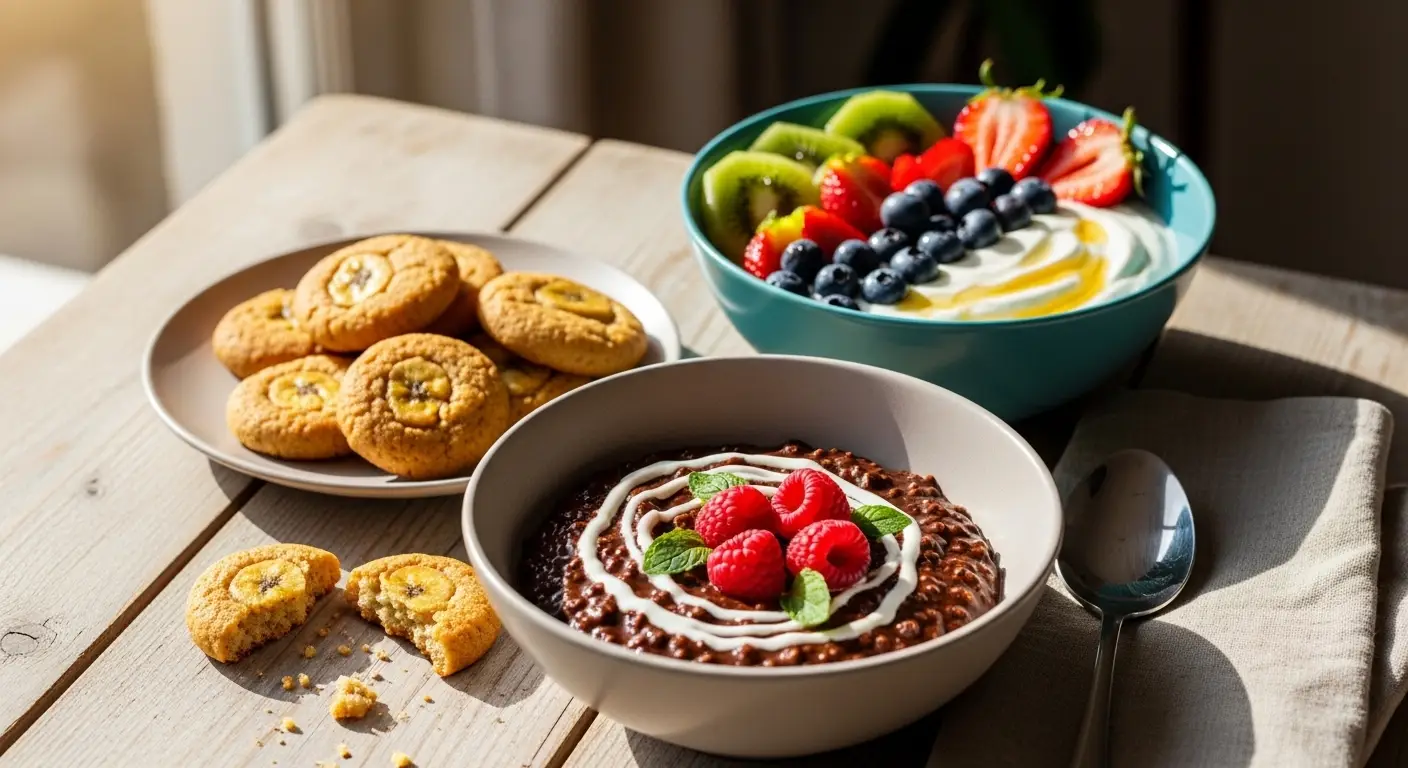
I love the classic version, but sometimes it is fun to change things up. You can use Chessmen butter cookies instead of Nilla Wafers. They are thicker and very buttery. Some people like to add a drizzle of caramel between the layers. This makes it taste like a Banofee pie. If you are a chocolate lover, try using chocolate pudding mix instead of vanilla. It is not traditional, but it is very delicious! You can also add a pinch of cinnamon to the cream cheese mixture for a warm, spicy flavor.
For a lighter version, you can use Greek yogurt instead of some of the cream cheese. It will be a bit more tart, but it saves some calories. However, if you want the real Southern experience, stick to the full-fat ingredients. This is a treat, after all! My aunt used to add a splash of bourbon to the pudding for the grown-ups. It gives it a deep, smoky flavor that goes really well with the sweet bananas. Just make sure you label that bowl so the kids don’t get into it!
Serving Suggestions for Your Guests

When it is time to eat, don’t just scoop it out like mashed potatoes. Use a large spoon and try to get all the way to the bottom. This way, every person gets every layer. I like to serve this in individual glass jars for parties. It looks very cute and keeps people from taking too much. Plus, you don’t have to worry about the big bowl looking messy after a few people have dug in. Banana pudding is best served very cold. Take it out of the fridge right when you are ready to eat.
This dessert goes great with salty foods. It is the perfect ending to a meal of fried chicken or BBQ ribs. The cool cream washes away the spice and grease from the main course. If you have leftovers, they will stay good in the fridge for about two days. After that, the bananas might start to get a bit watery. But in my house, a bowl of this never lasts more than 24 hours. Someone always finds it for a midnight snack!
Common Questions About Banana Pudding
Can I use frozen bananas for this recipe?
No, do not use frozen bananas. When they thaw, they turn into a watery mush. Only use fresh, firm bananas for the best texture and taste.
How long does the pudding need to chill?
It needs at least 4 hours in the fridge. I think 8 to 24 hours is the sweet spot. This gives the cookies enough time to get soft and cake-like.
Can I make this recipe dairy-free?
You can use almond or coconut milk, but the pudding might be thinner. Use a dairy-free cream cheese and coconut whipped cream to keep the creamy texture.
What can I use if I cannot find Nilla Wafers?
Shortbread cookies or butter cookies work well. You can even use graham crackers in a pinch, though the flavor will be a bit different.
Why is my pudding runny and not thick?
You might have used too much milk or skim milk. Make sure your pudding mix is ‘instant’ and not the ‘cook and serve’ kind. Also, chill it longer!
The Best Way to End a Meal
This Southern banana pudding is a true classic for a reason. It is simple to make but tastes like a fancy dessert. With its layers of soft cookies, sweet fruit, and rich cream, it is the ultimate comfort food. Just remember to let it chill and use the best bananas you can find. Your friends and family will love this cool, creamy treat. Enjoy every single bite of your homemade masterpiece!