Creamy Vegan Strawberry Ice Cream Without a Machine
Making ice cream at home is a lot of fun. You might think you need a big, expensive machine to do it. That is not true at all! I have made many batches of ice cream in my own kitchen using just a regular bowl and a freezer. This recipe is special because it is vegan. It uses plants instead of milk from a cow. It is very creamy and tastes like fresh summer berries. You only need a few simple things from the store to get started.
Today, I will show you how to make this treat from start to finish. We will talk about why certain ingredients work better than others. I will also share the secrets to keeping it soft and smooth. Many people worry that dairy-free ice cream will be hard like a rock. I promise yours will be light and easy to scoop. This is a great project for a hot afternoon when you want something sweet and cold.
Check out the steps below to start your ice cream adventure!
Getting Ready for Your Ice Cream Project
Before you start, you need to make sure you have enough space in your freezer. You will need a flat spot for a metal pan. Making ice cream without a machine takes a bit of time. It is not hard work, but you have to stay near the kitchen for a few hours. I usually make this on a Saturday when I am cleaning or reading a book. You have to stir it every once in a while to keep it smooth.
The Magic Ingredients You Need

To make the best vegan ice cream, you need fat. Fat makes it creamy. I always use full-fat coconut milk from a can. Do not use the light version or the kind in a carton. The fat in the can is what makes the ice cream feel like real dairy. You will also need fresh strawberries. Pick the ones that smell very sweet. If they smell good, they will taste good in the ice cream.
For sweetness, I like to use maple syrup. It blends in very easily. You could also use agave or even regular sugar. A little bit of vanilla makes the strawberry flavor pop. I once forgot the vanilla, and the ice cream tasted a bit flat. It is a small detail that makes a big difference. If you want it extra creamy, you can add a spoonful of cashew butter. It adds a nice richness that helps with the texture.
Tools for the Job

You do not need a machine, but you do need a few basic tools. A blender or a food processor is very important. This helps turn the strawberries into a smooth liquid. If you leave big chunks of fruit, they will turn into ice cubes in the freezer. That is not fun to bite into! I learned that the hard way during my first try. Now I blend everything until it looks like a thick smoothie.
You also need a metal container. A bread loaf pan works perfectly. Metal gets cold very fast, which helps the ice cream freeze better than plastic does. You will also need a good whisk or a sturdy spoon. Since we are doing the work of the machine, your arms will get a little workout. It is worth it for the final result. Having a spatula is also great for scraping every last drop out of the blender.
Recipe Quick Info
- Prep Time: 20 minutes
- Freeze Time: 6 hours
- Servings: 4 people
- Difficulty: Easy
The Step-by-Step Cooking Guide
Now we get to the fun part. Making the base is very quick. Most of your time will be spent waiting for the freezer to do its magic. It is important to follow the steps in order. This ensures the sugar and fat mix together perfectly. If the mix is too thin, it will be icy. If it is thick and rich, it will be wonderful.
Prepping the Fresh Berries

Start by washing your strawberries. Remove the green leaves and stems. I like to slice them in half so the blender can catch them easily. If your berries are a bit sour, you can toss them with a spoonful of sugar and let them sit for ten minutes. This is called macerating. It draws out the juices and makes the flavor much stronger. FYI, this is a great trick for any fruit dessert.
I usually save a few strawberries to chop into tiny pieces. I don’t blend these. Instead, I fold them in at the very end. This gives the ice cream little bits of fruit that are soft but not frozen solid. It makes the ice cream look very pretty too. Just make sure the pieces are very small. Large chunks of fruit contain a lot of water. Water turns to ice, and nobody wants to chew on a strawberry ice cube.
Blending the Ice Cream Base

Open your cans of coconut milk. Sometimes the cream sits at the top and the water is at the bottom. I use both, but make sure to shake the can or stir it first. Pour the milk into the blender. Add your strawberries, maple syrup, and vanilla. Blend it on high until it is completely smooth. It should look like a bright pink milkshake. Give it a quick taste. Remember that food tastes less sweet when it is frozen, so it should taste a little bit too sweet right now.
If you want a very smooth ice cream, you can pour this mix through a fine strainer. This removes the tiny strawberry seeds. I usually skip this because I do not mind the seeds. They make it feel more natural. However, if you want that fancy store-bought look, straining is the way to go. Once it is blended, you are ready for the freezer. This is where the patience comes in.
The Freezing and Stirring Process

Pour your pink mixture into the metal loaf pan. Put it in the freezer on a flat shelf. Set a timer for 45 minutes. When the timer goes off, take the pan out. The edges will start to look firm, but the middle will still be liquid. Use your whisk to stir everything together. Scrape the frozen bits off the sides and mix them into the center. This is how we stop big ice crystals from growing.
You need to repeat this stirring every 30 to 45 minutes for about three hours. Each time you stir, it will get thicker and harder to move. This is exactly what you want! It will go from liquid to slushy, then to a soft-serve texture. If you skip the stirring, you will end up with a solid block of ice. Stirring adds air and breaks up the ice. IMO, this is the most important step for success.
Pro Tips for Success
- Chill the Pan: Put your metal pan in the freezer an hour before you start to speed things up.
- Cover It: Once the ice cream is firm, cover the top with wax paper to prevent freezer burn.
- Coconut Type: Never use “Lite” coconut milk or it will turn into a strawberry ice cube.
Adding the Final Touches

After about three or four hours of stirring, the ice cream will be quite thick. This is the time to add those tiny strawberry pieces you saved earlier. Fold them in gently with a spatula. You could also add other fun things like vegan chocolate chips or crushed graham crackers. I once added a swirl of strawberry jam, and it was amazing. Just don’t add too much liquid or it will mess up the texture.
Smooth out the top of the ice cream with your spatula. If you are not eating it right away, press a piece of parchment paper or plastic wrap directly onto the surface. This stops air from touching the ice cream. Air is the enemy of creamy treats because it causes ice crystals to form. Let it freeze for another two hours without stirring to let it fully set. Now your hard work is almost done!
Serving and Enjoying Your Treat
When you are ready to eat, don’t just dig in right away. Homemade vegan ice cream gets very firm in the freezer. It does not have the chemicals that store brands use to stay soft. You need to give it a little time to wake up. This makes the flavor much better and the texture much smoother for your spoon.
The Best Way to Scoop

Take the pan out of the freezer and put it on the counter. Let it sit for about 10 to 15 minutes. This is very important! If you try to scoop it immediately, it might crumble. As it warms up slightly, the fats in the coconut milk soften. It becomes creamy and easy to scoop into perfect rounds. I always dip my ice cream scoop in a cup of warm water between scoops. This helps it slide right off.
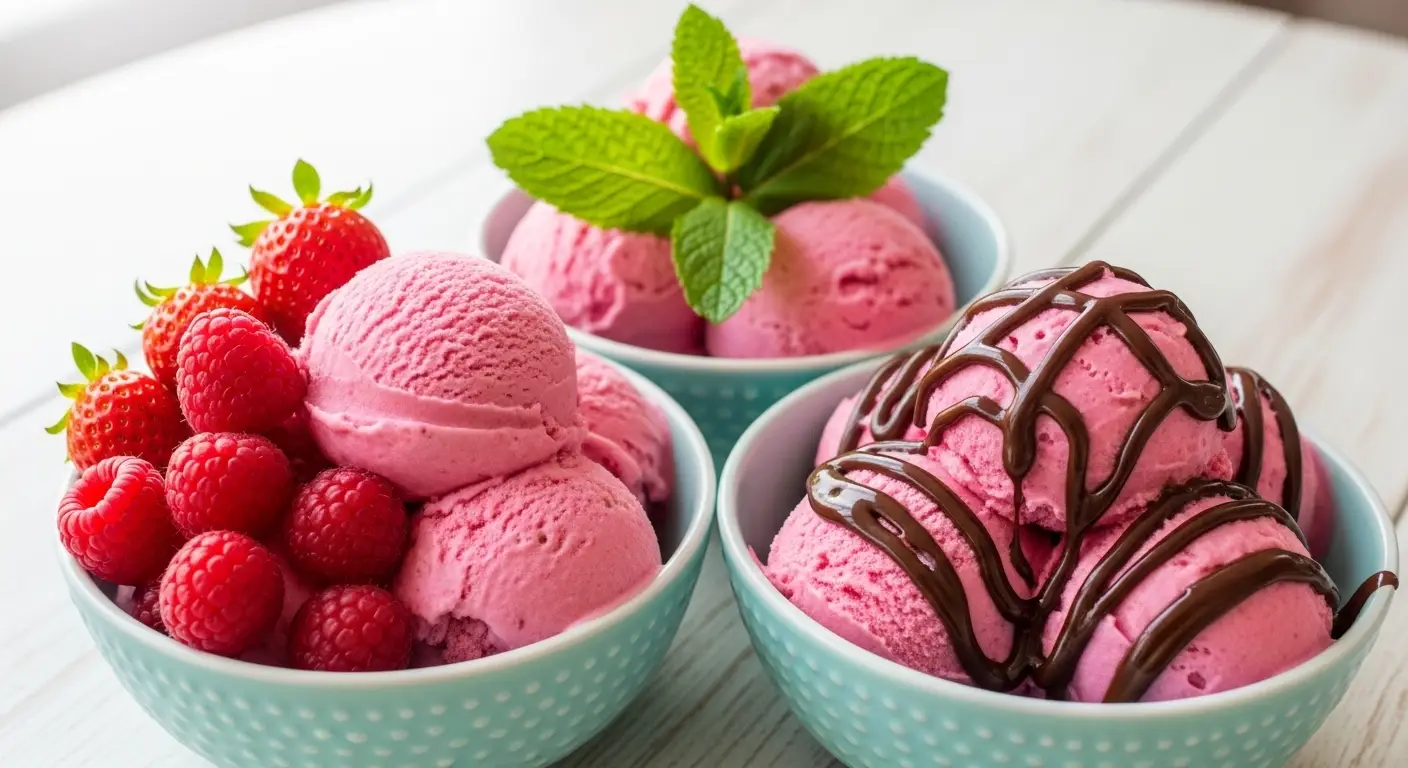
Look at the color of your ice cream. It should be a beautiful, soft pink. Because we used real strawberries, the color is natural and pretty. Put two or three scoops into a cold bowl. Using a cold bowl helps the ice cream stay solid longer while you eat. It is the little things that make a homemade dessert feel like it came from a fancy shop.
Topping Ideas for More Fun

You can eat this ice cream plain, but toppings make it a party. A few fresh strawberry slices on top look great. I also love adding a sprig of fresh mint for color. If you want something crunchy, try some toasted coconut flakes. They match the coconut milk in the recipe perfectly. For a real treat, drizzle a little bit of melted dark chocolate over the top. The cold ice cream will make the chocolate turn into a hard shell.
Another great idea is to serve this alongside a warm vegan brownie. The cold strawberry flavor goes so well with chocolate. You can also put a scoop between two large cookies to make an ice cream sandwich. Since this ice cream is dairy-free, it is a hit with people who have allergies. It is nice to make something that everyone at the table can enjoy together.
Common Questions and Answers
Can I use frozen strawberries?
Yes! Just thaw them first so they blend easily. They work just as well as fresh ones and are often cheaper.
What if it tastes too much like coconut?
The strawberry flavor is strong, but you can add a little extra vanilla or a pinch of salt to balance the coconut taste.
How long does it stay fresh in the freezer?
It is best within two weeks. After that, it might get too many ice crystals on top. Always keep it tightly covered.
Can I use honey instead of maple syrup?
You can, but then it will not be strictly vegan. Honey also has a very strong taste that might hide the strawberry flavor.
Is there a way to make it lower in fat?
Not really for this method. You need the fat from the coconut milk to keep it creamy without a machine. Lower fat means more ice.
Happy Scooping and Enjoy
You have learned how to make a delicious vegan treat without any fancy gear. This strawberry ice cream is fresh, creamy, and better than anything from a box. It takes a little patience to stir, but the taste is worth every minute. Share it with your friends or keep it all for yourself. You did a great job making a healthy and sweet dessert from scratch!