Cheesecake Stuffed Baked Apples for Fall
Fall is finally here. The air is cool and the leaves are turning orange and red. This is my favorite time to be in the kitchen. When the weather gets chilly, I want food that makes the whole house smell like cinnamon and sugar. There is nothing better than the scent of apples baking in the oven. It makes everything feel cozy and warm.
Today I am going to show you how to make cheesecake stuffed baked apples. This recipe takes a simple fruit and turns it into a fancy dessert. It looks like it took a long time to make, but it is actually quite easy. You get a soft, sweet apple on the outside and a rich, creamy cheesecake center. It is much better than a regular apple pie because every person gets their own special apple bowl. I promise your friends and family will love this treat.
You will learn how to pick the right fruit and how to make a smooth cream cheese filling. I will also share my secret for the crunchy topping that goes on top. Get your apron ready because we are about to make the best dessert of the season! Check out the steps below to start baking.
Getting Ready for Your Fall Baking
Before we start mixing and cutting, we need to talk about why this recipe works so well. Baking an apple makes it soft and releases all its natural juices. When you put cheesecake inside, the flavors mix together perfectly. The tartness of the apple balances the sweet and heavy cheese. It is a match made in heaven. I have made these for many dinner parties, and people always ask for the recipe before they even finish eating.
One time, I tried to make these with very soft apples from the back of my fridge. That was a big mistake! The apples turned into mush and the cheesecake filling spilled out everywhere. It looked like a soup instead of a dessert. From that lesson, I learned that the type of apple you use really matters. You need an apple that can stand up to the heat of the oven without falling apart. Now I always buy the crispest apples I can find at the store.
The Best Apples to Buy

Choosing the right apple is the most important part of this recipe. You want a firm apple that tastes a bit tart. My top choice is the Honeycrisp apple. They are big, crunchy, and hold their shape very well. If you cannot find those, Granny Smith apples are also great. They are very sour, which tastes amazing when you add the sweet cheesecake filling. Pink Lady apples are another good pick because they are sweet and tough.
Avoid apples like Red Delicious or Gala for this specific dish. Those apples are great for eating fresh, but they get very soft when you cook them. If the apple gets too soft, it will collapse in the oven. You want the apple to act like a sturdy cup for the cheesecake. Look for fruit that feels heavy and has no bruises or soft spots. If the skin is tight and shiny, it is usually a good sign that the apple is fresh and ready for baking.
What You Will Need

Most of these items are probably already in your kitchen. You will need six large apples to start. For the filling, grab one block of cream cheese. Make sure it is the full-fat kind for the best taste. You also need one egg, some sugar, and a splash of vanilla. The vanilla makes the filling smell like a bakery. Don’t forget a pinch of salt to make all the flavors pop.
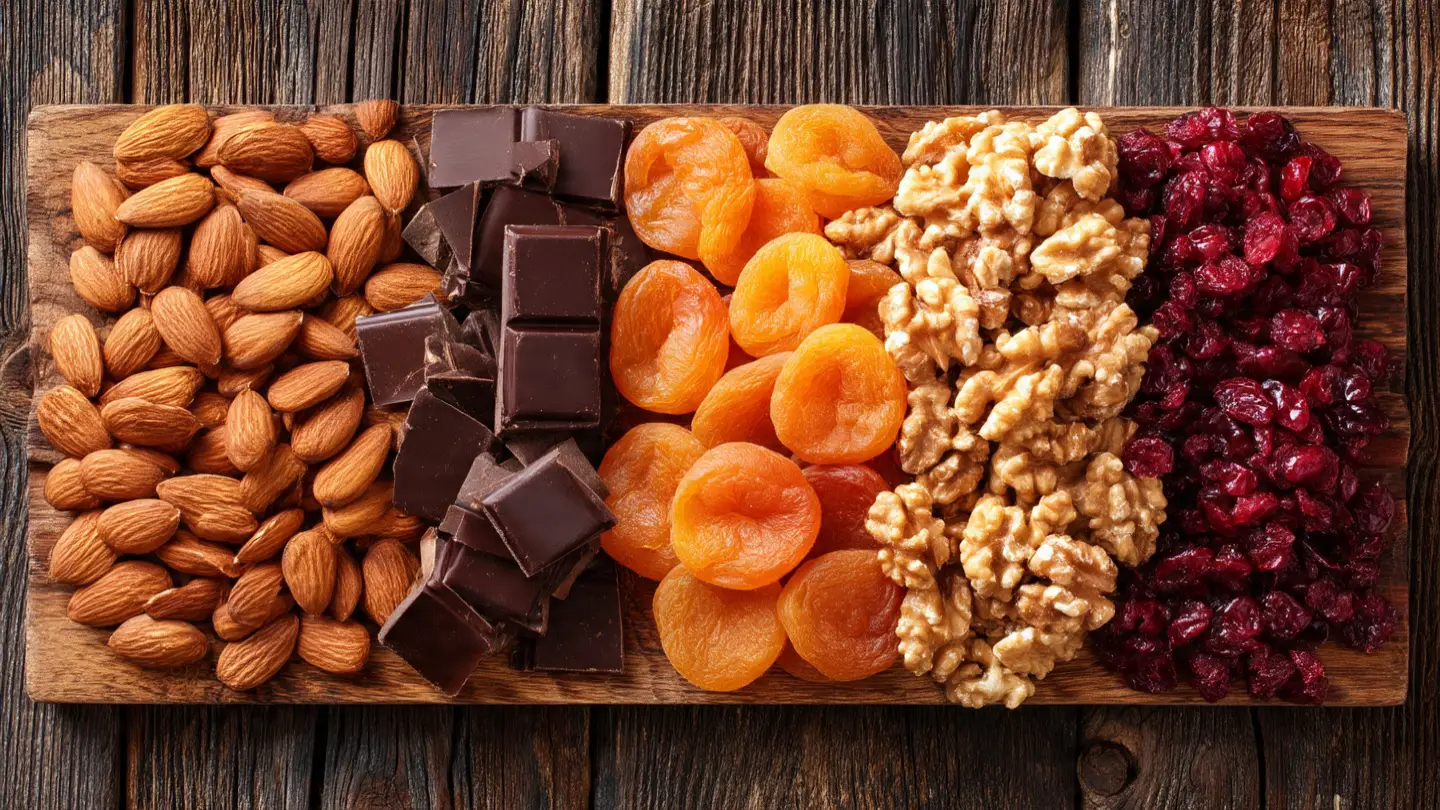
For the crunchy topping, you will need butter, brown sugar, and oats. Some people like to add chopped pecans or walnuts for extra crunch. I also use a lot of ground cinnamon. Cinnamon is the star spice of fall! You can also use pumpkin pie spice if you want a deeper flavor. It is a simple list, but when these things come together, they create magic. Here is the full list of what to grab at the store:
- 6 large baking apples (Honeycrisp or Granny Smith)
- 8 ounces of softened cream cheese
- 1/4 cup white sugar
- 1 large egg
- 1 teaspoon vanilla extract
- 1/2 cup old-fashioned oats
- 1/4 cup brown sugar
- 2 tablespoons melted butter
- 1 teaspoon ground cinnamon
Recipe Quick Info
- Prep Time: 20 minutes
- Cook Time: 35 minutes
- Servings: 6 people
- Difficulty: Easy
How to Make the Perfect Stuffed Apple
Now that we have our ingredients, it is time to get to work. This part is fun but you have to be careful. You are going to turn the apples into little bowls. This is the only tricky part of the whole recipe. If you go too deep, you will poke a hole in the bottom. If you do that, the cheese will leak out. If it happens, don’t worry! You can just put a little piece of apple back in the hole to plug it up. It happens to the best of us.
I like to use a melon baller to scoop out the middle. It is a round tool that makes perfect circles. If you don’t have one, a sturdy metal spoon works just fine. Just take your time and don’t rush. Cooking is more fun when you relax and enjoy the process. Once the apples are ready, the rest of the steps are very fast. Your kitchen is about to smell wonderful!
Preparing the Apple Cups

First, wash your apples and dry them off. Take a sharp knife and cut off the top of each apple. You only need to take off about half an inch. Keep the tops if you want to use them for decoration later. Now, use your spoon or melon baller to scoop out the core. You want to remove the seeds and the tough middle part. Be sure to leave about half an inch of apple meat around the sides.
If you leave the walls too thin, the apple might split. If they are too thick, the apple won’t get soft enough in the oven. I try to make mine look like a small bowl. Once you have scooped them all out, set them in a baking dish. I usually use a 9×13 inch glass pan. This keeps them from sliding around while they bake. If they won’t stand up straight, you can slice a tiny bit off the bottom to make them flat. Just be careful not to cut all the way through!
Mixing the Cheesecake Filling

In a medium bowl, beat the cream cheese and white sugar together. It is very important that the cream cheese is at room temperature. If it is cold, you will have tiny lumps in your cheesecake. I usually leave mine on the counter for an hour before I start. Beat it until it looks smooth and fluffy. Then, add the egg and the vanilla extract. Mix it again just until the egg disappears. Do not overmix it or you might get too many air bubbles.
I sometimes add a little bit of lemon zest to this mixture. It makes it taste fresh and bright. You could also stir in some mini chocolate chips if you want to be extra fancy. Once it is mixed, use a spoon to fill each apple cup. Fill them almost to the top, but leave a tiny bit of space for the topping. The cheesecake will puff up a little bit while it cooks. It looks so creamy and delicious even before it goes in the oven!
Adding the Crunchy Topping

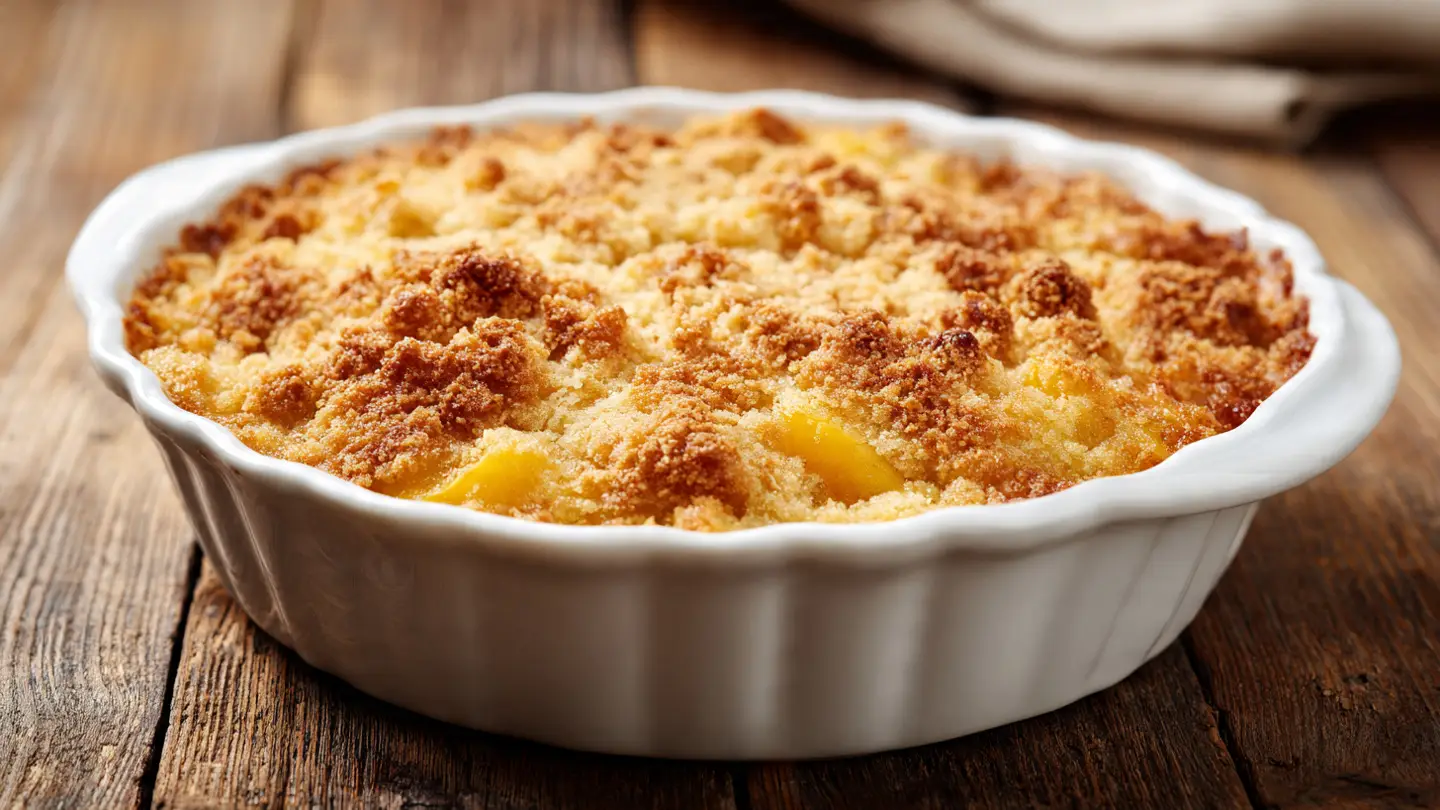
Now we make the best part. The crumble topping adds a nice crunch that goes perfectly with the soft apple. In a small bowl, mix the oats, brown sugar, and cinnamon. Pour the melted butter over the top and stir it with a fork. It should look like wet sand. This is the same kind of topping you find on an apple crisp. It is sweet, buttery, and smells like a holiday.
Sprinkle a big spoonful of this mixture over each cheesecake-filled apple. Don’t be shy! I like to let some of it spill over the edges. As it bakes, the butter and sugar will melt down the sides of the apple. This creates a caramel sauce in the bottom of the pan. If you like nuts, this is the time to add them. IMO, pecans are the best choice for this. They get toasted and crunchy in the oven and taste amazing with the cinnamon.
Baking to Perfection

Heat your oven to 350 degrees. Put about half a cup of water or apple juice in the bottom of your baking dish. This creates steam which helps the apples get tender without burning. Carefully slide the pan into the oven. You will need to bake them for about 35 to 40 minutes. You will know they are done when the apple skin looks slightly wrinkled and a fork slides easily into the side of the apple.
The cheesecake center should be set. This means it might jiggle a little bit if you shake the pan, but it should not look like liquid. The oat topping will be golden brown and smell very sweet. I always check them at the 30-minute mark just to be safe. Every oven is a little bit different. If the topping is getting too dark but the apple is still hard, you can cover the pan with a piece of foil. This stops the top from burning while the apple finishes cooking.
Pro Baker Tips
- Soft Cheese: Always use room temperature cream cheese to avoid lumps.
- Water in Pan: Adding water to the pan keeps the apples moist and juicy.
- Flat Bottoms: Slice a tiny bit off the bottom of wobbly apples so they stay upright.
Serving and Storing Your Treats
Once the apples are out of the oven, the hardest part is waiting. You need to let them sit for at least 10 minutes. If you try to eat them right away, the cheesecake will be too soft and the apple will be very hot. The filling needs a moment to firm up. I usually use this time to get the ice cream out of the freezer. These apples are great warm, but they are also delicious cold the next day. I have even eaten one for breakfast before!
If you have leftovers, you can keep them in the fridge. They stay good for about three days. Just put them in a container with a lid. When you want to eat one, you can pop it in the microwave for 30 seconds. It won’t be quite as crunchy as when it was fresh, but it still tastes great. You can also serve these with a drizzle of caramel sauce or a dollop of whipped cream to make them look even better.
The Best Toppings to Add

While these apples are great on their own, a few toppings can make them a 5-star dessert. My favorite way to serve them is with a big scoop of vanilla bean ice cream. The cold ice cream melting over the warm apple is incredible. You could also use salted caramel sauce. Just buy a jar at the store and warm it up. Drizzle it all over the top and let it run down the sides. It makes the dish look like it came from a fancy restaurant.
If you want something lighter, try a bit of Greek yogurt mixed with honey. It adds a nice tang that works well with the apple. Some people also like to sprinkle a little extra cinnamon on top right before serving. FYI, a sprig of fresh mint or a cinnamon stick on the plate makes for a beautiful presentation if you are serving guests. No matter how you top them, the main goal is to enjoy the mix of warm fruit and creamy cheese.
Variations to Try Later

Once you master the basic recipe, you can get creative. You can change the filling to make it taste different every time. For a chocolate version, stir cocoa powder into the cream cheese. For a fruity version, drop a few raspberries or blueberries into the center before you bake them. You can even use pumpkin puree. Mix two tablespoons of pumpkin into the cheesecake batter for a “pumpkin cheesecake” stuffed apple. It is perfect for Thanksgiving!
You can also change the apple. While I love Honeycrisp, trying this with a sweet Fuji apple is also fun. Just remember that sweeter apples might need less sugar in the filling. If you are on a diet, you can use low-fat cream cheese and a sugar substitute. It won’t be quite as rich, but it will still be a tasty fall treat. The possibilities are endless once you know the basic steps. Don’t be afraid to experiment with your favorite flavors!
Common Questions About Baked Apples
Can I make these apples ahead of time?
Yes! You can prep the apples and filling a few hours early. Keep them in the fridge. Bake them right before you want to serve them so they are warm and fresh.
What if my cheesecake filling cracks on top?
Don’t worry about cracks. The oat crumble topping covers the top anyway. Cracks usually happen if the oven is too hot or if you overmix the eggs. It still tastes delicious!
Do I have to peel the apples first?
No, keep the skin on! The skin holds the apple together while it bakes. Without the skin, the apple would turn into sauce. Plus, the skin has lots of vitamins.
Can I use a different fruit instead of apples?
Pears work very well with this recipe. Choose firm pears like Bosc. They have a similar shape and hold up well in the oven just like apples do.
Happy Fall Baking
Making cheesecake stuffed baked apples is a great way to celebrate the season. It is a simple, rustic dessert that feels special. You now know how to pick the best fruit, make a creamy filling, and bake it to perfection. I hope you enjoy this warm treat on a cold night. It is the perfect way to use up those extra apples from the orchard. Happy baking!