Zesty Key Lime Pie with a Graham Cracker Crust
Making a fresh pie is one of the best things you can do in your kitchen. This key lime pie is a mix of sweet and sour that tastes like a sunny day. I love how the creamy filling sits on top of a buttery, crunchy crust. It is a treat that makes everyone smile at the dinner table.
You will learn how to make the crust from scratch and how to get the filling just right. We will use simple things you can find at any grocery store. By the end of this guide, you will be a pie expert. My goal is to help you bake a dessert that looks and tastes like it came from a fancy bakery.
Check out the steps below to start your baking adventure!
Recipe Quick Info
- Prep Time: 20 minutes
- Cook Time: 15 minutes
- Servings: 8 people
- Difficulty: Easy
The Best Ingredients for Your Pie
Getting the right food for your pie is the most important part of baking. You want things that are fresh and taste good on their own. If you use cheap or old stuff, the pie might not taste very bright. I always look for the best limes I can find because they are the star of the show.
What You Need for the Crust

The crust is the base of your pie, and it needs to be strong but crumbly. You will need graham cracker crumbs, melted butter, and a little bit of sugar. Most people buy the crumbs in a box, but I like to smash the crackers myself. It feels good to turn big crackers into tiny bits with a rolling pin.
- 1.5 cups of graham cracker crumbs
- 1/3 cup of melted unsalted butter
- 3 tablespoons of white sugar
- A pinch of salt to make the flavors pop
The butter acts like glue to hold the crumbs together. When it bakes, the sugar melts and makes the crust nice and crispy. If you do not have graham crackers, you can use vanilla wafers or ginger snaps instead. Each cookie gives the pie a different but yummy taste.
The Magic Filling Ingredients

The filling only needs a few things to become thick and creamy. The main part is sweetened condensed milk, which is very thick and sugary. You also need egg yolks, lime juice, and lime zest. Zest is the green skin of the lime that you grate into tiny pieces. It has a lot of oil that smells amazing.
- 2 cans (14 ounces each) of sweetened condensed milk
- 1/2 cup of sour cream (this makes it extra creamy!)
- 3/4 cup of key lime juice
- 1 tablespoon of lime zest
- 4 large egg yolks
Using egg yolks is better than using the whole egg. The yellow part makes the filling smooth like velvet. I once tried to make this with just juice and no zest, but it was not tart enough. Adding that green skin really changes the game and makes the pie look pretty too.
How to Put It All Together
Now that you have your food ready, it is time to start building. Baking is like a fun puzzle where you put pieces together to get a prize. You should heat up your oven before you start so it is hot when the pie is ready. I usually set mine to 350 degrees before I even touch the crackers.
Making the Perfect Crust

First, mix your crumbs, sugar, and melted butter in a medium bowl. It should look like wet sand. If it is too dry, it will fall apart later. If it is too oily, it will be greasy. Use your fingers or the bottom of a heavy glass to press the mix into your pie pan. Make sure to push it up the sides of the dish so the filling has a wall to lean on.
- Mix crumbs, sugar, and butter until combined.
- Press firmly into a 9-inch pie plate.
- Bake the crust for 8 to 10 minutes.
- Let it cool down while you make the filling.
Baking the crust alone first is a smart move. It helps the crust stay crunchy even after you add the wet filling. I learned the hard way that skipping this step leads to a soggy bottom. No one likes a soggy pie! FYI, you can do this step a day early if you want to save time on a busy day.
Whisking the Filling Until Smooth

In a large bowl, whisk the egg yolks and the lime zest together. Do this for about two minutes. You want the yolks to look light and fluffy. Then, pour in the condensed milk and the sour cream. Give it a good stir until it is all one color. Finally, slowly pour in the lime juice while you keep whisking.
The juice will react with the milk and make it thick almost instantly. It is like a science experiment in your kitchen! Make sure you do not see any yellow streaks from the eggs. Everything should be smooth and pale green. If you see lumps, keep whisking gently until they go away.
The Final Bake and Cool

Pour your filling into the cooled crust and smooth the top with a spoon. Put it back in the oven for about 15 minutes. You do not want the top to turn brown. It should just stay pale. The pie is done when the edges look set, but the middle still jiggles a little bit when you shake the pan.
Pro Baking Tip
- Don’t Overbake: If the pie cracks on top, it was in the oven too long. Watch it closely!
Taking the pie out at the right time is key. If you cook it too long, it will get rubbery. Let it sit on the counter for an hour to cool down. Then, put it in the fridge for at least three hours. Overnight is even better! Cold pie is much easier to slice than warm pie.
Making Your Pie Look Beautiful
A pie that looks good tastes even better. You can keep it simple or go all out with decorations. I think a bit of white cream on top makes it look like a cloud. It also helps balance the sour taste of the limes with some extra sweetness. Everyone loves a pretty dessert.
Adding Whipped Cream and Garnishes

Wait until the pie is fully cold before you add whipped cream. If the pie is warm, the cream will melt and turn into a puddle. You can use a spoon to plop big clouds of cream on top, or use a bag to squeeze out neat stars. I like to sprinkle more lime zest on top right before I serve it so it smells fresh.
- Whipped cream (home-made is best!)
- Thin lime slices for the middle
- Extra graham cracker crumbs for a little crunch
- Fresh mint leaves for a pop of color
Adding lime slices makes people know what flavor to expect. It is a nice visual cue. I once tried to use lemon slices, but it just looked confusing. Stick to limes so your guests know they are in for a zesty treat. IMO, a lot of whipped cream is always a good idea.
Best Ways to Serve Your Pie

When you are ready to eat, use a sharp knife to cut the slices. Dip your knife in hot water and wipe it dry between each cut. This trick helps you get clean edges so the pie does not smear. It makes the slices look very professional and clean on the plate. People will think you bought it at a shop!
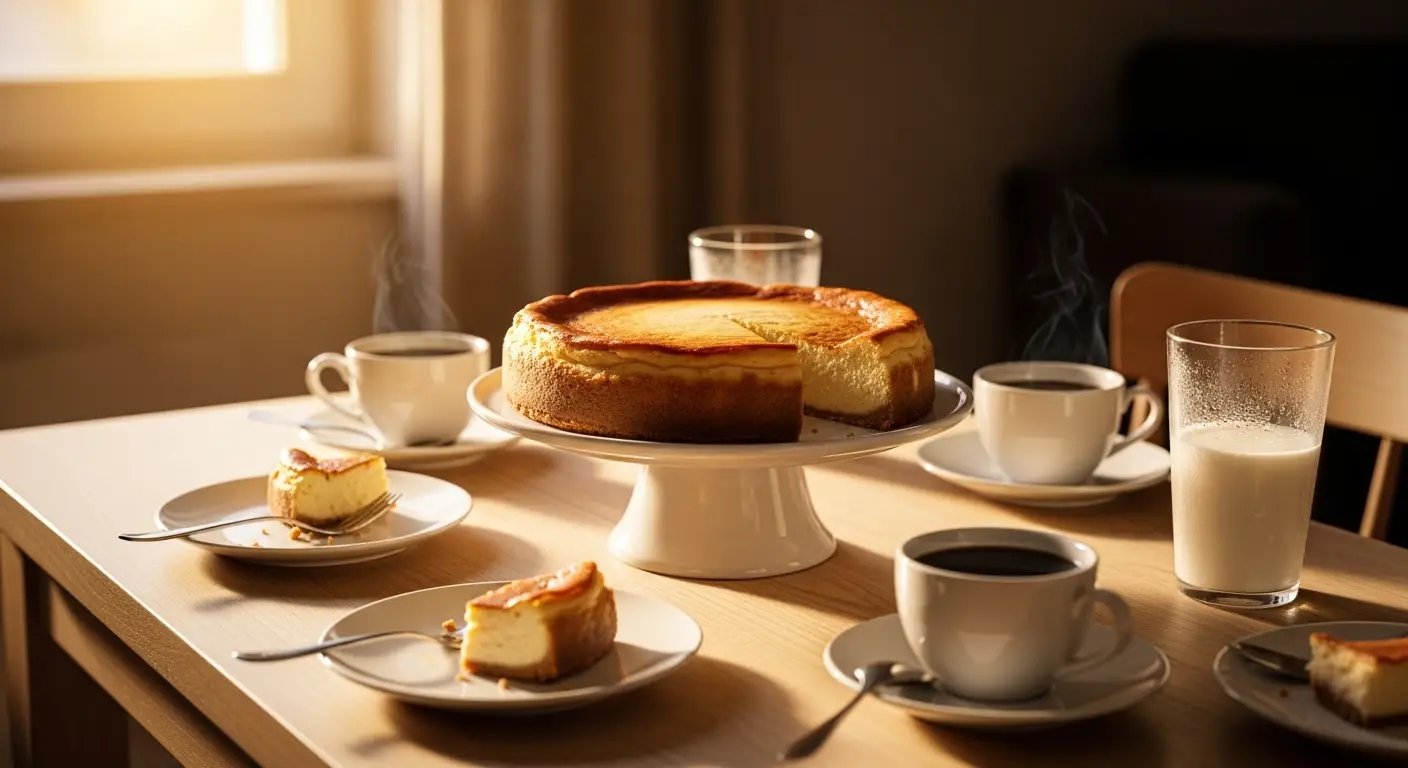
This pie goes great with a cup of coffee or a cold glass of milk. It is a light dessert, so it is perfect after a big dinner. If you have leftovers, you can keep them in the fridge for about three days. Just cover it with plastic wrap so it does not pick up smells from other food like onions or cheese.
Fun Variations to Try Later
Once you master the basic recipe, you can play around with it. You can change the crust or add fruit to the filling. Some people like to put a layer of chocolate on the bottom of the crust. That is a very tasty surprise for anyone who takes a bite. I like to keep things simple, but trying new things is how we learn.
Tropical Fruit Twists

You can mix other fruit juices with the lime juice for a different flavor. Mango juice or pineapple juice works very well. Just make sure you still use mostly lime juice so it stays tart. You could also sprinkle toasted coconut on top of the whipped cream. It makes the pie feel like a vacation on a plate.
If you want a frozen treat, you can put the whole pie in the freezer. It tastes like a lime popsicle but creamy! This is a great trick for hot summer days when you want something very cold. Just let it sit out for ten minutes before you try to cut it, or it will be too hard.
Different Crust Ideas

Not everyone loves graham crackers. You can use pretzels for a salty and sweet mix. Or use chocolate cookies if you want it to be more like a candy bar. Just follow the same steps for crushing and mixing with butter. I found that pretzel crusts need a tiny bit more butter to hold together because they are bigger chunks.
This recipe will not work well with a regular flaky pie crust. Those are better for apple or cherry pies. The creamy lime filling needs the solid crunch of a cookie-style crust. Using the wrong crust might make the whole thing fall apart when you lift a slice. Stick to crumbs for the best results.
Common Baking Questions
I get asked a lot about limes. People want to know if they have to use the tiny ones. The truth is, the tiny ones are hard to squeeze! It takes a long time to get enough juice. You can use regular large limes if you are in a hurry. They still taste great, and they are much easier to find at the store.
Storage and Make-Ahead Tips
- Fridge: Keeps well for 3-4 days covered.
- Freezer: Wrap tightly in foil for up to 1 month.
- Prepare: Make the crust and filling 1 day early to let it set.
Another big question is about the condensed milk. Some people try to use evaporated milk by mistake. These are not the same thing! Evaporated milk is thin like water and has no sugar. Your pie will not turn into a solid shape if you use the wrong milk. Always check the label twice before you buy it.
Answers to Your Top Pie Questions
Can I use bottled lime juice instead of fresh?
Yes, you can, but fresh juice tastes much better. Bottled juice can be a bit bitter. If you use it, make sure it is 100% juice with no sugar added.
Why is my pie filling still runny?
It might need more time to chill. The fridge is where the pie really gets firm. Give it at least three to four hours. Also, make sure you used egg yolks!
How do I get the most juice out of a lime?
Roll the lime on the counter with your hand before cutting it. This breaks the tiny juice bubbles inside. Heating it in the microwave for 10 seconds also helps.
Can I make this pie without an oven?
This recipe needs the oven to cook the eggs and set the filling. There are no-bake recipes out there, but they usually use gelatin or a lot of cream cheese.
Is key lime pie supposed to be green?
Real key lime pie is usually a pale yellow color. If you see a bright green pie, it probably has food coloring in it. The zest adds tiny green specks though!
Enjoy Your Homemade Key Lime Pie
You now have all the tools to make a perfect pie. Remember to take your time and have fun with it. Baking is about sharing love with your friends and family. This zesty treat is sure to be the star of your next party or family dinner!