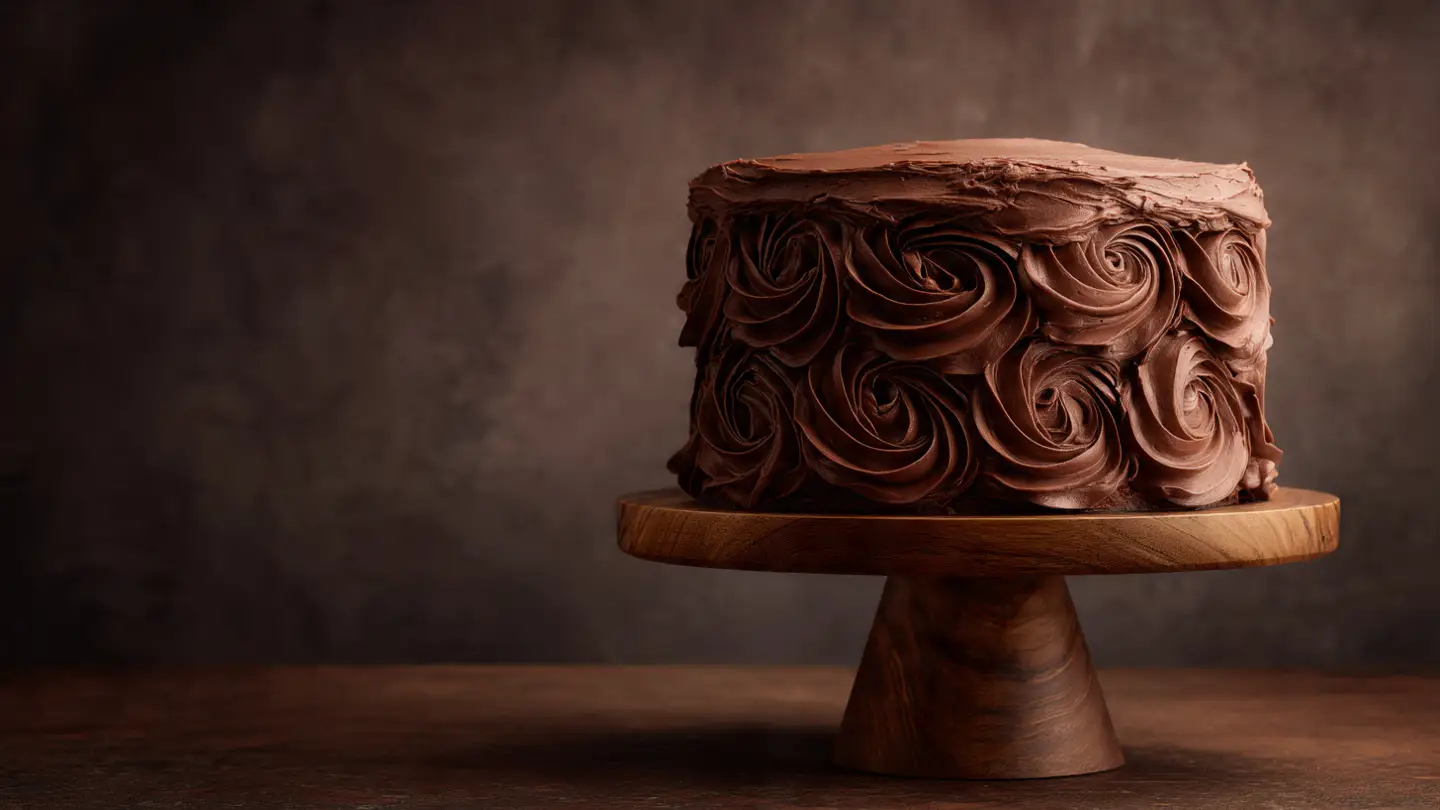
Copycat Hershey’s Chocolate Bar Cheesecake
Everyone loves a classic chocolate bar. There is something so special about that silver and brown wrapper. I wanted to turn that exact flavor into a big, creamy cake. This Copycat Hershey’s Chocolate Bar Cheesecake is the answer to every chocolate lover’s dream. It is thick, smooth, and tastes just like the candy store. You do not need to be a pro chef to make this. It takes a little time, but the steps are very simple for anyone to follow.
I will show you how to build this cake from the crust up to the shiny chocolate top. We will use real chocolate bars to get that famous taste. By the end of this page, you will know how to bake a cheesecake that does not crack and looks like it came from a fancy bakery. Let’s get our mixing bowls ready for some chocolate fun!
Want to impress your friends at the next party? Keep reading to learn my secrets for the best chocolate cheesecake ever.
Gathering Your Baking Supplies
Before we start mixing, we need to talk about what goes into this cake. Choosing the right items makes a huge difference. For this recipe, the chocolate is the star of the show. If you use cheap chocolate, the cake will not taste like a Hershey’s bar. I always tell people to stick to the brand they love for the best results. You also need to make sure your ingredients are not cold when you start.
The Ingredient List

First, let’s look at what you need to buy. For the crust, you will need chocolate graham crackers or crushed chocolate sandwich cookies. I like the cookies because they make the base extra dark. You also need melted butter to hold the crumbs together. A little bit of sugar in the crust helps it stay firm when you cut a slice later on.
For the filling, the most important thing is the cream cheese. Use the full-fat kind in the blocks. Do not use the spreadable kind in a tub. It has too much air and water in it. You will also need granulated sugar, large eggs, and heavy cream. To get that Hershey’s flavor, we will melt down several actual Hershey’s Milk Chocolate bars. Make sure to have a bit of vanilla and a pinch of salt to make the flavors pop.
- 2 cups chocolate cookie crumbs
- 5 tablespoons melted unsalted butter
- 24 ounces full-fat cream cheese (3 blocks)
- 1 cup granulated sugar
- 3 large eggs (room temperature)
- 1/2 cup heavy cream
- 8 ounces Hershey’s Milk Chocolate bars (melted)
- 1 teaspoon vanilla extract
Essential Kitchen Tools

You do not need a million gadgets for this. However, a 9-inch springform pan is a must. This is the kind of pan where the sides pop off. You cannot really flip a cheesecake upside down like a normal cake, or it will break. The springform pan lets the cake stay on the bottom base while the ring comes away cleanly. I learned this the hard way when I tried using a regular cake pan once!
A stand mixer or a hand mixer will save your arms from getting tired. The cream cheese needs to be very smooth. If you mix by hand, you might leave lumps. You also need some aluminum foil. We use this to wrap the pan so no water gets inside during the bake. A big roasting pan or a deep baking sheet will act as our water bath. These tools help the heat stay even so the cake doesn’t get dry or rubbery.
Building the Perfect Chocolate Base
The crust is the foundation of your dessert. It needs to be crunchy but not hard as a rock. I like to bake my crust for a few minutes before adding the filling. This keeps it from getting soggy. It is a small step, but it makes the texture much better. Many people skip this, but IMO, it is the secret to a great slice.
Making the Cookie Crust

To start, turn your oven to 350 degrees. Put your cookies in a plastic bag and crush them with a rolling pin. You want them to look like dark sand. Mix the crumbs with the melted butter and a spoonful of sugar. It should feel like wet sand. If it is too dry, it will fall apart when you cut the cake. If it is too oily, it will be greasy.
Press the mix into the bottom of your pan. Use the bottom of a flat glass or a spoon to push it down hard. You can also push some of the crumbs an inch up the sides of the pan. Bake this for about 10 minutes. When you take it out, let it cool completely. While it cools, you can start on the main event: the chocolate filling. Making sure the crust is cool helps the layers stay separate and clean.
Recipe Quick Info
- Prep Time: 30 minutes
- Cook Time: 1 hour 15 minutes
- Servings: 12 slices
- Difficulty: Medium
Preparing the Chocolate Ganache

We need to melt the Hershey bars carefully. Chocolate can burn very fast if you are not careful. I use a microwave in 20-second bursts. Stir the chocolate every time the timer goes off. Even if it looks solid, the heat inside will melt it as you stir. Once it is smooth and shiny, set it aside to cool for a few minutes. You don’t want to pour boiling hot chocolate into your egg mixture.
If you don’t like the microwave, you can use a double boiler. This is just a bowl sitting over a pot of simmering water. The steam warms the bowl and melts the chocolate gently. I find this way safer if I am not in a rush. This melted chocolate is what gives the cake that authentic candy bar taste. It is much better than just using cocoa powder because it adds a rich, fatty texture that melts in your mouth.
Mixing and Baking for Success
Now we bring everything together. This is where most people get nervous, but there is no need to worry. The key is to take your time. Don’t rush the mixing. If you go too fast, you trap air bubbles in the batter. Those bubbles will rise in the oven and cause the top of your cake to crack. We want a top as smooth as a skating rink.
Mixing the Creamy Filling

Beat the cream cheese and sugar together until there are no white lumps left. This is why room temperature cheese is so important. Cold cheese stays in little beads that never go away. Once it is smooth, add the eggs one at a time. Mix on low speed just until the yellow disappears. Over-mixing eggs is the main reason cheesecakes puff up and then sink. We want a dense, creamy cake, not a fluffy sponge cake.
Slowly pour in your melted Hershey’s chocolate and the vanilla. The batter will turn a beautiful light brown color. Finally, stir in the heavy cream. This adds a velvety feel to the final product. Give the bowl one last scrape with a rubber spatula to make sure no plain white cream cheese is hiding at the bottom. Pour the batter over your cooled crust and smooth the top with your spatula. Tap the pan on the counter a few times to pop any hidden air bubbles.
The Water Bath Technique

A water bath sounds fancy, but it is just a big pan of water. Wrap the outside of your springform pan in two layers of heavy-duty foil. This prevents the water from leaking into your crust. Place the wrapped pan inside the larger roasting pan. Pour hot water into the roasting pan until it reaches halfway up the sides of the cake pan. The water keeps the oven air moist and stops the edges from cooking faster than the middle.
Bake the cake at 325 degrees for about 65 to 75 minutes. You are looking for a “jiggle.” The edges should be firm and set, but the very center should still wobble a little bit like Jell-O when you shake the pan. If the whole thing is stiff, you cooked it too long. Don’t worry, it will firm up completely as it cools in the fridge. This is the hardest part because you have to trust the process and turn off the oven even if it looks a bit soft.
Pro Baking Tips
- Temperature Check: Use room temperature eggs so the batter stays smooth.
- The Cool Down: Leave the oven door cracked for an hour after baking to prevent cracks.
- No Peeking: Do not open the oven door during the first 50 minutes of baking.
Cooling and Setting

Once the cake is done, turn off the oven and crack the door open an inch. Let the cake sit in there for an hour. This slow cooling helps the structure stay strong. If you take it out into the cool kitchen air right away, the shock will make it crack. After an hour, take it out and let it reach room temperature on the counter. Then, cover it loosely and put it in the fridge for at least 6 hours, but overnight is better.
I once tried to eat a cheesecake after only two hours of cooling. It was a mess! It tasted like sweet cream cheese soup. The chill time is when the magic happens. The fats in the chocolate and cream cheese settle down and become firm. This gives you those clean, sharp slices that look so good on a plate. Patience is truly the most important ingredient in this recipe. Just forget about it until the next day!
Serving and Topping Ideas
Your cake is cold and ready to eat, but we can make it even better. A plain cake is fine, but a copycat recipe needs that extra flair. Adding more chocolate on top makes it look like it came from a professional shop. It also covers up any small mistakes you might have made on the surface. Plus, you can never have enough chocolate, right?
Adding the Finishing Touches

To make it look like a real Hershey’s bar, I like to add a chocolate ganache on top. Just melt a bit more chocolate with a splash of heavy cream and pour it over the cold cake. It creates a shiny, dark mirror finish. You can also chop up some mini Hershey’s bars and sprinkle them around the edges. This tells everyone exactly what the cake is supposed to taste like before they even take a bite.
Whipped cream is another great addition. The light, airy cream balances the heavy, rich chocolate perfectly. I use a piping bag to make little stars around the rim. If you don’t have a piping bag, a big dollop in the center works just fine. For a fun twist, you could even drizzle some caramel or sprinkle a little sea salt on top. Just remember that the cake is very rich, so you don’t need huge portions to feel satisfied.
How to Cut Perfect Slices

Cutting a cheesecake can be messy because the filling is so sticky. To get those perfect, clean lines, use a sharp thin knife. Dip the knife in a tall glass of hot water for a few seconds. Wipe it dry with a clean towel, then make one long slice. Wipe the knife clean and dip it in the hot water again before every single cut. This melts the chocolate just enough to let the blade slide through without tearing the cake.
If the crust is very hard, you might need to press down firmly. Don’t saw back and forth. Just push straight down and pull the knife out toward you. This keeps the crumbs from getting pulled up into the creamy chocolate layer. I usually get about 12 thick slices from a 9-inch pan. If you are serving a big crowd, you can cut them thinner, but this cake is so good that people usually want a big piece!
Common Questions and Answers
You might have some questions about making this at home. I have made many mistakes over the years, so I can help you avoid them. Making a cheesecake for the first time can feel scary, but it is mostly about following the steps. Here are the things people ask me the most when they try this recipe.
Can I use milk chocolate chips instead of Hershey bars?
Yes, but the flavor will change. Hershey’s bars have a specific taste. Using chips will make it taste like standard chocolate, not the copycat candy bar style.
Why did my cheesecake crack on top?
Cracks usually happen from over-mixing or cooling too fast. Using a water bath and letting it cool in the oven helps prevent this. Don’t worry, you can hide cracks with toppings!
How long does this cheesecake stay fresh?
You can keep it in the fridge for about 5 days. Make sure it is covered tightly so it doesn’t pick up smells from other food like onions or leftovers.
Can I freeze this chocolate cheesecake?
Yes! Wrap it well in plastic and foil. It stays good for up to 3 months. Thaw it in the fridge for 24 hours before you want to eat it.
Do I have to use a water bath?
You don’t have to, but I highly recommend it. Without it, the cake might get dry and brown on the edges. It is the best way to get that creamy texture.
Enjoy Your Chocolate Creation
This Hershey’s chocolate bar cheesecake is a treat that everyone will remember. It is rich, smooth, and full of that classic candy flavor. Whether it is for a birthday or just a weekend snack, this cake is a winner. Just follow the steps and be patient during the cooling time. You will have a beautiful dessert that looks just as good as it tastes. Happy baking and enjoy every chocolatey bite!