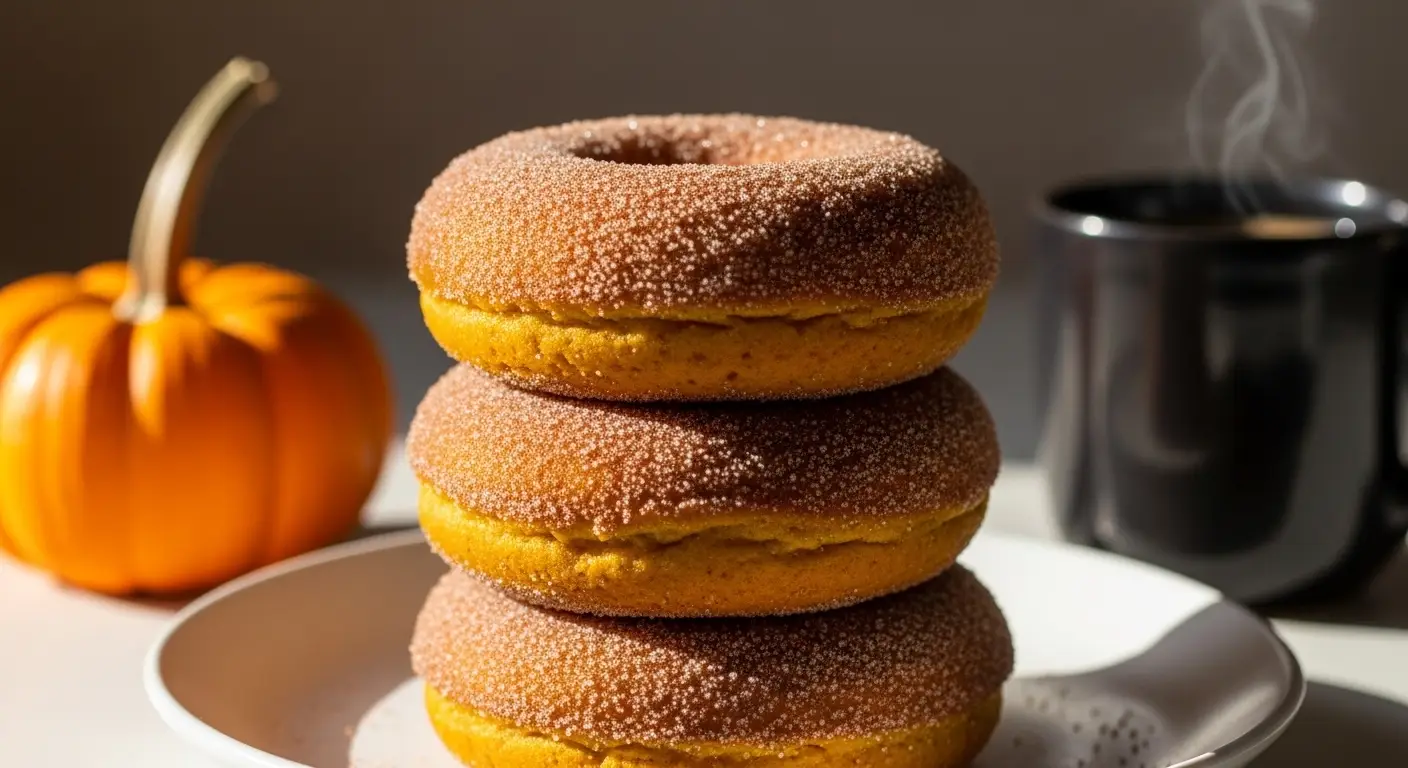
Classic Whoopie Pies with Marshmallow Filling
I remember the first time I saw a whoopie pie. It looked like a giant Oreo cookie, but it felt as soft as a cloud. My grandma used to make these every summer for our town fair. They are not quite cookies, and they are not quite cakes. They are a mix of both, and that makes them the best snack ever. You get two soft rounds of deep chocolate cake with a big swirl of white filling in the middle. It is a messy treat, but that is half the fun of eating it.
Today, I am going to show you how to bake these classic treats in your own kitchen. You do not need to be a professional baker to get them right. This recipe is simple and uses basic things you probably have in your pantry right now. I will guide you through making the batter and the sticky marshmallow filling. By the end of this page, you will know how to make a batch that looks just like the ones from a bakery. Ready to get your hands a little floury with me?
Check out the steps below to start your baking adventure.
The Secret to a Perfect Whoopie Pie
Getting a whoopie pie right is all about texture. Most people think they are just round cakes, but there is more to it. If the cake is too soft, it falls apart when you take a bite. If it is too hard, the filling squishes out the sides and makes a mess. I learned this the hard way when I first started baking. I used to make the batter too thin, and my cakes ended up looking like flat pancakes. It took me a few tries to get the thickness just right so they stay puffy and round.
You also need to think about the flavor. The chocolate should be dark and rich to balance out the very sweet filling. I like to use a good cocoa powder for this. It makes the cakes look almost black and taste like high-quality chocolate. When you put that together with the marshmallow cream, it creates a perfect bite. This recipe is great for kids because it is easy to hold, but adults love them too because they feel nostalgic. It is a win for everyone at the table.
The Essential Ingredients List

You need a few key items to make these pies. For the cake part, you will need all-purpose flour, unsweetened cocoa powder, baking soda, and a pinch of salt. These are your dry ingredients. For the wet part, you need unsalted butter, brown sugar, one large egg, and some vanilla extract. I also use a bit of buttermilk. If you do not have buttermilk, do not worry. You can make some by adding a tiny bit of lemon juice to regular milk and letting it sit for five minutes. It works just as well!
- 2 cups of all-purpose flour
- 1/2 cup of dark cocoa powder
- 1 teaspoon of baking soda
- 1/2 teaspoon of salt
- 1/2 cup of soft butter
- 1 cup of packed brown sugar
- 1 large egg
- 1 teaspoon of vanilla extract
- 1 cup of buttermilk
The filling is even simpler. You need more soft butter, some powdered sugar, and a big jar of marshmallow fluff. Some people like to make their own marshmallow from scratch, but IMO, the jarred stuff is better for whoopie pies. It stays stable and does not melt as fast. You can also add a little vanilla to the filling to give it a boost. Make sure your butter is truly soft before you start, or you will end up with lumps in your cream.
Equipment You Will Need

You do not need fancy tools to bake these. A couple of large mixing bowls will do the trick. I use a hand mixer because it is faster, but you can use a sturdy whisk and some muscle if you prefer. A baking sheet is a must, and I highly recommend using parchment paper. If you bake these directly on the metal, they might stick or get too brown on the bottom. Parchment paper makes it easy to slide them off once they cool down.
Another helpful tool is a small ice cream scoop. This helps you put the same amount of batter for every cake. If your cakes are all different sizes, you will have a hard time finding pairs that match up later. I found this out when I ended up with one tiny cake and one huge cake at the end of my tray! Using a scoop keeps everything neat and even. If you do not have one, a big spoon works too, just try to be very careful with your portions.
Recipe Quick Info
- Prep Time: 20 minutes
- Cook Time: 12 minutes
- Servings: 12 large pies
- Difficulty: Easy
Mixing the Chocolate Batter

Start by heating your oven to 350 degrees. While that warms up, mix your flour, cocoa, baking soda, and salt in one bowl. In another bowl, beat the butter and sugar until it looks fluffy. Add the egg and vanilla and keep mixing. Now comes the part where you have to be gentle. You want to add the dry ingredients and the buttermilk slowly. I usually do it in three turns. Add a little flour, then a little milk, and repeat until it is all in there.
Do not over-mix the batter! If you stir it too much, the cakes will become tough like bread instead of soft like cake. Stop as soon as you don’t see any white flour streaks left. The batter should be thick and look a bit like chocolate frosting. If it feels too runny, you can pop it in the fridge for ten minutes to firm up. This is a small trick I use to make sure my pies stay nice and tall in the oven. It really helps if your kitchen is warm.
Baking the Cake Rounds

Scoop the batter onto your prepared baking sheets. Leave about two inches of space between each mound. These cakes will spread out as they bake, and you do not want them to touch. I usually put six to eight on a single tray. Slide them into the oven and bake for about 10 to 12 minutes. You will know they are done when you touch the top and it springs back. If your finger leaves a dent, they need another minute or two.
Wait! Do not try to move them right away. They are very soft when they first come out of the oven. Let them sit on the hot tray for five minutes before you move them to a wire rack. This lets the bottoms set so they do not tear. I once tried to move them too fast and ended up with a pile of chocolate crumbs. It was a sad day for my dessert plans. Patience is key here. Once they are on the rack, let them cool completely. They must be cold before you add the filling.
Making the Marshmallow Filling

Now for the best part! While the cakes cool, we make the sweet center. Beat your soft butter and powdered sugar together until it is smooth. Then, fold in the marshmallow fluff. You want to use a spatula for this so you do not lose all the air. The fluff is what makes the filling light and bouncy. If you use only butter and sugar, it will taste like regular cake frosting. The marshmallow gives it that special “whoopie” taste that everyone loves.
If your filling feels too soft, you can add a little more powdered sugar. It should be thick enough to hold its shape. FYI, if you live in a place that is very humid, your filling might be a bit runnier than usual. If that happens, just put the filling in the fridge for 20 minutes before you use it. This makes it much easier to pipe or spread onto the cakes. It is a simple fix that saves a lot of frustration when you are trying to assemble the sandwiches.
Assembling Your Whoopie Pies

Once your cakes are totally cool, it is time to build the pies. Find two cakes that are about the same size and shape. Turn one cake upside down so the flat side is facing up. Put a big dollop of filling right in the middle. You can use a spoon or a piping bag if you want to be fancy. Then, take the second cake and press it gently onto the filling. You want the cream to push out toward the edges but not fall out of the pie.
Repeat this until all your cakes are used up. It is okay if they are not perfect! Home-made treats should look a little rustic. I like to let them sit for about 30 minutes after I build them. This lets the filling and the cake bond together so they don’t slide around when you take that first big bite. This is the hardest part because they smell so good, but the wait is worth it for a better eating experience. Trust me on this one.
Perfect Bake Tips
- Even Sizes: Always use a scoop to make sure every pie has a matching partner.
- Cooling: Never fill a warm cake or your marshmallow cream will turn into a puddle.
- Storage: Wrap these in plastic wrap to keep the cake moist for days.
Serving and Storing Suggestions

Whoopie pies are best served with a big glass of cold milk. The milk cuts through the sweetness of the marshmallow and the richness of the chocolate. These are great for lunchboxes or as a treat after dinner. If you are having a party, you can even make mini versions of these. People love small desserts they can eat in two bites. Just remember to lower the baking time by a few minutes if you make them smaller.
If you have leftovers, you need to store them correctly. Wrap each pie individually in plastic wrap. This prevents them from sticking to each other and keeps the air out. They will stay fresh on the counter for about two days. If you want them to last longer, put them in the fridge. They will stay good for up to a week that way. I actually think they taste great cold, especially in the summer. You can even freeze them! Just let them thaw for a few minutes before you eat.
Better Baking for Better Treats
Baking is a skill that gets better every time you do it. Do not be discouraged if your first batch looks a little wonky. Even if they are shaped like funny blobs, they will still taste amazing. The most important part is following the measurements closely. Baking is like a science experiment, and the balance of baking soda and buttermilk is what makes these pies rise. Once you master the basic chocolate version, you can start getting creative with different flavors and colors.
I once tried to make these without enough flour, and they turned into one giant cake on the tray. It was still delicious, but it wasn’t a whoopie pie! Since then, I always double-check my measurements. It is also good to check your oven temperature. Some ovens run hot, so keep an eye on your first batch. If they are browning too fast, turn the heat down a little. Every kitchen is different, and part of being a good baker is learning how your own tools work.
Fun Variations to Try

Once you are comfortable with the classic recipe, you can change things up. You can add a little peppermint extract to the filling for a cool winter treat. Or, you can roll the edges of the filled pies in sprinkles or crushed nuts. This adds a nice crunch and makes them look very festive for a birthday party. I sometimes add a tablespoon of espresso powder to the cake batter to make the chocolate flavor even deeper. It does not make them taste like coffee; it just makes the chocolate pop.
Another fun idea is to change the cake flavor entirely. You can make pumpkin whoopie pies in the fall or vanilla ones with strawberry filling in the spring. The marshmallow filling works well with almost any cake flavor. Just remember that different cakes might have different baking times. Always check for that springy texture on top. Experimenting is the best way to find your own favorite version of this classic snack. Have fun with it!
Frequently Asked Questions
I get a lot of questions about whoopie pies, so here are the most common ones. These should help you if you run into any trouble while baking.
Why are my whoopie pies flat?
Your batter might be too thin or your oven not hot enough. Try chilling the batter for 10 minutes before scooping it onto the pan to help them stay puffy.
Can I use regular frosting instead?
Yes, but it will be much heavier and sweeter. The marshmallow fluff makes the traditional light texture that defines a real whoopie pie.
How do I keep them from sticking?
Always use parchment paper or a silicone mat. Also, wait until they are completely cool before you try to pull them off the surface.
Can I freeze whoopie pies?
Yes! Wrap them tightly in plastic wrap and put them in a freezer bag. They stay good for up to three months. Thaw at room temperature for an hour.
My filling is melting, what do I do?
Your cakes were likely still warm. Make sure they are cold to the touch. If the kitchen is hot, chill the assembled pies in the fridge immediately.
The Joy of Homemade Whoopie Pies
Making whoopie pies at home is a great way to share some love with your friends and family. These chocolate treats are soft, sweet, and totally satisfying. Once you take your first bite of that marshmallow center, you will see why they are a classic. Just remember to be patient while they cool and use plenty of filling. Happy baking and enjoy your treats!