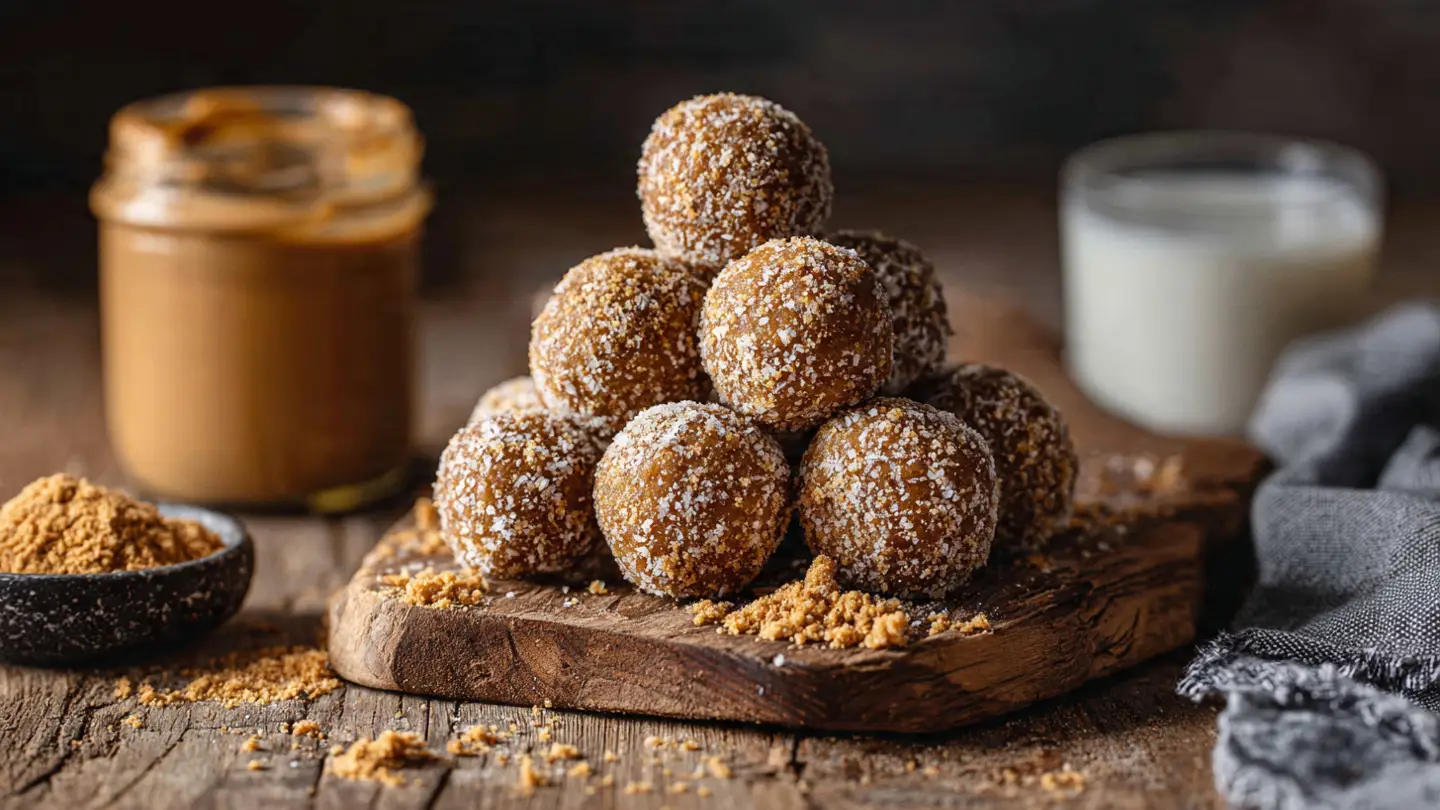
Best Ever Homemade Biscoff Protein Balls for Snacking
I love snacks that taste like a treat but keep me full. Most protein bars at the store taste like chalk or cost too much money. That is why I started making my own protein balls at home. These Biscoff protein balls are my favorite because they taste just like the famous spiced cookies from the airplane. You get all that cookie flavor in a healthy little bite that gives you energy for your day.
In this post, I will show you how to make these easy snacks with just a few simple tools. You do not even need to turn on your oven. We will talk about the best ingredients to use and how to make them perfectly every time. These are great for lunch boxes, gym bags, or just a quick bite when you are hungry at home. Get ready to make a snack that your whole family will love.
Check out the steps below to start making your new favorite snack!
Why You Will Love Making These Protein Balls
Making food at home is usually better than buying it. I used to buy expensive protein snacks every week until I realized how easy it is to make them myself. These balls use Lotus Biscoff spread which is also called cookie butter. It has a warm cinnamon taste that is very hard to resist. When you mix it with protein powder, it feels like eating cookie dough but it is actually good for you.
These bites are great for people who are busy. You can make a big batch on Sunday and eat them all week long. They stay fresh in the fridge and they do not get mushy. Kids like them because they taste like dessert. I like them because they stop my sugar cravings in the afternoon. It is a win for everyone in my house. My first time making these, I used too much liquid and they turned into a sticky mess. I learned that you have to be patient with the texture to get it just right.
The Simple Ingredients You Need

You only need a few things from the store to make these. The main part of the recipe is rolled oats. I like to use old-fashioned oats because they have a better chew than the quick kind. If you only have quick oats, those work too, but the texture will be a bit softer. You also need vanilla protein powder. This adds sweetness and helps you feel full. Any brand you like will work fine as long as you enjoy the taste of the powder on its own.
The star of the show is the Biscoff cookie butter. You can find this in the peanut butter aisle at most grocery stores. It comes in creamy or crunchy versions. I usually pick creamy for a smooth ball, but crunchy adds a nice pop. We also use a little bit of honey or maple syrup to stick everything together. If your protein powder is very sweet, you might not need much extra sweetener. Use your best judgment when you taste the mix.
How to Pick the Best Protein Powder

Not all protein powders are created equal. Some are very thick and some are thin. For this recipe, whey protein works very well because it acts like a glue when it gets wet. If you use a plant-based protein like pea or soy, you might need to add a splash of milk. Plant proteins soak up a lot of moisture. I once made these with a chocolate protein powder and it was okay, but vanilla really lets the Biscoff flavor shine through.
If you do not like protein powder at all, you can try using almond flour instead. It will not have as much protein, but it still tastes great. Just remember that the powder adds a lot of the sweetness. If you skip it, you might want to add a tiny bit more honey or a dash of cinnamon. Always smell your protein powder before you start. If it smells old, your snack will taste old too. Fresh is always best for no-bake treats.
Recipe Quick Info
- Prep Time: 15 minutes
- Cook Time: 0 minutes (No-bake!)
- Servings: 12 balls
- Difficulty: Very Easy
Step-by-Step Mixing Instructions

First, get a big bowl. Put your oats and protein powder in first. Stir them around so the powder is not in big clumps. Then, add your Biscoff spread and honey. If your cookie butter is very hard, you can put it in the microwave for ten seconds. This makes it easier to stir. Use a big spoon or a spatula to mix everything together. It will look dry at first, but keep stirring.
- Measure your dry ingredients into the bowl.
- Add the wet ingredients like Biscoff and honey.
- Mix until a thick dough forms.
- If it is too dry, add a teaspoon of water or milk.
- If it is too wet, add another spoonful of oats.
I find that using my hands is the easiest way to finish the mixing. Clean your hands well and just squeeze the dough together. It should feel like play-dough. It should not stick to your fingers too much, but it should stay in a ball when you squeeze it. This is the part where you can taste it to see if it needs more cinnamon or sweetness. FYI, the dough is very hard to stop eating once you start!
Rolling Your Protein Balls Perfectly

Now comes the fun part. You want to make all the balls the same size so they are easy to grab. I use a small cookie scoop to get the right amount. If you do not have a scoop, just use a big tablespoon. Take a piece of dough and roll it between your palms. Use a bit of pressure to make sure the ball is tight. If you roll it too lightly, it might fall apart later.
Place each ball on a plate or a tray lined with parchment paper. This stops them from sticking to the plate. If the dough gets too warm from your hands, it might get sticky. You can put the bowl in the fridge for ten minutes if that happens. I like to make mine about the size of a golf ball. This size is perfect for a two-bite snack. Once they are all rolled, you are almost done!
Adding a Delicious Cookie Coating

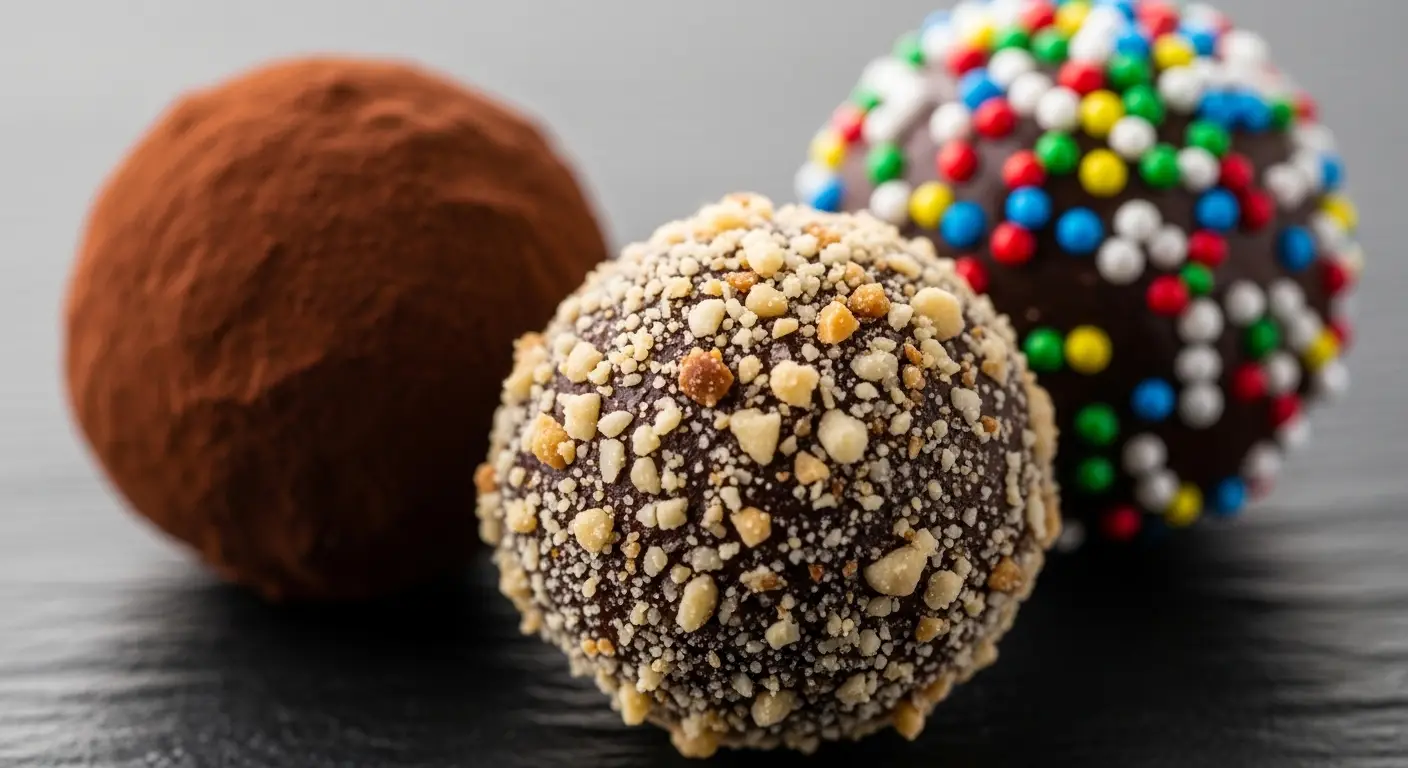
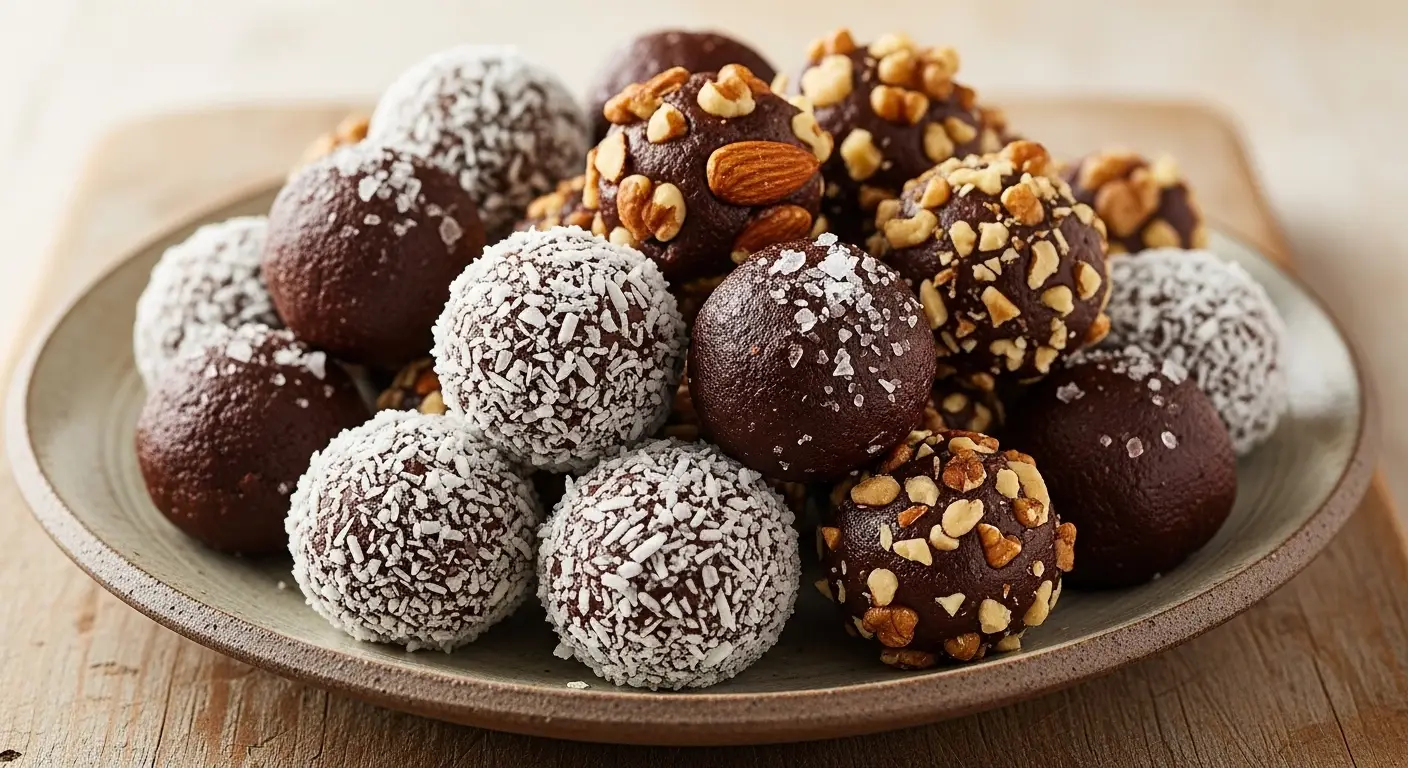
If you want to make these look fancy, you can roll them in extra crumbs. Take two or three Biscoff cookies and crush them up into tiny pieces. Put the crumbs in a small bowl. After you roll each protein ball, drop it into the crumbs and shake it around. This adds a nice crunch to the outside. It also makes them look like they came from a professional bakery.
Another idea is to melt a little bit of the cookie butter and drizzle it over the top. This makes them look very pretty for a party. If you are just making them for yourself, you can skip this step to save time. But IMO, the extra crumbs are worth the extra minute of work. It really boosts the cookie flavor. Just make sure the balls are still a little tacky so the crumbs stick well.
Pro Tips for Success
- Wet Hands: If the dough sticks to you, damp your hands with a tiny bit of water.
- Chill First: Let the balls sit in the fridge for 30 minutes before eating for the best texture.
- Oat Texture: Pulse your oats in a blender for 5 seconds if you want a smoother ball.
Storing Your Snacks for Later

These snacks need to be stored the right way so they stay tasty. You should put them in an airtight container. If you leave them out on the counter, they might get too soft or dry out. I keep mine in the fridge. They will stay fresh for about one week in the refrigerator. Usually, they get eaten way faster than that in my house!
You can also freeze these protein balls. This is great if you want to make a double batch. Put them in a freezer bag and squeeze out the air. They will last for up to three months in the freezer. When you want one, just take it out and let it sit on the counter for ten minutes. They actually taste pretty good cold right out of the freezer too. It is like a little frozen cookie dough treat.
Variations and Special Diets

You can change this recipe to fit what you like. If you cannot have gluten, make sure your oats are certified gluten-free. While Biscoff cookies have gluten, you can find other nut butters that taste similar if you need a total gluten-free snack. For a vegan version, use maple syrup instead of honey and make sure your protein powder is plant-based. The Biscoff spread itself is actually vegan, which is a nice surprise for many people.
I sometimes add mini chocolate chips to my mix. The combination of chocolate and spiced cookie butter is amazing. You could also add chopped pecans or walnuts for more crunch. If you feel like they are too sweet, add a tiny pinch of sea salt. The salt helps balance the sugar and makes the flavors pop. Do not be afraid to experiment with the recipe once you master the basic version.
Common Mistakes to Avoid

One big mistake people make is adding too much liquid at once. It is very hard to fix a runny dough without adding a ton more oats. Always add your milk or water one teaspoon at a time. Another mistake is using a protein powder that you do not like the taste of. Since we are not baking these, you will taste the powder clearly. Pick a brand you enjoy drinking.
Also, do not skip the chilling time. When you first mix them, they can be a bit soft. Letting them sit in the fridge helps the oats soak up the moisture. This makes the balls firm and easy to eat. If you try to pack them in a lunch bag right after rolling, they might get squished. Give them at least thirty minutes to firm up. Your patience will be rewarded with a much better snack experience.
The Best Time to Eat Your Protein Balls
These are the perfect snacks for many times of the day. I love having one with my coffee in the morning. It feels like a fancy breakfast treat but gives me the protein I need to start my day. They are also excellent for that 3:00 PM slump at work. Instead of reaching for a candy bar, I have one of these. It keeps me full until dinner time because of the fiber in the oats.
If you exercise, these are great for after a workout. Your muscles need protein to recover, and the carbs in the oats give you energy back. I always keep a couple in a small container in my gym bag. They are much better than those chalky bars you buy at the gym counter. Plus, they are a lot cheaper to make yourself. You can save several dollars every week by making a batch of these on Sunday night.
How to Pack Them for Travel

If you are going on a hike or a road trip, these are great. They are sturdy and do not crumble easily once they have been chilled. I put them in small reusable bags or tiny plastic tubs. If it is a very hot day, they might get a little soft because of the cookie butter. Try to keep them in a cool spot or near a cold water bottle in your bag. They are the perfect travel fuel for kids and adults.
For school lunches, these are a big hit. Just check if your school allows Biscoff, as it is made in a facility with nuts sometimes, though the spread itself is nut-free. Most kids think they are getting a treat, but you know they are getting good nutrition. I like to wrap them individually in a little bit of wax paper if I am putting them in a shared snack bowl. It keeps them from sticking together and looks like a little piece of candy.
Creative Ways to Serve Biscoff Protein Balls
You do not have to just eat these as balls! Sometimes I crumble one over a bowl of Greek yogurt. It adds a great crunch and flavor to plain yogurt. You can also slice them thin and put them on top of a pancake. If you are feeling very fancy, you can put a toothpick in each one and serve them as a healthy dessert at a party. People always ask me for the recipe when I bring them to gatherings.
Another fun idea is to make a “protein bowl.” Instead of rolling the dough into balls, put it in a bowl and top it with fresh fruit like sliced bananas or berries. Add a splash of milk and eat it with a spoon. It is like a very thick and delicious oatmeal. There are so many ways to enjoy this simple recipe. It is a staple in my kitchen because it is so flexible and fast to make.
Serving Suggestions for Guests

When I have friends over, I like to serve these on a nice plate. Even though they are healthy, they look like truffles. You can dust them with a little bit of cocoa powder or powdered sugar to make them look extra special. I often serve them alongside a fruit platter. The sweetness of the Biscoff goes really well with tart apples or sweet strawberries. It is a crowd pleaser every single time.
If you want to go all out, you can make a “dessert board.” Put the protein balls on a big wooden board with some dark chocolate squares, some nuts, and some dried fruit. It is a much healthier version of a candy board. My friends love it because they can snack without feeling heavy or sluggish afterward. It proves that healthy food does not have to be boring or taste like cardboard.
Frequently Asked Questions
Can I use peanut butter instead of Biscoff?
Yes, you can! Use the same amount of peanut butter. It will taste different but still be very yummy and full of protein.
Are these protein balls nut-free?
Biscoff spread is usually nut-free, but always check the label. Some protein powders or oats might be processed near nuts.
How long do they last in the fridge?
They stay fresh and tasty for about 7 days. Keep them in a sealed container so they do not soak up other fridge smells.
What if the dough is too crumbly?
Add a tiny bit more honey or a teaspoon of milk. Stir it well until the dough sticks together when you squeeze it.
Do I have to use protein powder?
No, you can use oat flour or almond flour instead. You may need to add a little extra sweetener like honey for flavor.
Enjoy Your Homemade Treats
These Biscoff protein balls are the best way to enjoy a sweet snack while staying healthy. They are easy to make, cost very little, and taste amazing. I hope you enjoy making them as much as I do. Keep a batch in your fridge and you will always have a great snack ready to go! Happy snacking!