Easy No-Bake Cheesecake for Beginners
Making a dessert should be fun, not scary. I remember the first time I tried to bake a cake in a hot oven. I burned the edges and the middle was still like soup. It was a big mess! That is why I love this no-bake cheesecake recipe. You do not need an oven at all. It is a great way to make something fancy without any stress.
In this guide, you will learn how to make a perfect cheesecake from start to finish. I will show you how to build a crunchy crust and a fluffy filling. You do not need to be a pro to get this right. By the end of this page, you will know how to wow your friends with a dessert that looks like it came from a shop.
Check out the steps below to start your sweet project!
Why No-Bake Recipes are Great for New Cooks
Cooking can feel hard when there are too many rules. Many cakes need the right heat and the right time in the oven. If the air is too wet or the door opens too soon, the cake falls down. No-bake treats are different. They stay cool and easy. You just mix the food and let the fridge do the hard work for you.
This recipe is very forgiving. If you make a small mistake, it usually still tastes great. It is all about mixing soft cheese with sugar and cream. The cold air makes it firm and steady. It is the best way to build your confidence in the kitchen without worrying about smoke or burnt pans. IMO, it is the best dessert for summer days when you do not want to turn on the stove.
Recipe Quick Info
- Prep Time: 30 minutes
- Cook Time: 0 minutes (plus 6 hours chilling)
- Servings: 8 to 10 people
- Difficulty: Very Easy
Gather Your Simple Ingredients

To start, you need the right tools and food. Most of these things are easy to find at any local grocery store. You do not need fancy spices or rare fruits. I like to lay everything out on my counter before I begin. This helps me make sure I am not missing anything halfway through the mix. It is a simple habit that saves a lot of trouble later on.
- 2 cups of crushed graham crackers (about 12 to 14 full sheets)
- 1/2 cup of melted unsalted butter
- 2 blocks (16 ounces total) of full-fat cream cheese
- 1 cup of powdered sugar
- 1 teaspoon of vanilla extract
- 1 cup of heavy whipping cream (keep it very cold)
- 1 tablespoon of lemon juice
Using full-fat cheese is a big deal here. I once tried to use the light version to be healthy, but the cake stayed soft like pudding. It would not slice! If you want a tall, thick cheesecake, stick to the regular stuff. The heavy cream also needs to be cold right from the fridge so it whips up nice and tall.
Making the Perfect Crunchy Crust

The crust is the floor of your cheesecake. It needs to be strong but also easy to bite. I use graham crackers because they have a nice honey taste. You can put them in a plastic bag and hit them with a rolling pin to make crumbs. It is a great way to get some energy out! You want the crumbs to look like wet sand once you add the butter.
Pour your melted butter over the crumbs and stir it well. Every little bit of crumb should look shiny. If the mix is too dry, the crust will fall apart when you cut the cake. If it is too oily, it will feel heavy. Press the mix into the bottom of a pan. Use the bottom of a flat glass to push it down hard. This makes the base solid and prevents leaks.
How to Mix the Filling Without Lumps

The secret to a smooth cake is soft cheese. Take your cream cheese out of the fridge two hours before you start. If the cheese is cold, it will stay in little lumps no matter how hard you stir. I learned this the hard way and ended up with a bumpy cake that looked like cottage cheese! Soft cheese blends into the sugar like a dream.
Beat the cream cheese and sugar together until it looks like silk. Then add the vanilla and lemon juice. The lemon juice does not make it taste like lemons. Instead, it cuts through the heavy fat and makes the flavor bright. It is like adding a little sparkle to your food. Use a hand mixer if you have one, but a sturdy spoon and some arm muscle work too.
Whipping the Cream for Extra Fluff

Now we need to add air. This is what makes the cheesecake feel light instead of like a heavy block of cheese. In a separate bowl, whisk your cold heavy cream. You want it to get thick and hold its shape. When you lift the whisk, the cream should stand up in a point. This is called a stiff peak. It takes a few minutes, but do not stop too early.
Once the cream is thick, gently fold it into your cheese mix. Do not stir it fast or you will pop all the tiny air bubbles. Use a rubber spatula to go under the mix and over the top. Keep doing this until you do not see any white streaks. This slow move keeps the cake tall and bouncy. FYI, this is the part that makes the texture perfect.
Letting the Fridge Do the Work

Patience is the hardest part of this recipe. You have a bowl of yummy cream, and you probably want to eat it right now. But hold on! A no-bake cheesecake needs time to set. The cold air in the fridge helps the fats get solid again. This is what holds the cake together so you can cut a clean slice.
Cover the pan with plastic wrap so it does not smell like other food in the fridge. I usually leave mine in there overnight. If you are in a rush, six hours is the minimum time. If you try to eat it after only two hours, it will be a delicious mess, but it won’t be a cake. Think of this time as a nap for your dessert. It comes out refreshed and ready to go.
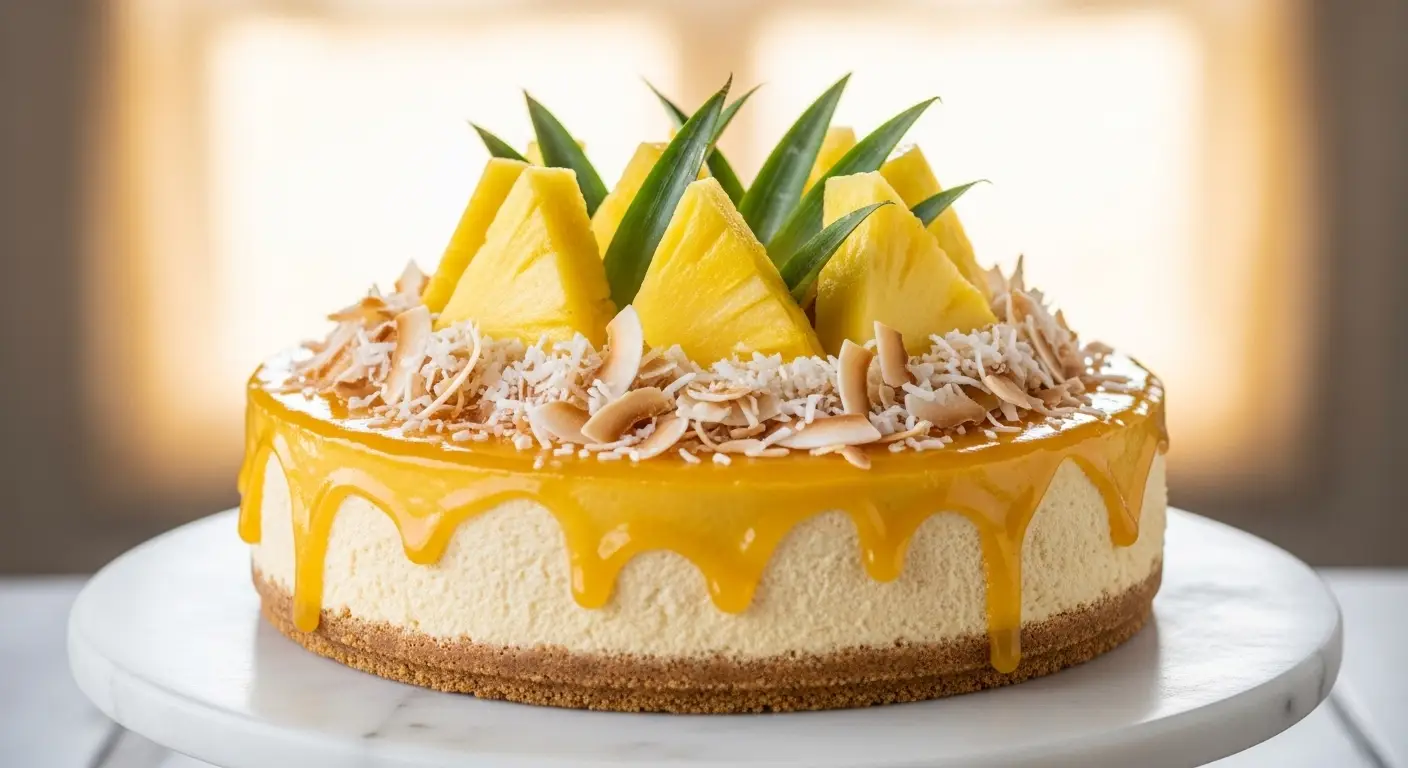
Adding Fun Toppings to Your Cake

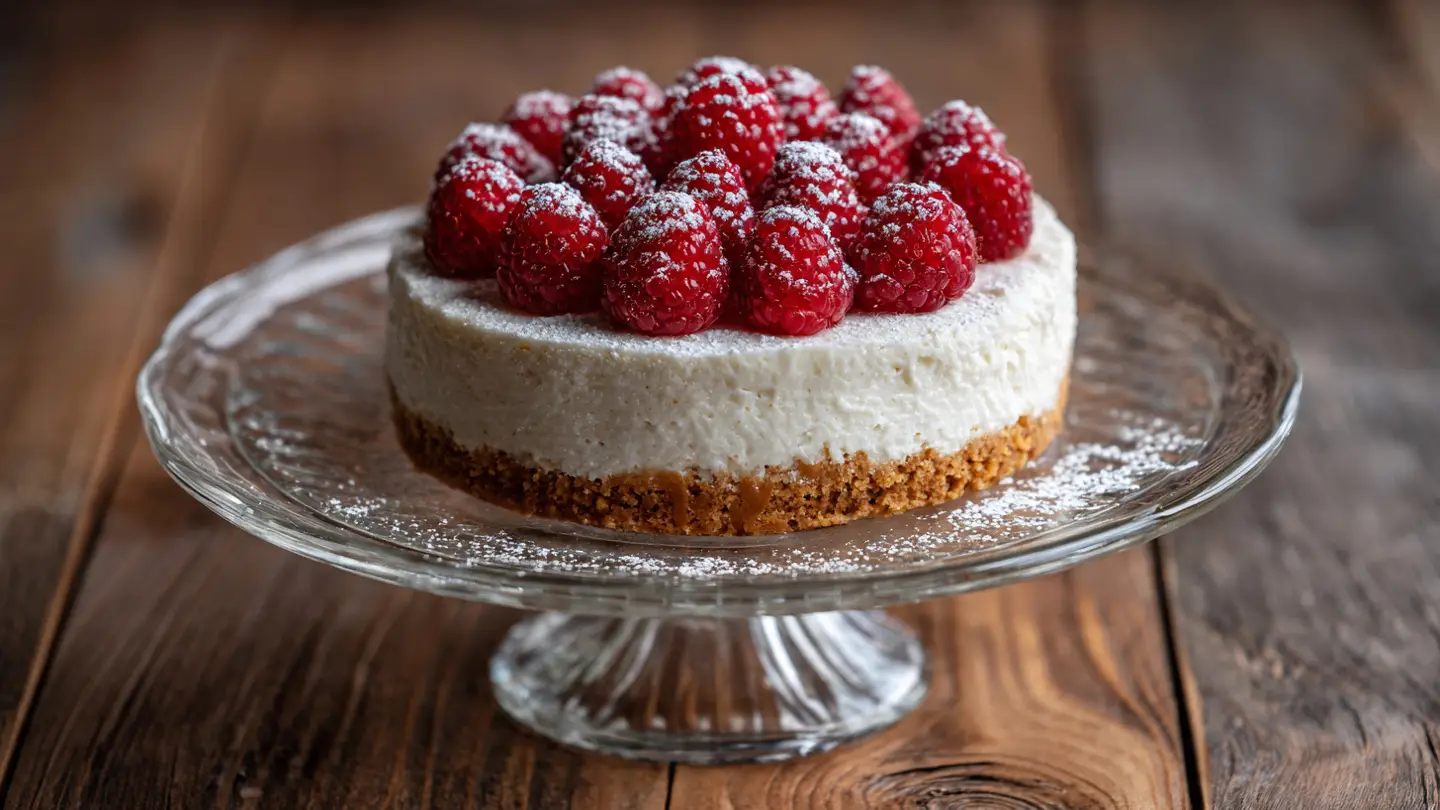
Once the cake is firm, you can make it look beautiful. A plain cheesecake is like a blank paper. You can draw whatever flavor you want on top. I love fresh berries like strawberries or blueberries. You can also use chocolate sauce or crushed candy bars. My favorite is a simple drizzle of caramel with a tiny pinch of salt.
If you want to be fancy, you can pipe extra whipped cream around the edges. It hides any cracks or bumps on the top. Just remember to add the toppings right before you serve it. If you put wet fruit on top too early, the juices might run and make the top of the cake soggy. Keep it fresh and colorful for the best look.
Helpful Tips for Cutting Clean Slices

Have you ever seen a cake that looks smashed after someone cuts it? That happens because the cheese sticks to the knife. To get a clean slice like a pro, use a tall glass of hot water. Dip your knife in the hot water, wipe it dry with a towel, and then make one quick cut. Wipe the knife clean after every single slice you make.
This might seem like a lot of work, but it makes a huge difference. Each person gets a sharp, pretty triangle. It shows off the layers of the crust and the filling. If the cake is still a bit soft, you can put it in the freezer for 20 minutes before cutting. This firms up the edges just enough to make the knife slide right through. It is a simple trick that most people skip!
Pro Baking Secrets
- Cold Tools: Put your mixing bowl in the freezer for 10 minutes before whipping the cream. It helps the cream get thick much faster.
- Room Temp Cheese: Never skip softening the cream cheese. If you forget, you can microwave it for 15 seconds, but be very careful not to melt it.
- Springform Pan: Use a pan with sides that pop off. It makes it much easier to show off your beautiful crust.
Serving and Storing Your Leftovers

This cake is very rich, so small slices are usually best. I like to serve it on small plates with a fork. If you have any cake left over, you must put it back in the fridge. Cream cheese and heavy cream can spoil if they sit on the counter for too long. You should not leave it out for more than two hours at a time.
You can keep this cheesecake in the fridge for up to five days. It actually tastes even better on the second day because the flavors have more time to mix. You can also freeze it! Wrap the whole cake or single slices in foil. When you want a treat, let a slice thaw in the fridge for an hour. It stays creamy and delicious even after being frozen for a month.
Your Common Questions Answered
Sometimes things go wrong or you want to try something new. Here are some quick answers to help you out. Cooking is a learning process, so don’t be afraid to ask questions. These are the things my friends ask me most often when they try this recipe for the first time.
Can I use low-fat cream cheese for this recipe?
I do not recommend it. Low-fat cheese has more water and will make the cake too soft to slice. Full-fat cheese gives the best thick texture.
Why is my no-bake cheesecake still runny?
It likely needs more time in the fridge. It needs at least 6 hours. Also, make sure you whipped your heavy cream until it was very stiff before folding it in.
Can I make this cake without a springform pan?
Yes! You can use a regular pie dish or a square baking pan. You will just have to scoop it out like a pie instead of popping the sides off.
How do I crush the crackers if I don’t have a bag?
You can use a blender or food processor. Just pulse them a few times until they look like sand. Be careful not to turn them into dust!
What can I use instead of graham crackers?
Chocolate sandwich cookies or vanilla wafers work great. Just use the same amount of crumbs and butter as the original recipe.
Start Your Baking Adventure Today
You now have all the tools to make a delicious no-bake cheesecake. It is simple, fun, and tastes amazing. Remember to take your time and let it chill. Once you master this base, you can try all kinds of fun toppings. Enjoy every bite of your sweet success!