The Famous Round Rock Donut Copycat Recipe
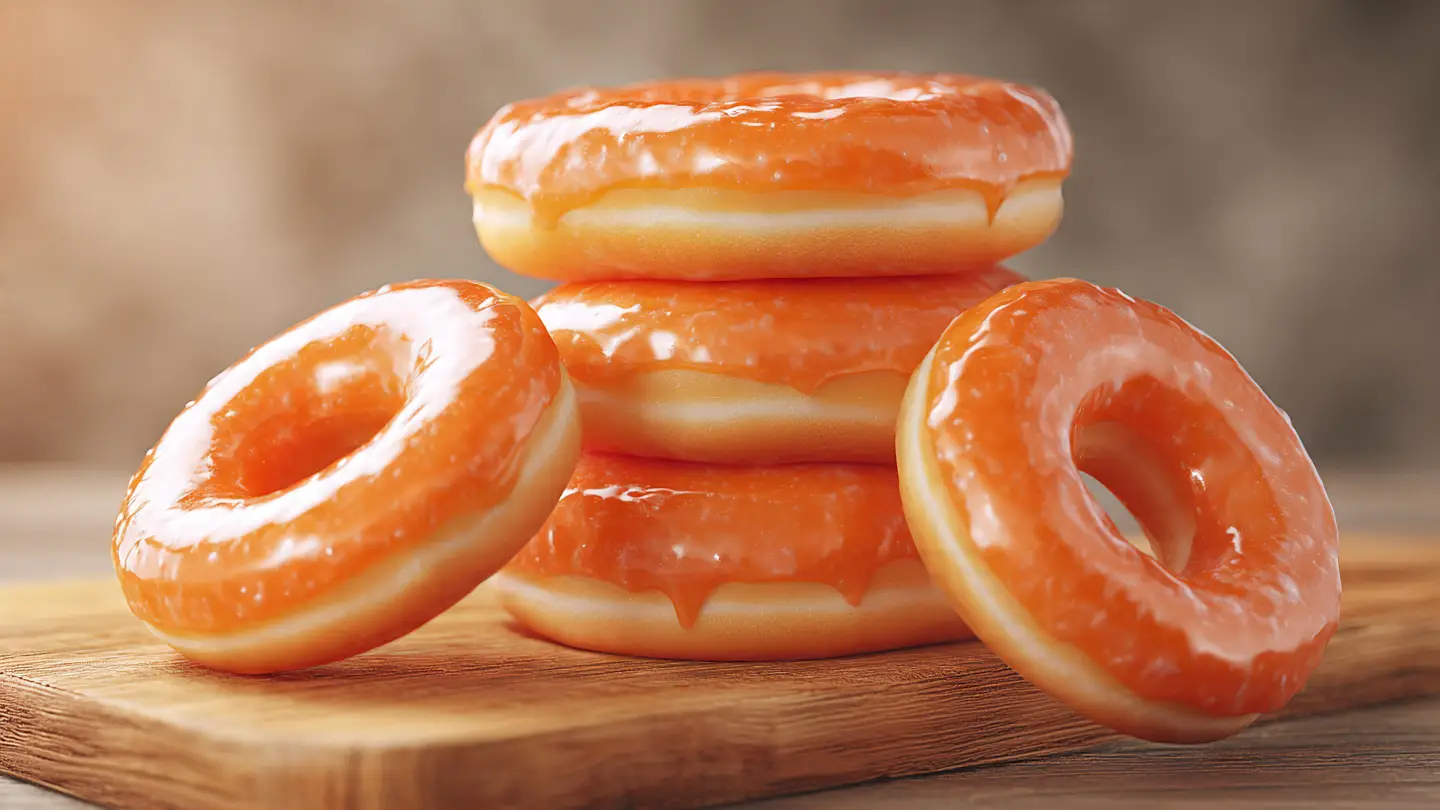
Have you ever had a donut that was so orange it looked like a piece of art? People in Texas know exactly what I am talking about. These special donuts are famous for a reason. They are big, bright, and taste like a sweet dream. If you live far away, you might miss them a lot. I know I did after my last trip to Round Rock.
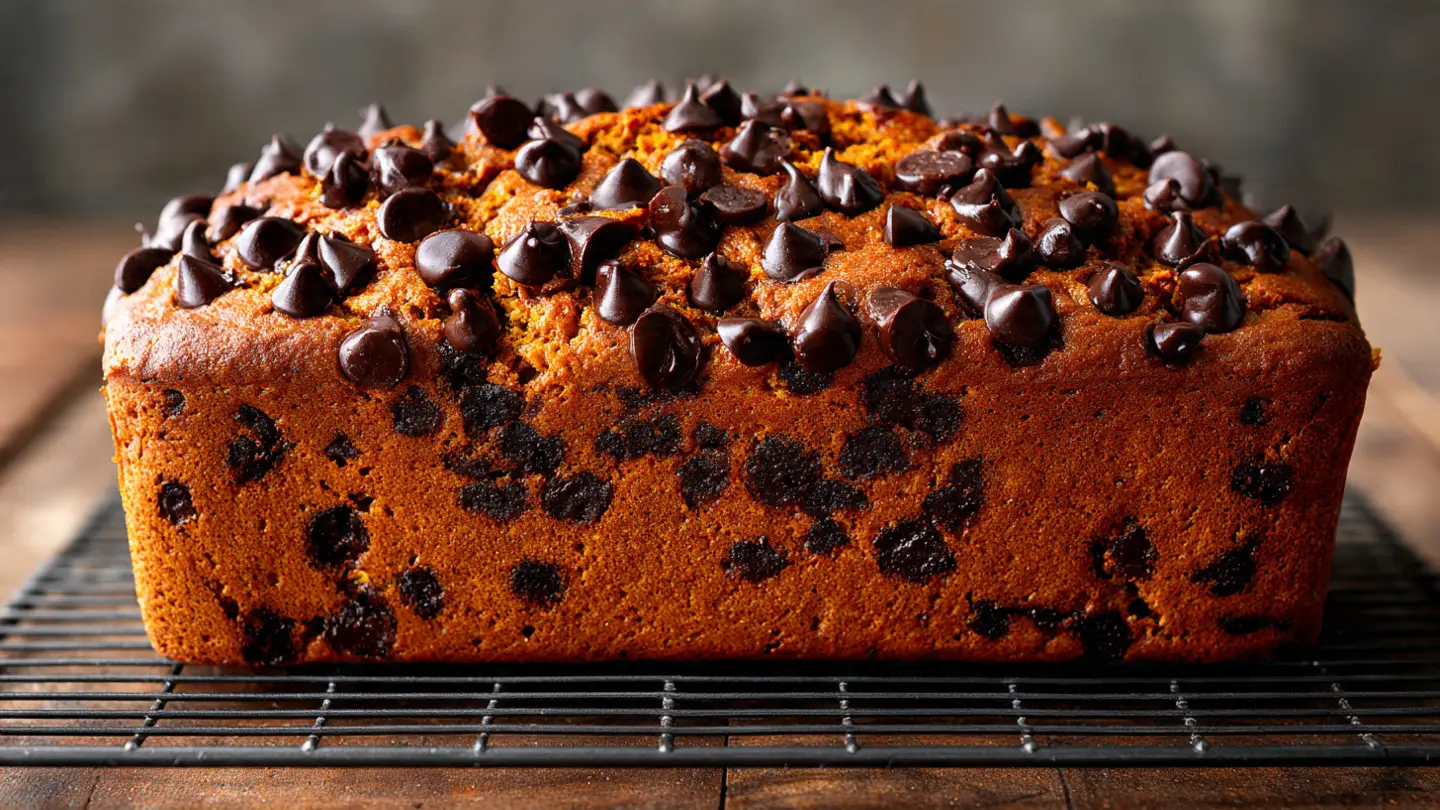
I spent a long time in my kitchen trying to get the color and taste just right. It took many tries to make them soft enough. Most donuts are pale, but these have a deep yellow or orange color. My house smelled like a bakery for a whole week while I tested this recipe. I finally found the secret to making them perfect every time.
Today, I will show you how to make these famous treats at home. You do not need to be a pro baker to do this. I will walk you through every step. You will learn how to make the dough, how to fry them safely, and how to get that shiny glaze. Let’s get cooking so you can eat a warm donut soon!
Check out the full list of what you need below to get started on your donut adventure.
Recipe Quick Info
- Prep Time: 2 hours
- Cook Time: 15 minutes
- Servings: 12 large donuts
- Difficulty: Medium
The Secrets Behind the Best Orange Donuts
Making a donut at home is different than buying one at a shop. You have to control the heat and the timing yourself. The most important thing is the dough. It needs to be airy and light. If the dough is too heavy, the donut will feel like a brick in your stomach. We want it to feel like a cloud.
The bright color comes from a special mix of ingredients. Some people think it is just food coloring. While you can use that, I like to use fresh egg yolks too. The yolks add a rich taste and a natural yellow tint. When you mix them with a little bit of orange or yellow coloring, you get that famous look. It makes the donuts stand out on any plate.
The Ingredients You Need

To make these donuts, you need basic pantry items. You will need bread flour because it has more protein. This helps the donuts stay strong but soft. You also need warm milk, sugar, and yeast. The yeast is what makes the dough rise and get puffy. Without good yeast, your donuts will stay flat and sad.
Do not forget the butter. Use unsalted butter so you can control the salt yourself. You will also need about four large egg yolks. These are the key to the texture. For the color, I use a few drops of gel food coloring. Gel is better than liquid because it does not change how the dough feels. You will also need a lot of oil for frying, like vegetable or canola oil.
- 3 cups bread flour
- 1/4 cup granulated sugar
- 1 packet active dry yeast
- 3/4 cup warm milk
- 4 large egg yolks
- 4 tablespoons softened butter
- 1 teaspoon salt
- Yellow and orange gel food coloring
How to Make the Dough

First, you need to wake up the yeast. Put the warm milk and a little sugar in a bowl. Sprinkle the yeast on top. Wait about five minutes until it looks bubbly. If it does not bubble, your yeast might be old. I had to throw away a whole batch once because my yeast was dead. It was a bummer, so always check for those bubbles!
Once the yeast is ready, add the rest of the sugar, egg yolks, and food coloring. Mix it well until the color is even. Then, slowly add the flour and salt. If you have a stand mixer, use the dough hook. It saves your arms from getting tired. Mix it until the dough is smooth and pulls away from the sides of the bowl. Add the butter last and mix until it disappears into the dough.
Letting the Dough Rise

This part requires patience. You cannot rush a good donut. Put the dough in a greased bowl and cover it with a warm cloth or plastic wrap. Place it in a warm spot in your house. It needs to stay there for about an hour or until it doubles in size. In the winter, I sometimes put mine near a warm oven to help it along.
Why is rising important? It creates tiny air pockets. When the donut hits the hot oil, those pockets expand. That is how you get a light donut. If you skip this, the inside will be doughy and gross. Take this time to clean up your kitchen or watch a show. Just make sure the dough looks nice and puffy before you move to the next step.
Cutting the Famous Shapes

Once the dough is big and puffy, punch it down to let the air out. Roll it out on a floured surface. You want it to be about half an inch thick. If it is too thin, the donuts will be crunchy. If it is too thick, they won’t cook all the way through in the middle. Use a round cutter to make the circles. These donuts are usually big, so use a large cutter.
Don’t forget the hole in the middle! You can use a smaller cutter for that. I save the little circles to make donut holes later. FYI, the donut holes are usually the first thing to get eaten in my house. Put the cut donuts on a baking sheet lined with parchment paper. They need to rise one more time for about thirty minutes. This second rise makes them extra fluffy.
The Art of Frying

Frying can be scary if you have never done it. The most important rule is to keep the oil at the right heat. You want it to be 350 degrees. If the oil is too cold, the dough drinks the grease and gets soggy. If it is too hot, the outside burns while the inside stays raw. I highly recommend using a kitchen thermometer to stay safe.
Drop the donuts into the oil carefully. Do not put too many in at once or the oil temperature will drop. Cook them for about sixty to ninety seconds on each side. They should look golden brown but still show that bright orange color. Use a slotted spoon or a wooden stick to flip them. Let them drain on a wire rack so they stay crisp. Putting them on paper towels can sometimes make the bottom soggy.
Making the Perfect Glaze

The glaze is the finishing touch. It should be thin enough to see the orange color through it, but thick enough to taste sweet. I make mine with powdered sugar, a splash of milk, and a little vanilla. Sometimes I add a tiny bit of corn syrup. This helps the glaze stay shiny even after it dries. It looks just like the ones from the famous shop.
You must glaze the donuts while they are still warm. Not hot, but warm. This helps the glaze stick and create a smooth coating. Dip each side into the bowl and let the extra drip off. If the glaze gets too thick in the bowl, just add a teaspoon of warm milk to thin it back out. This is my favorite part because you can finally see the finished product!
Pro Frying Tips
- Oil Temp: Keep it at 350 degrees for the best crunch.
- Room Temp: Make sure your eggs and butter are not cold.
- Donut Holes: Fry these last as a snack for the cook!
Serving and Storing Your Treats

Donuts are best when they are fresh. I like to eat mine within an hour of frying. The outside is slightly crisp and the inside is like a warm pillow. They go perfectly with a cup of coffee or a cold glass of milk. If you have kids, they will love the bright color. It makes breakfast feel like a party.
If you have leftovers, store them in a paper bag or a box. Do not use an airtight plastic container. Plastic traps moisture and makes the glaze melt and get sticky. IMO, they are never quite as good the second day, but you can zap them in the microwave for five seconds to soften them up. It makes them taste almost new again. Just don’t overdo it or the sugar will turn into hot lava!
Common Kitchen Hurdles
Sometimes things go wrong when you try a copycat recipe. I once forgot to add the salt, and the donuts tasted very flat. Salt helps bring out the sweetness of the sugar. Another common issue is the dough not rising. This usually happens if your milk was too hot and killed the yeast. The milk should feel like warm bath water, not boiling.
If your donuts look more brown than orange, your oil might be dirty or too hot. Use fresh oil every time you fry a big batch. Also, remember that this recipe might not work well if you live in a very humid place. The flour might need a little extra moisture or a bit more flour to stay firm. Cooking is all about adjusting to what you see in front of you.
Variations to Try

While the classic glaze is the best, you can get creative. You can dip these orange donuts in chocolate frosting for a cool look. The dark brown and bright orange look great together. You can also add sprinkles if you are making them for a birthday. The orange base makes any topping look more exciting than a normal white donut.
Some people like to fill them. You could poke a hole in the side and squeeze in some lemon curd or raspberry jam. Since the dough is already a bit citrus-colored, lemon goes really well with it. My personal favorite is adding a tiny bit of cinnamon to the glaze. It gives it a warm flavor that reminds me of fall. There are no rules once you master the basic dough!
My Best Advice for Donut Success
Why are the donuts orange?
The color comes from a mix of many egg yolks and a little bit of food coloring. It gives them a unique look and a very rich taste that sets them apart from white donuts.
Can I bake these instead of frying them?
You can, but they will taste more like rolls. Frying gives them that special crust and texture. If you bake them, use 350 degrees for about 10 to 12 minutes.
What oil is best for frying donuts?
Vegetable oil or canola oil works best. They have a high smoke point and do not have a strong taste. Avoid olive oil because it will make the donuts taste funny.
How do I know if my yeast is alive?
Mix it with warm milk and sugar. If it turns foamy and smells like bread after five minutes, it is good to go. If the water stays clear, throw it away and get new yeast.
Can I make the dough the night before?
Yes! You can let the dough rise in the fridge overnight. This actually makes the flavor better. Just let it come to room temperature before you roll and cut it.
Enjoy Your Texas Treats
You now have the power to make the world’s most famous orange donuts in your own kitchen. They are soft, sweet, and look amazing. Share them with your friends and family to show off your skills. Happy baking and enjoy every bite!