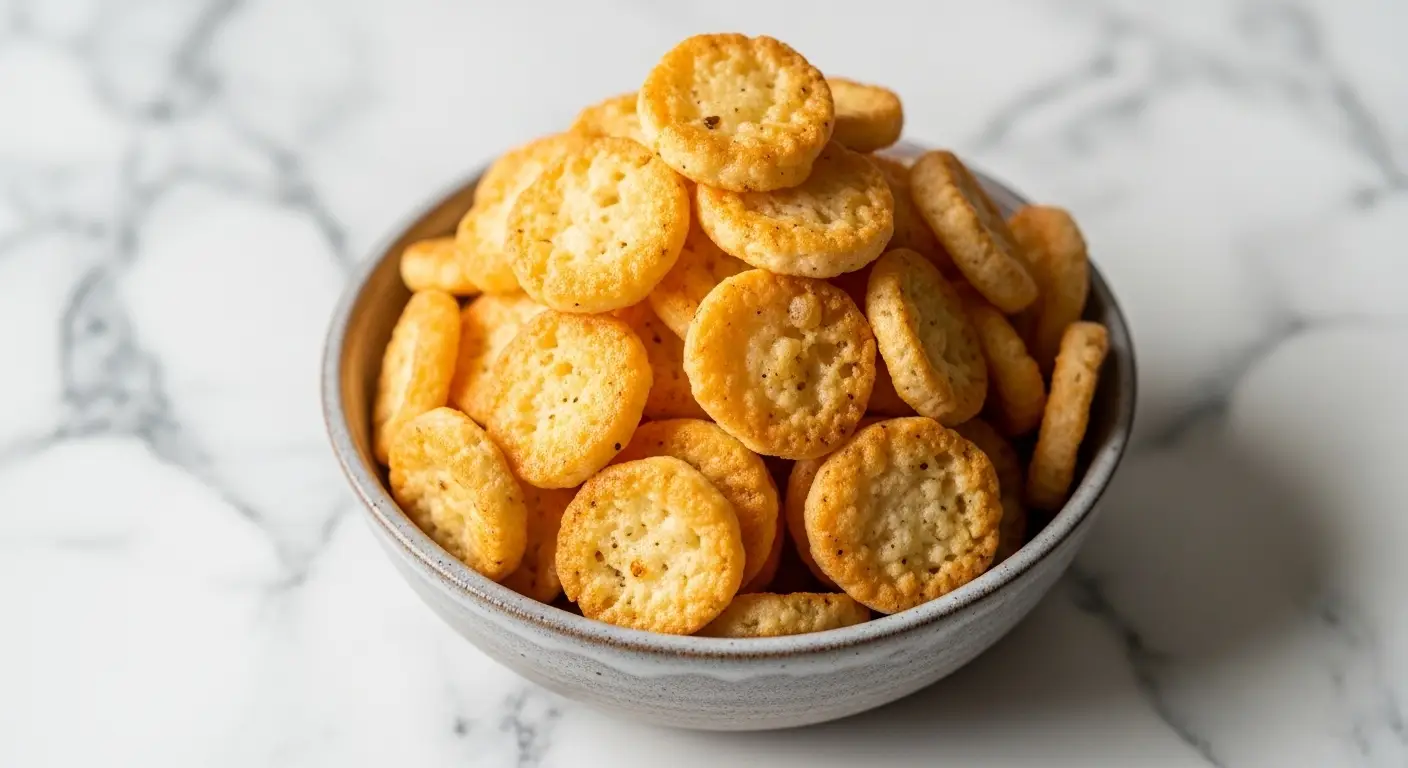
Cottage Cheese Chips
I never thought I could make a crunchy snack out of a tub of lumpy cheese. It sounded a bit strange when I first heard about it. But let me tell you, these Cottage Cheese Chips are a total win for anyone who loves a good crunch. They are salty, cheesy, and very easy to make in your own kitchen.
In this article, you will learn how to turn basic cottage cheese into thin, crispy rounds. I will show you the exact steps to get them perfect every time. You will also find tips on how to season them so they taste just like your favorite store-bought snacks. Get ready to meet your new favorite healthy treat!
Want to see how easy it is to start snacking better today?
The Secret to Crispy Cheese Snacks
Making these chips is all about removing the water from the cheese. Cottage cheese has a lot of liquid in it. If you just put it in the oven, it might stay soft or get mushy. The goal is to let the heat bake away the moisture until only the protein and fat remain. This creates a lacy, golden-brown disc that snaps when you bite it.
I remember the first time I tried this. I put a big glob of cheese on the tray and waited. It took forever to cook! I learned that spreading the cheese very thin is the most important part. If the layer is too thick, the middle stays chewy while the edges burn. You want a nice, even layer so the whole chip gets crispy at the same speed.
What You Need to Get Started

You only need a few simple things from the store to make this happen. The star of the show is cottage cheese. I suggest using the full-fat kind because it tastes better and holds together well. You also need some parchment paper. Do not skip the parchment paper! If you put the cheese directly on a metal pan, it will stick and you will never get it off.
Besides the cheese, you will want some spices. Garlic powder, onion powder, and dried herbs are great choices. Since cottage cheese is already a bit salty, you might not even need extra salt. I like to keep a small bowl of my favorite spices ready so I can sprinkle them on quickly before the tray goes into the oven.
Preparing Your Baking Sheet

Before you even open the cheese, turn your oven on. Setting it to 350 degrees is usually just right. While the oven gets hot, lay your parchment paper flat on a large cookie sheet. Sometimes the paper likes to curl up. I usually put a tiny drop of water or oil on the corners of the pan to help the paper stay flat while I work.
Now, take a spoon and scoop out small amounts of cheese. Place them about two inches apart on the paper. I use about one tablespoon for each chip. If you put them too close together, they might melt into one giant cheese sheet. That still tastes good, but it is much harder to eat like a chip! Use the back of your spoon to flatten each mound into a thin circle.
Adding Flavor and Spices

This is the part where you can get creative. Plain cheese chips are okay, but spices make them amazing. I love using everything bagel seasoning. It has seeds and salt that add a nice texture. You can also try taco seasoning if you want something a bit spicy. Just a tiny pinch on each circle is enough to change the whole flavor profile.
One mistake I made once was adding fresh garlic. The fresh bits burned before the cheese was even done. It tasted very bitter. Stick to dry spices for the best results. If you like heat, a tiny dash of cayenne pepper works wonders. Just remember that the flavor gets stronger as the water leaves the cheese, so do not go too heavy at first.
Recipe Quick Info
- Prep Time: 5 minutes
- Cook Time: 15-20 minutes
- Servings: 2 people
- Difficulty: Very Easy
Step-by-Step Baking Guide
Baking is where the magic happens. You will see the cheese start to bubble and melt almost immediately. It will look like a mess at first, but don’t worry. The bubbles are just the steam escaping. As the steam leaves, the proteins in the cheese start to link up and get firm. This is a great time to keep an eye on the oven window so you don’t miss the perfect moment.
I usually set my timer for fifteen minutes. Every oven is a little bit different. Some ovens have hot spots that might cook one side of the tray faster than the other. Halfway through the cooking time, I like to rotate my pan. This ensures every chip gets the same amount of heat. You are looking for the edges to turn a dark golden color while the center stays a light tan.
How to Tell When They Are Done

The hardest part of this recipe is knowing when to pull the tray out. If you take them out too soon, they will be soft and chewy like a warm piece of cheese. If you wait too long, they turn dark brown and taste burnt. The sweet spot is when the bubbling slows down and the edges look dry and crisp. The middle should no longer look wet or shiny.
One trick I use is the touch test. I carefully poke the center of a chip with a toothpick or the edge of a fork. If it feels firm and doesn’t stick to the tool, it is likely ready. FYI, they will actually get even crispier as they cool down on the counter. So, if they feel 90 percent hard in the oven, they will probably be perfect after five minutes of resting.
Cooling and Peeling the Chips

Patience is key here. I know it is tempting to grab a hot chip right away, but you must wait. If you try to peel them off the paper while they are screaming hot, they might tear or bend. Let the tray sit on top of the stove for at least three to five minutes. This lets the fats settle and the structure of the chip harden up completely.
Once they are cool, they should peel right off the parchment paper with no effort. If they stick, it might mean they needed another minute or two in the oven. I love the sound they make when I pile them into a bowl. It sounds just like a bag of potato chips! If some of them are still a bit flexible, you can always pop them back in for a short burst of heat.
The Best Ways to Serve Them

These chips are sturdy enough to handle some dipping. I think they go great with a cold salsa or even a bit of guacamole. Because they are made of cheese, they have a rich flavor that pairs well with acidic or spicy toppings. They also make a great topping for a salad. Instead of croutons, I sometimes crumble these chips over my greens for an extra crunch.
If you are serving these to friends, keep them in a single layer if possible. If you stack them too high while they are still slightly warm, they might lose their crunch. I usually just put them out in a big shallow bowl. They disappear fast, so you might want to make a double batch! They are a great snack for movie night or a quick lunch side dish.
Storing Your Leftovers

In my house, we rarely have leftovers because these chips are so tasty. However, if you do have some left, you need to store them correctly. Do not put them in the fridge! The moisture in the fridge will make them soggy in no time. Instead, put them in an airtight container or a zip-top bag and keep them on the counter in a cool, dry spot.
They usually stay crunchy for about two days. If they do get a bit soft, don’t throw them away. You can put them back on a baking sheet and heat them at 300 degrees for three minutes. This wakes them up and makes them snappy again. IMO, they are best eaten the same day you make them for the ultimate crunch factor.
Pro Baking Tips
- Don’t Overcrowd: Leave space so the air can move around each chip.
- Use Parchment: Foil or wax paper will not work the same way.
- Watch the Color: Golden is great, but dark brown is bitter.
Common Mistakes and Fixes
Even though this recipe is simple, things can go wrong. One of the biggest issues people have is using the wrong kind of cottage cheese. If you use the low-fat or fat-free kind, the chips might be very brittle or tasteless. The fat helps the cheese melt into a solid shape. If your chips are falling apart into dust, try a brand with more fat next time.
Another common problem is uneven thickness. If one side of your chip is thick and the other is paper-thin, it won’t cook right. I spend an extra ten seconds on each scoop making sure it is as flat as possible. A flat chip is a happy chip! Also, make sure your oven is actually at the right temperature. Sometimes old ovens run cold, which leads to chewy chips instead of crispy ones.
Choosing the Right Brand

Not all cottage cheese is created equal. Some brands have very large curds, while others are almost smooth. For chips, I prefer the small curd variety. Large curds can sometimes create big bumps that take longer to dry out. If you only have large curd cheese, you can actually pulse it in a blender for five seconds to break it down before you bake it.
I have also noticed that some brands add more liquid to the tub than others. If your cheese looks like it is swimming in milk, you might want to drain it a little bit. I sometimes put my cheese in a fine-mesh strainer for a minute to let the extra liquid drip out. This saves me about five minutes of baking time and results in a much crispier snack.
Why This Snack is a Winner

Most chips you buy at the store are full of oil and flour. These chips are almost entirely protein. That makes them a great choice for people who want to feel full after a snack. I love that I can eat a whole tray of these and feel good about it. They give me that salty fix I crave without making me feel sluggish afterward.
They are also very cheap to make. A single tub of cottage cheese costs very little and can make several batches of chips. It is a budget-friendly way to eat healthy. Plus, it is a fun kitchen project for kids. My nephew loves helping me flatten the cheese mounds and watching them bubble through the oven door. It’s like a little science experiment that you get to eat!
Flavor Variations to Try

Once you master the basic recipe, you can start mixing things up. One of my favorite variations is the Pizza Chip. I add a tiny bit of dried oregano and a sprinkle of parmesan cheese on top. It tastes just like the crispy edges of a cheese pizza! You can also try a Ranch version by using a little bit of dry ranch dressing mix. The possibilities are endless.
If you like sweets, you might even try a cinnamon sugar version, though it sounds a bit wild with cottage cheese. I usually stick to the savory side. Another great idea is adding a tiny slice of jalapeño to the center of each chip before baking. It gives a nice kick and looks beautiful when served. Just make sure the jalapeño is sliced very thin so it dries out with the cheese.
Your Questions Answered
Can I make these in an air fryer?
Yes! Use a piece of parchment paper cut to fit your basket. Cook at 350 degrees for 8-10 minutes. Watch them closely as they cook faster than in an oven.
Why are my chips still soft in the middle?
They likely need more time or were spread too thick. Try baking for 2 more minutes or spreading the cheese thinner next time to help the moisture escape.
Do I need to grease the parchment paper?
No, the fat in the cheese prevents sticking to parchment. Adding oil might actually make them greasy instead of crispy. Just use plain parchment paper.
Can I use fat-free cottage cheese?
You can, but they won’t be as tasty. Fat-free cheese doesn’t melt or crisp as well. 2% or 4% fat cottage cheese works much better for this recipe.
What spices are best for kids?
Most kids love a simple garlic powder or just plain cheese. Mild paprika adds a nice color without adding any heat that might bother them.
Happy Snacking Everyone
I hope you give these Cottage Cheese Chips a try. They are a simple, crunchy, and smart way to snack. Whether you eat them plain or dip them in salsa, they are sure to satisfy your cravings. Enjoy your homemade treats!