10 Nutritious Breakfast Bars Perfect for School Lunches
Morning time is often very busy at my house. I used to spend a lot of time making eggs or toast while everyone was rushing to get out the door. It was stressful for me and my kids. Then I found a better way to handle the breakfast rush. I started making breakfast bars on the weekend so we could just grab them and go on Monday morning.
These bars are not just for breakfast though. They are also perfect for school lunch boxes. They stay fresh for a long time and they do not make a huge mess. In this article, you will learn about 10 different kinds of bars you can make at home. These ideas use simple ingredients like oats, honey, and fruit. You will save money and know exactly what is inside your food.
Get your mixing bowl ready and let us look at these tasty ideas.
Try making one of these batches this Sunday to see how much easier your week becomes.
Why Homemade Bars Are Better Than Store Bought
When I go to the grocery store, I see whole aisles filled with granola bars. They look good on the box, but when I read the back, I see a lot of sugar. Many of them have words I cannot even say! Making them at home lets me control what goes in. I can add more seeds or use less sugar if I want to. It is also a lot cheaper to buy a big bag of oats than to buy tiny boxes of bars every week.
I remember one time I tried to make a batch of bars and they just crumbled into a pile of granola. I was so sad! I learned that you have to press the mixture down very hard into the pan. If you do not push it down, it will not stick together. Now, I use the bottom of a heavy cup to pack them in tight. It works every time. These bars are great for kids because they provide energy that lasts until recess. They are soft enough for little teeth but tough enough to survive a bumpy backpack ride.
Quick Snack Guide
- Prep Time: 15-20 minutes
- Bake Time: 0-25 minutes
- Shelf Life: 7 days in a jar
- Difficulty: Very Easy
Classic Honey and Oat Bars

These are the bars that started it all for me. They are very simple and only need a few things you likely have in your pantry right now. You just need rolled oats, honey, a little butter, and a pinch of salt. The honey acts like glue to hold everything together. When they bake, the honey smells like a dream and makes the kitchen feel cozy. My kids love these because they are sweet but not like candy. You can even add a few chocolate chips if you want to be the favorite parent for a day.
One thing to know is that honey can burn if the oven is too hot. I keep my oven at a medium heat to make sure they stay golden and not dark brown. If you find your bars are too sticky, you can wrap them in small pieces of parchment paper. This keeps fingers clean at school. These are great for picky eaters who do not like “bits” in their food. They are just smooth, sweet, and chewy oats that fill up hungry bellies perfectly.
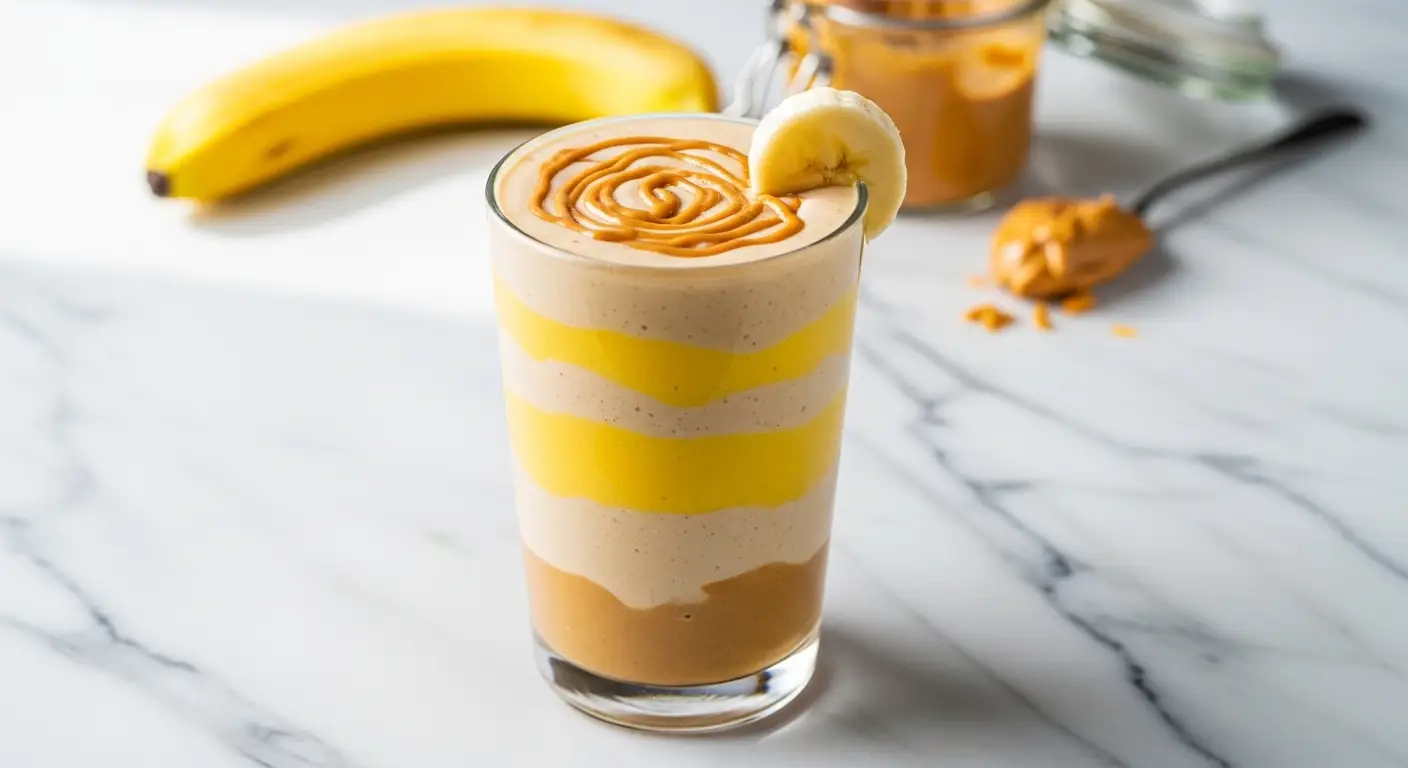
Peanut Butter and Banana Soft Bars

If you have brown bananas on your counter, do not throw them away! I use them to make these soft bars. The banana makes them taste like bread but they are shaped like a bar. Peanut butter adds protein which helps kids focus in class. I like how soft these are because they are easy to chew. They almost feel like a treat, but they are full of good stuff. FYI, you can use almond butter or sunbutter if your school does not allow peanuts.
I once made these and forgot to grease the pan. It was a total mess! I had to eat the bars with a spoon straight out of the dish. Now I always use parchment paper so I can lift the whole block out at once. It makes cutting them into squares much easier. These bars stay moist for about three days. If you make a big batch, you can put half in the freezer. They thaw out quickly in a lunch box by noon. It is a smart way to use up fruit that looks a bit old.
Apple Cinnamon Baked Squares

These bars taste exactly like apple pie but they are much healthier. I chop up fresh apples into very tiny pieces so they cook fast. The cinnamon makes the whole house smell amazing while they are in the oven. I usually leave the skin on the apples because it has vitamins and saves me time. No one ever notices the skin once they are baked! These bars are a bit more like a cake than a crunchy granola bar. They are very filling for cold winter mornings.
Sometimes the apples can make the bars a little wet. To fix this, I make sure to pat the apple pieces dry with a paper towel after I chop them. This keeps the bars from getting soggy. I also like to add a few raisins for extra sweetness. These are a big hit during the fall when apples are cheap at the farm. If your kids like applesauce, they will definitely like these. They are a great way to sneak a little fruit into a lunch that might otherwise just be a sandwich.
Chocolate Chip Zucchini Bars

I know what you are thinking. Vegetables in a breakfast bar? I was scared to try it too! But the zucchini actually disappears when it bakes. It just makes the bars really soft and keeps them from getting dry. The chocolate chips are there to make sure the kids actually eat them. I call them “Hulk Bars” sometimes to make it fun. This is my favorite way to use up zucchini from the garden in the summer. It is a sneaky way to get some greens into a kid who only wants to eat white bread.
The trick here is to squeeze the water out of the zucchini. After I grate it, I put it in a clean kitchen towel and squeeze it as hard as I can. If you skip this, your bars will be a puddle! I learned that the hard way during my first try. Once the water is gone, you just mix it in with your oats and flour. They come out looking mostly like oatmeal bars with little green flecks. My kids think they are special muffins in bar form. IMO, they are the best way to eat veggies for breakfast.
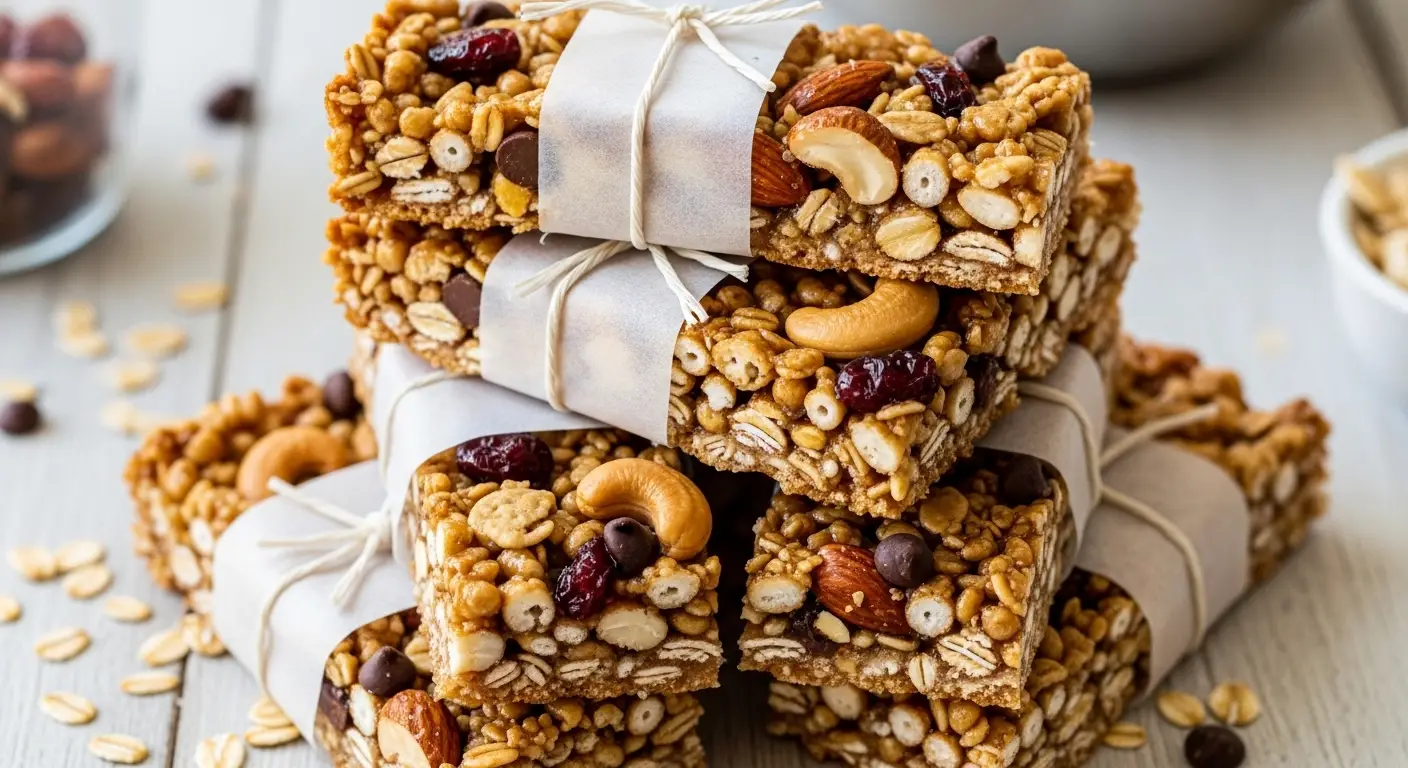
Berry and Seed Power Bars

These bars are very colorful and look beautiful in a clear lunch container. I use dried berries like cranberries or blueberries. I also add pumpkin seeds or sunflower seeds for a nice crunch. The seeds have healthy fats that are good for the brain. I think these are the most “grown-up” tasting bars on the list, but my kids still love the tart taste of the berries. They are very chewy and take a while to eat, which is good for keeping kids busy during a snack break.
One time I tried using fresh berries, but they made the bars too mushy to pack for school. Dried fruit is definitely the way to go here. If the dried berries are too hard, you can soak them in warm water for five minutes before mixing them in. Just make sure to dry them off first! These bars are very sturdy and do not fall apart easily. This makes them the best choice for days when the kids have gym class or sports after school. They give a quick burst of energy when it is needed most.
Strawberry Jam Swirl Bars

These look like something you would buy at a fancy bakery. I make a simple oat base and then spread a layer of fruit jam on top. Then I crumble a little more of the oat mix over the jam. When it bakes, the jam gets bubbly and sweet. It is like a portable PB&J sandwich but in bar form. You can use any jam you like, but strawberry and raspberry are the favorites in my home. These are very sweet, so I usually make them a bit smaller than the other bars.
Be careful not to use too much jam or the middle will stay soft and gooey. A thin layer is all you need for big flavor. I also find that letting these cool completely in the fridge makes them much easier to cut. If you cut them while they are hot, the jam will run everywhere. These are perfect for a Friday treat in the lunch box. They feel special and brighten up a long school week. I often make these when we are out of fresh fruit but I still want the bars to have a fruity taste.
Tropical Coconut and Pineapple Bars

These bars make me feel like I am on vacation even when I am just sitting in my kitchen. I use shredded coconut and dried pineapple pieces. The coconut gets toasted in the oven and tastes very nutty and sweet. These bars are very light and go great with a cup of yogurt. I like to use the unsweetened coconut so the bars do not get too sugary. The pineapple gives a nice little chew that is different from raisins or berries. It is a fun flavor that most kids do not get to have every day.
Sometimes the coconut on top can burn before the middle is done. To stop this, I cover the pan with some foil for the first ten minutes of baking. Then I take it off so the top can get just a little bit of color. This keeps them soft and tasty. These bars are a bit more crumbly than the honey ones, so I always pack them in a sturdy box. They are a great way to try new flavors with your family. If your kids like tropical fruit, these will be a huge hit in their lunch sacks.
Carrot Cake Oat Bars

These are another way to hide vegetables in a snack. I use grated carrots and a lot of warm spices like ginger and nutmeg. They taste just like a piece of carrot cake but without the heavy frosting. I add a few raisins to give them little pops of sweetness. These bars are very dense and filling. One bar can really keep a kid full until dinner time. I think the orange color is really pretty and makes the lunch box look bright and healthy.
You want to grate the carrots very fine so they cook through. I use the smallest holes on my cheese grater for this. If the pieces are too big, they might stay a little crunchy, which some kids might not like. I have found that these bars actually taste better the next day after the spices have had time to sit. This makes them a perfect recipe for weekend meal prep. They are a smart choice for parents who want to give their kids a balanced snack that feels like dessert.
Double Chocolate Protein Bars

Every kid loves chocolate, and these bars let them have it for breakfast! I use dark cocoa powder to make the oats chocolatey. I also add a scoop of protein powder or some extra seeds to make sure they are actually healthy. The chocolate chips on top make them look like brownies. I find that when I give these to my kids, they never complain about eating their “healthy” breakfast. It is a win for everyone. They are rich and delicious but still have all the fiber from the oats.
Be sure to use a good cocoa powder that is not too bitter. If the mix tastes too strong, you can add a little bit more honey or maple syrup. I also like to add a tiny sprinkle of sea salt on top to bring out the chocolate flavor. These bars are very sturdy and hold their shape well even on a hot day. They are my go-to recipe for busy weeks when I know we will be out of the house for a long time. It is like having a healthy candy bar in your pocket.
No-Bake Chewy Granola Bars

These bars are perfect for when you do not want to turn on the oven. I use a mix of oats and puffed rice cereal to make them light and crispy. You heat the honey and peanut butter on the stove until they are thin, then pour it over the dry stuff. You just press them into a pan and let them sit in the fridge. They stay very chewy and do not get hard like baked bars can. These are the closest thing to the bars you buy in the blue boxes at the store.
Pro Storage Tip
- Keep it Cool: No-bake bars can get soft if they get too warm. Keep them in a cold lunch box with an ice pack to stay firm.
The most important part of this recipe is the cooling time. You really need to leave them in the fridge for at least two hours. If you try to cut them too soon, they will fall apart into a big sticky mess. I once tried to rush it because we were late for a picnic, and we ended up eating granola with our hands! Now I always make them the night before. These are the easiest bars to make and are a great way to get kids involved in the kitchen since there is no hot oven involved.
How to Pack and Store Your Bars
Once you have made your bars, you need to keep them fresh. I find that putting them in a single layer in an airtight container works best. If you have to stack them, put a piece of wax paper between the layers. This stops them from sticking together. Most of these bars will stay fresh on the counter for about five days. If you want them to last longer, keep them in the fridge. They will stay good for up to two weeks that way.
Freezing is also a great option. I often spend one Sunday afternoon making three different kinds of bars. I cut them up, wrap them individually in plastic wrap, and toss them all in a big freezer bag. Then, every morning, the kids can pick which flavor they want. By the time lunch rolls around, the bar has thawed out and is perfect to eat. It makes my mornings so much faster and gives the kids a choice, which they love. Packing them is easy too. Just put one in the side pocket of the bag or right on top of the sandwich.
Creative Snack Questions
People often ask me how to make these bars work for their specific needs. Here are the most common things I hear from other parents.
Can I make these bars without nuts?
Yes! You can use sunflower seed butter or soy nut butter. You can also just use more honey or maple syrup to help the bars stick together.
My bars always fall apart. What am I doing wrong?
You probably need to press them harder into the pan. Use a flat-bottomed cup to pack the mixture down very tight before you bake or cool them.
Are these bars okay for toddlers?
Yes, but make sure the pieces of nuts or dried fruit are very small. The soft banana or zucchini bars are usually the best choice for younger kids.
Can I use quick oats instead of rolled oats?
You can, but the texture will be different. Rolled oats make a chewier bar, while quick oats make a softer, more cookie-like bar. Both taste great!
How do I keep the bars from being too hard?
Do not overbake them! Take them out when the edges are just starting to brown. They will firm up as they cool down on the counter.
Start Your Morning Right
Making your own breakfast bars is a small change that makes a big difference. You will save money, reduce waste, and give your kids a healthy start to their day. Try one of these recipes this weekend and see how much easier your school mornings become. Your family will thank you for the tasty treats!