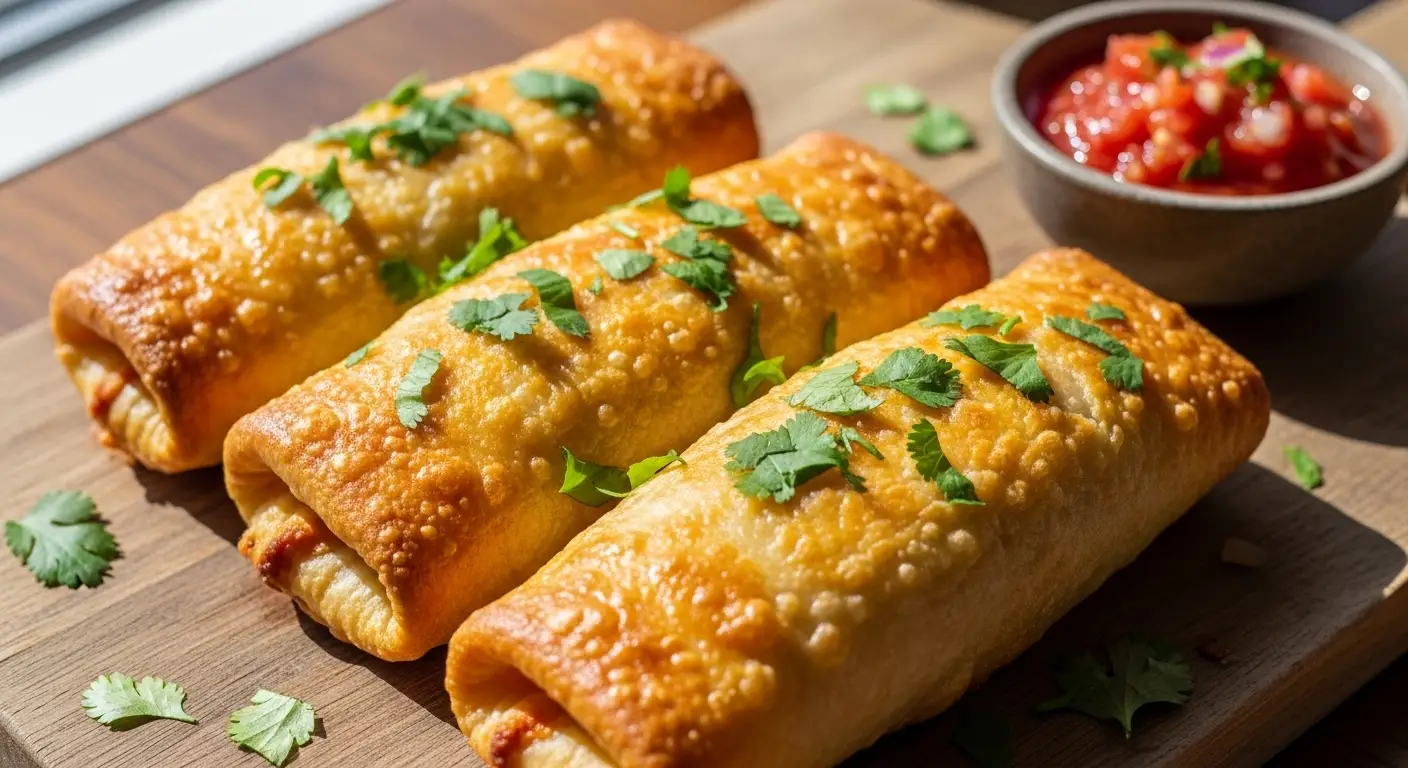
Savory Baked Chicken Chimichangas with a Golden Crunch
Chimichangas are one of my favorite foods to order at restaurants. They are crispy, cheesy, and filled with yummy ingredients. For a long time, I thought you had to deep-fry them to get that perfect crunch. One day, I tried baking them instead. Guess what? They turned out just as good, maybe even better. It is much easier to make them this way too. I learned a few tricks to get them golden brown without a lot of oil.
These baked chimichangas are perfect for a busy weeknight. They take about 40 minutes from start to finish. You can use leftover shredded chicken to save time. My kids love these because they are cheesy and easy to hold. The crunchy shell is the best part, honestly. You get all the flavor of the restaurant version but in a healthier way.
I will show you exactly how to make them crunchy and delicious. Get ready to cook something special tonight. Would you like me to share more easy recipes?
Making the Best Chimichangas
Getting a great result depends on a few key steps. It is all about the filling and how you fold the tortilla. If you fold them wrong, the filling might fall out. The right amount of oil on the outside makes them get crunchy in the oven. I love making these for game nights or simple family dinners.
What You Need for the Filling

You need to start with cooked chicken. Shredded rotisserie chicken works really well here. You will also need some black beans, canned corn, and cheddar cheese. A good salsa brings everything together. I also add a little bit of taco seasoning to the chicken for more flavor. It is okay if you do not have every single ingredient, just try to keep the filling thick.
I once made these without straining the beans enough, and they were a bit soggy. Lesson learned: dry your beans well before mixing. You can also use mozzarella if you do not have cheddar. The cheese acts like glue, so do not skip it. The filling should be thick, not runny, to keep the tortilla from breaking.
How to Fold the Tortilla

Folding the tortillas is the most important part of this recipe. You must use large flour tortillas, or they will not fold correctly. Place your filling right in the center. Fold the top and bottom sides inward, over the filling. Then, roll it up tightly from one side to the other. This locks all the delicious filling inside.
If your tortillas are cold, they might crack. I put them in the microwave for ten seconds to make them soft. You can also seal the edge with a little bit of water if needed. A tight roll ensures a perfect, sealed chimichanga that stays together while baking. I find this much easier than trying to fry them!
Getting a Golden Crunch

For the crunch, you need a little oil on the outside. A pastry brush works best for this. Brush the top and sides of the chimichangas with vegetable oil or olive oil. Do not skip this step, or they will be dry. The oil helps them get a beautiful golden color in the hot oven.
I learned this tip from a friend, and it changed how I bake things. You want a moderate heat, around 400 degrees Fahrenheit, to make them crispy. If the oven is too hot, they will burn before they are crunchy. If it is too low, they will not get crispy enough. You can also use a cooking spray for a faster option.
Recipe Quick Info
- Prep Time: 15 minutes
- Cook Time: 25 minutes
- Servings: 4-6
- Difficulty: Easy
The Best Way to Serve
How you serve these makes a big difference. I love to offer different toppings on the side. This way, everyone can make their own plate just right. They look beautiful on a plate when served warm and fresh. Adding a little green to the plate makes them look very appetizing.
My Favorite Toppings

Sour cream is a must for me. It balances the spice from the salsa. Freshly diced tomatoes add a nice color and freshness. Guacamole is another great option if you have ripe avocados. A little fresh cilantro on top makes a big difference in flavor.
I sometimes use pickled jalapeños if I want more heat. You can also use a queso dip if you want it extra cheesy. Just make sure the toppings do not make the chimichanga soggy. Keep them on top, not underneath, to maintain that crunch.
What to Serve on the Side

A simple side of cilantro lime rice works perfectly. You could also serve a side salad for something lighter. Another good idea is a small bowl of black bean soup. These sides keep the meal balanced without taking too much time.
I personally love serving them with extra salsa for dipping. My partner prefers a side of refried beans. These sides are easy to make while the chimichangas are in the oven. It is a very versatile dish.
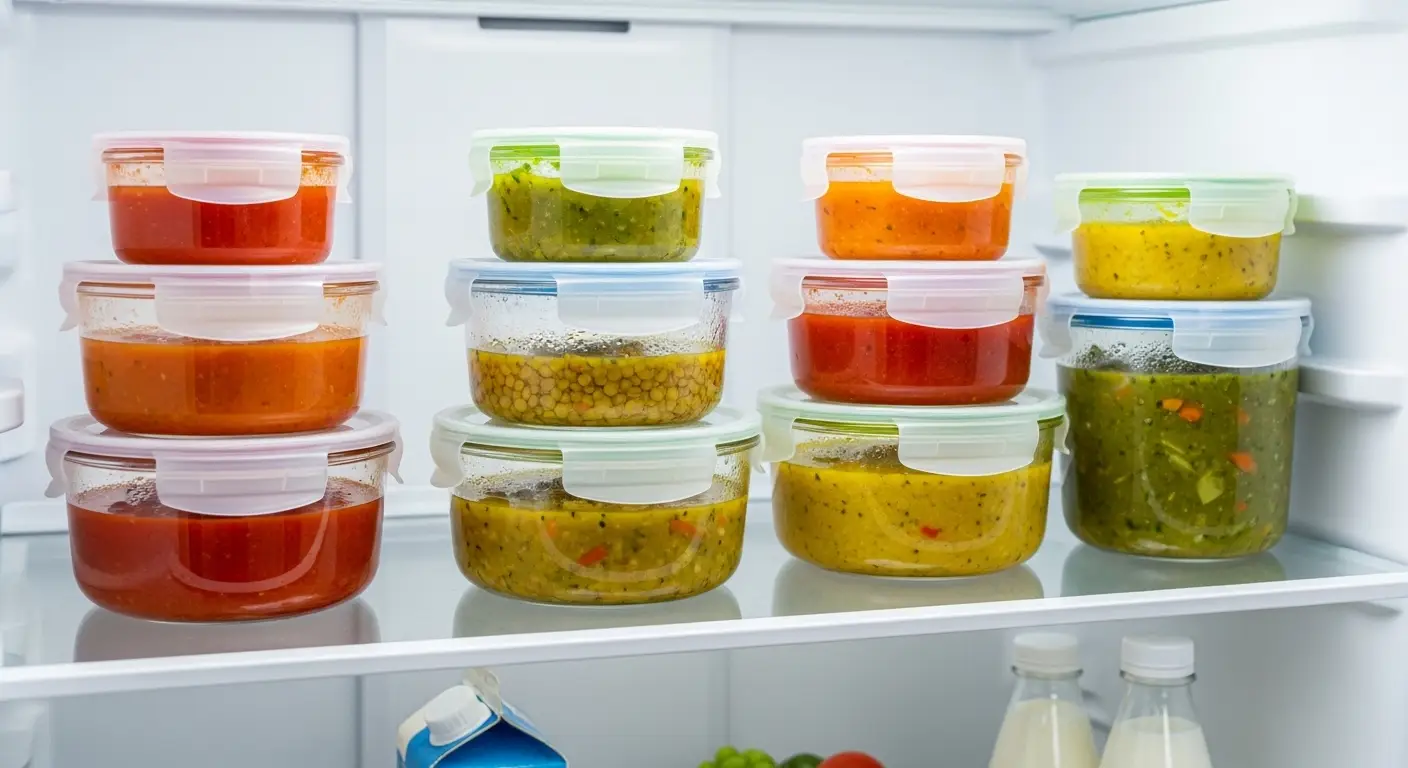
Storage and Leftovers

If you have leftovers, store them in the fridge. They stay good for up to three days. To reheat them, do not use the microwave. The microwave will make them soft and soggy. Use your oven or air fryer instead.
I find that reheating them at 350 degrees for about ten minutes brings back most of the crunch. They are great for packing in a lunch the next day. You can also freeze them before baking. Just let them thaw in the fridge before you bake them.
Cooking Tip
- Tip Name: Pre-toast the tortillas.
- Explanation: For extra crunch, you can quickly warm the tortillas in a dry skillet before filling them. This makes them less likely to break and crisps up faster.
Frequently Asked Questions
Answers to Your Questions
Can I use ground beef instead of chicken?
Yes, ground beef works great! Just cook and drain the grease first. You can use the same seasoning.
Why did my chimichangas break open?
This usually happens if you overfill them or do not fold them tightly enough. Make sure to seal them well.
Can I make these ahead of time?
You can make the filling and fold them. Keep them in the fridge, then brush with oil and bake when ready.
How do I make them in an air fryer?
Place them in the air fryer at 375°F for 8-10 minutes. Flip halfway through until they are golden brown.
Are these healthy?
Baking them instead of frying reduces the oil and fat. Using chicken and beans also adds good protein.
Time to Cook
Now you know how to make amazing baked chicken chimichangas. They are crispy, cheesy, and super easy to make. I hope your family enjoys them as much as mine does. It is a simple way to bring a restaurant favorite to your kitchen table tonight.