Broccoli Cheddar Soup
Making a big pot of broccoli cheddar soup is like getting a warm hug in a bowl. It is thick, cheesy, and full of tiny green trees. I love how the bright green broccoli looks against the yellow cheese. This soup is perfect for cold days when you want something that feels special but does not take all day to cook.
I will show you how to make this soup from scratch using simple things from your kitchen. You do not need to be a pro cook to get this right. We will talk about how to get that perfect creamy texture without any lumps. By the end of this page, you will know exactly how to feed your family a meal they will ask for every single week.
Are you ready to start cooking? Let’s get your apron on and clear off the counter!
Recipe Quick Info
- Prep Time: 15 minutes
- Cook Time: 25 minutes
- Servings: 6 people
- Difficulty: Easy
The Best Ingredients for a Creamy Soup
Before we start the stove, we need to gather our tools and food. Using fresh items makes a huge difference in how the soup tastes. I always try to use a block of cheese instead of the bags of shredded cheese. The stuff in the bag has a weird powder on it that keeps it from melting smoothly. If you want the creamiest soup, grabbing a grater and doing it yourself is a smart move.
What You Need for the Base

The base of the soup is what makes it filling. You will need butter and flour to make something called a roux. This is just a fancy word for a paste that makes the soup thick. You also need some liquid to turn that paste into a smooth sauce. I like to use chicken broth because it has more flavor than plain water. If you do not eat meat, vegetable broth works just as well.
- 6 tablespoons of unsalted butter
- 1 small white onion, chopped into tiny pieces
- 1/4 cup of all-purpose flour
- 2 cups of whole milk
- 2 cups of chicken or vegetable broth
- 1/2 cup of heavy cream for extra richness
Make sure your milk and broth are not ice cold when you add them. If they are a little warm, they mix with the flour much better. This helps you avoid those tiny white flour clumps that nobody likes to find in their spoon. I learned this the hard way after making a lumpy mess my first time!
The Star Players: Broccoli and Cheese

The broccoli should be cut into very small pieces. Large chunks are hard to eat with a spoon. I like to use the tops, which are called florets, but you can also peel and chop the stems. The stems have a lot of flavor and shouldn’t be thrown away! Just make sure they are cut small so they get soft at the same time as the tops.
- 1 pound of fresh broccoli, chopped small
- 2 large carrots, grated or sliced into thin rounds
- 2 cups of sharp cheddar cheese, shredded by hand
- 1/2 teaspoon of salt
- 1/4 teaspoon of black pepper
- A pinch of nutmeg (this is my secret trick!)
The nutmeg might sound strange for a salty soup. Trust me, it makes the cheese taste even better. You only need a tiny bit. It adds a warm smell that makes people wonder why your soup tastes better than the stuff at the cafe. FYI, it’s the little things like this that make a home cook look like a chef.
How to Cook Your Soup Step by Step
Cooking soup is all about the order of things. You can’t just throw everything in at once and hope for the best. We want to build layers of flavor. We start with the veggies, then make the thick sauce, and finish with the cheese. If you add the cheese too early or turn the heat too high, it can get grainy. Follow these steps to keep it silky smooth.
Softening the Vegetables

First, put your big pot over medium heat. Drop in the butter and let it melt until it starts to bubble. Add your chopped onions and carrots. We want them to get soft and sweet. This takes about five minutes. Don’t let the onions turn brown! We just want them to look clear, which cooks call translucent.
- Melt the butter in a large Dutch oven or pot.
- Cook onions and carrots for 5 minutes until soft.
- Stir them often so they do not stick to the bottom.
If the heat feels too hot, turn it down a little. Every stove is different. My stove gets very hot quickly, so I have to watch it like a hawk. If you burn the butter, you have to start over because that burnt taste will stay in the soup forever. That is a mistake I only made once!
Making the Thick Creamy Base

Now it is time to add the flour. Sprinkle it over the buttery vegetables and stir it in. It will look like a thick paste. Cook this for about one minute. This gets rid of the raw flour taste. Then, slowly pour in your broth and milk. I mean really slowly! Pour a little, stir until it is smooth, and then pour more.
- Whisk in the flour and cook for 60 seconds.
- Slowly add broth and milk while whisking.
- Bring the liquid to a very gentle simmer.
Keep stirring until the liquid starts to get thick. This usually happens as it gets hot. It should look like a thin gravy. If it looks too thin, don’t worry. It will get thicker once we add the broccoli and cheese later. This part is very satisfying to watch as it turns from watery to creamy.
Simmering the Broccoli to Perfection

Add your chopped broccoli to the pot. Stir it so the broccoli is covered in the creamy liquid. Put a lid on the pot and turn the heat to low. Let it simmer for about 10 to 15 minutes. You want the broccoli to be tender. You can test it by poking a piece with a fork. If the fork goes in easily, it is ready.
- Drop in the broccoli pieces.
- Lower the heat and cover with a lid.
- Cook for 12 minutes or until broccoli is soft.
Do not boil the soup hard. If it bubbles too much, the milk might separate. A gentle bubble is all you need. While the broccoli cooks, this is a great time to clean up your counter or set the table. IMO, cleaning as you go makes the meal taste even better because you don’t have a mess waiting for you after dinner.
The Grand Finale: Adding the Cheese

This is the most important part. Turn off the heat completely. If the soup is too hot, the cheese will break and turn oily. Take your handfuls of shredded cheddar and stir them in one by one. Watch as the soup turns from white to a beautiful cheesy yellow. Add your salt, pepper, and that secret pinch of nutmeg now too.
- Take the pot off the heat.
- Stir in the cheese slowly until it melts.
- Taste the soup and add more salt if it needs it.
If you like a very smooth soup, you can use a blender for half of it. I like to keep the chunks because it feels more like real food. But some kids prefer it smooth so they don’t see the “trees.” This is your soup, so you get to choose how it looks! Just be careful if you use a blender with hot liquid; it can splash and burn.
Tips for the Best Soup Ever
Even a simple recipe has a few tricks. Over the years, I have found ways to make this soup faster or taste even richer. For example, if you are in a rush, you can buy a bag of pre-shredded carrots. It saves about five minutes of grating time. Here are a few more ways to make sure your meal is a total success for everyone at the table.
Pro Tips for Success
- Use Sharp Cheddar: It has more flavor than mild cheddar, so you can use less.
- Small Broccoli: Cut pieces small enough to fit on a spoon comfortably.
- Don’t Boil Cheese: Always add cheese at the very end with the heat off.
Easy Substitutions You Can Try

You do not have to follow the list exactly if you are missing something. If you don’t have cheddar, white cheddar or even Monterey Jack works great. If you want a little kick, try adding a tiny bit of cayenne pepper or using Pepper Jack cheese. For a lighter soup, you can use half-and-half instead of heavy cream, but it won’t be quite as velvety.
- Use frozen broccoli if fresh is too expensive. Just thaw it first.
- Try cauliflower instead of broccoli for a different color.
- Add cooked bacon bits on top for a salty crunch.
One thing that may not work is using fat-free milk. The soup will be very thin and might not get that rich feeling we want. It is better to use 2% milk or whole milk. This is a comfort food, so it is okay to have a little bit of fat in there to make it taste right!
What to Serve on the Side

This soup is very filling, but it loves a partner. A big piece of crusty bread is the best choice. You can use the bread to wipe the bowl clean so not a single drop goes to waste. A simple green salad with a sour dressing also helps balance out the heavy cheese. It cleans your palate between bites of the rich soup.
- Warm sourdough bread or dinner rolls.
- A crisp apple salad with walnuts.
- Garlic knots or breadsticks.
I sometimes serve this in a bread bowl. You just cut the top off a round loaf of bread, scoop out the middle, and pour the soup inside. It looks like something from a fancy bakery, but it is so easy to do at home. Your family will think you worked for hours!
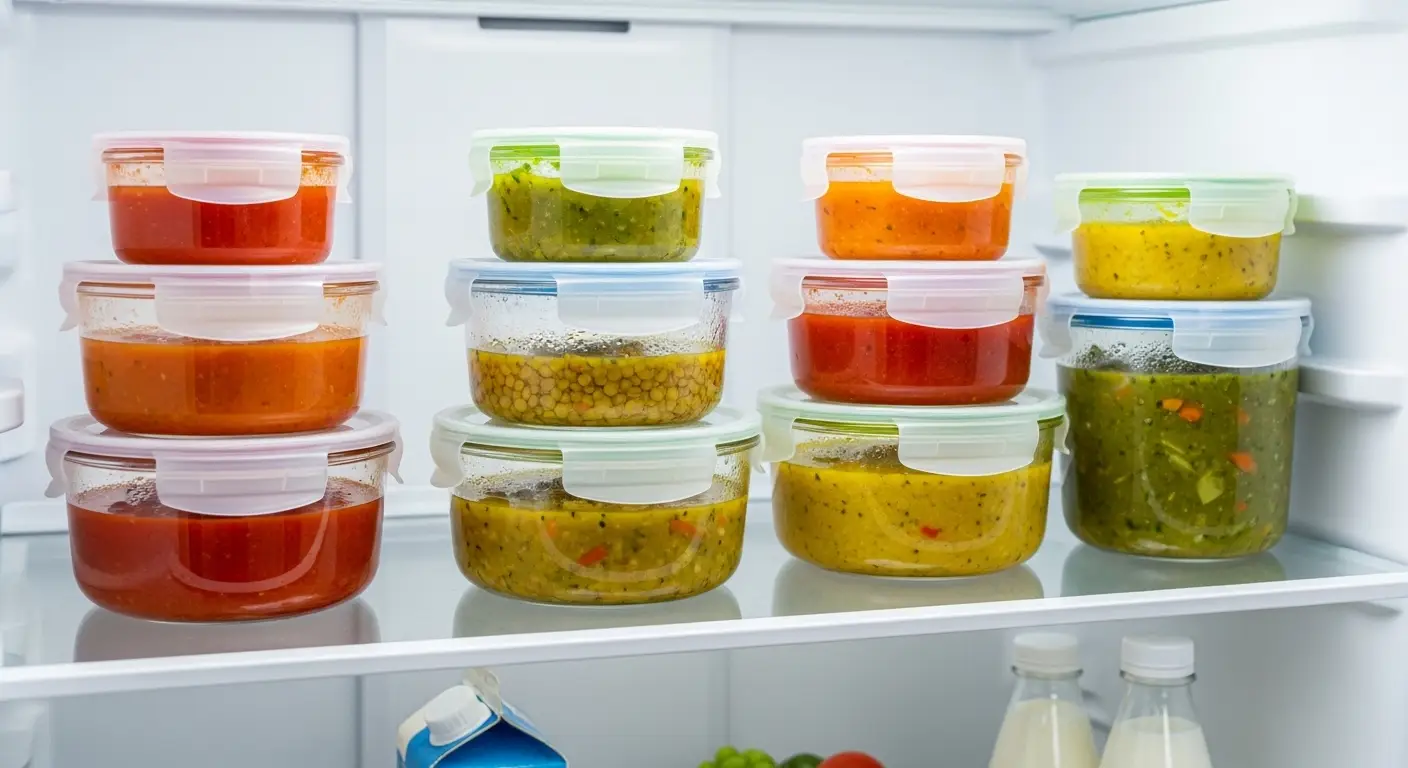
Keep Your Soup Fresh for Later
If you have leftovers, you are in luck. This soup tastes even better the next day as the flavors sit together. However, you have to be careful when you warm it back up. Since it has a lot of dairy, it can get weird if you microwave it too fast. Slow and steady is the way to go for the best second-day lunch.
Storing and Reheating

Put your leftover soup in a container with a tight lid. It will stay good in the fridge for about 3 to 4 days. When you want to eat it again, put it in a small pot on the stove. Use low heat and stir it often. If it looks too thick after being in the fridge, just add a splash of milk or water to thin it out again.
- Store in the fridge for up to 4 days.
- Reheat slowly on the stove.
- Add a little extra cheese on top after reheating.
I do not suggest freezing this soup. Because of the cream and cheese, the texture can change when it thaws. It might look grainy or separated. It is still safe to eat, but it won’t be as pretty or smooth as when it was fresh. Since it’s so easy to make, it’s best to eat it within a few days of cooking.
Common Questions About This Recipe
Can I use frozen broccoli?
Yes! Just make sure to thaw it and pat it dry first. You might need to cook it for a few minutes less since frozen broccoli is usually blanched.
Why did my cheese get grainy?
The soup was likely too hot. If you boil the soup after adding the cheese, the proteins clump together. Always turn off the heat before adding cheese.
How can I make this soup healthy?
Use more broccoli and carrots and less cheese. You can also use low-sodium broth and 1% milk to cut down on salt and fat while keeping the flavor.
Can I make this in a slow cooker?
You can! Cook the veggies and broth on low for 4 hours, then stir in the cream and cheese at the very end so they don’t curdle.
What is the best cheese to use?
Sharp Cheddar is king. It has a strong flavor that stands up to the cream. Grating it yourself from a block makes the soup much smoother.
Time to Enjoy Your Soup
You now have everything you need to make a perfect bowl of Broccoli Cheddar Soup. It is creamy, cheesy, and full of good veggies. This recipe is a great way to bring people together for a warm meal. I hope you enjoy every single spoonful!