Buttermilk Fried Chicken Legs
Making fried chicken at home can feel like a big job. I remember the first time I tried it, and my kitchen looked like a flour bomb went off. The chicken was burnt on the outside and raw in the middle. It was a mess! But after many tries, I found the secret to getting it right every time. You do not need a fancy deep fryer or a chef hat to make amazing chicken legs that crunch when you bite them.
In this guide, I will show you exactly how to soak, coat, and fry chicken legs so they taste better than any fast food place. You will learn how to keep the meat juicy and the skin super crispy. We will talk about the best oil to use and how to tell when the chicken is done without cutting it open. Let us get your heavy pan ready and start cooking some comfort food.
Want to see how easy it is to make your family smile with a big plate of golden chicken? Let’s go!
Why Buttermilk is the Secret to Great Chicken
If you want chicken that is soft and tender, you have to use buttermilk. It is not just for pancakes! The acid in the milk helps break down the tough parts of the meat. This makes the chicken legs very easy to eat. It also helps the flour stick to the skin so it does not fall off in the hot oil. I once forgot the buttermilk and used regular milk instead, and the crust just slid right off. That was a sad dinner! Use the real deal for the best results.
Buttermilk also adds a tiny bit of tang that cuts through the fatty taste of the fried skin. It balances everything out. You can even add hot sauce to the milk to give the meat some flavor from the inside out. This step takes a little time, but it is the most important part of the whole process. Trust me, your patience will pay off when you take that first bite.
What You Need to Get Started

Getting your ingredients ready before you start is a smart move. You do not want to have flour on your hands and realize you forgot the salt. For this recipe, you need fresh chicken drumsticks. I like using legs because they have a lot of flavor and stay juicy longer than breasts do. They are also cheaper at the store, which is a win for your wallet. Make sure they are thawed out completely if they were in the freezer.
For the liquid part, grab a big bottle of buttermilk. For the dry part, you need all-purpose flour. Do not use cake flour because it is too light. You also need a good amount of salt, black pepper, and paprika. I also like to add garlic powder and onion powder to my flour mix. These spices make the crust taste like real food instead of just fried dough. Here is a quick list to help you shop:
- 10 to 12 chicken drumsticks
- 2 cups of cold buttermilk
- 3 cups of all-purpose flour
- 2 tablespoons of salt (split between the milk and flour)
- 1 tablespoon of black pepper
- 1 tablespoon of paprika
- 1 teaspoon of garlic powder
- High-heat oil like vegetable or canola oil
How to Soak the Chicken

The first big step is the soak. Put your chicken legs in a large bowl and pour the buttermilk over them. Make sure every single leg is covered. If they stick out, they won’t get tender. Add a little salt and maybe a splash of hot sauce to the milk. This is where the flavor starts to sink into the meat. If you just season the flour, the meat inside will taste plain. We want flavor everywhere!
You should let the chicken sit in the fridge for at least two hours. If you have time, four hours is even better. I usually put mine in the fridge right after lunch so it is ready for dinner. Don’t leave it for more than 24 hours, though, or the meat might get too soft and mushy. Cover the bowl with plastic wrap so your fridge doesn’t smell like raw chicken. This is the easiest part because the fridge does all the hard work for you.
Mixing Your Seasoned Flour

While the chicken is soaking, you can get the coating ready. Use a wide dish or a large brown paper bag. Put your flour in and add all the spices. Be brave with the salt and pepper! Most of the salt stays in the pan, so you need more than you think. Stir it all up until the flour looks a little bit orange from the paprika. This color will turn into a beautiful golden brown once it hits the oil.
One trick I learned is to add two spoons of the buttermilk soak into the flour. Use a fork to mix it in. This creates tiny little lumps of dough in the flour. When you press the chicken into the flour, these lumps stick to the skin. These turn into the extra crunchy bits that everyone loves. If you like the chicken from the famous bucket place, this is how they get those big crunches. IMO, the extra crunches are the best part of the whole meal.
Recipe Quick Info
- Prep Time: 15 minutes (plus soaking)
- Cook Time: 25 minutes
- Servings: 4 to 6 people
- Difficulty: Medium
The Best Way to Coat the Legs

Now comes the messy part. Take a chicken leg out of the buttermilk and let the extra liquid drip off for a second. Drop it into the flour mix. Use your other hand to scoop flour over the top. Press down hard! You want to move the chicken around and make sure the flour gets into every little fold of the skin. If there is a bare spot, it will not be crunchy. I call this the “dry hand, wet hand” rule so I don’t get “club hand” where my fingers get covered in thick dough.
Once the leg is coated, shake it gently to get off any loose flour that isn’t sticking. Put the coated legs on a wire rack or a clean plate. Do not fry them right away! Let them sit for about 10 minutes. This helps the flour turn into a paste that sticks to the chicken. If you jump straight into the oil, the coating might fall off. This little break gives you time to heat up your oil and clean up any flour spills on the counter.
Setting Up Your Frying Station

You need a heavy pan for frying. A cast iron skillet is the king of fried chicken because it holds heat really well. Fill it about halfway with oil. You need enough oil so the chicken can swim, but not so much that it splashes out and starts a fire. Safety first! Use an oil that can get very hot without smoking. Vegetable oil or peanut oil works great. Avoid olive oil or butter because they will burn and make your chicken taste like charcoal.
Heat the oil until it is hot but not smoking. If you have a thermometer, look for 350 degrees. If you don’t have one, drop a tiny pinch of flour into the oil. If it sizzles right away, you are ready to go. If it just sits there, wait longer. If it turns black instantly, turn the heat down! Frying is all about watching the bubbles. FYI, if the oil is too cold, your chicken will be greasy and soggy instead of crispy.
The Art of Frying Chicken Legs

Gently lay the chicken legs into the hot oil. Always lay them away from you so the oil doesn’t splash on your arms. Do not crowd the pan! If you put too many legs in at once, the oil temperature will drop too fast. The chicken will just boil in oil and get oily. Fry them in two batches if you have to. It is better to wait a few minutes than to have soggy chicken. Once they are in, leave them alone for at least five minutes.
After about five or six minutes, use tongs to turn them over. They should be a light golden color. Keep turning them every few minutes so they cook evenly on all sides. Chicken legs have a thick bone, so they take longer to cook than wings. Total time is usually about 12 to 15 minutes. You want the outside to be a deep, dark gold. If it gets dark too fast, turn the heat down a little bit. We want the inside to be hot and safe to eat.
How to Tell When It Is Done

The biggest mistake people make is taking the chicken out too early. It looks done on the outside, but it might still be pink by the bone. The best way to be sure is to use a meat thermometer. Poke it into the thickest part of the leg, but do not hit the bone. The bone is hotter than the meat and will give you a wrong number. You are looking for 165 degrees. When it hits that number, it is perfect.
If you do not have a tool, you can poke the meat with a small knife. The juices that come out should be clear, not pink or red. Another sign is the bubbles in the oil. When the chicken is almost done, the bubbles get smaller and quieter. This is because the water inside the chicken has mostly cooked away. I always check the biggest leg first. If the big one is done, the small ones are definitely ready to eat. Better safe than sorry when it comes to chicken!
Draining and Resting the Meat

Once the chicken is done, move it to a wire rack. Do not put it straight onto a flat plate or a pile of paper towels. If the hot chicken sits on a flat surface, the steam will get trapped under the crust. This makes the bottom of your chicken soggy. A wire rack lets the air move all around the leg. This keeps the skin crunchy on the top and the bottom. I learned this the hard way after serving many “soft” chicken dinners to my friends.
Let the chicken rest for about five or ten minutes before you eat it. I know it smells amazing and you want it now, but waiting is better. Resting lets the juices inside settle back into the meat. If you bite it right away, all the juice will run out and the meat will be dry. Plus, you will burn your mouth! Sprinkle a tiny bit more salt on the hot chicken as soon as it comes out of the oil. The heat helps the salt stick and makes the flavor pop.
Pro Tips for Success
- Dry the Meat: Pat the chicken dry with paper towels before putting it in buttermilk for a better soak.
- Double Dip: For extra thick crust, dip in flour, then back in milk, then in flour again.
- Oil Temperature: Keep a close eye on the heat; 325-350 degrees is the sweet spot.
The Best Sides for Fried Chicken

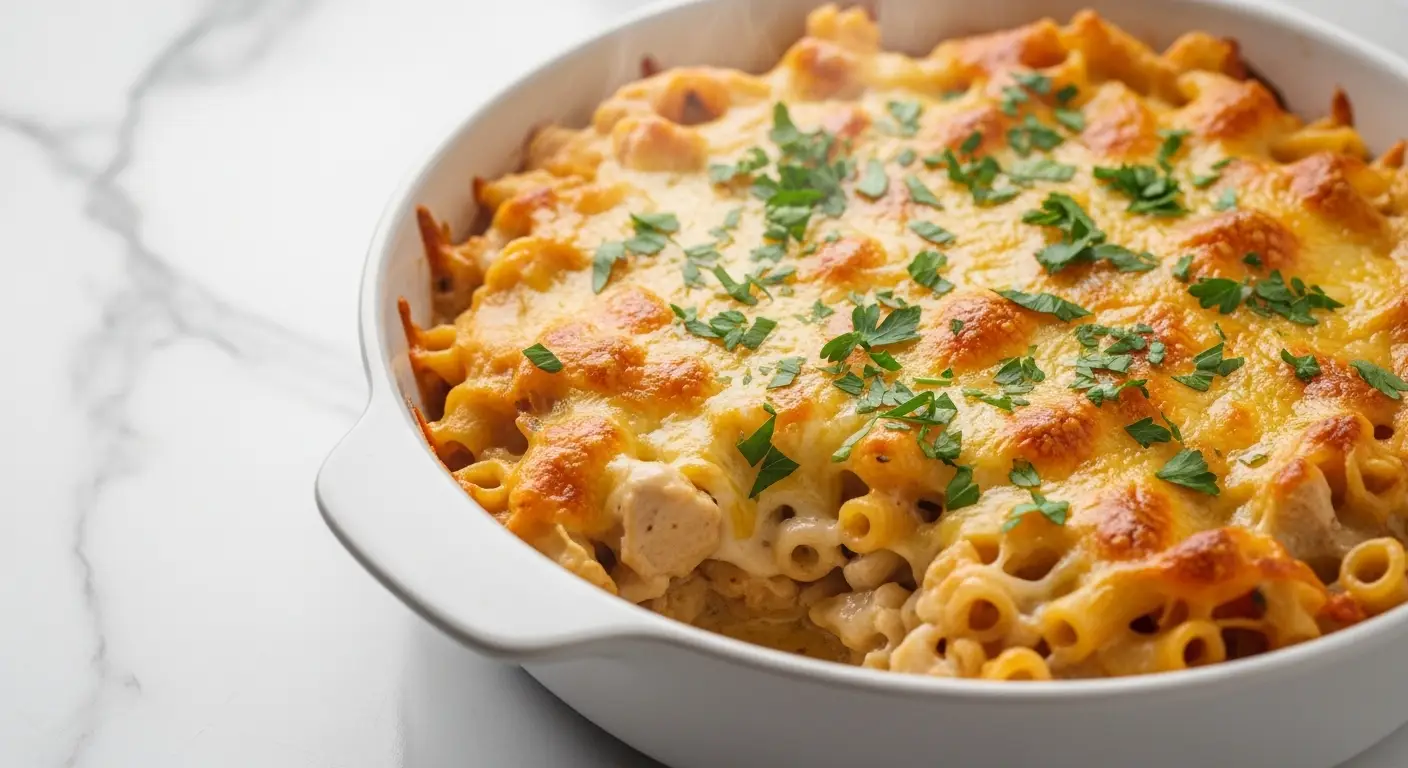
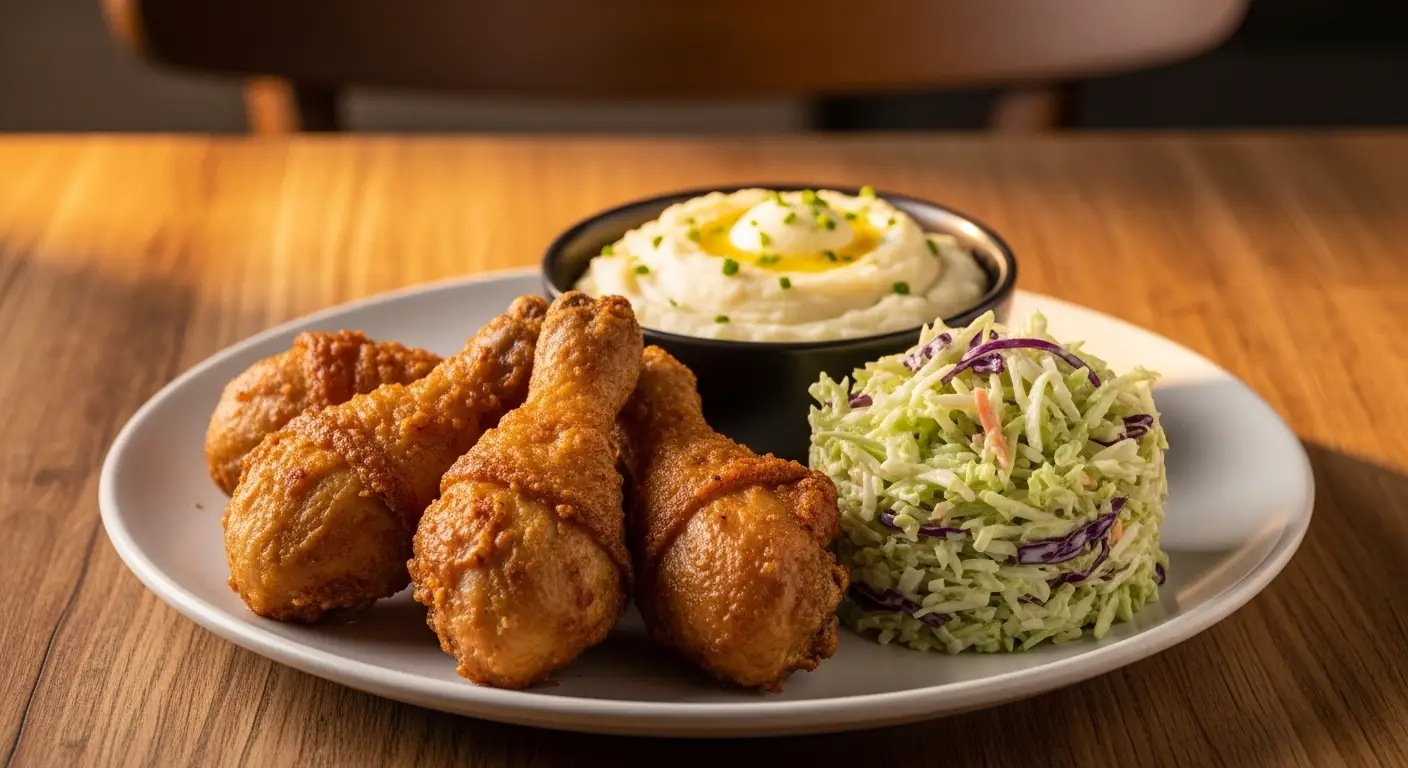
Fried chicken is a star, but it needs some friends on the plate. Since the chicken is salty and crunchy, I like to serve it with something soft and creamy. Mashed potatoes with a little gravy are the classic choice. The smooth potatoes go so well with the crispy skin. You could also make some mac and cheese if you really want to go all out on the comfort food. My kids love it when I serve both!
You also need something fresh to balance the heavy fried food. A cold coleslaw with a vinegar dressing is perfect. It cleans your palate between bites so the chicken tastes fresh every time. Some people like honey or hot honey drizzled over their chicken legs. The sweet and spicy mix is a real treat. No matter what you choose, make sure you have plenty of napkins. Eating fried chicken legs is a hands-on job, and it is going to get messy!
Common Questions About Frying
Can I use a different part of the chicken?
Yes! You can use thighs or wings. Just know that thighs take a bit longer to cook, and wings cook much faster. Keep checking the temperature.
What if I don’t have buttermilk?
You can make your own! Add one tablespoon of lemon juice or white vinegar to a cup of regular milk. Let it sit for five minutes until it gets thick.
How do I keep the chicken warm?
Put a baking sheet in the oven at 200 degrees. Place the fried legs on a rack on the sheet. They will stay warm and crispy while you finish the rest.
Can I reuse the frying oil?
Yes, if it isn’t burnt. Let it cool, strain it through a coffee filter to remove bits of flour, and keep it in a jar for next time.
Why did my breading fall off?
Usually, this happens if the chicken was too wet or the oil wasn’t hot enough. Make sure to let the coated chicken rest before frying.
Enjoy Your Homemade Feast
You now know everything you need to make amazing buttermilk fried chicken legs. It takes a bit of time and a little mess, but the taste is worth it. Your friends and family will think you are a kitchen pro. Just remember to watch your oil heat and give the chicken time to soak. Happy frying and enjoy that crunch!