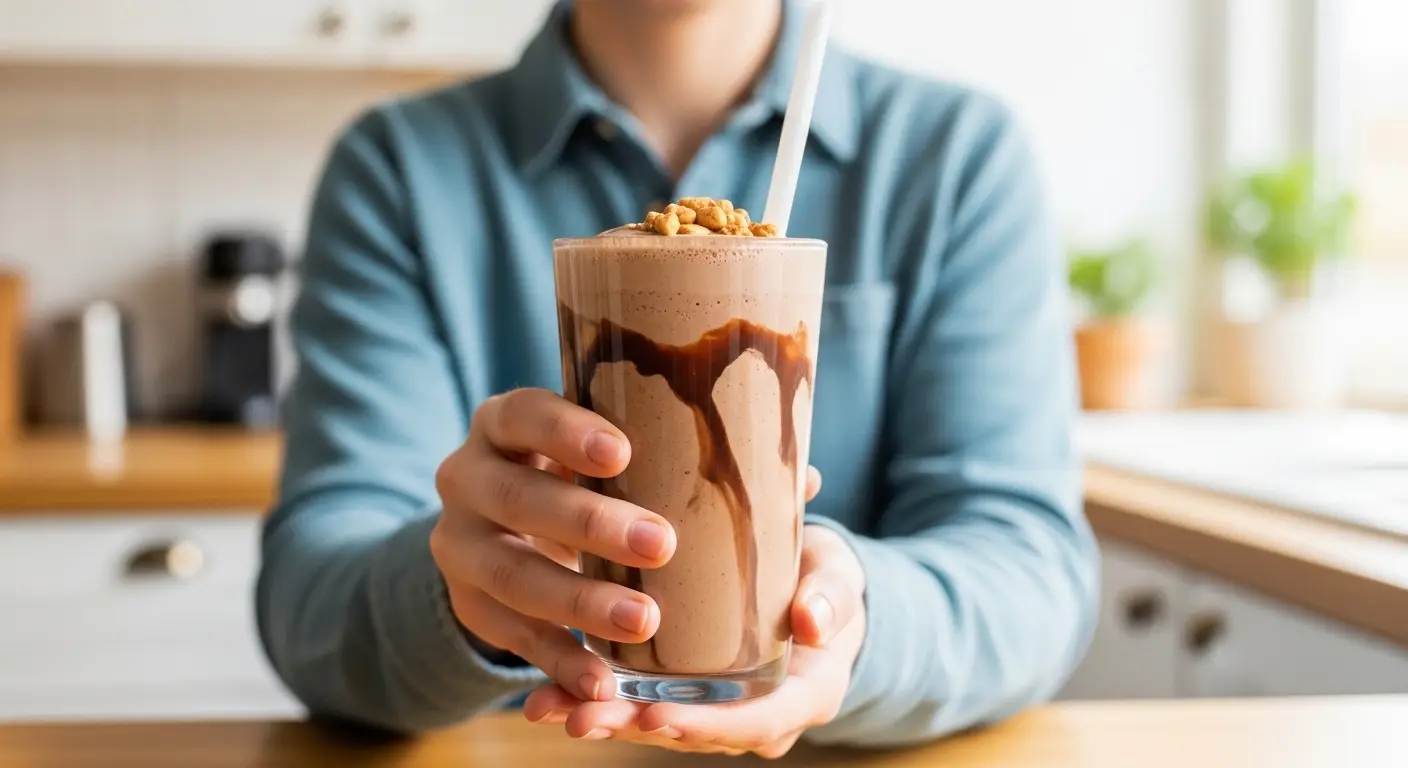
Chocolate Peanut Butter Protein Shake
I love a good treat that also helps my body stay strong. This chocolate peanut butter protein shake is my favorite way to end a workout or start a busy morning. It tastes just like a melted peanut butter cup, but it has ingredients that keep you full for a long time. Many people think protein shakes have to taste like chalk or chemicals, but that is not true at all. If you use the right steps, you can make a drink that is thick, cold, and very sweet.
You will learn exactly how to mix these flavors so they are perfectly balanced. I will show you which milk works best and how to get that super creamy texture without using a ton of ice. This is a simple recipe that anyone can make in just five minutes. It is perfect for kids, busy parents, or anyone who wants a healthy snack that feels like a cheat meal. I make this almost every day, and it never gets old because it is so satisfying.
Follow along to see my favorite tricks for the best shake ever. FYI, you might never want a store-bought shake again after trying this one! It is much cheaper to make it at home, and you know exactly what is going into your glass. Let’s get the blender ready and make something delicious together.
Recipe Quick Info
- Prep Time: 5 minutes
- Cook Time: 0 minutes
- Servings: 1 large shake
- Difficulty: Very Easy
The Best Ingredients for Your Shake
Getting the right taste starts with picking the best stuff from your pantry. You do not need anything fancy or expensive to make this taste great. Most of these things are likely in your kitchen right now. The magic happens when the salty peanut butter meets the deep flavor of cocoa. It is a classic match that everyone loves for a reason. Using frozen fruit instead of just ice is my secret for a shake that is not watery.
What You Will Need

To make this shake, you need a few basic things. I always start with one scoop of chocolate protein powder. You can use whey or a plant-based version if you do not eat dairy. Next, you need one tablespoon of creamy peanut butter. I like the kind that is just peanuts and salt because it tastes more real. Then, grab one frozen banana. This is what makes the shake thick and smooth like soft-serve ice cream.
- 1 cup of milk (almond, soy, or cow milk all work great)
- 1 scoop chocolate protein powder
- 1 tablespoon peanut butter
- 1 frozen banana (peel it before freezing!)
- A pinch of salt to bring out the chocolate flavor
- 1/2 cup of ice if you want it extra cold
Using a frozen banana is much better than a fresh one. If you use a fresh banana, the shake will be thin and runny. I always keep a bag of peeled, sliced bananas in my freezer for this exact reason. It makes the texture so much better. If you are allergic to nuts, you can use sunflower seed butter instead. It still tastes amazing and gives you that salty kick that goes so well with chocolate.
Choosing Your Milk Base

The liquid you choose changes how the shake feels in your mouth. I usually use unsweetened almond milk because it is low in calories and has a light nutty taste. If you want the shake to be very creamy, oat milk is a fantastic choice. It is naturally sweet and thicker than almond milk. Some people prefer cow milk for extra protein, which is also a good option. Just make sure the milk is very cold before you start.
If you find that your shake is too thick, you can always add a splash more milk at the end. I once made the mistake of adding too much liquid at the start, and it turned into chocolate soup. It was still tasty, but not the shake I wanted! Start with one cup and see how your blender handles it. You can even use water if you are out of milk, but it won’t be as rich or flavorful. IMO, milk makes a huge difference in the final result.
How to Blend the Perfect Shake
Mixing a shake seems easy, but the order of ingredients matters. If you put the powder in first, it often gets stuck at the bottom of the blender. Then you have to scrape it out with a spoon, which is messy and annoying. I learned the hard way that liquid should always go in first. This helps the blades move easily and keeps the powder from clumping up. Let’s look at the best way to stack your blender for a smooth drink.
Step by Step Instructions

First, pour your milk into the blender. This creates a base for the other ingredients to float on. Next, add your frozen banana chunks. I like to break them into smaller pieces so the blender doesn’t have to work too hard. After the fruit, drop in your scoop of protein powder and the peanut butter. Adding the powder in the middle keeps it away from the lid and the very bottom. Finally, add the pinch of salt and any ice if you are using it.
- Pour 1 cup of milk into the blender jar.
- Add the frozen banana and peanut butter.
- Put the chocolate protein powder on top of the fruit.
- Add a pinch of salt and a handful of ice.
- Secure the lid tightly (very important!).
- Blend on low speed for 10 seconds, then move to high speed.
- Blend for 30 to 45 seconds until no lumps remain.
Watch the shake as it blends. You want to see a small swirl or hole in the middle of the liquid. This means everything is moving correctly. If the blender sounds like it is struggling, stop it and stir the thick parts with a long spoon. Then, put the lid back on and try again. A high-speed blender makes this fast, but a regular blender works too if you give it a little more time. Just be patient so you don’t end up with a big chunk of frozen banana in your straw.
Tips for the Best Texture

If you want a shake that stays thick for a long time, use less ice and more frozen fruit. Ice tends to melt and make the drink watery after a few minutes. Frozen fruit stays thick much longer. Another trick I use is to add a teaspoon of chia seeds or flax seeds. These seeds soak up liquid and make the shake feel even heavier and more filling. It is a great way to sneak in some extra healthy stuff without changing the flavor much.
Pro Blending Tips
- Cold Glass: Put your glass in the freezer for 5 minutes before pouring to keep the shake icy cold.
- Salty Kick: Don’t skip the salt! It makes the chocolate taste much stronger.
- Scrape Sides: Stop the blender halfway through to scrape the powder off the walls.
Sometimes the peanut butter sticks to the side of the blender. To fix this, I try to drop the peanut butter right into the center of the liquid. If it hits the plastic wall, it just stays there. My biggest tip is to drink the shake right away. Protein shakes don’t sit very well in the fridge. They can get a bit separated or lose that fluffy texture. If you must wait, give it a quick shake or stir before you take a sip.
Make It Your Own
One of the best things about this recipe is how easy it is to change. You don’t have to follow my rules exactly every time. Once you know the basics, you can play around with the flavors. Maybe you want it more chocolatey, or maybe you want more energy. This part of the process is where you can get creative and find what you like best. I often change my recipe based on what I have in the kitchen that day.
Fun Mix-In Ideas

You can add so many things to this shake to make it fancy. I love adding a handful of spinach. I know that sounds weird, but I promise you cannot taste it! The chocolate and peanut butter are so strong they hide the greens completely. It turns the shake a funny color, but it adds a lot of vitamins. You could also add a tablespoon of cocoa powder if your protein powder isn’t chocolatey enough. This gives it a dark, rich flavor that is perfect for real chocolate lovers.
For a bit of crunch, try topping your shake with cacao nibs or crushed peanuts. I also like adding a dash of cinnamon. It adds a warm flavor that goes perfectly with the peanut butter. If you need more energy, you can add a spoonful of instant coffee or a splash of cold brew. This creates a mocha peanut butter shake that is amazing for early mornings. There are no wrong answers here as long as you enjoy the taste.
How to Store and Prep

I am a very busy person, so I like to prep my shakes ahead of time. You cannot blend the shake and keep it in the fridge for long, but you can make “smoothie packs.” Put your sliced banana and peanut butter into a small freezer bag. When you are ready to eat, just dump the bag into the blender, add your milk and powder, and go! This saves me a lot of time on Monday mornings when I am running late. It makes cleaning up easier too because you only have one mess to deal with.
If you do have leftovers, you can pour the shake into an ice cube tray. Freeze the cubes and use them the next time you make a shake. This keeps the next drink from getting watery. You can also pour the leftover shake into a popsicle mold for a healthy frozen treat later. My kids love these protein popsicles on hot days. It is a much better choice than the sugary popsicles from the store. Just remember to give the mold a little tap to get the air bubbles out before freezing.
Better for You and Your Budget
Making your own shakes is a smart move for your wallet. If you buy a protein shake at a gym or a cafe, it might cost five or six dollars. You can make this at home for a fraction of that price. Plus, you can control the sugar. Many store shakes have a lot of added sugar that you don’t actually need. When you make it yourself, you get to choose the best ingredients that fit your goals.
Why This Shake Works

This shake is great because it has a good balance of protein, healthy fats, and carbs. The protein helps your muscles grow or stay strong. The peanut butter has healthy fats that keep your brain happy and your belly full. The banana gives you natural energy from carbs and potassium. It is a complete snack that doesn’t leave you feeling hungry an hour later. I find that this shake stops my cravings for candy in the afternoon, which is a huge win for me.
It also suits many different diets. If you are vegan, just use plant protein and almond milk. If you are gluten-free, this recipe is naturally safe for you. It is a very flexible meal. I have given this recipe to my friends who are trying to eat better, and they all love it. It doesn’t feel like “diet food” because it is so rich and creamy. That is the secret to sticking to a healthy habit—it has to actually taste good!
Common Shake Questions
People often ask me how to fix a shake that didn’t turn out quite right. Here are the answers to the things I hear most often. Don’t worry if your first try isn’t perfect. It takes a few times to learn exactly how much liquid your blender needs. These tips will help you get it right every single time.
Can I make this shake without a banana?
Yes! You can use half an avocado or 1/2 cup of Greek yogurt. Both make the shake very creamy without the banana flavor or extra sugar.
What if my shake is too thin?
Add more ice or another piece of frozen fruit. Blending in a tablespoon of oats or chia seeds can also help thicken it up quickly.
Is this shake okay for kids?
Most kids love this shake! Just check your protein powder label to make sure it is safe for children. You can also use less powder for them.
How do I stop the powder from clumping?
Always put the milk in the blender first. Putting the liquid at the bottom keeps the dry powder from sticking to the blades and corners.
Can I use peanut powder instead of butter?
Yes, peanut powder works well and has less fat. However, the shake will not be as creamy as it is with real peanut butter.
Time to Enjoy Your Shake
You now have all the tools to make a world-class chocolate peanut butter protein shake right in your own kitchen. It is fast, easy, and tastes like a dream. Remember to use a frozen banana for that perfect thickness and always put your liquid in first. This drink is a great way to take care of your body while also treating yourself to something sweet. I hope you enjoy every creamy sip as much as I do!