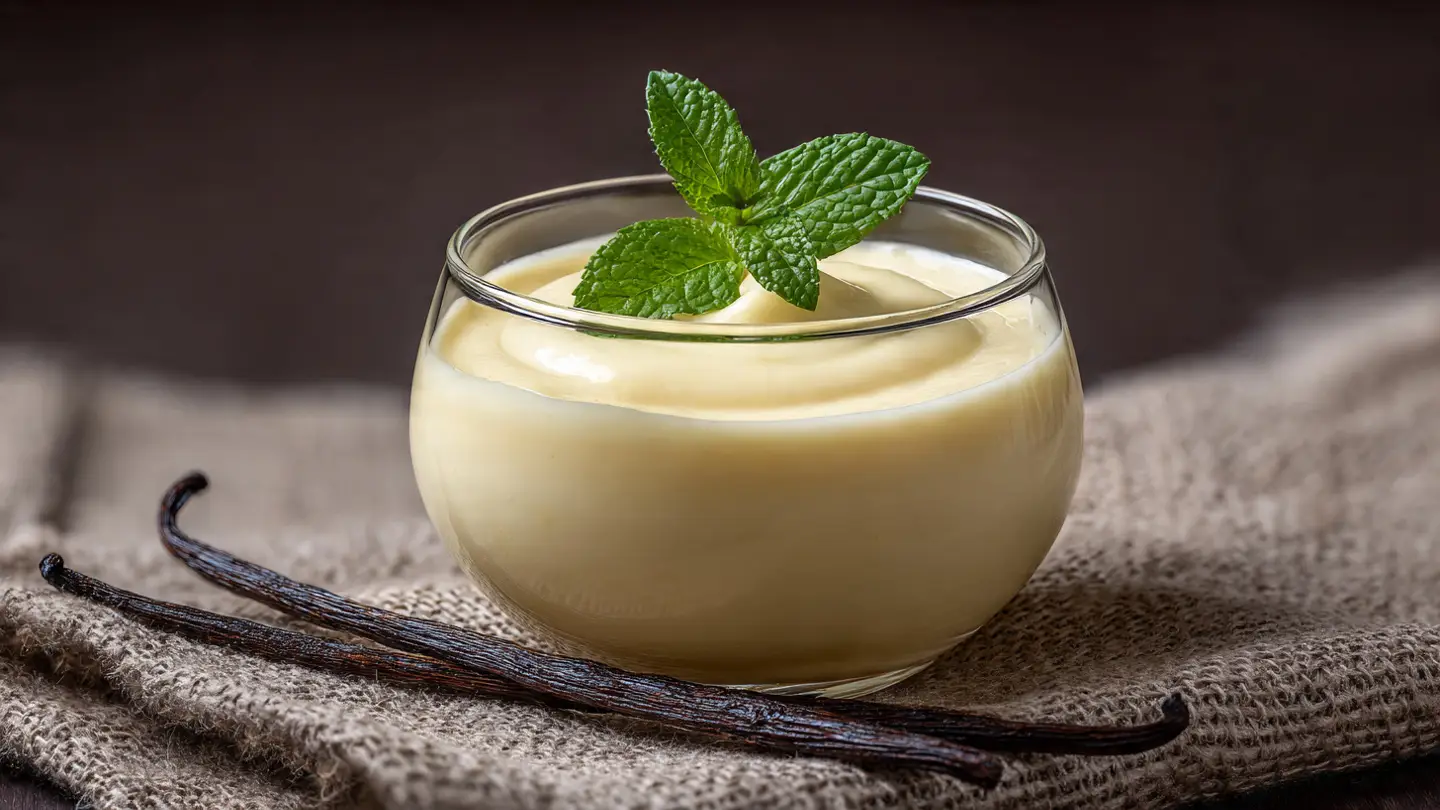
Classic Homemade Vanilla Pudding
Making pudding at home is a special treat that everyone should try at least once. Most people buy the little plastic cups or the boxes of powder from the store. Those are okay for a quick snack, but they do not taste like the real thing. Real vanilla pudding is thick, creamy, and full of flavor. It feels like a warm hug in a bowl when it is fresh off the stove. You only need a few simple things from your kitchen to make it happen. I will show you how to mix milk, sugar, and eggs to create something better than any store-bought version.
You might think that making pudding from scratch is hard or takes a long time. That is a common myth that I used to believe too. I used to be scared of burning the milk or getting lumps in my bowl. After a few tries, I learned that it is actually very simple if you stay calm and stir a lot. This article will teach you every step so you can feel like a pro in your own kitchen. We are going to look at the ingredients and the best way to cook them together. By the end, you will have a bowl of gold that your whole family will love.
Check out the steps below to start your pudding adventure.
Gathering Your Simple Ingredients
Before you turn on the stove, you need to get everything ready on your counter. Pudding moves fast once it starts to get hot. If you have to run to the fridge for milk while the pot is on, you might burn your dessert. I like to measure out my sugar and cornstarch first. This keeps things clean and easy. You do not need any fancy tools for this recipe. A simple pot and a whisk will do the job perfectly fine. Most of these items are probably already in your pantry or fridge right now.
The Basic Shopping List

The best part about this recipe is that the list is short. You do not need to buy anything strange or expensive. You will need whole milk because it makes the pudding very rich. You will also need granulated sugar to make it sweet. Cornstarch is the secret helper that makes the liquid turn into a thick cream. A pinch of salt is also a must because it makes the vanilla taste even stronger. Finally, you need egg yolks, butter, and real vanilla extract. These last three things are what make the pudding feel like a fancy treat from a bakery.
- 2 cups whole milk
- 1/2 cup white sugar
- 3 tablespoons cornstarch
- 1/4 teaspoon salt
- 2 large egg yolks
- 2 tablespoons unsalted butter
- 1 teaspoon vanilla extract
Choosing Your Milk and Vanilla

Not all milk is the same when you are making pudding. If you use skim milk, your pudding might be a little thin or watery. I always suggest using whole milk for the best results. It has enough fat to make the texture feel like silk on your tongue. If you cannot drink cow milk, you can use almond milk or soy milk. Just keep in mind that the flavor will change a little bit. Some nut milks are thinner, so you might need a tiny bit more cornstarch to help it set up right.
Vanilla is the star of the show here. There are two main types of vanilla you can find at the store. One is called imitation vanilla and the other is pure vanilla extract. Imitation vanilla is cheaper and made in a lab. It tastes okay, but pure vanilla extract is made from real beans. It has a much deeper and better smell. IMO, it is worth spending a few extra dollars on the real stuff. It makes a huge difference when the recipe only has a few ingredients. You will really taste the quality in every spoonful.
How to Cook Your Pudding Perfectly
Cooking pudding is all about patience and stirring. You cannot rush it by turning the heat up to high. If the milk gets too hot too fast, it will scorched on the bottom of the pot. This gives the pudding a burnt taste that you cannot fix. I learned this the hard way when I was younger and tried to make dessert in five minutes. Now, I keep the heat at medium and take my time. It is a very relaxing process once you get the hang of it. You just stand there and watch the magic happen as the liquid gets thick.
Mixing the Dry and Wet Parts

Start by putting your sugar, cornstarch, and salt into your pot. Use your whisk to stir them together while they are still dry. This helps break up any clumps of cornstarch. If you add the milk first, the cornstarch might stay in little balls that never melt. Once the dry parts are mixed, slowly pour in your milk. I like to pour just a little bit at first and stir it into a paste. Then I add the rest of the milk. This is a great trick to make sure your pudding is as smooth as possible.
After the milk is in, whisk it until the sugar looks like it has disappeared. At this point, the mixture will just look like sweet milk. It will not be thick yet. That is normal! The heat is what does the work. Make sure you use a pot that has a heavy bottom if you have one. This helps the heat spread out evenly so one spot doesn’t get too hot. If you only have a thin pot, just be extra careful and keep that whisk moving at all times. Consistency is the key to a great dessert.
Heating and Thickening the Mix

Turn your stove to medium heat. You want to stay near the pot the whole time. Do not go check your phone or watch TV! Stir the milk every minute or so. As the milk gets warm, the cornstarch starts to wake up. It will start to grab onto the liquid and make it heavy. You will feel the pudding getting harder to stir. This usually takes about five to eight minutes. When you see bubbles starting to pop on the surface, it is almost ready. Let it bubble for just one minute while you stir fast.
This part is where the science happens. The cornstarch needs to get hot enough to cook, or your pudding will taste like flour. But if you cook it too long, it might get lumpy. It is a balance that you will learn with practice. I like to look for a texture that looks like thick glue. It should coat the back of a spoon. If you can draw a line through the pudding on the spoon with your finger and the line stays, you are in good shape. Just be careful not to burn your finger!
Recipe Quick Info
- Prep Time: 5 minutes
- Cook Time: 15 minutes
- Servings: 4 people
- Difficulty: Easy
Adding the Eggs and Butter

Now we need to add the egg yolks. This is the trickiest part of the whole recipe. If you just dump cold eggs into the hot pot, they will scramble. You will end up with sweet scrambled eggs in your milk, which is gross! To stop this, use a trick called tempering. Take a small scoop of the hot pudding and whisk it into your bowl of egg yolks. Do this a few times until the eggs are warm. Then, you can pour the warm egg mix back into the big pot. This keeps the eggs smooth and creamy.
Once the eggs are in, cook the pudding for one more minute. Then, take the pot off the heat. This is when you add the butter and the vanilla extract. The butter melts into the heat and makes the pudding shine. It also adds a nice savory taste that balances the sugar. Stir it until the butter is totally gone. Your kitchen should smell amazing right now! The vanilla adds that final punch of flavor that makes everyone smile. This is the best time to do a little taste test, but use a clean spoon!
Chilling and Saving the Pudding

You can eat the pudding while it is hot, but it gets better as it cools down. Pour the pudding into small bowls or one big container. Here is a very important tip: pudding grows a “skin” on top as it cools. Some people like this skin, but most people think it is weird. To prevent the skin, press a piece of plastic wrap right onto the surface of the pudding. It should touch the actual cream. This keeps the air out and the top stays soft. It is a tiny step that makes a big difference.
Put the bowls in the fridge for at least two hours. This gives the cornstarch time to set fully so the pudding doesn’t run. It also lets the flavors blend together. If you are in a rush, you can put the bowls in a larger bowl filled with ice and water. This will cool them down in about thirty minutes. Homemade pudding stays fresh in the fridge for about three to four days. It is a great thing to make on a Sunday so you have treats for the whole week. Just make sure to keep them covered so they don’t smell like the onions in your fridge!
Tips and Fun Ways to Change It Up
Once you know how to make the basic recipe, you can start to have fun. Vanilla pudding is like a blank canvas for a painter. You can add so many things to make it special. I have made this hundreds of times and I still try new ideas. Sometimes I want something fancy, and sometimes I just want a simple snack. There are no wrong answers here as long as you enjoy what you are eating. Let’s look at some ways to make your pudding even better.
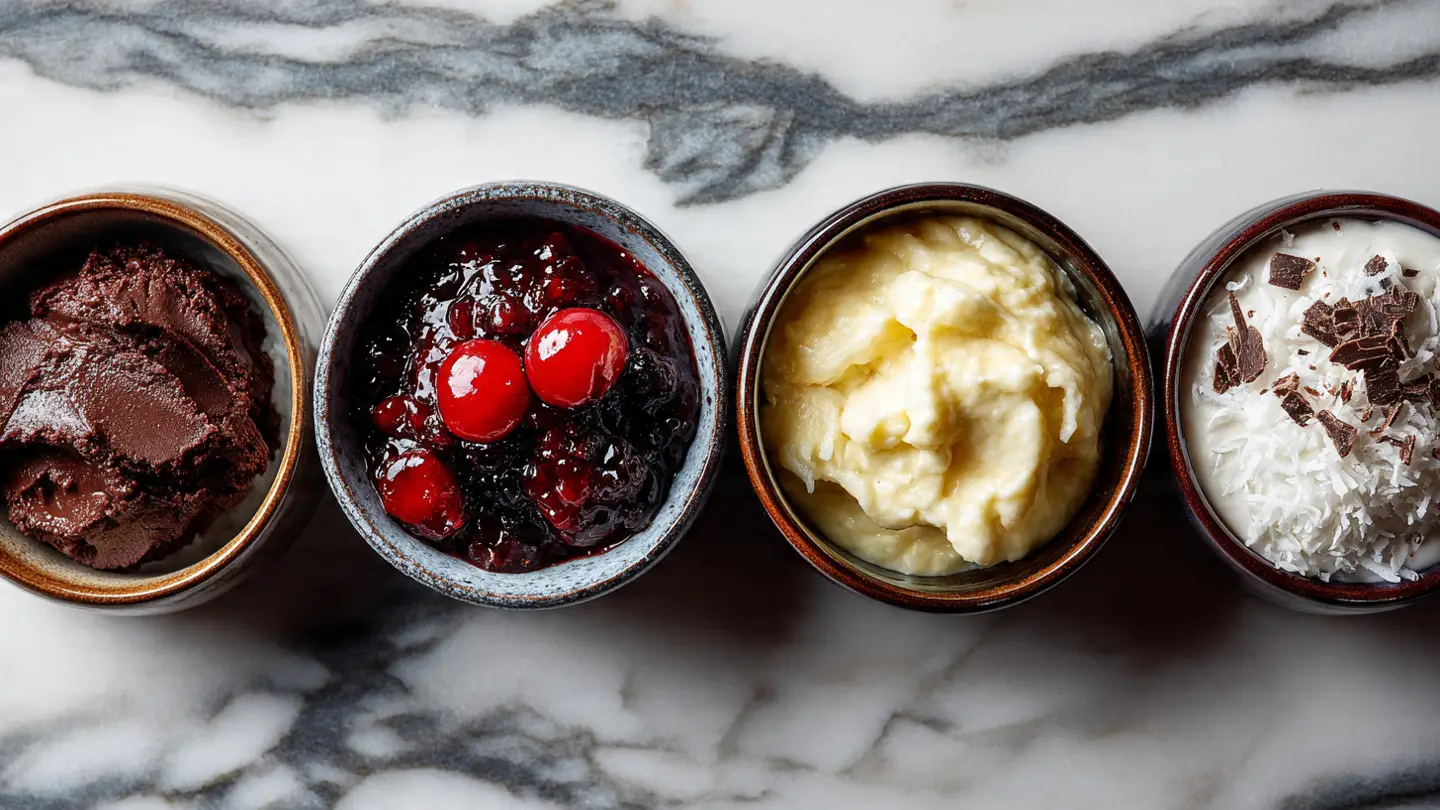
Toppings and Mix-ins

The simplest way to change your pudding is to put stuff on top. Fresh berries like strawberries or blueberries are perfect. They add a little bit of sour taste that cuts through the sweet pudding. You can also crush up some chocolate sandwich cookies or graham crackers. This adds a nice crunch that makes the pudding more interesting to eat. I personally love a big pile of whipped cream on top. If you want to be healthy, you can sprinkle some sliced almonds or chia seeds on top for a little boost.
You can also stir things into the pudding while it is still warm. A handful of chocolate chips will melt slightly and create swirls of cocoa. You could also stir in a spoonful of peanut butter for a salty twist. One of my favorite things to do is add a little bit of lemon zest. It makes the pudding taste like summer! If you like spices, try adding a dash of cinnamon or nutmeg. These warm spices make the vanilla feel cozy and perfect for a cold winter night. The options are truly endless.
Pro Pudding Tips
- Avoid Lumps: Always whisk the dry ingredients before adding liquid.
- No Skin: Press plastic wrap directly onto the pudding surface while hot.
- Rich Flavor: Use high-quality pure vanilla extract instead of imitation.
- Better Texture: Never skip the butter at the end; it adds the perfect shine.
Serving Suggestions for Parties

If you are having friends over, you can serve pudding in a fancy way. Instead of big bowls, use tiny glass jars or even wine glasses. This makes a simple dessert look very expensive. You can layer the pudding with cake pieces or fruit to make a “parfait.” It looks beautiful when you can see the different layers through the glass. It is a great way to use up leftover cake or brownies too. Everyone loves a dessert that has many different textures in one bite.
For a kids’ party, you can make “dirt pudding.” Add crushed chocolate cookies to the bottom and top of the vanilla pudding. Then, stick a few gummy worms inside. Kids think it is hilarious to eat “dirt” and “bugs” for dessert. It is always the first thing to disappear at the table. You can also use the pudding as a dip. Put a bowl of vanilla pudding in the middle of a plate and surround it with apple slices, pretzels, and vanilla wafers. It is a fun and interactive way to eat a snack together.
Common Questions About Pudding
Why is my pudding too thin?
You might not have cooked it long enough. The cornstarch needs to reach a boil to activate. Next time, wait for those big bubbles and cook for one full minute.
Can I make this recipe dairy-free?
Yes! Use full-fat coconut milk or oat milk. Also, swap the butter for a vegan butter or coconut oil. It will still be creamy and delicious.
How do I get rid of lumps in my pudding?
If you have lumps, just pour the hot pudding through a fine mesh strainer into a bowl. It will catch all the bits and leave you with a smooth cream.
Can I use cornstarch alternatives?
You can use tapioca starch or arrowroot powder. Use the same amount as cornstarch. It might make the pudding look a little more clear, but it works fine.
Why does my pudding taste like flour?
This happens if the cornstarch didn’t cook long enough. Make sure the mixture bubbles on the stove for at least 60 seconds to cook out that raw starch taste.
The Joy of Homemade Pudding
Making your own vanilla pudding is a simple way to bring a little bit of extra love into your home. It uses ingredients you know and trust, and it tastes better than anything in a box. I hope you enjoy every creamy bite of your creation!