Cowboy Queso
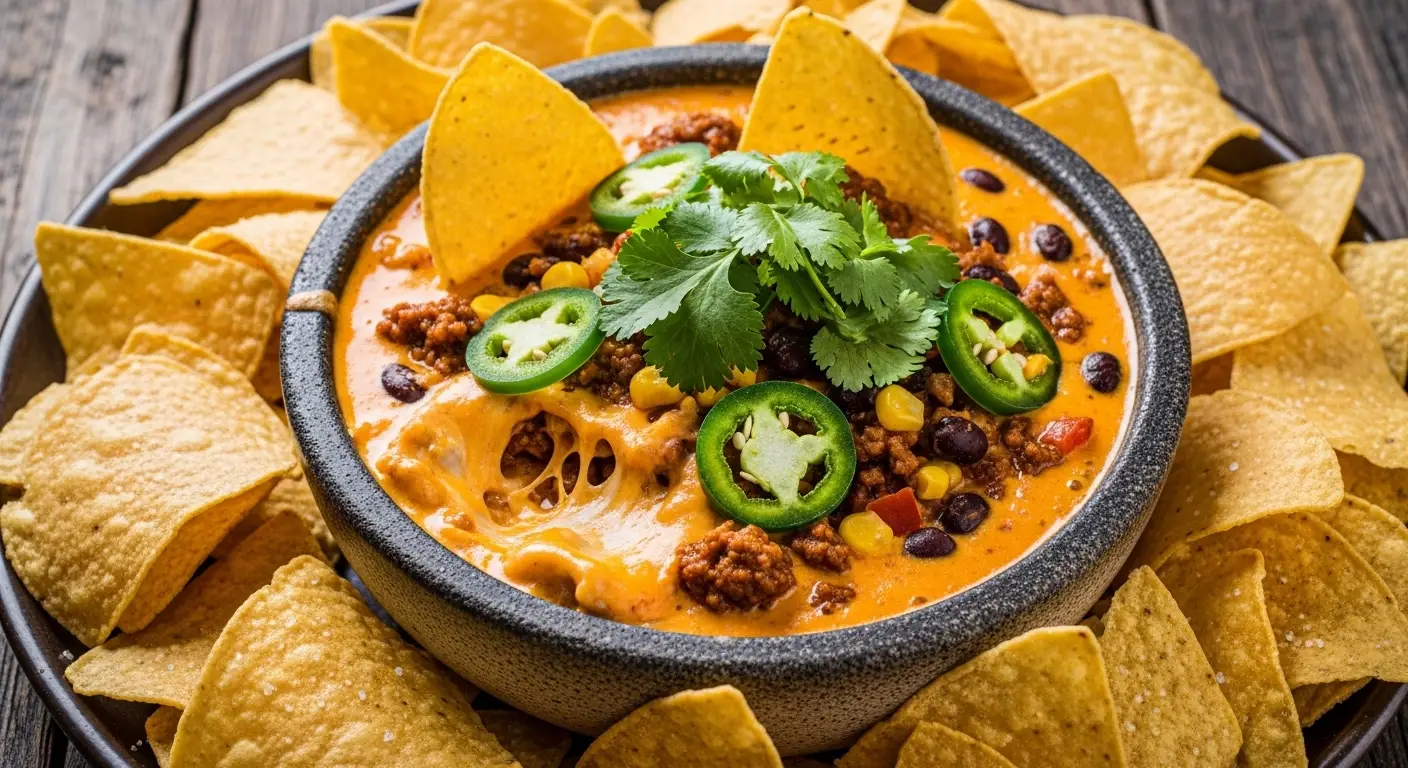
Are you looking for a snack that will make everyone at your party happy? This Cowboy Queso is the answer. It is not just a bowl of melted cheese. It is a thick, hearty dip filled with beef, beans, and tasty vegetables. Most people call it a meal in a bowl because it has so much good stuff inside. You will learn exactly how to make it from scratch in your own kitchen today.
I love making this recipe because it is very hard to mess up. Even if you are not a pro cook, you can make this dip taste like it came from a fancy restaurant. It takes very little time to prep, but the flavor is big and bold. Once you put this on the table, it usually disappears in minutes. Get your favorite bag of tortilla chips ready because we are going to make something special.
Want to see how easy it is to become the hero of the next game day? Let’s get cooking!
Why This Loaded Dip Works
This recipe works because it balances different textures and flavors. You get the creamy feel of the cheese mixed with the bite of the ground beef. The corn adds a little bit of crunch and sweetness. The black beans make it feel heavy and satisfying. It is like a party in a bowl where every guest is invited. Most queso is just thin yellow liquid, but this one stands up tall and stays thick even as it cools down a little bit.
I remember the first time I made this for a big family dinner. I tried to use a very cheap cheese that did not melt well. It turned into a big, oily clump that nobody wanted to touch. That was a big lesson for me. Now, I always tell people to pick the right cheese so it stays smooth. This dip is also great because you can change it easily. If you like things very spicy, you can add more peppers. If you want it mild for kids, you can leave the seeds out of the jalapeños. It is very flexible for any crowd.
The Best Ingredients for Cowboy Queso

To start, you need the right base. Most people use a block of processed cheese because it melts perfectly. I like to mix that with some real sharp cheddar for a better taste. You will also need one pound of ground beef. Make sure to drain the fat after you cook it. If you leave the fat in, your dip will look greasy on top. It is a small step that makes a huge difference in how the food looks and feels in your mouth.
Next, grab a can of black beans and a can of corn. Wash the beans in a strainer until the water runs clear. This keeps your cheese from turning a weird grey color. You also need a jar of chunky salsa. Pick a brand you already like to eat with chips. Finally, get some fresh onions and garlic. These simple vegetables add a smell and taste that canned goods just cannot match. It makes the whole house smell like a great kitchen while it cooks.
Step-by-Step Cooking Instructions

First, place a large pot or a deep skillet on your stove over medium heat. Add your ground beef and break it into small pieces with a wooden spoon. Add your chopped onions at the same time. Cook them together until the meat is no longer pink and the onions look soft and clear. This usually takes about eight to ten minutes. Once it is done, tip the pan over a bowl or the sink to let the extra grease run out. This is the part where most people get lazy, but your stomach will thank you later for removing that extra oil.
- Brown the meat and onions in a large pot.
- Drain the fat and put the meat back in the pot.
- Turn the heat to low so you do not burn the bottom.
- Cut your cheese into small cubes so they melt faster.
- Add the cheese, salsa, beans, and corn to the pot.
- Stir slowly until everything is smooth and melted.
- Add a splash of milk if the dip feels too thick to scoop.
Keep stirring the pot every minute or two. Cheese can burn quickly if it sits still for too long. If you see bubbles popping hard, your heat is too high. You want a low, slow melt. This keeps the cheese stretchy and soft. Once it looks like a big golden river of goodness, you are ready to move to the next step. FYI, if you are using a slow cooker, you can just dump everything in and wait two hours, but the stove is much faster when you are hungry right now.
How to Pick the Right Cheese

Choosing cheese is the most important part of this recipe. If you buy the pre-shredded cheese in a bag, it might not melt well. Those bags have a dusty powder on the cheese to keep it from sticking together. That powder can make your queso feel grainy or sandy. I always buy the big blocks and cut them myself. It takes two extra minutes, but the dip comes out much smoother. It is a simple trick that most people skip because they are in a rush.
I usually use a mix of two types. Processed cheese like Velveeta gives you that classic dip texture that never breaks. Then, I add Pepper Jack to give it a little kick and a real cheese flavor. If you only use processed cheese, it can taste a bit like plastic. If you only use real cheddar, it might get oily and separate. Mixing them together gives you the best of both worlds. It stays creamy for a long time even if it sits out on the snack table during a long football game.
Recipe Quick Info
- Prep Time: 15 minutes
- Cook Time: 15 minutes
- Servings: 12 people
- Difficulty: Easy
Making it Extra Spicy or Mild

Everyone has a different level of heat they can handle. My dad loves food that makes his nose run, but my little sister hates anything spicy. This Cowboy Queso is great because you can control the fire. To keep it mild, use a mild salsa and make sure to remove all the seeds from your jalapeños. Most of the heat lives in those tiny white seeds. If you throw them away, you get the flavor of the pepper without the burn. It is a safe way to feed a large group of people with different tastes.
If you want to turn up the heat, you have many options. You can use “Hot” salsa instead of medium. You can also add a small can of diced green chiles. For the brave people, a dash of cayenne pepper or some red pepper flakes will do the trick. Just remember that you can always add more spice, but you cannot take it out once it is in there. Start small and taste a little bit with a chip before you add more. IMO, a medium heat is usually the best choice for a party so everyone can enjoy at least a few bites.
Serving Suggestions for Your Party

How you serve this dip is almost as important as how you cook it. A big bowl of queso looks lonely by itself. I like to put it in the center of a very large platter. Surround the bowl with different types of chips. Thick corn chips are the best because they do not break under the weight of the heavy beef and beans. You can also use flour tortilla wedges or even sliced bell peppers for people who do not want to eat too many chips. The bright colors make the table look very inviting.
Don’t forget the toppings! A little bit of green on top of the yellow cheese makes it look like a professional dish. I use chopped cilantro and sliced green onions. A dollop of sour cream in the middle can also help cool down the spice for some people. If you are having a really big party, keep the queso in a small slow cooker on the “warm” setting. This keeps it from getting hard or forming a skin on top. Nobody likes cold cheese, so keeping it warm is a pro move that your guests will love.
Storage and Reheating Tips

If you actually have leftovers, you need to store them correctly. Let the queso cool down to room temperature first. Do not put a hot pot of cheese straight into the fridge or it will make your other food warm. Put the dip into a container with a tight lid. It will stay good in the fridge for about three to four days. The cheese will get very firm and hard while it is cold, but do not worry. It will turn back into liquid once you heat it up again. It is a very sturdy recipe.
Success Tips
- Milk Trick: If the cheese gets too thick when reheating, add a spoonful of milk and stir well.
- Low Heat: Always use low heat to avoid burning the milk solids in the cheese.
- Bean Prep: Always rinse canned beans to keep the dip color bright and golden.
When you want to eat it again, the microwave is your friend. Put a small amount in a bowl and heat it for 30 seconds. Take it out and stir it. This is important! Stirring helps the heat spread out so you don’t get cold spots or burnt edges. If the dip seems too thick, add one teaspoon of milk or water and stir again. It will look brand new. You can also put it back in a small pot on the stove over low heat. Just stay close to it and keep stirring so the bottom does not scorch.
Common Queso Questions
Can I use ground turkey instead of beef?
Yes, you can! Ground turkey is a great lean choice. Just make sure to season it well with salt and pepper so it has plenty of flavor like the beef does.
What if my queso is too thin and runny?
If it is too thin, let it simmer on low for a few more minutes without a lid. You can also add more cheese cubes. As it sits and cools slightly, it will naturally thicken up.
Can I make this in a slow cooker?
Yes! Brown the meat on the stove first. Then put everything in the slow cooker on low for 2 hours. Stir it every 30 minutes until it is smooth and hot.
Can I freeze leftover Cowboy Queso?
I do not recommend freezing it. Dairy can get a strange, grainy texture when it freezes and thaws. It is much better to eat it fresh or from the fridge within a few days.
What are the best chips for this heavy dip?
Use “scoop” style chips or thick, restaurant-style corn chips. Thin chips will break because this dip is very heavy with meat and beans.
Happy Dipping Everyone
Cowboy Queso is more than just a snack. It is a crowd-pleasing dish that brings people together around the table. By using fresh cheese and browning your meat well, you create a dip that is much better than anything from a jar. It is easy, fast, and very filling. Now go grab your chips and enjoy your hard work!