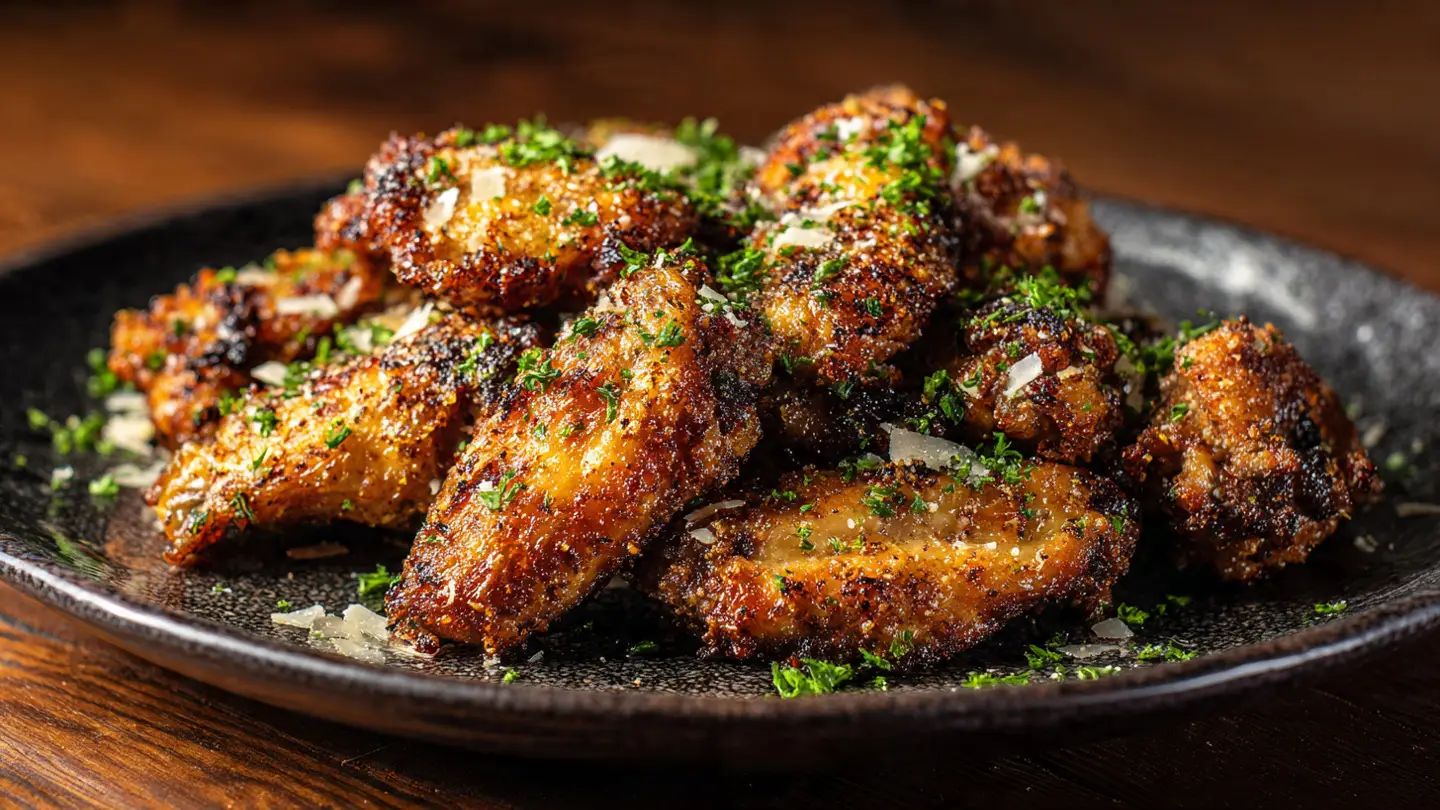
Garlic Parmesan Wings
Making wings at home is a lot of fun. Most people think you need a big fryer to get them crispy. That is not true. I used to make soggy wings all the time until I learned a few simple tricks. Now, my wings are crunchy and covered in a rich, buttery sauce that everyone loves.
Today you will learn how to cook wings until they are perfect. I will show you how to mix the right cheese and spices for the best flavor. You will see that you do not need to be a professional chef to make food that tastes like it came from a restaurant. These wings are great for parties or just a quiet night on the couch.
Grab your apron and get ready to cook something delicious! FYI, these go fast so you might want to make a double batch.
The Secret to Great Wings
The best wings have a skin that snaps when you bite it. Inside, the meat should be juicy and hot. Getting this right takes a little bit of patience. Most people rush the process. They put the wings in the oven when they are still wet. This makes steam. Steam is the enemy of crispy skin. I learned this the hard way after many plates of rubbery chicken. You have to dry the skin first.
Another secret is the temperature. You need high heat to melt the fat under the skin. If the heat is too low, the wings just bake like a normal chicken breast. We want them to fry in their own juices. Garlic and parmesan are the perfect pair for this. The cheese gets a little toasted and the garlic smells amazing. It is a simple combo that never fails to please a crowd.
What You Will Need

First, you need the right tools and food. You can find these at any local store. Using fresh ingredients makes a big difference. I always try to buy the best butter I can find. It adds a lot of creaminess to the final sauce. You also need a large baking sheet and some parchment paper to keep things from sticking. It makes cleanup much easier later on.
- 2 pounds of chicken wings (flats and drums)
- 1 tablespoon of baking powder (not baking soda!)
- 1 teaspoon of salt
- 1/2 cup of grated parmesan cheese
- 4 cloves of fresh garlic, minced
- 1/2 cup of unsalted butter
- 1 teaspoon of black pepper
- 1 teaspoon of dried oregano
- A pinch of red pepper flakes
Make sure your wings are thawed out completely if they were frozen. If they are still icy, they will release too much water. This will ruin the crunch we are looking for. I like to take mine out of the fridge an hour before I start. This helps them cook more evenly from the edge to the bone.
Prepping the Chicken

This is the most important step. Take every single wing and pat it dry with a paper towel. I mean really dry. If the skin is wet, the baking powder will not stick well. The baking powder is a magic trick. It changes the skin so it gets extra bubbly and crisp. It is a common trick used by many home cooks now. Just make sure you do not use baking soda because that will taste very bad.
Once the wings are dry, put them in a big bowl. Sprinkle the baking powder and salt over them. Use your hands to toss them around. Every wing should have a light coating. It might look a little powdery, but that is okay. The powder will disappear as they cook in the oven. This is the secret to getting that deep crunch without a deep fryer.
How to Bake Them Right

Set your oven to 400 degrees. High heat is your friend here. I like to use a wire rack on top of my baking sheet. This lets the hot air move all the way around the wing. If you put them flat on a pan, the bottom side will stay soggy. The rack lifts them up so they get crispy on the top and the bottom at the same time. It saves you from having to flip them too often.
- Put the wings on the rack in a single layer.
- Do not let them touch each other. Space is good.
- Bake for 45 to 50 minutes.
- Check them halfway through to make sure they are browning evenly.
- They are done when the skin looks golden and feels hard when you poke it with a fork.
I once tried to cook these at a lower heat because I was afraid of burning them. They took forever and the skin was tough like leather. Stick to the high heat. If they look like they are getting too dark too fast, you can move the tray to a lower shelf. Every oven is a bit different, so keep a close eye on them during the last ten minutes of cooking.
Making the Garlic Butter Sauce

While the wings are finishing up, it is time to make the sauce. This sauce is thick, salty, and very savory. Start by melting the butter in a small pan over low heat. You do not want the butter to brown or burn. Just melt it until it is liquid. Add your minced garlic next. Let the garlic cook for just a minute. You will know it is ready when you can smell it all over the kitchen.
Do not cook the garlic too long. If it turns brown or black, it will taste bitter. I made that mistake once and had to throw the whole batch away. It was a sad day. Once the garlic is soft, take the pan off the heat. Stir in the salt, pepper, and dried herbs. Let the sauce sit for a moment so the flavors can mix together. The warmth of the butter will pull the oils out of the herbs.
Tossing the Wings

When the wings are done, take them out of the oven. Let them rest on the tray for about two minutes. This lets the meat firm up just a little bit. Then, put all the hot wings into a large clean bowl. Pour that warm garlic butter right over the top. Use a big spoon or tongs to toss them. You want every nook and cranny of the wings to be covered in butter.
Now comes the parmesan cheese. Sprinkle it in while you keep tossing. If you add it all at once, it might clump up into one big ball of cheese. Adding it slowly helps it stick to the buttered skin. The cheese will melt slightly and create a crusty layer on the wing. It looks and smells incredible. IMO, the more cheese, the better. I usually add an extra shake at the end just for good measure.
Tips for the Best Results

If you want to change things up, you can add a little lemon juice to the sauce. This adds a bright kick that cuts through the heavy butter. You can also use different types of cheese. Sometimes I mix in some pecorino for a sharper taste. Just make sure the cheese is finely grated. Big chunks will not stick to the wings as well. If you have leftovers, they are best reheated in an air fryer or the oven. A microwave will make the skin soft again.
Recipe Quick Info
- Prep Time: 15 minutes
- Cook Time: 50 minutes
- Servings: 4 people
- Difficulty: Easy
Another great tip is to use fresh garlic. The stuff in the jar is okay in a pinch, but it does not have the same punch. If you really love garlic, you can even use a garlic press. This makes the pieces very small so they blend right into the butter. This way, you get garlic flavor in every single bite without chewing on big pieces. It makes the sauce much smoother and more professional.
Serving Suggestions

These wings are a meal on their own, but they play well with others too. I love serving them with cold celery and carrot sticks. The crunch of the veggies is a nice break from the rich wings. You also need a good dip. Creamy ranch or blue cheese dressing are the classic choices. The cool sauce goes perfectly with the warm garlic. It is a match made in heaven.
If you are serving these at a party, put them on a big platter. Sprinkle some fresh chopped parsley over the top. It adds a pop of green and makes the dish look like it cost a lot of money. You can also serve them with a side of fries or a simple green salad. These wings are heavy, so a light salad with vinegar dressing helps balance the plate. Your friends will definitely ask for the recipe!
Pro Kitchen Tips
- Dry Skin: Use a fan to dry the wings faster if you are in a rush.
- Cold Butter: Do not use cold butter for the sauce; melt it slowly for the best texture.
- Salt Control: Parmesan is salty, so taste your sauce before adding extra salt.
Common Questions About Wings
People always have a few questions when they start making wings at home. It can be scary to work with high heat or new ingredients. I have gathered the most common things people ask me. These answers will help you feel more confident in the kitchen. Remember, cooking is about learning. If a batch is not perfect, just try again next time!
Can I use an air fryer?
Yes! Air fryers work great. Cook at 400 degrees for 20 minutes. Shake the basket halfway through to keep them moving.
Do I have to use baking powder?
You do not have to, but they will not be as crispy. The powder helps the skin get those tiny bubbles that crunch.
Can I use frozen wings?
You can, but you must thaw them first. Pat them very dry after they thaw to remove any extra water from the ice.
What if I only have salted butter?
That is fine! Just do not add the extra teaspoon of salt to the recipe. The cheese is also salty, so be careful.
How do I store leftovers?
Keep them in a sealed container in the fridge for up to 3 days. Reheat in the oven to keep them crispy.
Time to Eat
Now you have everything you need to make the best wings ever. These Garlic Parmesan Wings are simple, crispy, and full of flavor. They show that you do not need fancy tools to make amazing food. Just dry your chicken, use your baking powder, and enjoy that buttery garlic goodness. Happy cooking!