Jalapeno Popper Dip
I love snacks that have a little bit of a kick. If you like jalapeno poppers, you are going to love this dip. It has all the same flavors like spicy peppers, cool cream cheese, and crispy breadcrumbs. The best part is that you do not have to spend an hour stuffing tiny peppers. You just mix everything in a bowl and bake it until it is bubbly and gold.
This recipe is a big hit at my house when we watch sports or have family over. It is very creamy and a little bit salty from the bacon. I find that most people cannot stop eating it once they start. It is the perfect thing to bring to a party because everyone always asks for the recipe. I will show you how to make it perfectly every single time.
You will learn the best way to chop the peppers so they are not too hot. I will also tell you which cheeses melt the best for a smooth dip. This is a simple dish that anyone can make, even if you are not a pro in the kitchen. Let us get your oven ready and start cooking this amazing snack.
Want more easy snack ideas? You should try making these for your next big movie night!
Why This Dip Is Better Than Real Poppers
Making real jalapeno poppers can be a real chore. I remember the first time I tried to make them by hand. I had to cut thirty small peppers in half and scoop out all the seeds. It took me forever, and my fingers burned for two days because I did not wear gloves. That was a big lesson for me. Now, I make this dip instead because it is way faster and much safer for your hands.
This dip gives you the exact same taste with much less work. You get the crunch from the topping and the heat from the peppers in every single bite. In a real popper, sometimes you get a giant piece of pepper that is too spicy. In this dip, everything is chopped small and mixed with cheese. This means the heat is spread out evenly. It is also much easier for a large group of people to share a big bowl of dip than it is to pass around a plate of individual stuffed peppers.
The Ultimate Ingredients List

To make this dip, you need a few basic things from the store. The base is made of cream cheese and sour cream. This makes it very smooth and easy to scoop. I like to use full-fat cream cheese because it melts better than the low-fat kind. You will also need two cups of shredded cheese. I usually use a mix of sharp cheddar and Monterey Jack. Sharp cheddar has a lot of flavor, and Monterey Jack melts into a gooey stretch that looks great on a chip.
- 2 blocks of softened cream cheese (8 ounces each)
- 1 cup of sour cream or plain Greek yogurt
- 2 cups of shredded cheddar cheese
- 1/2 cup of shredded Parmesan cheese
- 5 to 6 fresh jalapeno peppers, diced small
- 1/2 cup of cooked bacon, crumbled
- 1 teaspoon of garlic powder
- 1/2 teaspoon of salt
- 1 cup of panko breadcrumbs for the top
- 2 tablespoons of melted butter
I also add a little bit of garlic powder and salt to make the flavors pop. If you want it even spicier, you can add a dash of hot sauce. Some people like to add green onions for a fresh taste. I think the bacon is the most important part because it adds a smoky flavor that goes perfectly with the spicy peppers. Make sure your bacon is very crispy so it does not get soggy inside the cheese.
Step By Step Instructions

First, you need to turn your oven to 375 degrees. While that heats up, take your cream cheese out of the fridge. It needs to be very soft so you can mix it without getting tired. If it is cold, it will stay in big lumps, and your dip won’t be smooth. I usually leave mine on the counter for about an hour before I start. If you are in a rush, you can put it in the microwave for twenty seconds, but be careful not to melt it completely.
- In a large bowl, beat the softened cream cheese and sour cream until they are fluffy. You can use a hand mixer or just a big spoon.
- Stir in the diced jalapenos, bacon bits, garlic powder, and salt. Make sure you mix it well so every bite has a piece of pepper.
- Fold in the shredded cheddar cheese and half of the Parmesan cheese.
- Spread the mixture into a 9-inch baking dish or a small iron skillet. Use your spoon to flatten the top.
- In a separate small bowl, mix the breadcrumbs, the rest of the Parmesan, and the melted butter. Sprinkle this over the top of the cheese mixture.
- Bake for 20 to 25 minutes. You want the cheese to be bubbling around the edges and the breadcrumbs to look golden brown.
When it comes out of the oven, let it sit for five minutes. This is a very hard rule to follow because it smells so good! But if you eat it right away, the cheese might be too runny and you could burn your mouth. Letting it sit helps it thicken up so it stays on your chip better. FYI, the smell of toasted breadcrumbs and spicy peppers will fill your whole house.
The Best Tips for Spicy Peppers

Dealing with jalapenos can be tricky. My biggest tip is to wear gloves when you chop them. The oil from the peppers stays on your skin even if you wash your hands with soap. If you touch your eyes later, it will hurt a lot! I learned this the hard way when I was making salsa a few years ago. Now, I always keep a box of cheap plastic gloves in my kitchen drawer just for pepper day.
If you want the dip to be mild, you must remove all the seeds and the white ribs from inside the pepper. That is where most of the heat lives. If you like it very hot, you can leave a few seeds in the mix. I find that five peppers with no seeds is just right for most people. It gives you the flavor of the pepper without making your tongue feel like it is on fire. Use a small spoon to scrape the seeds out quickly after you cut the pepper in half.
Serving Suggestions and Dippers

What you dip into the bowl is just as important as the dip itself. My favorite thing to use is a sturdy tortilla chip. You want a chip that is thick so it does not snap off in the heavy cheese. There is nothing worse than losing half your chip in the bowl! Buttery crackers are also a great choice because they match the flavor of the breadcrumb topping. They add a little bit of sweetness that balances out the spice.
If you want to be a little healthier, you can use vegetables. Celery sticks are perfect because they are crunchy and hold their shape. Slices of red bell pepper or cucumber also work well. For a fancy party, I sometimes toast thin slices of a baguette. This makes the snack feel more like a meal. IMO, a mix of chips and veggies is the best way to serve it so everyone has something they like.
Recipe Quick Info
- Prep Time: 15 minutes
- Cook Time: 25 minutes
- Servings: 10 people
- Difficulty: Easy
Ways to Change the Recipe

You can change this recipe to fit what you have in your kitchen. If you do not have bacon, you can leave it out for a vegetarian version. You could add a can of drained corn for a little crunch and sweetness. Some people like to add cooked chicken to the dip to make it a main dish. If you do that, use shredded rotisserie chicken because it is already cooked and very tender. It turns the snack into a hearty meal that kids love.
Another idea is to change the cheese. Using pepper jack cheese will make it much spicier. Using smoked gouda will give it a deep, fancy flavor. This dip may not work if you use oily, cheap cheese that comes in a jar. You really need the blocks of real cheese for the best texture. If you are out of panko breadcrumbs, you can crush up some Ritz crackers or even potato chips for the top. Both of those give a great salty crunch that everyone enjoys.
How to Store and Reheat

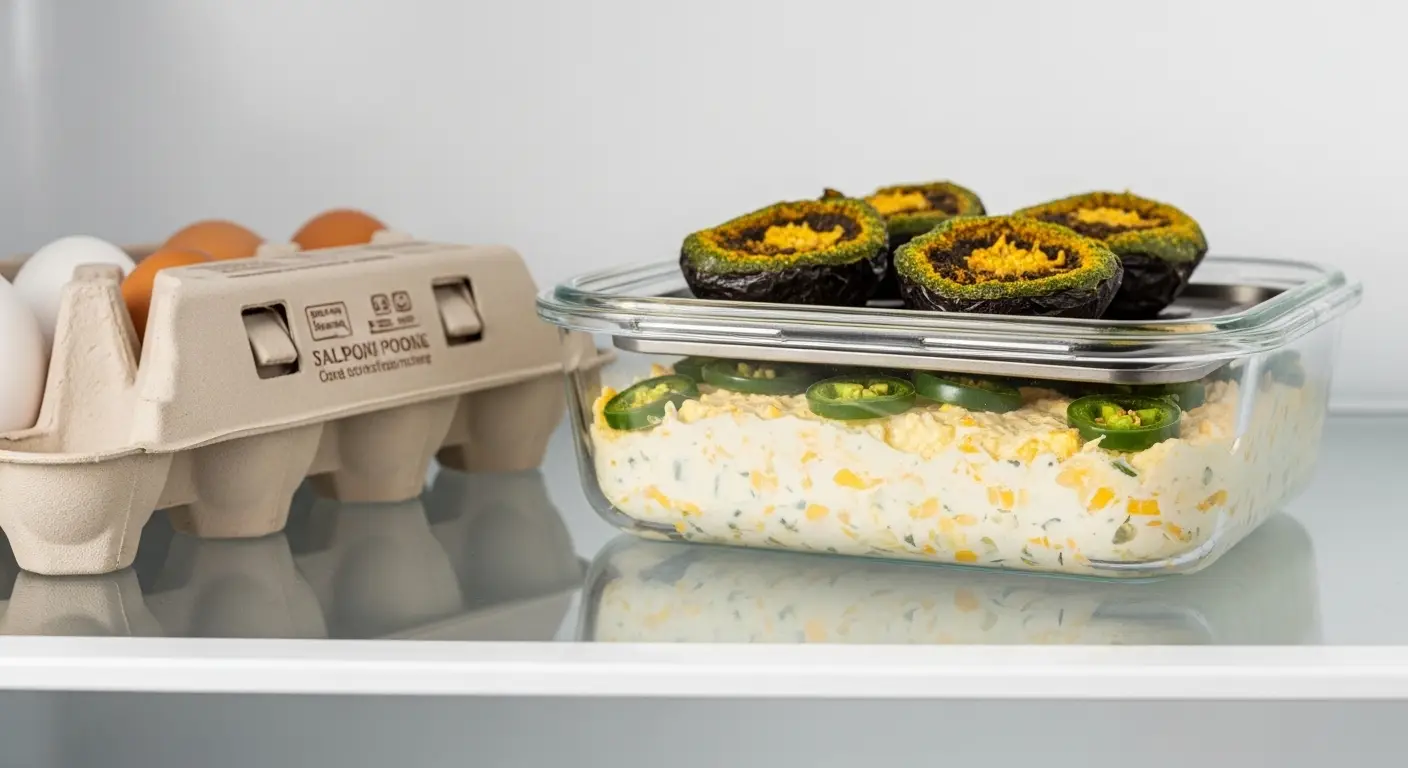
If you have leftovers, you are lucky! This dip tastes even better the next day because the flavors have time to hang out together. Put the leftovers in a container with a tight lid and keep them in the fridge. It will stay good for about three to four days. I do not recommend freezing this dip. Cream cheese and sour cream can get a weird, grainy texture after they are frozen and thawed. It is much better to eat it fresh or within a few days.
To reheat it, you can put a scoop on a plate and use the microwave for 30 seconds. If you want to reheat the whole bowl, put it back in the oven at 350 degrees for about ten minutes. This helps the breadcrumbs get crispy again. The microwave will make the top a little soft, but it still tastes great. This is a perfect lunch for the day after a party. I often find myself eating the leftovers cold on a cracker because I just can’t wait for it to get warm.
Pro Dipping Tip
- The Double Dip Rule: Always provide a small spoon in the bowl. This lets guests scoop the dip onto their own plate so nobody feels tempted to double dip their chip into the main bowl!
Common Questions About This Snack
Can I make this dip ahead of time?
Yes! Mix the cheese and peppers, put them in the dish, and cover with plastic wrap. Add the breadcrumbs right before you bake it so they stay crunchy in the oven.
Is this dip very spicy?
It depends on the peppers. If you remove all the seeds, it is mild. The cream cheese helps cool down the heat. It is usually safe for kids who like a tiny bit of spice.
What can I use instead of sour cream?
You can use plain Greek yogurt or even mayonnaise. Both will keep the dip creamy. Mayo makes it a bit richer, while yogurt adds a nice tang and less fat.
How do I keep the breadcrumbs from burning?
Watch the oven closely at the 20-minute mark. If the top looks dark brown too fast, cover the dish loosely with a piece of foil for the last five minutes of baking.
Time to Get Dipping
This jalapeno popper dip is the best way to make a crowd happy without spending all day in the kitchen. It is creamy, spicy, and has that perfect crunch on top. Whether you are at a party or just having a snack at home, this recipe is a winner. Just remember to wear your gloves when cutting those peppers! You are now ready to make the most popular dish at your next get-together. Enjoy every cheesy bite.