The Perfect Tuna Melt
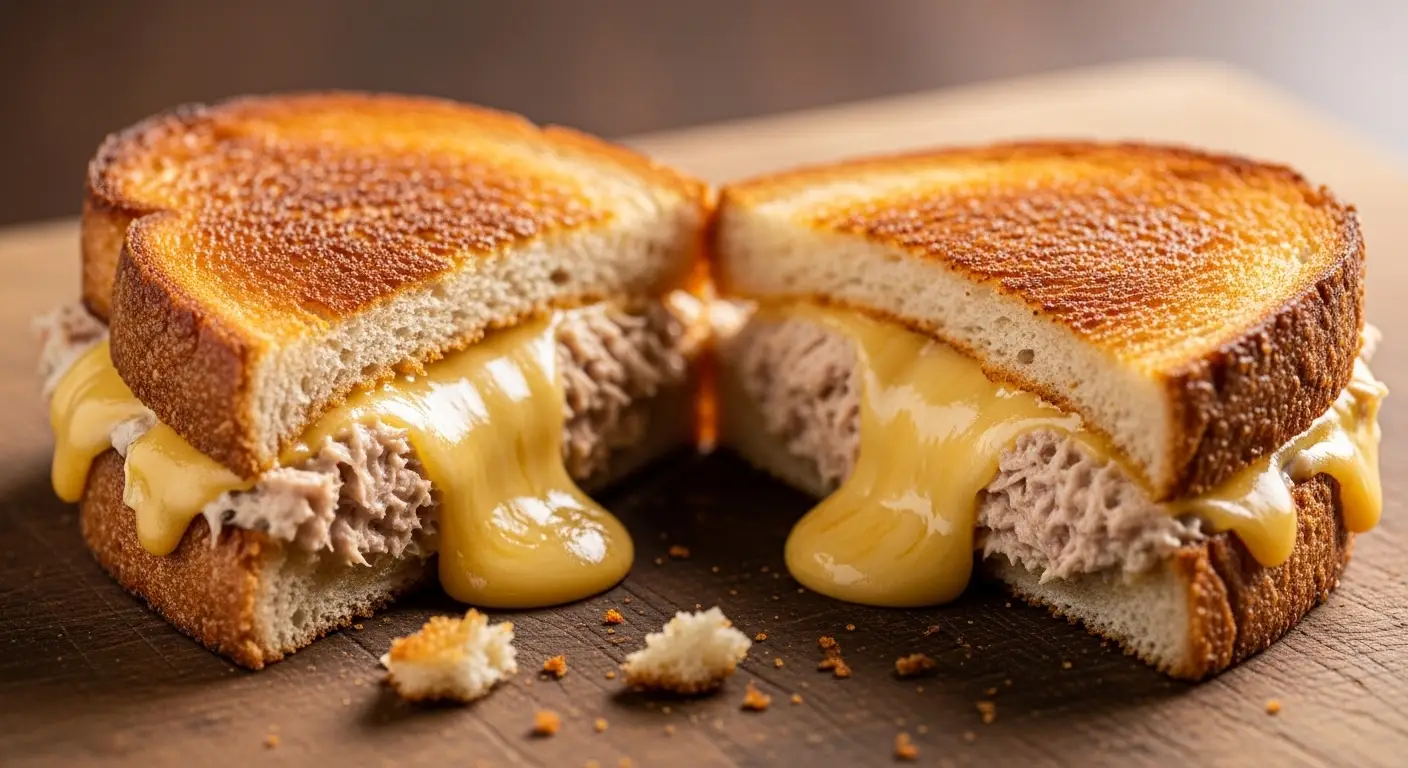
Making a great tuna melt is a skill everyone should have. It is more than just a sandwich with fish and cheese. When you do it right, the bread is buttery and golden. The tuna is creamy but still has a nice crunch. The cheese should be melted perfectly so it drips down the sides. It is the best kind of comfort food for a rainy day or a quick lunch.
I have spent years trying to get the crunch just right. In this guide, I will show you exactly how to build this sandwich. You will learn which bread stays strong and which cheese melts the best. We are going to turn a simple can of fish into a meal that feels like a treat. It is easy, fast, and very cheap to make at home.
Ready to make the best sandwich of your life? Let’s get started with the basics.
What You Need to Get Started
Before you turn on the stove, you need to gather your items. A tuna melt is only as good as the things you put inside it. You do not need expensive tools or fancy food. Most of these things are likely in your kitchen right now. I like to keep a few cans of tuna in the back of my cupboard just for this reason.
The Main Ingredients List

You need a few simple things to make a great tuna melt. First, get two cans of tuna. I like the kind packed in water because it is not too oily. You also need good bread. Sourdough or thick white bread works best because it can hold the heavy filling without getting soggy. Do not use thin bread or it will fall apart in the pan.
- 2 cans of white tuna (5 ounces each)
- 1/4 cup of creamy mayonnaise
- 1 tablespoon of yellow or Dijon mustard
- 2 stalks of celery, chopped very small
- Half of a small white onion, diced
- 4 thick slices of sourdough bread
- 4 slices of sharp cheddar cheese
- 3 tablespoons of softened butter
- A pinch of salt and black pepper
The celery and onion are very important. They give the tuna a crunch that makes the sandwich feel fresh. If you skip them, the texture might feel too soft. I also love adding a tiny squeeze of lemon juice if I have a lemon around. It makes the fish taste bright and clean.
Tools for the Job

You do not need a lot of gear. A medium bowl is perfect for mixing the tuna salad. I use a fork to break up the big chunks of fish. You will also need a good frying pan. A cast iron skillet is my favorite because it gets the bread very crispy. If you do not have one, a non-stick pan works just fine too.
A sturdy spatula is also a must. You will need to press down on the sandwich a little bit to help the cheese melt. A metal spatula is great for getting under the bread without tearing it. Make sure your pan is clean before you start so the butter does not burn and smell bad. FYI, a heavy pan helps cook the sandwich evenly so you don’t get cold spots in the middle.
Recipe Quick Info
- Prep Time: 10 minutes
- Cook Time: 8 minutes
- Servings: 2 sandwiches
- Difficulty: Very Easy
Making the Tuna Salad Right
The tuna salad is the heart of the sandwich. If the tuna is dry, the whole meal will feel boring. If it is too wet, the bread will turn into mush. Finding the middle ground is the secret to success. I learned this the hard way when I once added way too much mayo and the sandwich slipped right out of the bread!
Mixing the Filling

Open your cans and drain the water out completely. Use the lid to press down on the fish to squeeze every drop out. Put the dry tuna in your bowl. Use a fork to smash the big pieces into small flakes. Now, add your mayo, mustard, celery, and onion. Stir it all together until it looks creamy and well-mixed.
Taste a tiny bit of the mix. Does it need more salt? Does it need more pepper? This is the time to fix it. I sometimes add a dash of hot sauce if I want a little kick. The mix should be thick enough to stay on a spoon. If it looks like soup, you added too much mayo. You can fix this by adding a bit more tuna or even some crushed crackers.
Choosing the Best Cheese

Cheese is what holds everything together. Sharp cheddar is the classic choice because it has a strong flavor that stands up to the tuna. It also melts very well. Some people like Swiss cheese because it is mild and stretchy. I once tried using mozzarella, but it was a bit too bland for my taste. IMO, cheddar is the king of the tuna melt.
Make sure your cheese is sliced thin or shredded. If the cheese is too thick, the bread will burn before the middle gets hot. You want that cheese to turn into a gooey blanket for the tuna. If you are feeling fancy, you can use two different kinds of cheese. A mix of cheddar and monterey jack is a great way to get both flavor and a good melt.
Building and Cooking the Sandwich
Now comes the fun part. Building the sandwich is like building a house. You need a strong base and a good roof. The way you layer the items matters a lot. If you put the wet tuna right against the bread without any butter, you might end up with a soggy mess. We want maximum crunch on every single bite.
How to Layer the Ingredients

Take your bread slices and spread butter on one side of each piece. Be generous! The butter is what makes the bread turn gold and crispy. Lay two slices of bread butter-side down on a plate. Put a slice of cheese on each one. Then, scoop a big pile of tuna onto the cheese. Spread it out so it reaches the edges.
Put the second slice of cheese on top of the tuna. This “double cheese” method is a pro tip. The cheese acts like glue. It sticks to the bottom bread and the top bread. Finally, put the last two slices of bread on top with the buttered side facing up. Now your sandwich is ready for the heat. Does it look huge? Good. That is how a melt should look.
Step by Step Cooking Guide

Follow these steps to cook your sandwich perfectly. Don’t rush the heat!
- Heat your pan over medium-low heat. If the pan is too hot, the bread burns and the middle stays cold.
- Place the sandwiches in the pan carefully. You should hear a soft sizzle.
- Cook for about 3 to 4 minutes on the first side. Use your spatula to peek underneath. It should be golden brown.
- Flip the sandwich carefully. Use one hand to hold the top bread if you need to.
- Cook the second side for another 3 minutes. Press down gently with your spatula to help the heat reach the middle.
- Once the cheese is dripping and the bread is toasted, remove it from the heat.
Let the sandwich sit for one minute before you cut it. This keeps the tuna from sliding out everywhere. I like to cut mine on a diagonal because it feels like I am at a fancy diner. There is something about a triangle sandwich that just tastes better!
Pro Tips for Success
- Dry the Tuna: Always squeeze the water out well or your bread will get wet.
- Soft Butter: Use room temperature butter so you do not tear the bread while spreading.
- Low Heat: Low and slow is the secret to a perfect melt without burning.
Variations and Fun Ideas

You can change this recipe to fit what you like. Some people love adding a thin slice of tomato inside. It adds a bit of sweetness. Just make sure to salt the tomato first so it is not too watery. Another great idea is to add avocado slices. This makes the sandwich extra creamy and filling. It is a good choice if you want more healthy fats.
If you like spice, chop up some pickled jalapeños and mix them into the tuna. This is my favorite way to eat it when I want something bold. You can even swap the bread for an English muffin or a bagel. This may not work if the bagel is too thick, as the middle won’t get hot enough. If you use thick bread, just keep the heat extra low so it has time to warm through.
Serving Suggestions

A tuna melt is a heavy sandwich, so it goes well with light sides. A crisp dill pickle is the perfect partner. The sour taste cuts through the rich cheese and mayo. I also love serving mine with a handful of salty potato chips. The extra crunch is very satisfying. If you want a healthier side, a simple green salad with a lemon dressing works great too.
For a warm meal, you can serve this with a cup of tomato soup. Dipping the corner of a cheesy tuna melt into hot soup is a real game changer for winter days. It is a classic lunch that never gets old. Make sure to serve it while it is still hot. Cold tuna melts lose that magic cheese stretch that we all love so much.
Common Mistakes to Avoid
Even a simple sandwich can go wrong if you are not careful. One mistake I used to make was using bread that was too soft. Sandwich bread from a plastic bag often gets flat and soggy. Always look for a loaf you have to slice yourself. It has a stronger crust that can handle the heat and the weight of the tuna salad.
Another tip most blogs skip is about the onion. If you hate raw onion taste, soak the chopped bits in cold water for ten minutes first. Then dry them and put them in the tuna. This takes away the “bite” but keeps the crunch. It makes the sandwich much more friendly for people who have sensitive taste buds. Just a small trick to make your food better.
Great Questions About Tuna Melts
Can I make the tuna salad ahead of time?
Yes, you can make the tuna mix up to two days early. Keep it in a sealed bowl in the fridge. Do not butter the bread until you are ready to cook.
What is the best cheese for a tuna melt?
Sharp cheddar is the best. It melts well and has a strong flavor. You can also use Swiss, Provolone, or Pepper Jack if you want a little spice.
How do I keep the bread from getting soggy?
Drain the tuna very well. Use thick bread like sourdough. Toasting the bread slightly before adding the tuna can also help create a barrier.
Can I use an air fryer to make this?
Yes! Put the sandwich in the air fryer at 350 degrees for about 5 to 8 minutes. Flip it halfway through. It gets very crispy this way.
Is a tuna melt healthy?
It has a lot of protein from the fish. To make it lighter, use low-fat mayo or Greek yogurt. Use whole grain bread for more fiber.
Time to Enjoy Your Sandwich
You now know how to make the perfect tuna melt. It is all about the right bread, the double cheese, and cooking it slow. This sandwich is easy to love and even easier to make. Go ahead and try it out for your next lunch. You will be happy you did!