3 Easy Methods for Cooking Perfect Bacon Every Time
Everyone loves the smell of bacon in the morning. It is salty, crunchy, and tastes like a treat. But cooking it can be tricky. Sometimes it burns, or sometimes it stays too floppy. I have spent many years trying to find the best way to make it just right. I want to share my favorite ways with you so you never have to eat bad bacon again.
In this guide, you will learn three easy ways to cook your bacon. We will look at the oven, the air fryer, and the classic frying pan. Each way has its own perks. You can pick the one that fits your morning best. Whether you are cooking for a big group or just for yourself, I have you covered.
Ready to make the best breakfast ever? Let us get started!
What You Need to Get Started

Before we turn on the heat, we need to talk about the meat. I always suggest buying thick-cut bacon if you can find it. It holds up better and does not shrivel into tiny bits. You also need a few simple tools like a baking sheet, some parchment paper, and a good pair of tongs. Having everything ready makes the job much easier.
Check your fridge for the bacon and let it sit out for about five minutes. This helps it cook more evenly. If the meat is ice-cold, the fat takes longer to melt. I learned this the hard way when my bacon was burnt on the edges but raw in the middle! It was a big mess, but now I know better. FYI, using a cold pan is actually a secret trick we will talk about later.
- One package of your favorite bacon
- Parchment paper (for the oven)
- Paper towels for draining
- A large skillet or frying pan
- An air fryer (optional)
- A rimmed baking sheet
The Magic of Oven Baking

Cooking bacon in the oven is my top choice for a few reasons. First, you can cook a whole lot at once. If you have a big family, this is the way to go. Second, the bacon stays very straight. It does not curl up into little circles like it does in a pan. This makes it perfect for putting on a sandwich or a burger later in the day.
To start, put a piece of parchment paper on a big baking sheet. This is a life saver because the bacon will not stick to the metal. Lay the strips side by side. They can touch a little bit, but do not let them overlap. If they overlap, they will stick together and stay soft where they touch. We want every inch to be crispy and delicious.
Put the tray in a cold oven and then turn it on to 400 degrees. Starting with a cold oven helps the fat melt slowly. This is called rendering. When the fat melts slowly, the bacon gets a better crunch. It usually takes about 15 to 20 minutes. Keep an eye on it after 15 minutes because every oven is a little bit different. When it looks golden brown, take it out right away.
Using the Air Fryer for Speed

The air fryer is a great tool if you only want a few slices of bacon. It is very fast and easy to clean up. I use this method when I am making a quick breakfast for just myself. The hot air blows all around the meat, which makes it super crunchy. It almost tastes like it was deep-fried, but it is much lighter. Plus, the grease drips down into the bottom tray away from your food.
Place about four or five strips in the air fryer basket. Try not to crowd them. If the air cannot move around the meat, it will stay chewy. Set the heat to 350 degrees. It only takes about 7 to 9 minutes to finish. One thing to watch out for is smoke. Sometimes the dripping fat can hit the hot part of the air fryer and make a little smoke. To fix this, you can put a piece of bread or a splash of water in the bottom tray under the basket.
Bacon Cooking Times
- Oven: 15-20 minutes at 400°F
- Air Fryer: 7-10 minutes at 350°F
- Stovetop: 8-12 minutes over medium heat
- Difficulty: Very Easy
Classic Stovetop Frying

This is the old-school way to do it. My grandma always made it this way. It gives you the most control over how the bacon looks and feels. You can see it cooking right in front of you. The best part is the smell that fills the whole house. However, this way can be messy because the fat might pop and splash on your stove. I recommend using a screen or a lid to keep your kitchen clean.
Put your cold bacon into a cold pan. Do not wait for the pan to get hot first! This is a common mistake. If the pan is hot, the outside of the meat will cook too fast while the fat is still solid. Turn the heat to medium. Let the bacon sit until it starts to sizzle. Once it starts to curl, use your tongs to flip it over. Flip it every few minutes so both sides get an even tan.
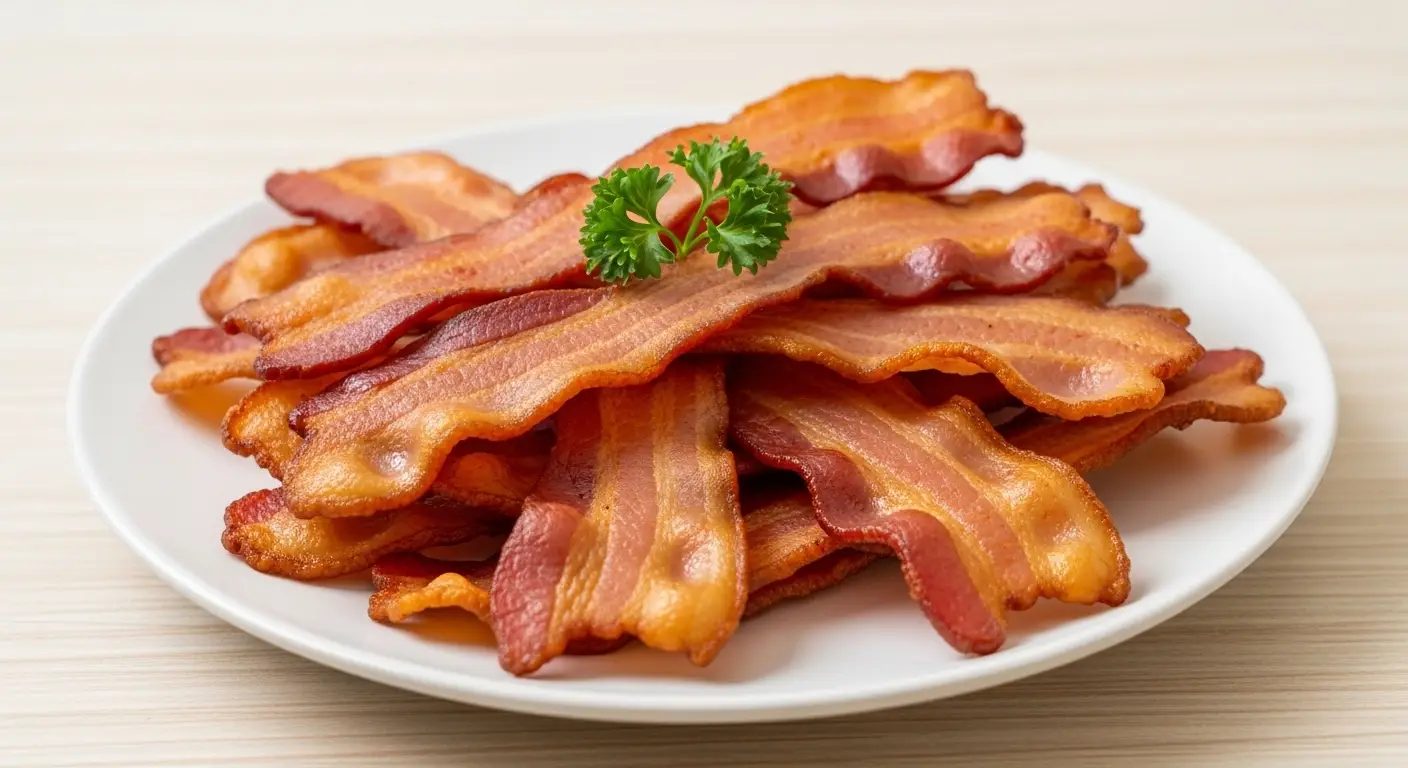
When the bacon is as crispy as you like it, move it to a plate with paper towels. The paper towels will soak up the extra oil. If you leave it in the pan, it will keep cooking and might turn black. This method is great because you can save the grease in the pan. I keep mine in a small jar in the fridge to cook eggs or veggies later. It adds so much flavor to everything!
Steps for the Perfect Slice

- Take the bacon out of the fridge five minutes before cooking.
- Choose your tool: oven tray, air fryer, or a large skillet.
- Start with a cool surface to help the fat melt properly.
- Cook until the bubbles on the surface are small and the color is dark gold.
- Drain the meat on a paper towel for at least one minute.
- Enjoy while it is still warm and crunchy!
Following these steps will help you get a great result every time. I used to just throw the meat in a hot pan and hope for the best. It always ended up half-burnt and half-raw. Once I started being patient and using these methods, my breakfast game changed forever. You can really taste the difference when you take your time.
How to Store and Use Leftovers

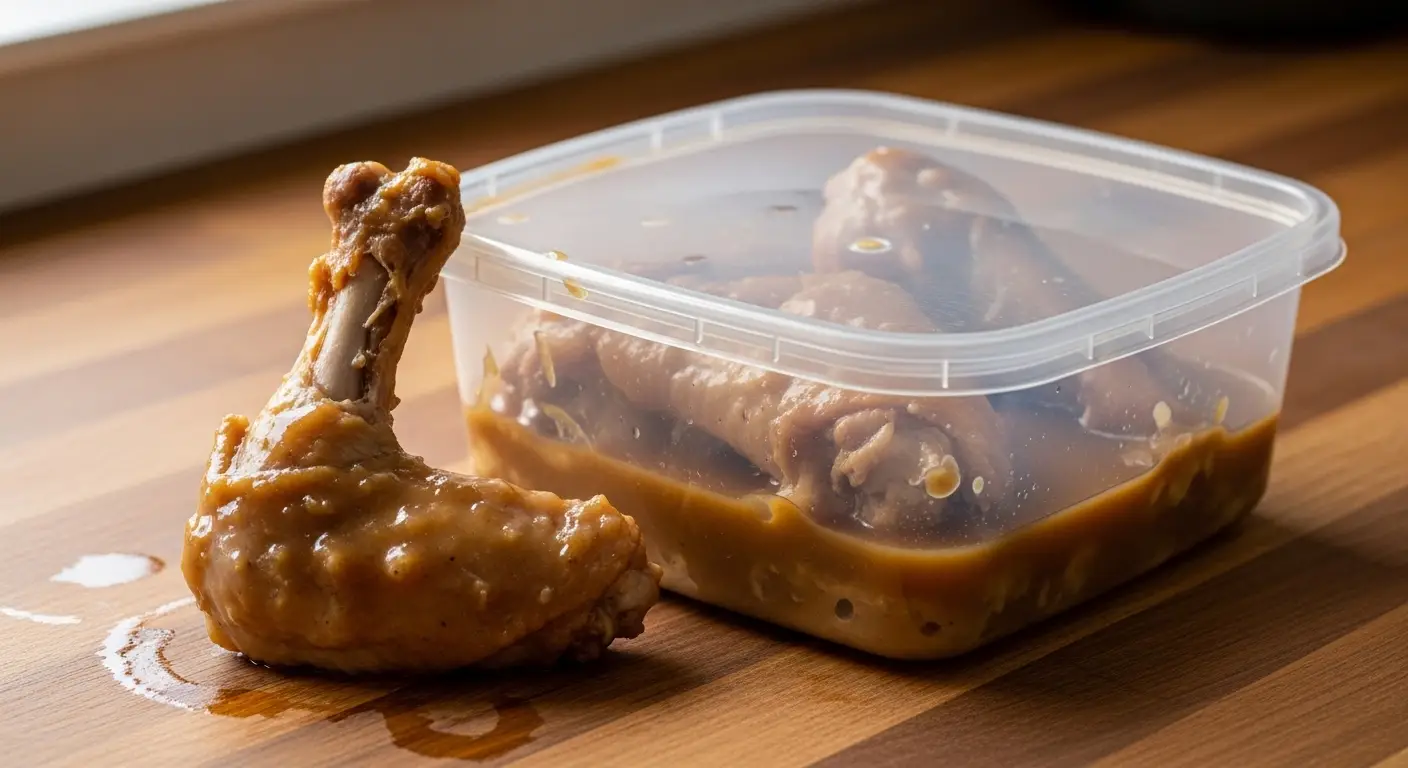
If you have extra bacon, do not throw it away! It stays good in the fridge for about four or five days. I like to wrap mine in foil or put it in a plastic bag. When you want to eat it again, just pop it in the microwave for 20 seconds. It will not be quite as crunchy as the first time, but it still tastes amazing on a salad or in a wrap. IMO, cold bacon is also a great snack right out of the fridge.
You can also crumble the leftovers. I do this a lot for baked potatoes or soup. Just chop the cold bacon into small bits with a knife. It is much easier to chop when it is cold. This is a great way to add a salty kick to your dinner without having to cook a whole new batch. It saves time and makes your meals feel special. My kids love it when I sprinkle bacon bits on their mac and cheese!
Pro Tips for Crispy Success
- Don’t Overcrowd: Leave space between slices so the steam can escape.
- Save the Grease: Use leftover fat to fry eggs for extra flavor.
- Cold Start: Always start with a cold pan or oven for better rendering.
Picking the Right Bacon

Not all bacon is the same. When you go to the store, you will see many kinds. Some are smoked with wood like hickory or apple. These have a very strong, yummy smell. Some are cured with sugar, which makes them taste a little sweet. I usually pick the thick-cut kind because it feels like a real meal. Thin bacon is okay, but it cooks very fast and can burn in a heartbeat.
You might also see turkey bacon. This is a good choice if you do not eat pork. It has less fat, so it does not get as crispy as the pork kind. If you cook turkey bacon, you might need to add a tiny bit of oil to the pan so it does not stick. No matter which one you choose, the methods I shared will still work. Just remember that thinner meat needs less time in the heat.
Common Questions About Cooking Bacon
Why does my bacon curl up so much?
Bacon curls when the meat shrinks faster than the fat. To keep it flat, use the oven method with a second heavy tray on top of the bacon strips.
Can I cook bacon without making a mess?
Yes! The oven method is the cleanest. Using parchment paper keeps the pan clean, and the oven walls stop the grease from splashing onto your counters.
Is it better to use a rack in the oven?
A rack lets air move under the meat, but the bacon can get stuck in the wires. I find that parchment paper on a flat tray works just as well and is easier.
How do I know when it is done?
Look for small, white foam bubbles on the strips. When the bubbles are small and the meat is a deep reddish-brown, it is ready to come out.
Can I freeze cooked bacon?
Yes, you can! Put the cooked slices in a freezer bag. They stay good for a month. Just heat them up in a pan or microwave when you are hungry.
Mastering Your Morning Meal
Cooking the perfect bacon is a skill that makes every breakfast better. Whether you use the oven for a crowd or the air fryer for speed, you now have the tools to succeed. Remember to start cold and be patient. Enjoy your crispy treats!