6 Simple Steps to Making the Perfect Healthy Charcuterie Board
I used to think a snack board had to be full of heavy crackers and salty meats. Every time I made one for friends, I felt sluggish afterward. One afternoon, I decided to swap the heavy stuff for colorful fruits and fresh veggies. It changed everything! Now, I make these healthy boards all the time for lunch or parties. They look beautiful and taste even better than the old kind.
In this guide, you will learn how to pick the best ingredients for a balanced plate. I will show you how to layer flavors so every bite is exciting. You do not need to be a chef to make this look like a work of art. It is all about using simple, whole foods that make your body feel good. Let us get started on your best snack tray yet!
Check out my favorite tips below to build your own masterpiece.
The Secret to a Better Snack Board
Making a healthy board is more than just throwing food on a plate. It is about balance. You want a mix of colors, textures, and tastes. When I first started, I made the mistake of putting too many wet fruits next to dry crackers. The crackers got soggy and gross! I learned that grouping things the right way keeps everything crunchy and fresh. It also helps to think about food groups so you stay full longer.
You should aim for a mix of protein, healthy fats, and fiber. This stops the sugar crash you get from eating just fruit or bread. I like to use small bowls for messy items like olives or dips. This keeps the board clean and organized. Even if you are just eating this by yourself, making it look nice makes the meal feel special. Most people think these boards are expensive, but you can find great deals at the grocery store if you buy what is in season.
1. Pick a Great Base

The first thing you need is a solid surface. I usually reach for a large wooden cutting board or a stone platter. If you do not have a fancy board, do not worry! I have used a clean baking sheet or even a large flat dinner plate before. The size depends on how many people are eating. For just me, a small wooden board works great. For a party, I use the biggest one I own.
Make sure your base is clean and dry. If you use a wooden board, check that it does not smell like onions or garlic from last night’s dinner. I once served grapes that tasted like red onions because I didn’t wash my board well enough. It was a funny mistake but not very tasty! If you are worried about juices from fruit staining the wood, you can lay down a piece of parchment paper first. This also makes cleaning up much easier at the end of the night.
2. Add Healthy Proteins

Protein is what makes the board a real meal. Instead of oily salami or pepperoni, I like to use leaner options. Turkey slices rolled up into little tubes look very nice and are easy to grab. Hard-boiled eggs are another great choice. I cut them in half and sprinkle a little pepper on top. They add a nice creamy texture without adding bad fats. If you do not eat meat, you can use smoked tofu or extra nuts.
I also love adding a handful of raw almonds or walnuts. Nuts have healthy fats that keep your brain happy. Avoid the ones covered in salt or sugar if you want to stay on the healthy side. IMO, plain roasted almonds have the best crunch. You only need a few small piles of protein spread around the board. This ensures that every time someone reaches out, they get something that gives them energy. It keeps the snack from being just a sugar rush.
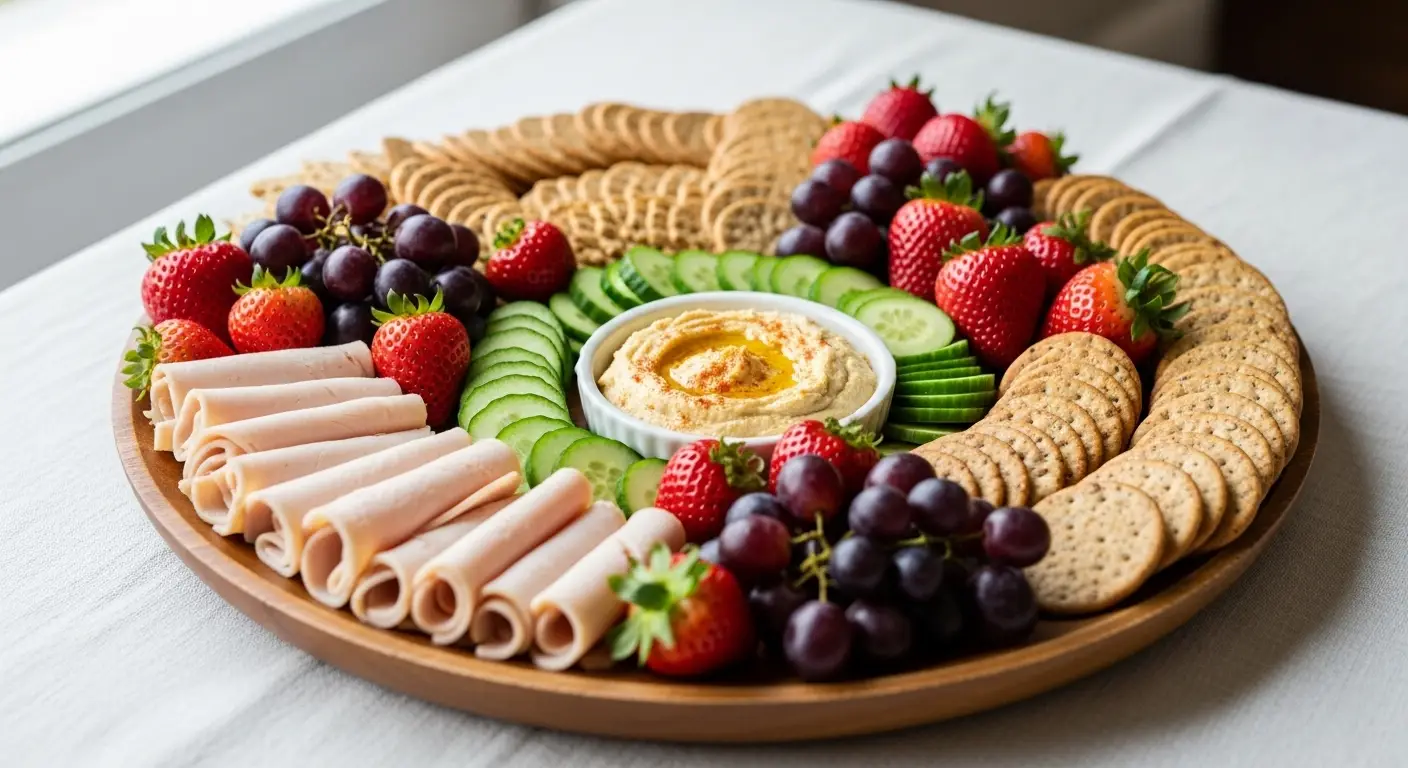
3. Choose Colorful Fruits and Veggies

This is my favorite part because of all the bright colors. Fruits and vegetables should take up at least half of your board. I like to use whatever is in season because it tastes the best and costs less money. In the summer, I use berries and melon. In the winter, I go for apple slices and citrus. For veggies, I love baby carrots, cucumber rounds, and snap peas. They give a satisfying crunch that replaces the need for greasy chips.
When you place them, try to put different colors next to each other. Put the red strawberries next to the green cucumbers. This makes the board pop! It looks like a rainbow on your table. I always wash my produce and pat it dry before putting it on the board. This keeps the other foods from getting wet. If you use apples or pears, squeeze a little lemon juice on them. This stops them from turning brown while you wait for your guests to arrive.
Board Prep Quick Info
- Prep Time: 20 minutes
- Cook Time: 0 minutes
- Servings: 4 people
- Difficulty: Very Easy
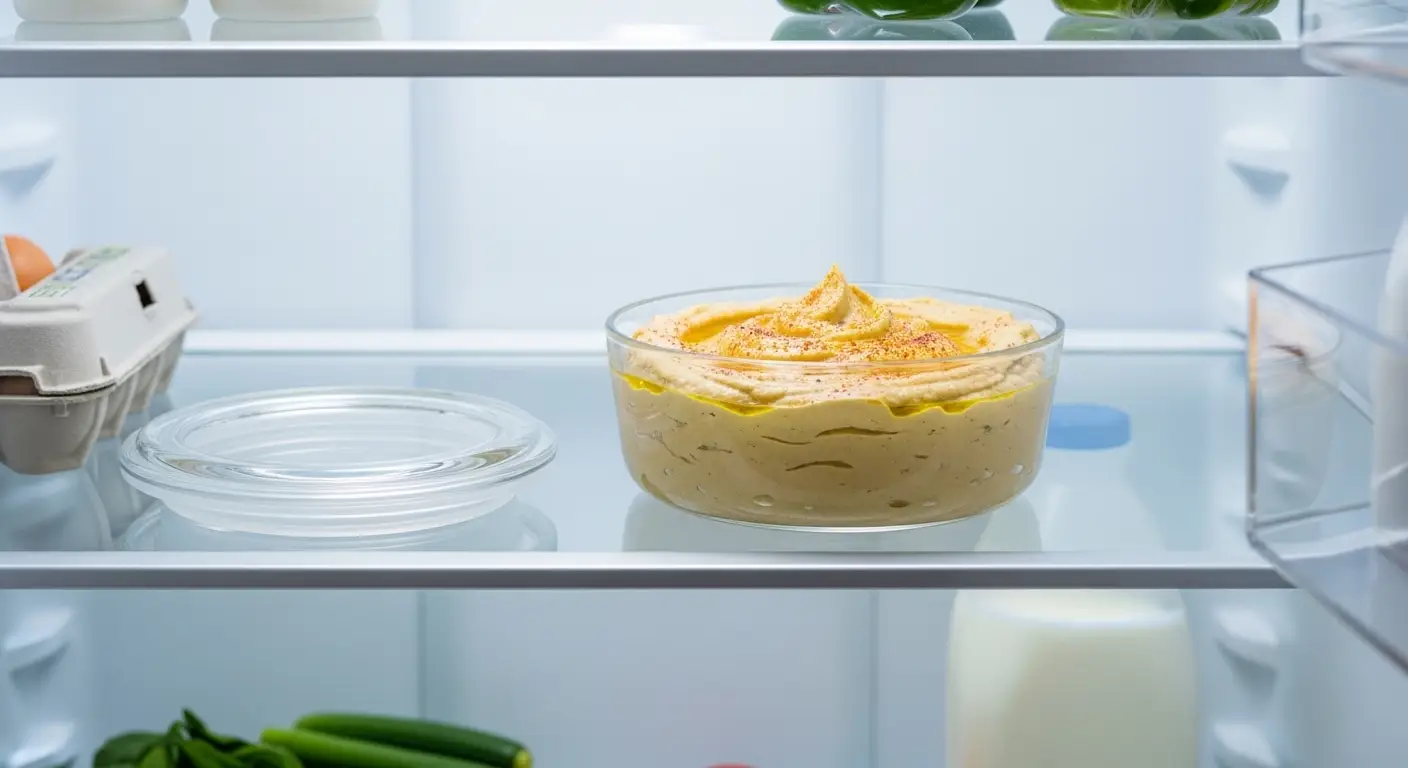
4. Include Smart Dips

Dips are the glue that holds the board together. Instead of heavy ranch or cheese sauce, I choose hummus or Greek yogurt dip. Hummus is great because it has fiber and protein. You can find many flavors like roasted red pepper or garlic. I usually put the dip in a small bowl and place it near the veggies. This tells people exactly what they should dip. It is a simple way to add flavor without a lot of calories.
Another great option is a simple salsa or a bean dip. If you want something sweet, a little bit of honey or a nut butter works well for the fruit. I once tried to put a very thin dressing on a board without a bowl. It ran everywhere and soaked into the crackers! Always use a container for anything liquid. It keeps the board looking sharp and prevents a soggy mess. Small mason jars or even tea cups work perfectly if you do not have tiny bowls.
5. Pick Whole Grain Crunch

You still want that crunch, but you can do it the healthy way. I look for crackers that say “whole grain” or “seeded” on the box. These have more fiber than white crackers. They also have a nutty flavor that goes great with cheese or hummus. If you want to skip crackers, try air-popped popcorn. It is a fun surprise on a charcuterie board and kids love it. I also like using thin slices of toasted whole-wheat baguette.
Place your crackers in different spots around the board. I like to fan them out in a curved line to create movement. This makes the board look more professional. Be careful not to put too many out at once if it is humid, or they might lose their snap. You can always refill the board later. I find that seeded crackers are very filling, so you don’t need a huge mountain of them to satisfy your hunger. They are a much better choice than buttery white toast.
6. Add Final Flourishes

The last step is adding the little details that make the board look high-end. I like to tuck in a few sprigs of fresh herbs like rosemary or mint. You don’t eat them, but they smell amazing and look great. I also add a few olives or pickles for a salty kick. These are low in calories but high in flavor. Just a few scattered around the empty spaces will fill in the gaps and make the board look complete.
If you have a sweet tooth, a few pieces of dark chocolate are a nice touch. Dark chocolate has less sugar than milk chocolate and feels like a treat. FYI, people always go for the chocolate first! Make sure everything on the board is easy to pick up with fingers or a small fork. The goal is to make it easy for people to snack and talk at the same time. Once you add these final touches, your healthy masterpiece is ready to serve.
Healthy Swap Tips
- Replace Salami: Use lean turkey or roast beef slices.
- Replace White Bread: Use cucumber slices or whole grain crackers.
- Replace Heavy Dip: Use blended cottage cheese or hummus.
- Replace Candy: Use dried apricots or dark chocolate squares.
Ways to Keep Your Board Fresh
Once your board is built, you want it to stay looking good. If you are making it ahead of time, keep it in the fridge but leave the crackers off. Put the crackers on right before you serve so they stay crispy. I usually cover the board with plastic wrap to keep the air out. This prevents the cheese from getting hard and the fruit from drying out. If the board is sitting out at a party, try not to leave it for more than two hours.
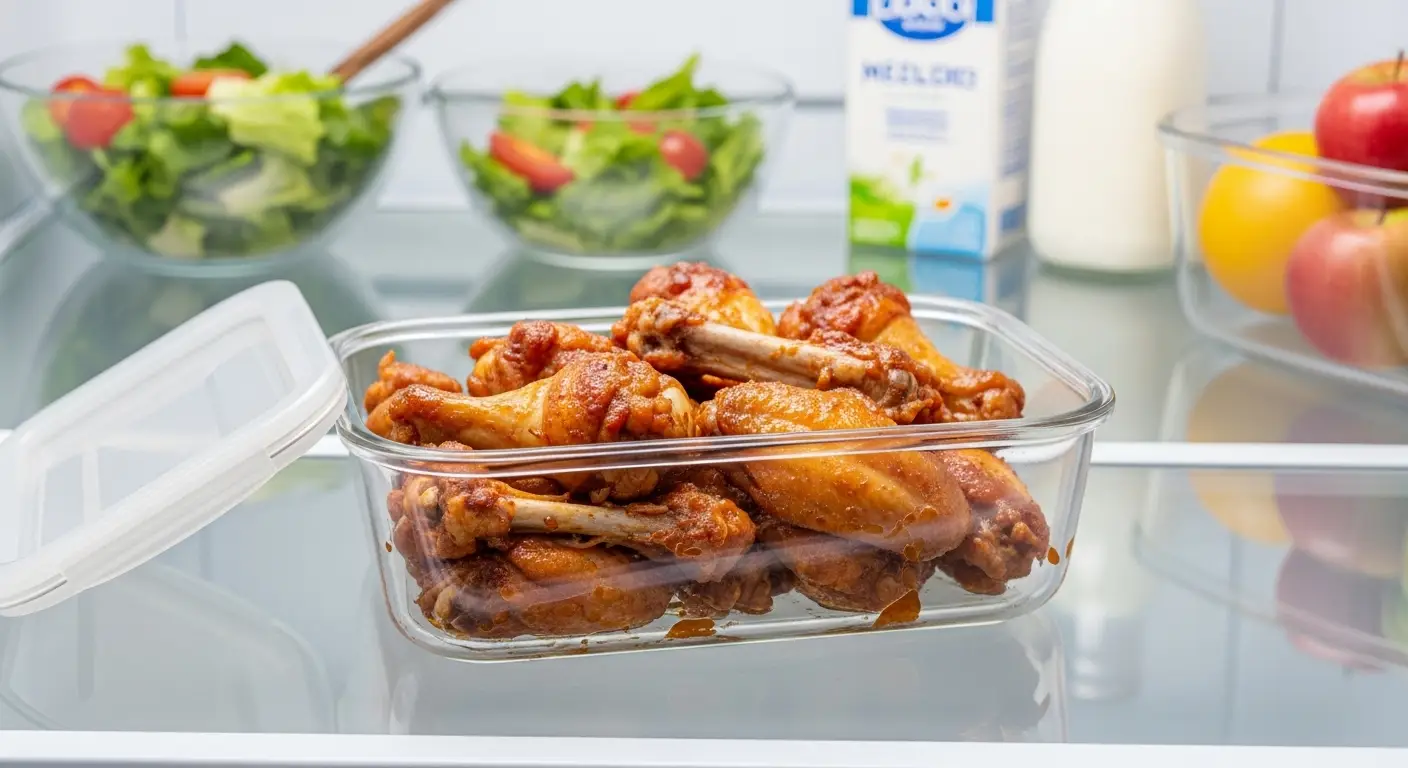
I also think about temperature. Cold grapes and crisp veggies taste best when they are chilled. On the other hand, cheese actually tastes better when it is not ice cold. I usually take the board out of the fridge 15 minutes before people arrive. This gives the cheese time to soften just a bit. If you have leftovers, I find it easiest to put everything into small containers rather than trying to save the whole board. It makes for a great lunch the next day!
Common Questions About Healthy Boards
Can I make this board vegan?
Yes! Swap meat for extra nuts or marinated tofu. Use vegan cheese and plenty of hummus. Focus on a huge variety of colorful vegetables and fruits.
What is the best way to slice the cheese?
Cut hard cheese into cubes or thin triangles. For soft cheese, leave it in a small wedge with a spreader knife. This makes it easy for guests to grab.
How do I stop apples from browning?
Toss your apple slices in a little bit of lemon or lime juice. The acid keeps them looking white and fresh for hours on your board.
Is charcuterie expensive to make?
It does not have to be! Buy bags of carrots and apples instead of pre-cut ones. Use what you already have in your pantry, like nuts or crackers.
How much food do I need per person?
If it is a snack, aim for about 3-4 ounces of food per person. If it is a full meal, double that amount. Always add more veggies to fill space!
Enjoy Your Healthy Creation
Building a healthy charcuterie board is a fun way to eat more whole foods. You get to be creative and eat a rainbow of flavors. Remember to focus on fresh produce and lean proteins to keep it light. Now go grab a board and start building!