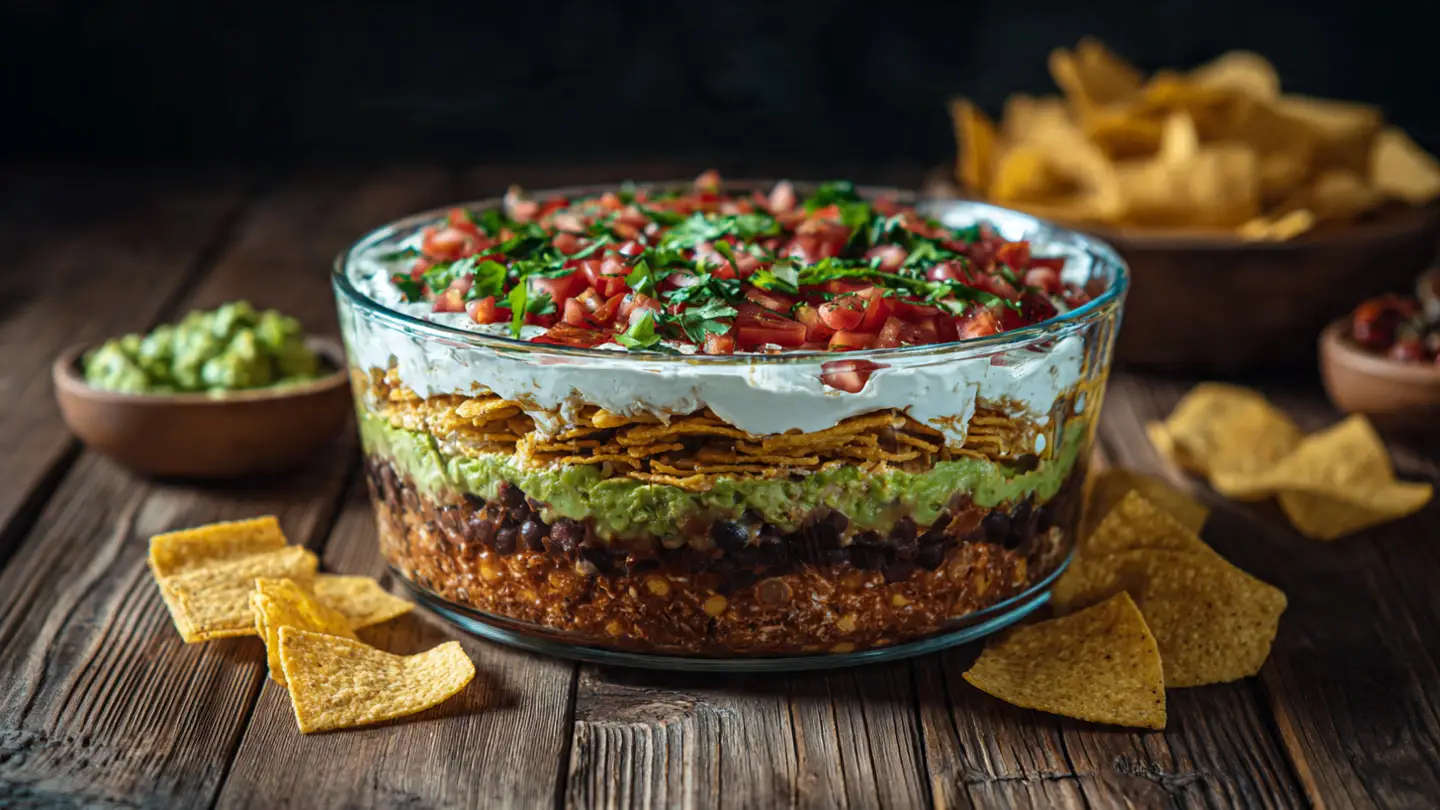
7-Layer Mexican Taco Dip
I love food that brings people together at a table. There is something special about a big tray of colorful food that everyone can scoop up with a salty chip. Today I am going to show you how to make my favorite 7-layer Mexican taco dip. This dish is great for parties, game days, or just a fun family snack. You do not need a stove to make it, which is one of the best parts.
We will look at every layer of this dip so you can get it just right. I will share my best tips for making sure it stays thick and yummy. You will learn the order of the layers and how to make it look like a pro made it. It is simple, fast, and very tasty for kids and adults. Let us get started on this easy snack.
Check out the steps below to make this hit appetizer at your next home gathering!
Why This Dip Is a Party Hero
I have made this dip dozens of times for birthdays and holidays. Every time I put it on the counter, the tray ends up empty in minutes. It works so well because it has something for everyone. Some people love the creamy beans, while others go straight for the fresh tomatoes and cheese. It is a mix of cool, crunchy, and savory flavors that just work together perfectly. Plus, it is very easy to carry to a friend’s house in a glass dish.
One big reason I keep making this is that it fits many different diets. If you have friends who do not eat meat, this is usually a safe bet. It is also quite cheap to make compared to fancy meat platters. You can find all these items at any normal grocery store. It is the kind of food that makes people smile without costing a lot of money or taking all day in the kitchen. Even if you are not a great cook, you can master this easily.
Recipe Quick Info
- Prep Time: 20 minutes
- Cook Time: 0 minutes
- Servings: 12 people
- Difficulty: Very Easy
The Shopping List for Success

To make this dip, you need seven main things. First, get a can of refried beans. These will be the strong base at the bottom. Next, you need sour cream and some taco seasoning to give it a little kick. I also like to use a jar of salsa. Make sure you pick one that is thick so it does not get watery. Avocado or guacamole is another must-have layer for that smooth green color and healthy fats.
For the top layers, you need shredded cheese. I think sharp cheddar or a Mexican blend tastes the best. Then, you will need fresh items like diced tomatoes and sliced green onions. Some people like black olives too. Do not forget the big bag of corn chips for dipping! I usually buy the thick chips because the dip is heavy and thin chips might break off in the tray. IMO, the chips are just as important as the dip itself.
- 16 ounces of refried beans
- 16 ounces of sour cream
- 1 packet of taco seasoning
- 2 cups of guacamole
- 1 cup of thick salsa
- 2 cups of shredded cheese
- 1 cup of diced tomatoes
- 1/2 cup of sliced black olives
- 1/4 cup of chopped green onions
Mixing the Creamy Base Layers

The first few layers are what give the dip its body. I start by spreading the refried beans on the bottom of a large glass dish. A 9×13 inch pan works great for this. I learned the hard way that you should stir the beans in a small bowl first to make them soft. If you take them straight from the can to the dish, they are too stiff to spread. It makes a big mess and might break your chips later if it is too hard. Just give them a quick stir with a tiny splash of water or lime juice to make them smooth.
After the beans are down, it is time for the seasoned cream. I take my sour cream and dump it into a bowl. Then I sprinkle in the taco seasoning packet. I use a spoon to mix it until the white cream turns a nice light orange color. This layer adds a lot of flavor that you cannot get from plain sour cream. Spread this gently over the beans. Try not to mix the two layers together too much. You want to see the clear lines between the brown beans and the orange cream when you look through the side of the glass.
Adding the Green and Red Flavors

Now we move on to the guacamole and salsa. This is where the color really starts to pop. I usually buy pre-made guacamole to save time, but you can mash fresh avocados with lime and salt if you want. Spread the green guacamole over the sour cream layer. Use the back of a large spoon to smooth it out to the edges. It looks like a little green field inside your dish! Guacamole can turn brown if it sits out too long, so I try to keep it covered until the very last minute.
Next comes the salsa layer. This is a tricky part. If your salsa has a lot of liquid, your dip will get soggy after an hour. I suggest pouring your salsa into a strainer first. Let the extra juice drip out for a minute before you put the chunky parts on top of the guacamole. This keeps the dip firm. If you skip this, you might end up with a red puddle at the bottom of your dish. Trust me, nobody wants a watery taco dip. It still tastes good, but it looks much better when it stays in neat layers.
The Final Crunchy and Cheesy Toppings

The top of the dip is what people see first, so I like to make it look very bright. I take the shredded cheese and cover the whole surface. I don’t like to be stingy with the cheese. A thick layer of cheddar makes everything better! Once the cheese is on, I sprinkle the diced tomatoes all over. I make sure to cut my tomatoes into very small squares. Large chunks are hard to scoop up and they might fall off the chip. Small pieces stay right where they belong.
Finally, I add the black olives and green onions. The dark black and bright green colors make the dish look like it came from a restaurant. If you do not like olives, you can leave them off or just put them on one half of the tray. I have one friend who hates onions, so I sometimes leave a small corner plain for her. That is the beauty of this recipe. It is very easy to change based on what your friends and family like to eat. It is a very flexible snack for any crowd.
How to Keep Your Dip Fresh
Keeping this dip fresh is important if you are making it ahead of time. I usually make it about two hours before the party starts. This gives it time to get cold in the fridge. Cold dip is much better than room temperature dip. However, do not make it a full day early. The salt in the beans and salsa will start to pull water out of the veggies. If it sits for 24 hours, the layers might start to bleed into each other and look a bit messy. Two to four hours is the perfect window for the best look and taste.
If you have leftovers, you can put them in a container with a tight lid. It will stay safe to eat for about two days in the fridge. After that, the lettuce or onions might get a bit soft and the guacamole will likely turn dark. I usually find that there are no leftovers because people scrape the dish clean! If you are worried about the guacamole turning brown, you can squeeze a little bit of extra lime juice on top of that layer before you add the cheese. The acid in the lime helps keep the green color bright and pretty.
Pro Tips for the Best Dip
- Drain Everything: Always drain your salsa and olives so the dip does not get watery.
- Cold Start: Keep your sour cream and guacamole in the fridge until the moment you need them.
- Small Bites: Dice your veggies very small so they stay on the chips.
Step-by-Step Assembly Guide

Making this is all about the order. Follow these steps to get the perfect stack. I have tried changing the order, but this way works the best for holding the weight of the chips. If you put the heavy beans on top of the soft sour cream, they will just sink and mix together. Start strong at the bottom and work your way up to the light toppings. This ensures every scoop has a little bit of every single layer in it.
- Spread the refried beans in an even layer at the bottom of your dish.
- Mix the sour cream and taco seasoning, then spread it over the beans.
- Add a smooth layer of guacamole on top of the sour cream.
- Spread the drained salsa over the guacamole carefully.
- Cover the salsa with a thick layer of shredded cheese.
- Sprinkle the diced tomatoes and sliced olives over the cheese.
- Finish with a handful of green onions for a fresh taste.
Creative Variations to Try

You do not have to stick to the classic seven layers every time. Sometimes I like to add a layer of cooked ground beef or ground turkey. If you do this, make sure the meat is totally cool before you add it. If the meat is hot, it will melt the sour cream and turn the whole thing into a soup! I learned this lesson during a football game party and it was a sad sight. Cold meat works best for this specific style of chilled dip. You can mix the taco seasoning into the meat instead of the sour cream if you choose this path.
Another fun idea is to add a layer of corn or black beans. You can buy canned corn, drain it well, and sprinkle it on. Some people also love adding heat with sliced jalapeños. If you are serving kids, maybe keep the peppers on the side. You can even swap the cheddar cheese for pepper jack cheese if you want a spicy kick. FYI, some people use Greek yogurt instead of sour cream to make it a little bit healthier. It tastes almost the same once you add the spices, so it is a good trick to know.
Perfect Serving Suggestions

How you serve the dip matters just as much as how you make it. I always put the dish in the middle of a big platter. Then I pile chips all around the edges. This makes it easy for people to grab a chip and a scoop without reaching over each other. If you have a very large crowd, you might want to make two smaller dishes instead of one big one. This way, you can put one dish at each end of the table. It prevents a big line of hungry people from forming in one spot.
Beyond chips, you can offer other things for dipping. Sliced bell peppers or thick cucumber slices are great for people who want something lower in salt or calories. Even sturdy crackers can work in a pinch. I also like to keep a few extra napkins nearby. Taco dip can be a little messy when the layers start to move! Setting out small plates is also a good idea. It lets people take a big scoop and sit down instead of standing over the dip bowl all night. This keeps the food area cleaner and more relaxed for everyone.
Common Questions About Taco Dip
Can I make this dip the night before?
It is best to make it 2-4 hours before. Making it the night before can lead to a watery dip as the vegetables release moisture into the cream layers.
How do I stop the guacamole from turning brown?
Add a squeeze of fresh lime juice to the guacamole. Also, make sure the cheese layer completely covers the guacamole to block out the air.
Is this taco dip gluten-free?
Usually, yes! Most of these ingredients are naturally gluten-free. Just double-check your taco seasoning packet and your corn chips to be 100% sure.
Can I use low-fat sour cream?
Yes, you can. Just know that low-fat sour cream is sometimes a bit thinner. Your layers might not stay as separate as they would with full-fat sour cream.
What can I use if I do not have refried beans?
You can mash up a can of black beans or pinto beans with a fork. Add a tiny bit of oil or water to help them become a smooth paste for the bottom layer.
The Best Easy Party Snack
This 7-layer Mexican taco dip is a winner because it is simple and delicious. Anyone can make it in twenty minutes with no heat. It looks great on a table and fills up hungry guests fast. I hope you enjoy making this for your friends!