The Famous Decadent
I remember the first time I saw this cake at a church potluck. Everyone was crowded around a single glass dish. People were laughing about the funny name, but they were serious about getting a piece. When I finally took a bite, I understood why. It was the softest, most chocolatey thing I had ever eaten. It felt like a dream in my mouth.
Today, I want to show you how to make this treat in your own kitchen. It is a very simple cake that uses a box mix, but it tastes like you spent all day on it. You will learn the secret to making it super moist and how to top it perfectly with crunchy toffee bits. It is the perfect dessert for birthdays or just a Friday night at home.
If you love chocolate and caramel, you are in the right place. This cake is a classic for a reason. It is easy to share and even easier to finish. Let’s get our aprons on and start baking this famous dessert!
Check out the full steps below to make your new favorite cake.
What Makes This Chocolate Cake Special
This cake is not like a dry sponge cake you might buy at a store. It is what people call a poke cake. That means we poke holes in the top after it bakes. Then, we pour sweet liquids over it. These liquids soak deep into the bread part of the cake. It makes every single bite heavy and full of flavor. You never have to worry about a dry cake ever again.
I like using a mix of caramel and milk for the filling. It creates a sticky, gooey center that hides inside the chocolate. When you cut a slice, you can see the dark lines where the caramel traveled. It looks beautiful and tastes even better. It is a great way to turn a basic box of cake mix into something that feels fancy and special for your family.
The Simple Ingredients You Need

You do not need anything hard to find for this recipe. Most of these items are probably in your pantry right now. I keep these things on hand just in case I need a quick dessert for guests. The base is a standard box of chocolate cake mix. You can pick any brand you like. I usually go with a devil’s food flavor because it is very dark and rich. You will also need the eggs, oil, and water that the box asks for.
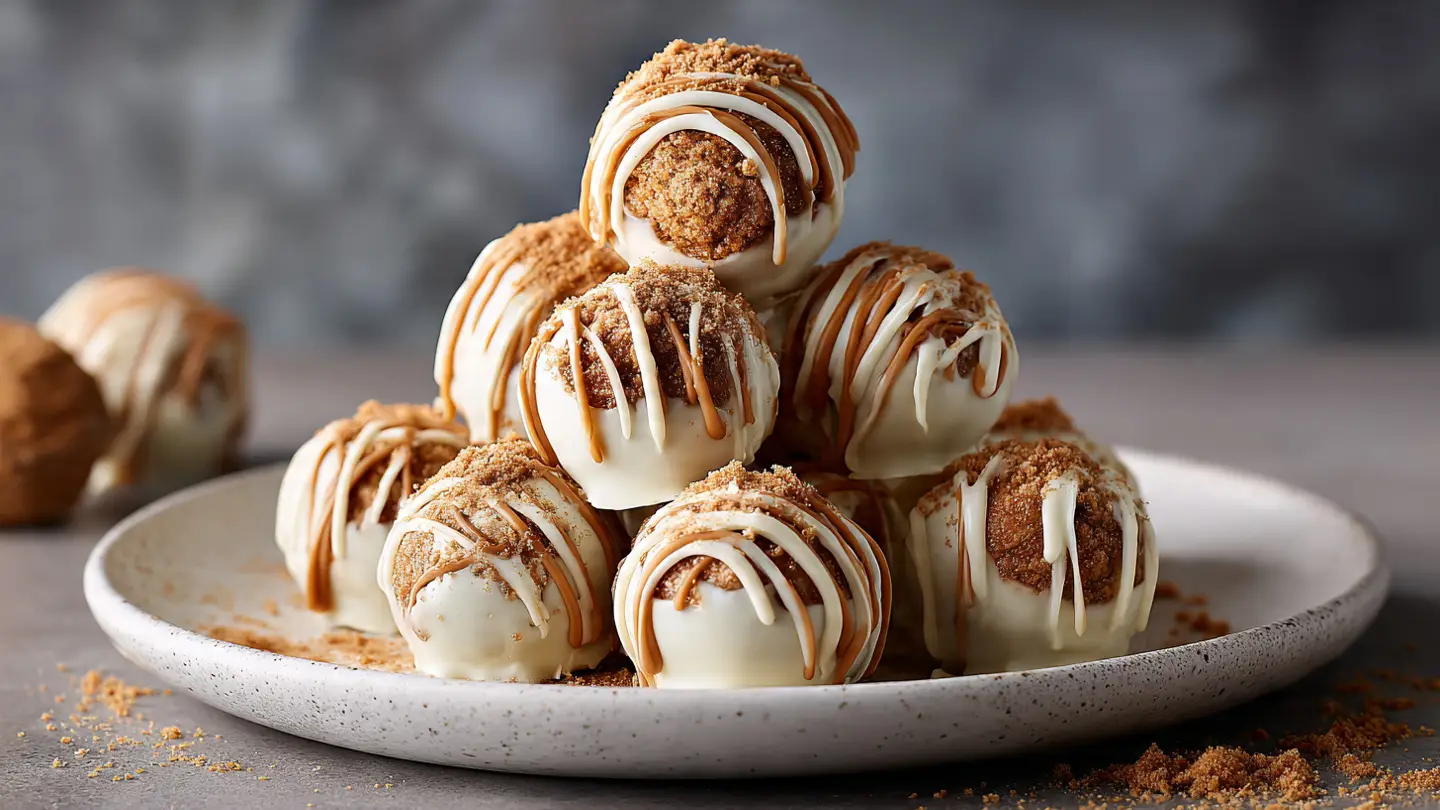
The magic comes from the toppings. You need a jar of caramel sauce. The kind you put on ice cream works perfectly. You also need a can of sweetened condensed milk. This is very thick and sweet. For the top, we use a tub of whipped topping and some crushed toffee bits. I once tried to use chocolate chips instead of toffee, but it was not the same. The toffee adds a salty crunch that really balances the sweet cake. FYI, some people call the toffee bits Heath bits at the store.
- 1 box of chocolate cake mix (plus eggs, oil, and water)
- 1 can (14 ounces) sweetened condensed milk
- 1 jar (12 ounces) caramel sundae topping
- 1 tub (8 ounces) whipped topping, thawed
- 1 bag (8 ounces) toffee bits or crushed candy bars
My Best Kitchen Gear for This Cake

I always use a 9×13 inch glass baking dish for this. Glass is great because you can see the layers from the side. It also heats up evenly so the edges do not burn before the middle is done. If you use a metal pan, the edges might get a little bit crispy. Some people like that, but I prefer the whole cake to be soft. You will also need a big bowl to mix the cake batter and a whisk or an electric mixer.
One tool that is very important is the handle of a wooden spoon. I learned this the hard way! I once used a fork to poke the holes, but they were too small. The caramel just sat on top and did not sink in. The round handle of a wooden spoon makes the perfect size holes. It lets the milk and caramel get all the way to the bottom. This ensures that the bottom of the cake is just as tasty as the top.
Recipe Quick Info
- Prep Time: 15 minutes
- Cook Time: 30 minutes
- Servings: 12 people
- Difficulty: Easy
How to Bake and Assemble the Cake
Baking the cake is the easy part. You just follow the directions on the back of the box. I like to make sure my oven is fully heated before I put the pan inside. If the oven is cold, the cake might not rise correctly. Once the cake is in, your house will start to smell like a chocolate factory. It is a wonderful smell that always brings my kids into the kitchen to ask when it will be ready.
The real work happens right after the cake comes out of the oven. You do not want the cake to cool down completely before you poke the holes. It needs to be warm so it can drink up the liquids. I usually wait about five minutes so I do not burn my hands on the pan. Then, I start poking. It feels a little silly to poke holes in a perfectly good cake, but trust me, it is worth it.
Step-By-Step Baking Instructions

- Heat your oven to the temperature on the cake box. Grease your 9×13 pan with spray so the cake does not stick.
- Mix the cake batter in a large bowl. Follow the box instructions for eggs, oil, and water. Pour it into the pan and bake until a toothpick comes out clean.
- While the cake is still warm, use the handle of a wooden spoon to poke holes all over the top. Space them about an inch apart.
- Open your can of sweetened condensed milk. Pour it slowly over the warm cake, making sure it goes into the holes.
- Next, pour about half of the caramel jar over the cake. Let the cake sit on the counter until it is room temperature.
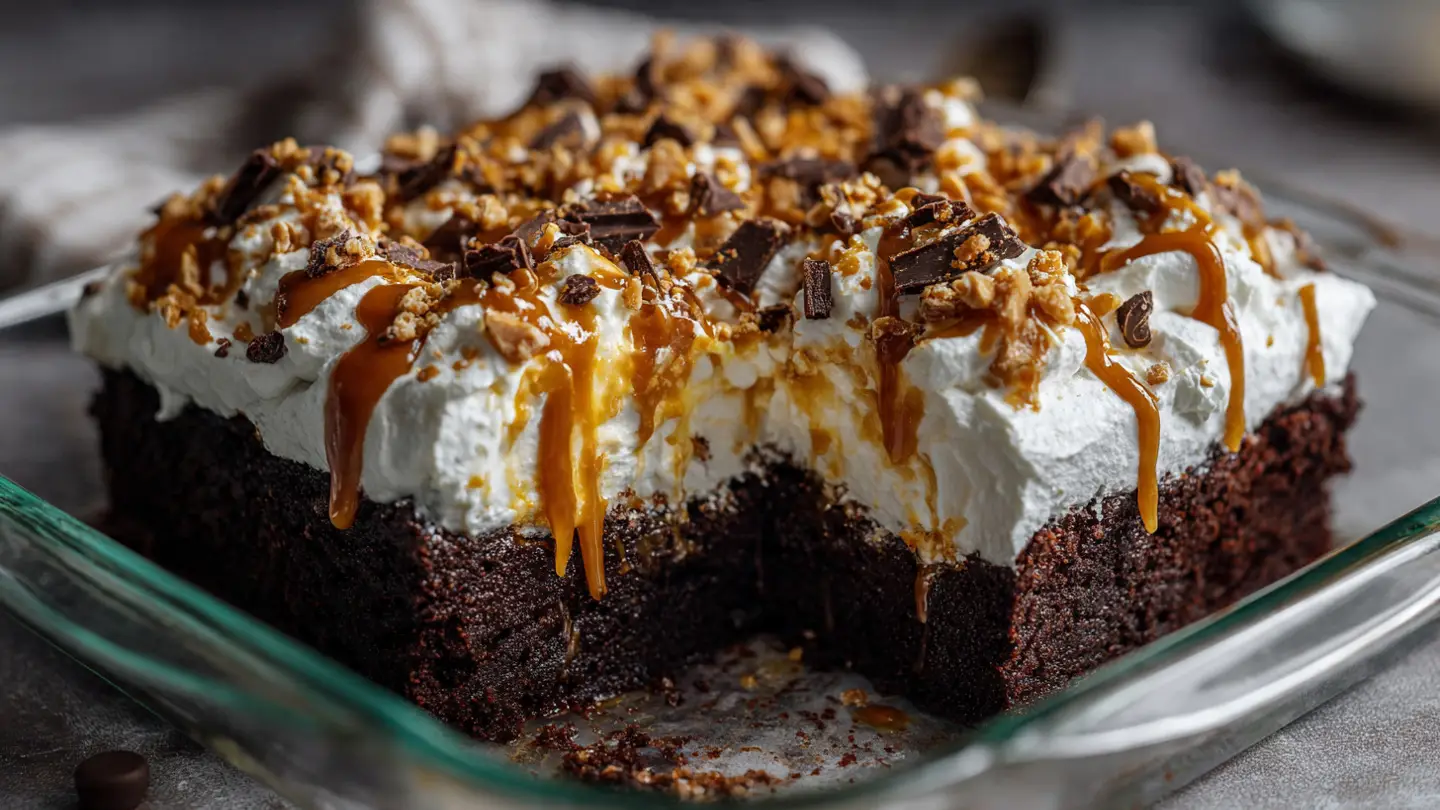
- Once cool, spread the whipped topping over the whole cake. Drizzle the rest of the caramel on top and sprinkle the toffee bits everywhere.
The Secret to the Perfect Texture

The secret is patience. I know it is hard to wait when a chocolate cake is right in front of you. But this cake needs time to rest. After you pour the milk and caramel inside, the cake needs to sit in the fridge. IMO, it tastes best if it stays in the fridge for at least four hours. Overnight is even better! This gives the cake time to soak up everything. If you eat it too soon, it might feel a bit soggy instead of moist.
When the cake stays in the fridge, the caramel and milk turn into a sort of fudge. It blends with the chocolate cake to make a new flavor. The whipped topping also gets cold and firm. It creates a cool, light layer that sits on top of the heavy cake. This contrast is what makes the cake so famous. You get the cold cream and the rich cake in every single bite. It is a very satisfying feeling.
Success Tips and Common Mistakes
I have made this cake many times, and I have learned a few things. One mistake I made once was using homemade whipped cream. It tasted great at first, but it melted after an hour. The tub of whipped topping you buy at the store stays fluffy much longer. It is built to hold its shape. If you really want to use real cream, make sure you whip it until it is very stiff and serve the cake right away.
Another tip is about the toffee. If you put the toffee on too early and put the cake in the fridge, the toffee can get a little soft. If you want maximum crunch, add the toffee right before you serve the cake. This keeps the bits hard and snappy. It adds a great texture to the soft cake. I also like to use a sharp knife dipped in warm water to cut the slices. This helps get through the sticky caramel without making a mess.
Variations to Try at Home

You do not have to stick to just caramel and toffee. I sometimes change the toppings based on what I have in my cabinet. If you love peanut butter, you can melt some peanut butter and pour it into the holes instead of caramel. Then, use crushed peanut butter cups on top. It tastes like a giant candy bar. My husband loves this version because he thinks chocolate and peanut butter are the best duo ever.
You can also change the cake flavor. This may not work if you use a very light cake like lemon, because the caramel is very strong. However, a yellow cake or a spice cake works well. A spice cake with caramel and pecans is wonderful for the fall. It tastes like a warm hug. You can also swap the toffee bits for crushed Oreos or even fresh berries if you want something a little lighter. There are so many ways to make this recipe your own.
How to Store Your Leftovers

If you have any cake left, you must keep it in the fridge. Because of the milk and the whipped topping, it cannot stay on the counter. I use a lid that fits my baking dish, or I use plastic wrap. Make sure the wrap does not touch the top of the whipped topping, or it will pull it off when you open it. I sometimes stick a few toothpicks into the cake to hold the plastic wrap up like a little tent.
The cake stays good for about three to four days. In fact, I think it tastes even better on the second day. The flavors really have time to get to know each other. I do not recommend freezing this cake. When it thaws out, the whipped topping can get watery and the cake might get too mushy. It is best eaten fresh within a few days. But let’s be honest, it usually disappears way faster than that!
Baker’s Pro Tips
- Cold Topping: Always make sure the whipped topping is fully thawed in the fridge before spreading.
- Hole Depth: Poke the holes about three-quarters of the way down so the bottom stays sturdy.
- Clean Cuts: Wipe your knife between every slice for the prettiest pieces.
Serving Suggestions for Parties

This cake is a star at parties. Since it is so rich, you can cut it into smaller squares than a normal cake. It can easily feed a dozen people or more. I like to serve it on small white plates to make the dark chocolate stand out. If you want to go all out, you can put a scoop of vanilla ice cream on the side. The cold ice cream with the caramel cake is a match made in heaven.
For a fancy look, I save a little bit of the caramel sauce in the jar. Right before I hand a plate to someone, I drizzle a tiny bit more caramel over the top in a zig-zag pattern. It looks like it came from a professional bakery! You can also add a pinch of sea salt on top if you like the salted caramel flavor. It is a simple touch that makes people go “wow.”
Common Questions About Poke Cakes
Can I make this cake gluten-free?
Yes! Just use a gluten-free chocolate cake mix. Most caramel sauces and condensed milk are already gluten-free, but always check the labels first.
What if I don’t have a wooden spoon?
You can use a thick straw or even a clean finger to poke the holes. You just need something that makes a hole about half an inch wide.
Do I have to use sweetened condensed milk?
It is the best choice for texture. However, some people use chocolate pudding instead. It will be less sweet but still very moist and tasty.
Why is my cake soggy on the bottom?
This happens if you poke the holes all the way to the glass. Try to stop just before the bottom so the cake can hold the liquid better.
Time to Enjoy Your Masterpiece
You now have all the tools to make the most famous chocolate cake ever. It is sweet, rich, and very easy to bake. Your friends and family will love the gooey caramel and crunchy toffee. This cake always brings a smile to people’s faces. I hope you enjoy every single bite of this decadent treat!