Adorable Mini Cheesecakes for Parties
Are you looking for a dessert that everyone will love? I want to show you how to make the best mini cheesecakes ever. These little treats are tiny, creamy, and so sweet. They are perfect for birthdays, holidays, or just a fun weekend at home. You do not need any fancy tools to make them look great.
In this guide, I will teach you the simple steps to get a perfect cheesecake every time. We will talk about the crunchy crust and the smooth filling. I will even share some fun ways to decorate them. By the end of this page, you will be a tiny dessert expert. Your friends will think you bought these at a high-end bakery!
Check out the full list of steps below to get started on your baking adventure.
Why Mini Cheesecakes Are Perfect for Your Next Event
I love making small desserts because they are so easy to share. When you have a big party, cutting a giant cake can be messy. You need plates, forks, and someone to stand there and slice. With these mini cheesecakes, people can just grab one and keep talking. It makes the party feel much more relaxed and fun for everyone.
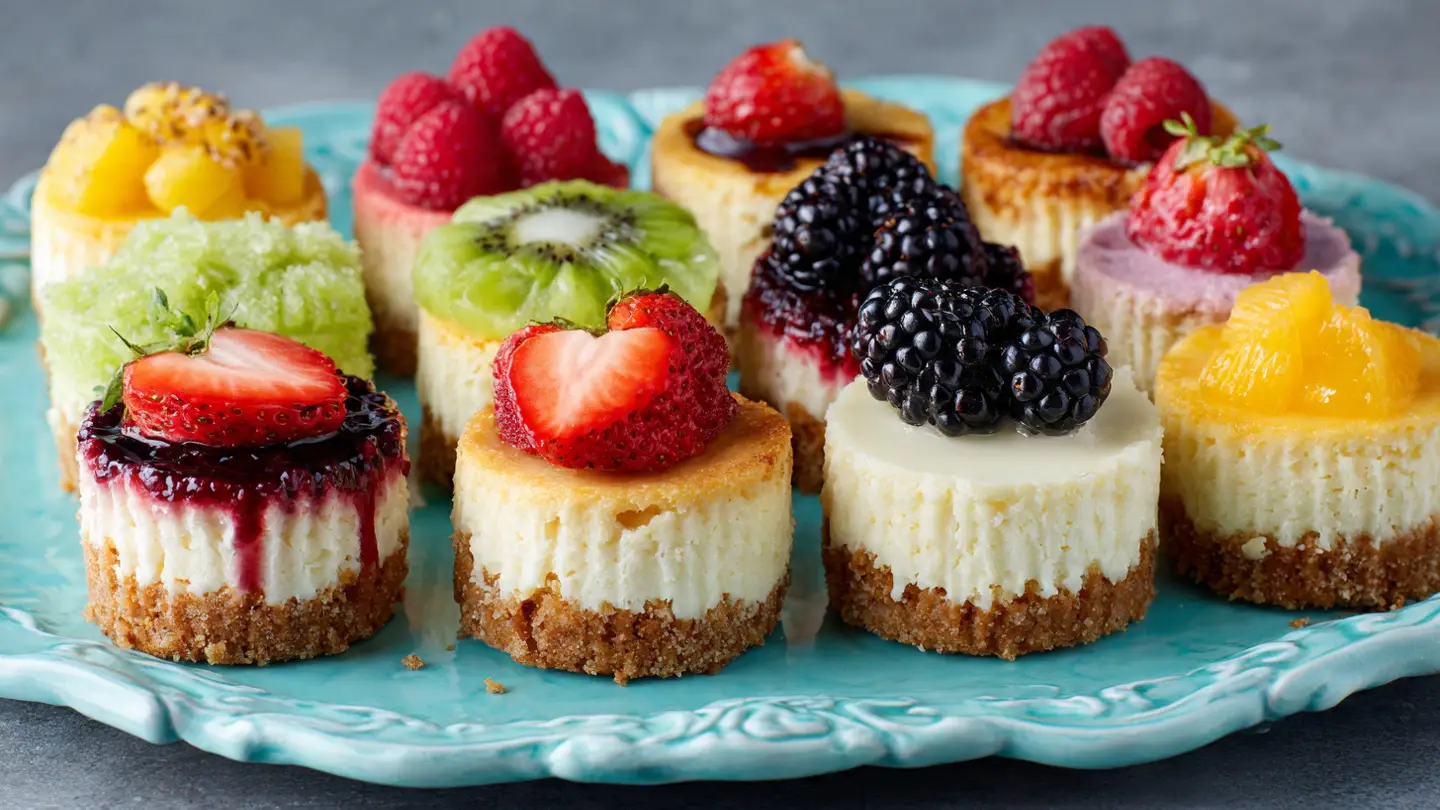
Another great thing is how they look on a table. You can line them up in neat rows or put them on a fancy stand. Because they are small, you can make many different flavors at once. I once made a batch where half had chocolate and half had fruit. It was a huge hit! They stay fresh for a long time too, which helps if you like to plan ahead. FYI, these are much easier to handle than a full-size cheesecake that might crack in the middle.
Gather Your Simple Ingredients

Before you start baking, you need to make sure you have everything on your counter. I find that it is much harder to cook if I have to keep running to the fridge. For the crust, you only need graham crackers, a little bit of sugar, and some melted butter. If you do not have graham crackers, you can use vanilla cookies or even chocolate wafers. I once used gingersnaps for a winter party and they tasted amazing.
For the creamy top, you need full-fat cream cheese. This is the most important part! Please do not use the kind of cream cheese that comes in a tub for spreading on bagels. It has too much air and water in it. You want the solid blocks. You will also need sugar, one large egg, and some vanilla. Some people like to add a splash of lemon juice to make it taste bright, but that is up to you. Just make sure your egg and cheese are at room temperature so they mix well.
Preparing the Perfect Crust

The crust is the base of your dessert. It needs to be crunchy so it balances out the soft cheese. I start by crushing my crackers into very fine crumbs. You can use a blender or just put them in a plastic bag and hit them with a rolling pin. If the pieces are too big, the crust will fall apart when people try to eat it. I learned this the hard way at my sister’s graduation party when the crusts just turned back into dust!
Mix the crumbs with melted butter and a spoonful of sugar. It should feel like wet sand. If it is too dry, add one more teaspoon of butter. Put about one tablespoon of the mix into each cupcake liner. Use the bottom of a small glass or a spoon to press it down hard. You want it to be a solid flat disk. I like to bake the crusts for just five minutes before adding the cheese. This keeps them from getting soggy later on. IMO, a soggy crust is the only way to ruin a good cheesecake.
Mixing the Creamy Filling

Now we get to the fun part. You want your filling to be as smooth as silk. Start by beating the cream cheese and sugar together. Use a hand mixer or a big spoon. Keep going until you do not see any white lumps. This is why having soft cheese is so important. If the cheese is cold, it will stay in little chunks no matter how hard you stir. I usually take my cheese out of the fridge two hours before I start.
Once the cheese is smooth, add the egg and the vanilla. Here is a secret tip: do not mix it too much after you add the egg. If you whip it too fast, you will put too much air in the batter. Air bubbles make the cheesecakes puff up like balloons in the oven and then sink in the middle when they cool. Just stir until the egg disappears. It should look like thick, shiny pudding. If it looks like that, you are doing a great job.
Baking Your Mini Treats

Turn your oven to 325 degrees. This is a low heat, which is good for eggs and cheese. Spoon the batter into your prepared crusts. Fill them up about three-quarters of the way. They will rise a little bit, but not as much as a muffin would. I like to tap the pan on the counter a few times to help any tiny bubbles float to the top and pop.
Bake them for about 18 to 20 minutes. You will know they are done when the edges look set but the very center still jiggles just a tiny bit when you shake the pan. Do not wait for them to turn brown! If they turn brown, they are overcooked and might taste dry. Every oven is different, so start checking them at the 15-minute mark. If you overcook them, they might crack, but don’t worry. You can always hide cracks with a big pile of whipped cream later.
Recipe Quick Info
- Prep Time: 20 minutes
- Cook Time: 20 minutes
- Servings: 12 mini cakes
- Difficulty: Easy
The Secret to Cooling
This is the hardest part of the whole recipe. You have to wait! You cannot eat these right out of the oven. If you try to take them out of the pan while they are hot, they will fall apart. Let them sit on the counter until the pan is cool enough to touch. Then, put the whole pan in the fridge for at least three hours. Overnight is even better if you have the time.
Cold air helps the fat in the cream cheese get solid again. This gives the dessert that rich, thick texture we all love. I once tried to rush it by putting them in the freezer. It worked okay, but the texture wasn’t as creamy. If you want the best results, just be patient. This makes them a great “make-ahead” dessert. You can finish them on Friday and they will be perfect for a Saturday party.
Easy Topping Ideas
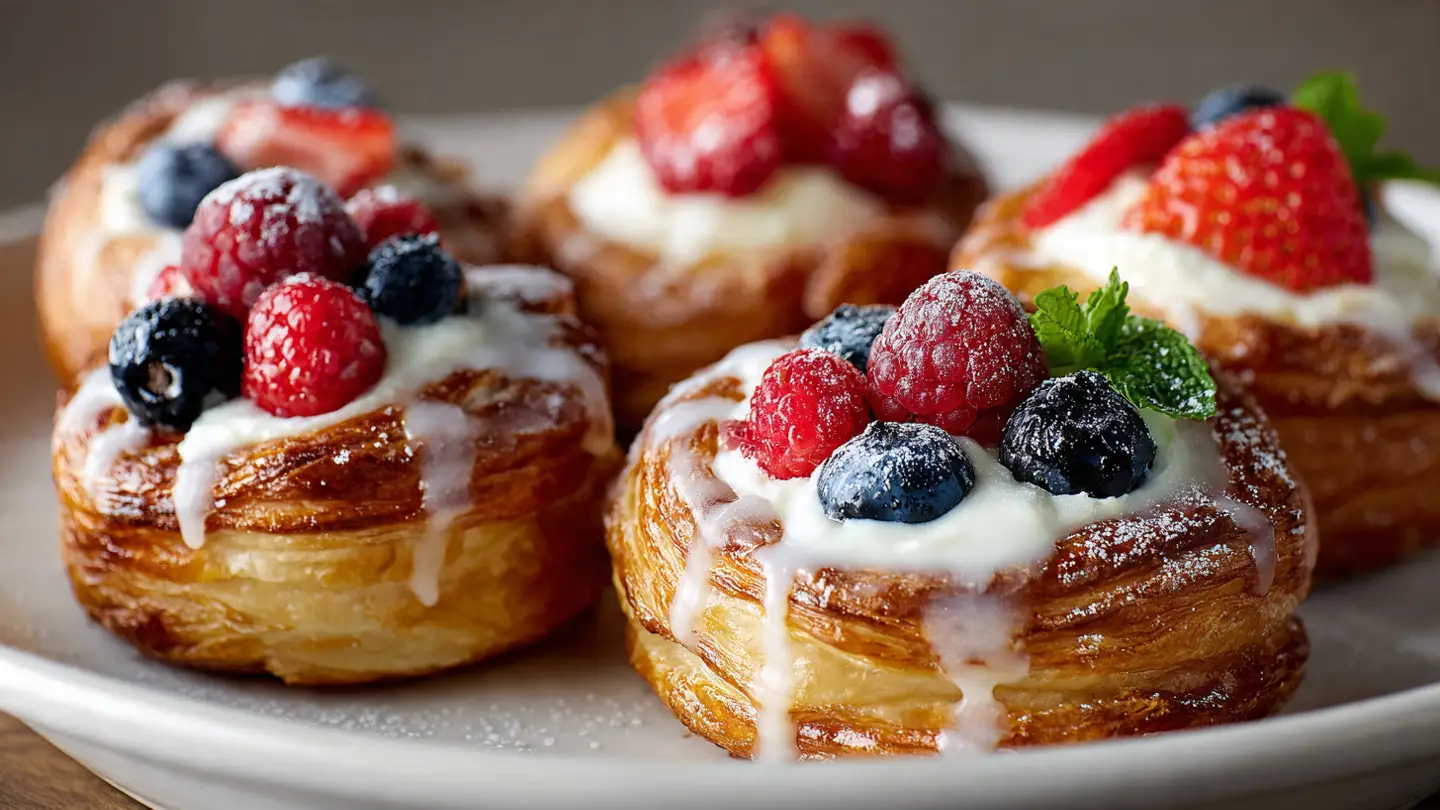
Decorating is where you can get really creative. Since these are small, even a single berry looks like a big decoration. I love using fresh fruit like raspberries, blueberries, or a slice of strawberry. If you like chocolate, you can melt some chocolate chips and drizzle it over the top in a zig-zag pattern. It looks very fancy but only takes a minute.
You can also use store-bought toppings to save time. A little dollop of canned cherry pie filling is a classic choice. Some people like to crush up candy bars or sprinkles for a kid’s party. I think a simple bit of whipped cream and a mint leaf looks the most professional. These little details make your guests feel special because they can see you put extra love into the food. Use whatever you have in your pantry!
Step-by-Step Instructions

Ready to bake? Follow these steps exactly for success. Remember to take your time and read each one before you do it. Cooking is more fun when you aren’t rushing around. Make sure your workspace is clean so you have plenty of room to move.
- Preheat your oven to 325 degrees and put paper liners in a muffin tin.
- Crush 1 cup of graham crackers and mix with 3 tablespoons of melted butter and 1 tablespoon of sugar.
- Press 1 tablespoon of crumbs into each liner and bake for 5 minutes, then let cool.
- Beat 16 ounces of room temperature cream cheese with 1/2 cup of sugar until very smooth.
- Add 1 teaspoon of vanilla and 1 large egg, then stir gently until just combined.
- Fill each cupcake liner with the cheese mix and bake for 18-20 minutes.
- Cool at room temperature, then chill in the fridge for at least 3 hours before serving.
Helpful Baking Tips

I want to help you avoid the mistakes I made when I was learning. One big tip is to scrape the sides of your bowl often. Sometimes the cream cheese sticks to the bottom and doesn’t get mixed with the sugar. If you don’t scrape, you will find a big chunk of plain cheese in one of your cakes! Also, use a regular metal muffin tin if you can. Silicone molds work too, but the crusts stay crispier in metal.
If you want to make these gluten-free, just buy gluten-free cookies for the crust. The filling is already safe to eat for people who can’t have gluten! This makes it a very easy dessert to bring to a group where you aren’t sure about everyone’s diet. Just be careful not to use any flour in the filling. These are naturally very heavy, so one or two per person is usually enough for a party.
How to Store Your Leftovers

If you have any cheesecakes left after your party, you need to keep them cold. Put them in a container with a tight lid. They will stay good in the fridge for about 5 days. I think they actually taste better on the second day because the flavors have more time to mix together. If you want to keep them longer, you can actually freeze them!
To freeze, put them on a tray until they are frozen solid, then move them into a freezer bag. They will last for 2 months. When you want to eat one, just let it sit on the counter for about 30 minutes. It will be just as good as the day you made it. This is a great trick if you want to bake a big batch and just have a sweet snack ready whenever you want. Just don’t put the fresh fruit on until you are ready to eat them, as fruit doesn’t freeze and thaw very well.
Success Secrets
- Temperature: Always use room temperature cream cheese for a smooth batter.
- No Peeking: Don’t open the oven door while they bake or they might sink.
- Paper Liners: Always use liners or the cheese will stick to the metal pan.
Answers to Your Baking Questions
Can I use low-fat cream cheese for this?
I do not recommend it. Low-fat cheese has more water. Your cheesecakes might be runny or won’t set right. Full-fat cheese gives the best taste and texture.
Why did my cheesecakes sink in the middle?
This usually happens if you mix the egg too much or if you open the oven door too early. Air bubbles get trapped and then collapse. They still taste great though!
Do I have to use a muffin tin?
Yes, a muffin tin helps them keep their round shape. If you don’t have one, you could use small ramekins, but the baking time might change.
How do I get the cheesecakes out of the liners?
Wait until they are completely cold from the fridge. The paper should peel away easily. If they are even a little warm, they will stick to the paper.
Can I make these without eggs?
This specific recipe needs the egg to hold it together. If you need egg-free, you would need a “no-bake” recipe which uses gelatin or extra chilling time instead.
Happy Baking at Your Next Party
You now have all the tools to make amazing mini cheesecakes. These tiny treats are sure to be the star of your next party. Just remember to keep your cheese at room temperature and be patient while they cool. Your guests will love them!