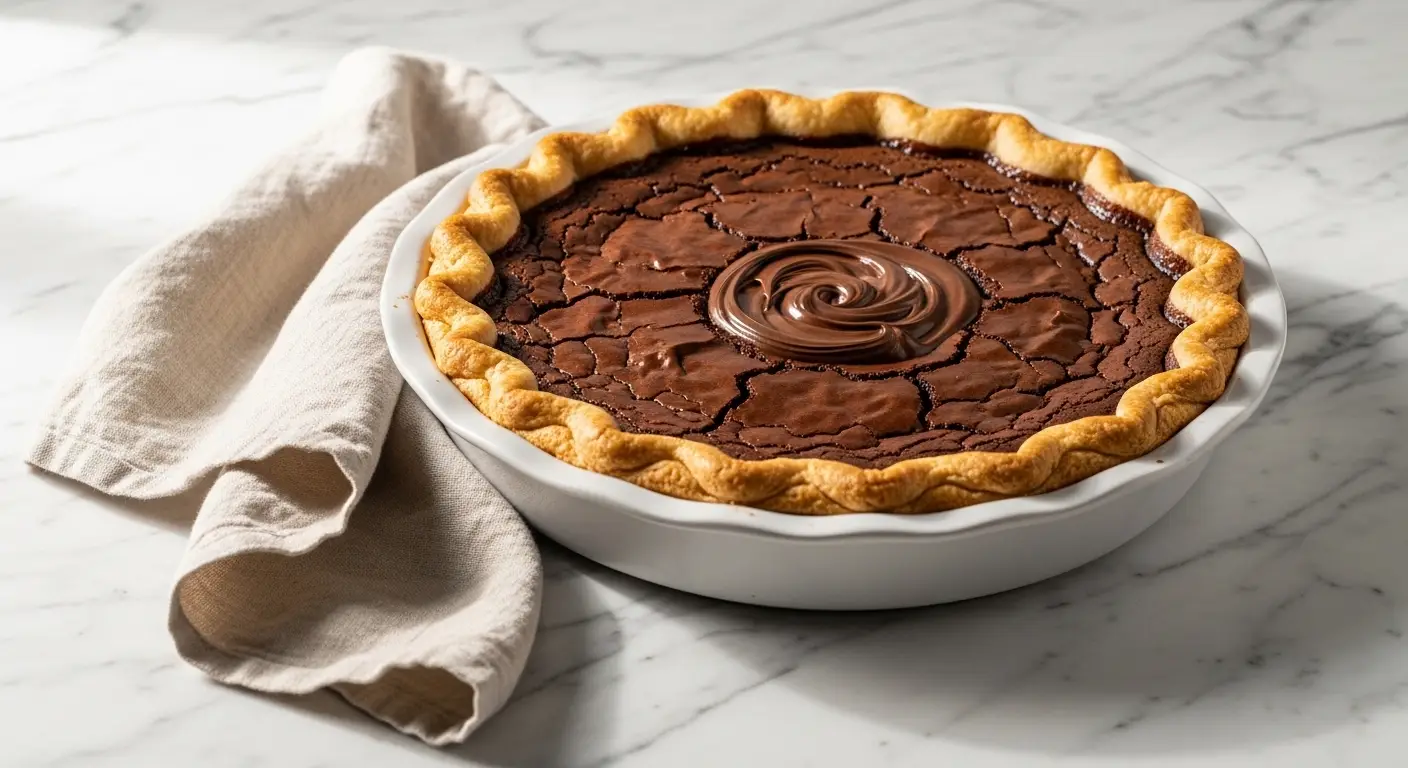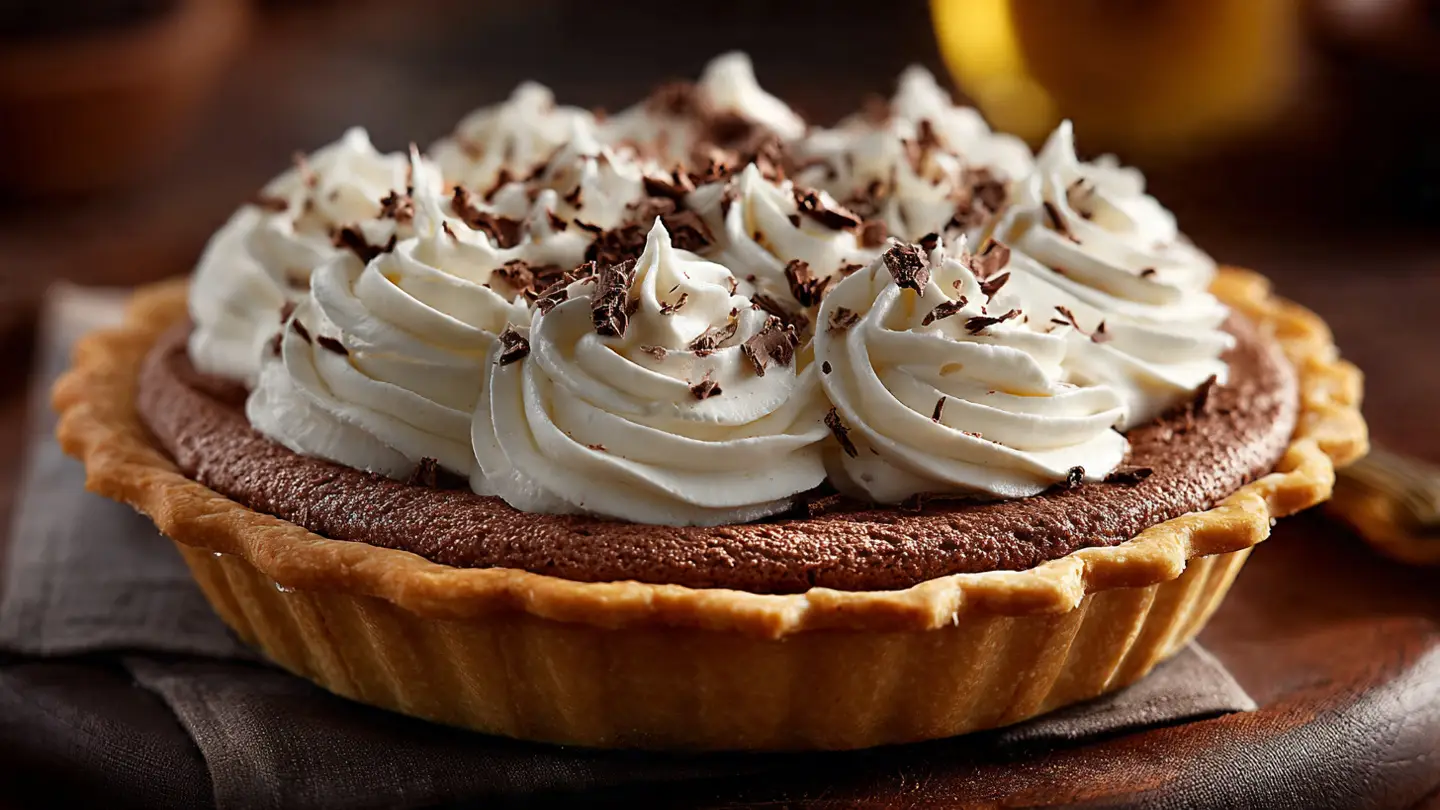
Classic French Silk Pie with a Buttery Crust
French Silk Pie is one of those desserts that feels very special. It looks like it came from a high-end bakery. People think it is hard to make because it is so smooth and rich. But I want to tell you a secret. You can make this at home with just a few simple tools and some patience. This pie has a very cold, whipped chocolate filling that sits inside a salty, buttery crust. It is the kind of treat that makes everyone at the table go quiet because they are busy enjoying every single bite.
In this guide, I will show you how to bake the perfect pie shell. Then, we will make the chocolate filling from scratch. This is not like instant pudding. It is much thicker and more like a cloud of chocolate. By the time you finish reading, you will know exactly how to whip air into the butter and sugar to get that famous silk texture. Get your mixer ready and let us start baking this amazing treat together!
Check out the recipe steps below to get started on your chocolate masterpiece.
The Magic of a Homemade Pie
Many people buy frozen pie crusts because they are scared to make their own. I used to be that way too. One time, I tried to make a crust and it was as hard as a rock. I realized I was working the dough too much with my hands. My warm fingers melted the butter before it ever hit the oven. Now, I know that cold butter is the most important part of a flaky crust. When you keep the butter cold, it creates tiny pockets of steam. That steam is what makes the crust light and crisp instead of tough and chewy.
French Silk Pie is unique because the filling is not baked. This means the crust has to be fully cooked before you put the chocolate inside. We call this blind baking. It might sound funny, but it just means baking the dough without anything in it. You use weights to keep the bottom from puffing up like a balloon. This pie is a labor of love, but it is much better than anything you can find in a store. It is the perfect mix of crunchy crust and soft, airy chocolate.
I love making this for big family dinners. It always looks so pretty with big clouds of whipped cream on top. Even if you are new to baking, you can do this. Just follow the steps and do not rush the chilling time. The fridge does half the work for you by setting the chocolate firmly.
Recipe Quick Info
- Prep Time: 40 minutes
- Cook Time: 15 minutes
- Servings: 8 people
- Difficulty: Medium
The Simple Ingredients You Need

To make a great pie, you need good ingredients. Since this recipe has a short list of items, each one really counts. You will need all-purpose flour for the crust. This is the basic flour most people have in their pantry. You also need a lot of butter. Use unsalted butter so you can control the salt yourself. For the chocolate, I suggest buying a nice baking bar rather than chocolate chips. Baking bars melt much smoother and give the pie a richer taste. FYI, the quality of the chocolate is the biggest secret to a great French Silk Pie.
- 2 cups all-purpose flour (for the crust)
- 1 teaspoon salt
- 1.5 sticks of cold butter, cut into small cubes
- 4 to 6 tablespoons of ice-cold water
- 1 cup white sugar (for the filling)
- 3 large eggs (at room temperature)
- 4 ounces of unsweetened baking chocolate, melted and cooled
- 1 cup softened butter (2 sticks)
- 1 teaspoon vanilla extract
- Heavy whipping cream for the topping
Make sure your eggs are at room temperature before you start the filling. Cold eggs can make the butter clump up. If that happens, the pie will feel grainy instead of silky. I learned that lesson the hard way! Also, make sure your water for the crust is truly icy. I like to put a few ice cubes in a cup of water and let it sit for five minutes before I start mixing my dough. This keeps the dough from getting sticky.
How to Make the Buttery Crust

Start by mixing your flour and salt in a big bowl. Take your cold butter cubes and drop them in. You can use a pastry cutter or even two forks to mash the butter into the flour. You want the pieces of butter to be about the size of peas. If the butter gets too small, the crust will not be flaky. Once the butter is mixed in, add the ice water one tablespoon at a time. Stir it gently until the dough just starts to come together. It should not be wet or sticky. If it feels dry, add one more drop of water.
- Press the dough into a flat disk and wrap it in plastic.
- Let it rest in the fridge for at least 30 minutes.
- Roll the dough out on a floured surface until it is wider than your pie pan.
- Lay it in the pan and trim the edges.
- Poke holes in the bottom with a fork and bake at 400 degrees for 15 minutes.
Let the crust cool completely before you even think about the filling. A warm crust will melt your chocolate silk. I usually make the crust the night before I want to serve the pie. This gives it plenty of time to get cold and firm. If you see the edges getting too brown in the oven, you can cover them with a little bit of tin foil. This protects the thin parts while the bottom finishes cooking. Most blogs skip telling you that the bottom often takes longer than the sides!
Preparing the Chocolate Base

Now we move on to the star of the show. You need to melt your chocolate slowly. You can use a microwave or a double boiler. If you use a microwave, only do 20 seconds at a time. Stir it every time so it does not burn. Burnt chocolate tastes bitter and smells bad. Once it is melted, let it sit on the counter. It needs to be cool to the touch but still liquid. While that cools, take your softened butter and sugar. Put them in a large bowl and beat them with a mixer for about three minutes.
The mixture should look pale and fluffy. This is where you add the cooled chocolate and the vanilla. Beat it again until it is all one color. It will look like a thick frosting at this point. This part of the process is very fun because the kitchen starts to smell like a candy shop. IMO, the smell of butter and chocolate mixing is the best part of baking. Do not worry if it looks a bit heavy right now. The eggs are what will turn this into a light silk.
Keep in mind that the sugar needs to dissolve. If you rub a little bit of the mix between your fingers and it feels sandy, keep mixing. You want it to be as smooth as possible. A hand mixer works fine, but a stand mixer is even better if you have one. It saves your arm from getting tired. You are building the foundation for the whole dessert here, so take your time and do it right.
The Secret to the Silk Texture

This is the most important step in the whole recipe. To get that silk texture, you have to add the eggs one at a time. After you drop in one egg, turn your mixer to medium-high. Beat the mixture for a full five minutes for every egg. Yes, that is a long time! You might think it is ready after one minute, but keep going. This long mixing time beats tiny air bubbles into the chocolate. It also helps the sugar disappear completely into the cream. If you have three eggs, that means fifteen minutes of mixing total.
This is why a stand mixer is so helpful. You can turn it on and go wash a few dishes while it works. By the time you are done, the filling will have grown in size. It will look shiny and light. It should look like a mousse that you could eat with a spoon right then and there. If the filling looks curdled or lumpy, it might be because your eggs were too cold. If that happens, just keep mixing. Sometimes the friction from the mixer warms it up enough to smooth it out.
This method is different from a cooked pudding. Because we are beating it so long, the texture becomes very stable. It will hold its shape when you slice the pie later. This is the part where most people fail because they get impatient. Do not be that person! Set a timer on your phone for each egg. Your patience will be rewarded with the best pie you have ever tasted. It is truly worth every minute of waiting.
Assembling and Chilling the Pie

Once your filling is incredibly smooth and fluffy, pour it into your cooled pie crust. Use a spatula to spread it out to the edges. I like to make little swirls on the top with the back of a spoon. It looks very fancy that way. Now comes the hard part: waiting. You cannot eat this pie right away. It needs to sit in the refrigerator for at least four hours. Over night is even better. The cold air makes the butter in the filling firm up. This is what gives the pie its structure.
If you try to cut it too soon, the filling will just ooze out like a thick sauce. It will still taste good, but it will not look like a proper slice of pie. Cover the pie loosely with plastic wrap. Try not to let the plastic touch the top of the chocolate so you do not ruin your pretty swirls. I usually clear a spot in the back of the fridge where it won’t be bumped. If your fridge is very full, the pie might take longer to get cold. Just be mindful of the temperature.
Pro Baking Tips
- Egg Safety: This recipe uses raw eggs. Use fresh, high-quality eggs from a store you trust. You can also buy pasteurized eggs if you are worried.
- Butter Temp: Softened butter should dent when you press it, but it should not be oily or melting.
This pie is quite rich, so a little bit goes a long way. This is a great dessert for a party because one pie can easily serve eight or ten people. Everyone gets a thin slice of chocolate heaven. If you are making this for a holiday, you can make the whole thing a day early. It stays perfect in the fridge for a long time. Just wait to add the whipped cream until right before you serve it.
Adding the Perfect Toppings

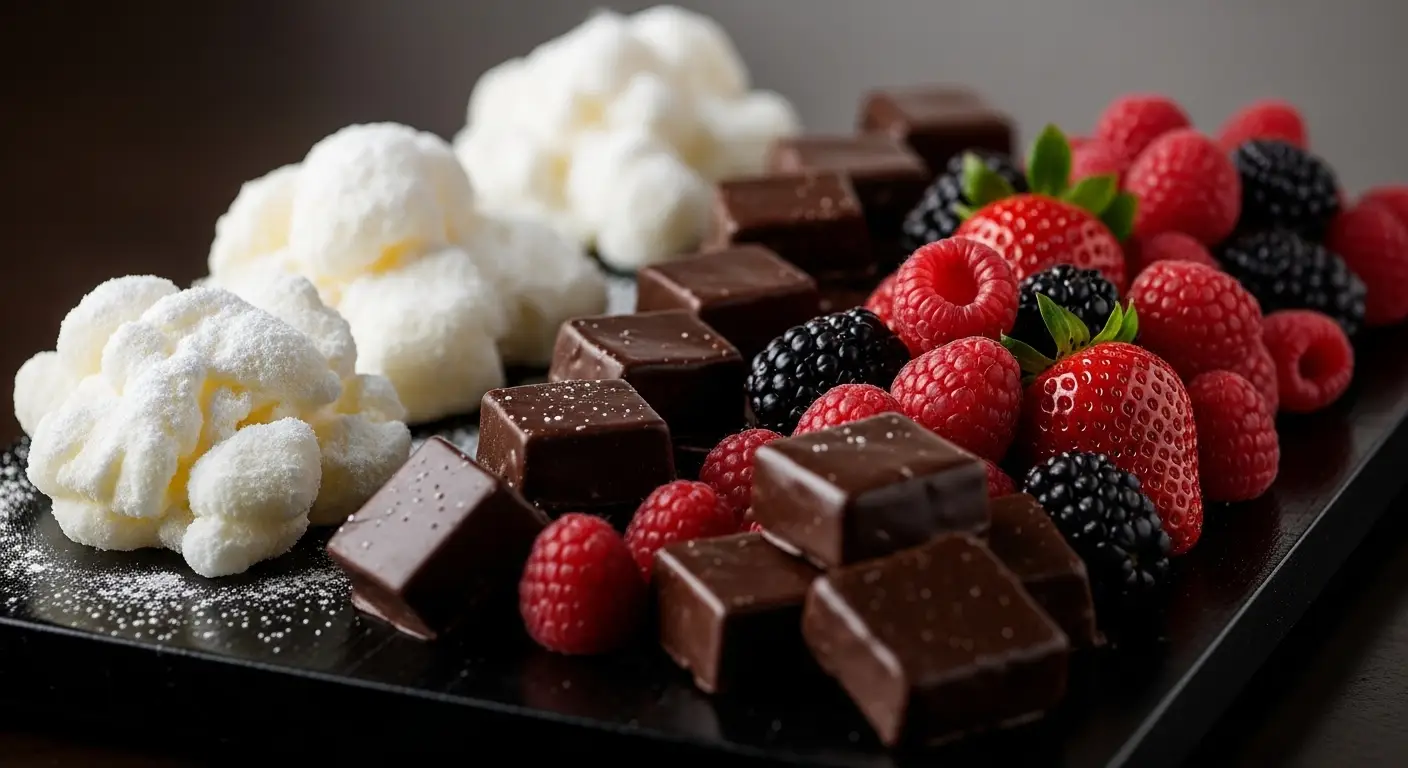
No French Silk Pie is complete without a mountain of whipped cream. You can use the stuff from a can, but homemade whipped cream is much better. Just take a cup of cold heavy cream and a spoonful of sugar. Whip it until it forms stiff peaks. Spread this over the cold chocolate filling. For a final touch, I like to use a vegetable peeler to make chocolate shavings. Just rub the peeler against the side of a chocolate bar. The little curls fall right onto the pie and look beautiful.
You could also sprinkle some crushed nuts on top if you like a bit of salt. Some people like to add a few fresh raspberries. The tart fruit tastes great with the heavy chocolate. However you top it, make sure the cream is cold. It provides a nice contrast to the dense pie underneath. This is the moment when all your hard work finally pays off. When you pull that first slice out and see the clean layers of crust, chocolate, and cream, you will feel like a pro chef.
I recommend using a sharp knife dipped in hot water to cut the pie. Wipe the knife clean after every single cut. This ensures that every slice looks perfect and clean. If the knife is cold, the chocolate might stick to it and tear the filling. Small tricks like this make a big difference in how the final dish looks on the plate. Now, sit down and enjoy the fruits of your labor!
Important Recipe Questions
Can I use a store-bought crust for this pie?
Yes, you can! Just make sure to bake it fully and let it cool completely before adding the filling. A graham cracker crust also works well if you want a different flavor.
Is it safe to eat the raw eggs in the filling?
Traditional French Silk Pie uses raw eggs for its texture. If you are worried, use pasteurized eggs found at the store. They are heat-treated to be safe while remaining liquid.
Why is my filling grainy and not smooth?
This usually happens if the sugar did not dissolve or the butter was too cold. Make sure to beat the mixture for the full 5 minutes per egg to ensure a silky finish.
How long does this pie stay fresh in the fridge?
The pie will stay good for about 3 to 4 days if covered well. However, the crust may start to get a bit soft after the second day. It is best eaten fresh!
Can I freeze French Silk Pie for later?
Yes, this pie freezes very well. Wrap it tightly in plastic and foil. Thaw it in the fridge for a few hours before you plan to serve it and add the whipped cream last.
Enjoy Your Homemade Dessert
Making a Classic French Silk Pie is a great way to show your love for baking. It takes some time and a lot of mixing, but the result is a world-class dessert. You now have a flaky crust and a chocolate filling that is as smooth as silk. Share this with your friends and family, and they will definitely ask for the recipe. Happy baking!