Strawberry Cheesecake Cake: Two Desserts in One
I love cake and I love cheesecake. For a long time, I could never pick which one to eat for my birthday. One year, I decided to stop choosing and just put them together. That was the day the Strawberry Cheesecake Cake was born in my kitchen. It is a giant, sweet treat that looks like it came from a fancy store, but you can make it at home.
This recipe will show you how to bake a real cheesecake and hide it inside two layers of soft cake. We will use fresh berries and a smooth frosting to tie it all together. It is a big project, but I promise the look on your friends’ faces will be worth the work. You are about to learn how to master this double dessert step by step.
Ready to bake something amazing? Let’s get started on this kitchen adventure together!
Why This Double Dessert Works So Well
Mixing two different types of treats might sound hard, but it actually makes a lot of sense. The soft, light cake feels good against the thick, rich cheesecake. When you add strawberries, the fruit cuts through the sugar so it does not feel too heavy. I found out the hard way that you cannot just use any recipe; they have to fit together like puzzle pieces.
Most people get scared when they hear ‘cheesecake inside a cake.’ They think it will fall apart or be soggy. I am here to tell you that it is actually very sturdy if you chill it right. This cake is great for kids’ parties because it looks like a magic trick when you cut it open. Plus, it uses simple things you can find at any grocery store.
Gather Your Baking Supplies

Before you start, you need to make sure you have everything on your counter. For the cheesecake part, you will need blocks of cream cheese, white sugar, and a few eggs. It is super important that your cream cheese is soft. If it is cold, your cheesecake will have lumps, and nobody likes lumpy cake! I once tried to rush it with cold cheese and it looked like cottage cheese. Learn from me and let it sit out for an hour.
For the cake layers, you need flour, baking powder, salt, butter, more sugar, and milk. I like to use vanilla extract to make it smell like a bakery. You also need two 9-inch cake pans and one 9-inch springform pan for the cheesecake. Having the right size pans is the secret to making the layers line up perfectly. If your pans are different sizes, your cake will look like a leaning tower of treats.
Mixing the Cheesecake Layer

The cheesecake is the heart of this recipe. You want to beat the cream cheese and sugar until it looks like fluffy clouds. Add your eggs one at a time. This helps the air stay in the batter. I also add a little bit of flour to the cheesecake mix. This helps it stay firm so it doesn’t squish when the heavy cake layers sit on top of it later.
Pour the mix into your pan. You do not need a graham cracker crust for this part because the cake layers act as the crust. Bake it at a low heat. This prevents the top from cracking. Even if it does crack a little, do not worry! We are going to hide it inside the cake anyway. FYI, a cracked cheesecake tastes just as good as a smooth one.
Baking the Fluffy Cake Layers

While the cheesecake cools, it is time to make the cake. I use a standard vanilla cake recipe that is a bit more solid than a boxed mix. You need it to be strong enough to hold the weight of the cheesecake. Start by creaming your butter and sugar until it is pale. Then, add your dry things and wet things slowly. If you mix too fast or too long, the cake becomes tough like bread.
Split the batter between your two pans. Bake them until a toothpick comes out clean. When they come out of the oven, let them cool in the pan for ten minutes. If you try to take them out right away, they might break. I used to be impatient and ended up with a pile of cake crumbs instead of a layer. Wait for the pans to cool down so the cake can set its shape.
Recipe Quick Info
- Prep Time: 45 minutes
- Cook Time: 1 hour 15 minutes
- Servings: 12-15 people
- Difficulty: Medium
Preparing the Fresh Strawberry Filling

The strawberries are what make this cake pop. You should wash them and cut off the green tops. Slice them thin so they lay flat. I like to mix my slices with a little bit of strawberry jam. This makes a sticky sauce that helps the berries stay in place. If you just put plain berries in the cake, they might slide out when you try to frost it.
If you cannot find fresh berries, you can use frozen ones, but you must thaw them first. Drain all the extra juice or your cake will turn into a pink puddle. IMO, fresh berries are always better because they stay crunchy. This layer adds a bright, tart flavor that balances out the heavy cream cheese. It makes the whole dessert feel much lighter and fresher.
Making the Cream Cheese Frosting

We need a lot of frosting for this big cake. I use a mix of butter, cream cheese, and powdered sugar. It needs to be stiff so the cake doesn’t lean. If your frosting feels too soft, add more sugar. If it is too thick, add a tiny drop of milk. I like to add a pinch of salt too. The salt helps the frosting taste less like pure sugar and more like real food.
Make sure your butter is soft but not melted. If the butter is oily, the frosting will slide right off the cake. This happened to me during a hot summer day, and I had to put the whole bowl in the fridge for twenty minutes to save it. Use a high speed on your mixer to get it really white and fluffy. It should look like smooth silk when you are done mixing.
Assembling the Giant Layer Cake

This is the part where the magic happens. Put one cake layer on your plate. Spread a thin layer of frosting on top. Then, carefully place the cold cheesecake on that. It is very important that the cheesecake is cold! If it is warm, it will melt the frosting and the cake will slide across the table. Add another thin layer of frosting over the cheesecake and then put your strawberry slices down.
Finally, put the second cake layer on top. You now have a tall stack of goodness. Use your frosting to cover the whole thing. Start with a thin ‘crumb coat’ first. This is just a light layer of frosting that traps the crumbs so they don’t show up in your final pretty layer. Put the cake in the fridge for thirty minutes after the crumb coat. This is a pro tip that most people skip, but it makes the cake look perfect.
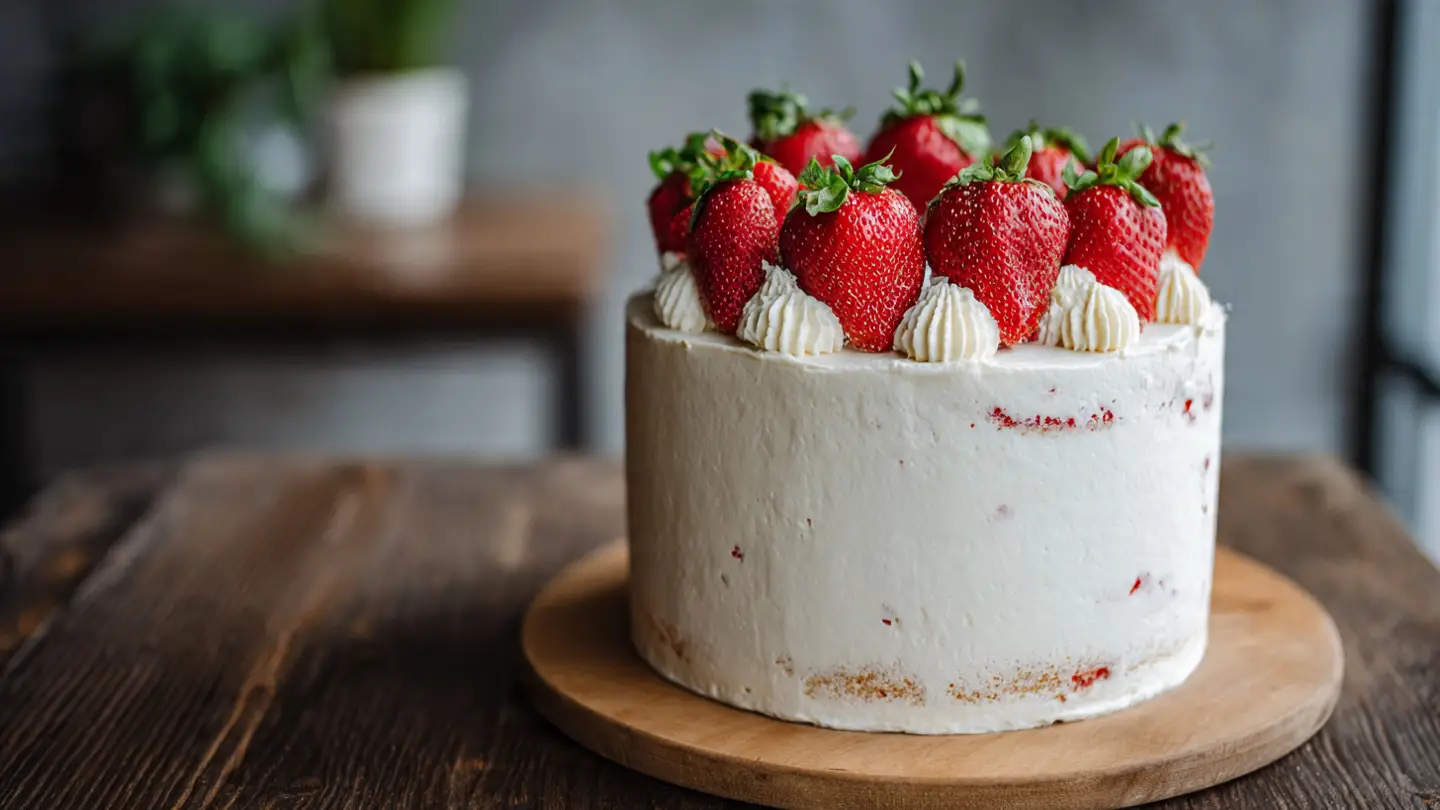
Decorating and Finishing Touches

Now you can put the rest of the frosting on. Smooth it out with a big knife or a flat tool. I like to put whole strawberries on top to show people what is inside. You can also use some graham cracker crumbs around the bottom to give it a classic cheesecake look. It makes the cake look professional and adds a nice little crunch to every bite.
If you have extra frosting, you can pipe little stars or swirls around the edges. Don’t worry if it doesn’t look like a magazine photo. People will be so happy to eat it that they won’t care if a strawberry is slightly crooked. The best part is seeing the layers when you finally cut a slice. It looks like a lot of layers and colors which is very exciting for guests.
Pro Baking Tips
- Cold is Key: Always chill your cheesecake overnight before putting it inside the cake.
- Flat Tops: Use a knife to trim the tops of your cakes so they are flat and don’t wobble.
- Paper Trick: Put strips of wax paper under the cake edges while frosting to keep the plate clean.
How to Serve and Store Your Cake

Because this cake has cream cheese and fruit, you must keep it in the fridge. It cannot sit on the counter for a long time or it will spoil. When you are ready to eat, take it out about twenty minutes early. This lets the butter in the cake soften up so it tastes better. Use a sharp knife dipped in hot water to get clean slices through all those thick layers.
This cake stays good for about three or four days in the fridge. If you have leftovers, wrap them tightly in plastic. The strawberries might get a little soft after a few days, but the cheesecake and cake stay delicious. You can even freeze slices of this cake! Just wrap them well and they will be a great frozen treat for later when you have a sugar craving.
Common Questions About This Recipe
Can I use a box cake mix for the layers?
Yes, you can! Just make sure to use a thick mix. Add an extra egg to make the cake strong enough to hold the heavy cheesecake layer without squishing.
What if I do not have a springform pan?
You can use a regular 9-inch cake pan. Just line it with a lot of parchment paper so you can lift the cheesecake out easily once it is completely cold.
Why did my cheesecake crack on top?
Cracks usually happen from too much heat or over-mixing. Don’t worry though! The cake and frosting will cover it up perfectly, and it will still taste great.
How do I keep the strawberries from sliding?
Mix the sliced berries with a little jam or a tiny bit of cornstarch. This creates a sticky texture that acts like glue between the layers of the cake.
Can I make this cake a day in advance?
Actually, I recommend it! Making it a day early gives the flavors time to mix. It also ensures the cheesecake is very firm and easy to handle.
The Best Way to Enjoy Your Creation
Building this Strawberry Cheesecake Cake is a big win for any home baker. You now have a tall, beautiful dessert that tastes like two treats in one. Share it with your favorite people and enjoy the sweet, creamy layers you made yourself!