Sweet and Sour Chicken
I love making Chinese food at home because it tastes so much fresher than the box from the store. My favorite dish has always been sweet and sour chicken. It has that bright red sauce and crunchy bits of meat that make my mouth water just thinking about it. For a long time, I thought it was too hard to cook, but I was wrong. Once I learned a few simple tricks, it became my go-to dinner for busy nights.
In this guide, I will show you how to make this classic dish from start to finish. You will learn how to get the chicken really crispy without a deep fryer. I will also teach you how to balance the sugar and vinegar so the sauce is just right. It is a fun recipe that kids and adults both enjoy. Plus, you probably already have most of the items in your kitchen right now.
Get your pans ready and let’s get cooking!
Recipe Quick Info
- Prep Time: 20 minutes
- Cook Time: 15 minutes
- Servings: 4 people
- Difficulty: Easy
Gathering Your Tasty Ingredients
Before you start cooking, you need to set everything out on your counter. This helps you move fast once the stove is hot. Most of these things are basic pantry items like sugar, flour, and ketchup. Using fresh chicken makes a big difference in how the meal turns out. I like to use chicken breast because it is easy to cut into even cubes. If you like darker meat, chicken thighs work great too because they stay very juicy.
What You Need for the Chicken

The star of the show is the chicken. You want about two large breasts cut into bite-sized pieces. To make the coating, you will need cornstarch, all-purpose flour, and eggs. The cornstarch is the secret to getting that thin, glass-like crunch. I also add a little bit of salt and pepper to the dry mix. If you want a little kick, a tiny pinch of garlic powder helps too. It is important to keep the chicken pieces small so they cook fast and stay tender.
- 2 lbs chicken breast, cut into 1-inch cubes
- 1/2 cup cornstarch
- 1/4 cup all-purpose flour
- 2 large eggs, beaten
- 1 teaspoon salt
- 1/2 teaspoon black pepper
- Oil for frying (vegetable or canola oil works best)
The Secret Sauce Ingredients

Making the sauce at home is much better than buying a jar. You control the sugar and the tanginess. My sauce uses ketchup as a base for color and body. Then I add rice vinegar for that sour punch. White sugar provides the sweetness, and a splash of soy sauce adds a savory touch. I once tried using apple cider vinegar, and it tasted okay, but rice vinegar is much more authentic. If you want it extra red, you can add a tiny drop of food coloring, but the ketchup usually does enough work on its own.
- 3/4 cup white sugar
- 1/2 cup rice vinegar (or white vinegar)
- 1/4 cup ketchup
- 1 tablespoon soy sauce
- 1/2 teaspoon garlic salt
Crunchy Vegetables to Add

Vegetables add color and a nice snap to the dish. I always use bell peppers because they stay slightly firm even after cooking. Onions add a sweet flavor that matches the sauce. My favorite part is the pineapple. Some people don’t like fruit in their dinner, but the pineapple chunks really bring the whole thing together. Use fresh pineapple if you can find it, but canned chunks in juice work perfectly fine too. Just make sure to drain the liquid before adding them to the pan.
- 1 green bell pepper, chopped
- 1 red bell pepper, chopped
- 1/2 yellow onion, chopped
- 1 cup pineapple chunks
How to Cook Perfect Sweet and Sour Chicken
Cooking this dish is all about timing. You want the chicken to be hot and the sauce to be bubbly at the same time. I suggest cooking the chicken in batches so the pan stays hot. If you crowd the pan, the chicken will steam instead of fry, and you will lose that crunch. I learned that the hard way when I first started cooking. My chicken ended up soggy, which was a real bummer! Now I take my time and do it in two or three turns.
Preparing and Coating the Chicken

First, put your chicken cubes in a bowl and season them with salt and pepper. In another bowl, whisk your eggs. In a third bowl, mix the flour and cornstarch. Dip each piece of chicken into the egg first, then roll it in the flour mix. Make sure every side is covered. This double coating creates a thick crust that holds onto the sauce later. I like to let the coated chicken sit on a plate for five minutes before frying. This helps the coating stick better and not fall off in the oil.
Frying the Chicken to Golden Perfection

Heat about an inch of oil in a large skillet or wok. You know the oil is ready when a drop of flour sizzles right away. Carefully place the chicken pieces in the oil. Fry them for about 3 to 4 minutes on each side until they look golden brown. Use a slotted spoon to move them to a plate lined with paper towels. The paper towels soak up the extra grease so the chicken stays light. IMO, this is the most important step for a great meal. You can even eat a piece now to check if it is cooked through!
Sautéing the Fresh Vegetables

Pour out most of the oil from your pan, leaving just a tiny bit behind. Turn the heat to medium-high and toss in your peppers and onions. Stir them around for about 2 minutes. You want them to get a little bit soft but still have a “crunch” when you bite them. If you cook them too long, they turn into mush. Add the pineapple chunks at the very end just to warm them up. The smell of the onions hitting the hot pan is one of my favorite parts of this recipe. It makes the whole house smell like a restaurant.
Thickening the Sweet and Sour Sauce

While the veggies are cooking, whisk all your sauce ingredients together in a small bowl. Pour the mixture over the vegetables in the pan. Let it come to a boil. You will see the sauce start to turn thick and shiny. This happens because the sugar and vinegar are cooking down. If the sauce feels too thin, you can mix a teaspoon of cornstarch with a teaspoon of water and stir it in. This will make it extra glossy and thick. This sauce is very forgiving, so don’t worry if it looks a little runny at first; just give it a minute to bubble.
Combining Everything Together

Now comes the best part. Add the crispy chicken back into the pan with the sauce and vegetables. Toss everything quickly so every piece of chicken is coated in that sticky red sauce. Don’t leave it on the heat for too long now. You just want to warm the chicken back up and get it covered. If you simmer it for a long time, the breading on the chicken will get soft. Serve it immediately while the steam is still rising. It looks so beautiful with the bright red sauce against the green peppers.
Pro Kitchen Tips
- Dry the Chicken: Use a paper towel to pat the chicken dry before coating. This helps the egg stick better.
- Temperature Check: If the oil is smoking, it is too hot. Turn it down so you don’t burn the outside while the inside is raw.
- Sauce Prep: Always mix the sauce in a bowl before pouring it in the pan to avoid clumps of sugar.
Ways to Serve and Store Your Meal
Sweet and sour chicken is a full meal on its own, but it is even better with the right sides. Most people love it over a big pile of white rice. The rice soaks up all the extra sauce so none of it goes to waste. I also like to sprinkle some sesame seeds or chopped green onions on top to make it look fancy. It is a great way to impress your friends or family without spending all day in the kitchen. Even leftovers can be a treat if you handle them the right way.
The Best Side Dishes

White jasmine rice is my top pick for this dish. The floral smell of the rice goes perfectly with the tangy sauce. If you want to be a bit healthier, brown rice or even cauliflower rice works too. For a full feast, you can serve it with egg rolls or those crispy wonton strips you get at the takeout place. Sometimes I make a simple side of steamed broccoli. Dipping the broccoli in the sweet and sour sauce is a great way to get kids to eat their greens. FYI, fried rice is also a delicious base if you have extra time to make it.
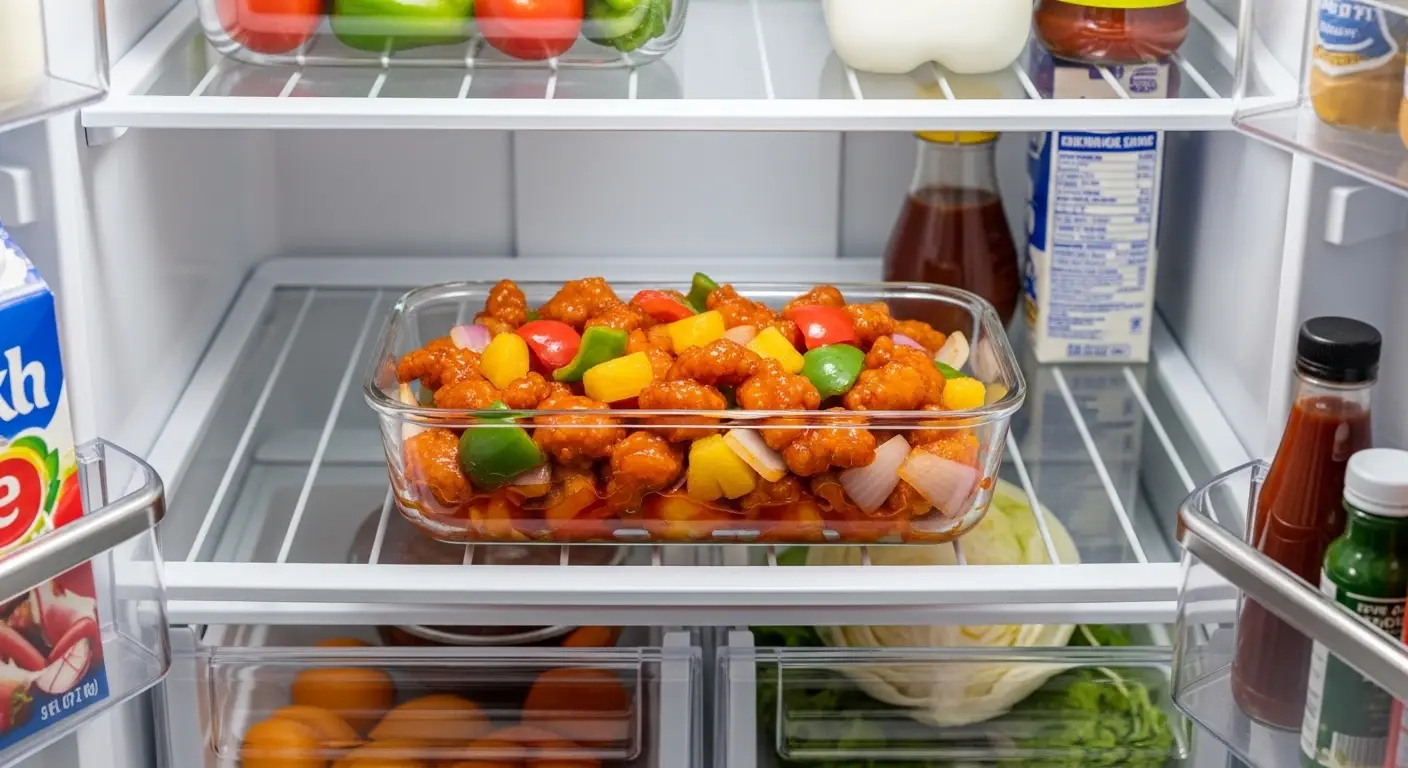
How to Keep Leftovers Fresh

If you have leftovers, put them in an airtight container once they cool down. They will stay good in the fridge for about three days. The only downside is that the chicken will lose its crunch in the fridge. To fix this, I suggest reheating it in an air fryer or a toaster oven instead of a microwave. The dry heat helps crisp up the coating again. If you only have a microwave, it will still taste good, but the texture will be soft. This recipe does not freeze very well because the peppers get watery when they thaw, so try to eat it fresh!
Nutrition Facts (Per Serving)
- Calories: 450 kcal
- Protein: 28g
- Total Fat: 12g
- Carbohydrates: 55g
- Sugar: 32g
Common Questions About This Recipe
Can I use an air fryer for the chicken?
Yes! Coat the chicken and spray it with oil. Air fry at 400 degrees for 12 minutes. It is healthier but slightly less crunchy than frying in oil.
Is there a way to make it less sweet?
You can cut the sugar down to 1/2 cup. You can also add a little more vinegar or a splash of chicken broth to balance the flavors to your liking.
What if I don’t have rice vinegar?
White vinegar is a fine sub. It is a bit stronger, so you might want to use a tiny bit less. Apple cider vinegar also works but changes the flavor slightly.
Can I make this gluten-free?
Yes. Use only cornstarch for the coating and skip the flour. Also, make sure your soy sauce is labeled gluten-free or use tamari instead.
Why is my sauce not turning red?
The red color comes from the ketchup. If yours is pale, add another tablespoon of ketchup or a tiny drop of red food coloring for that classic look.
Enjoy Your Homemade Feast
Making sweet and sour chicken at home is a rewarding experience that saves money and tastes amazing. You now have all the steps to create a crispy, tangy, and colorful dinner. I hope this recipe becomes a regular part of your weekly menu. Happy cooking!