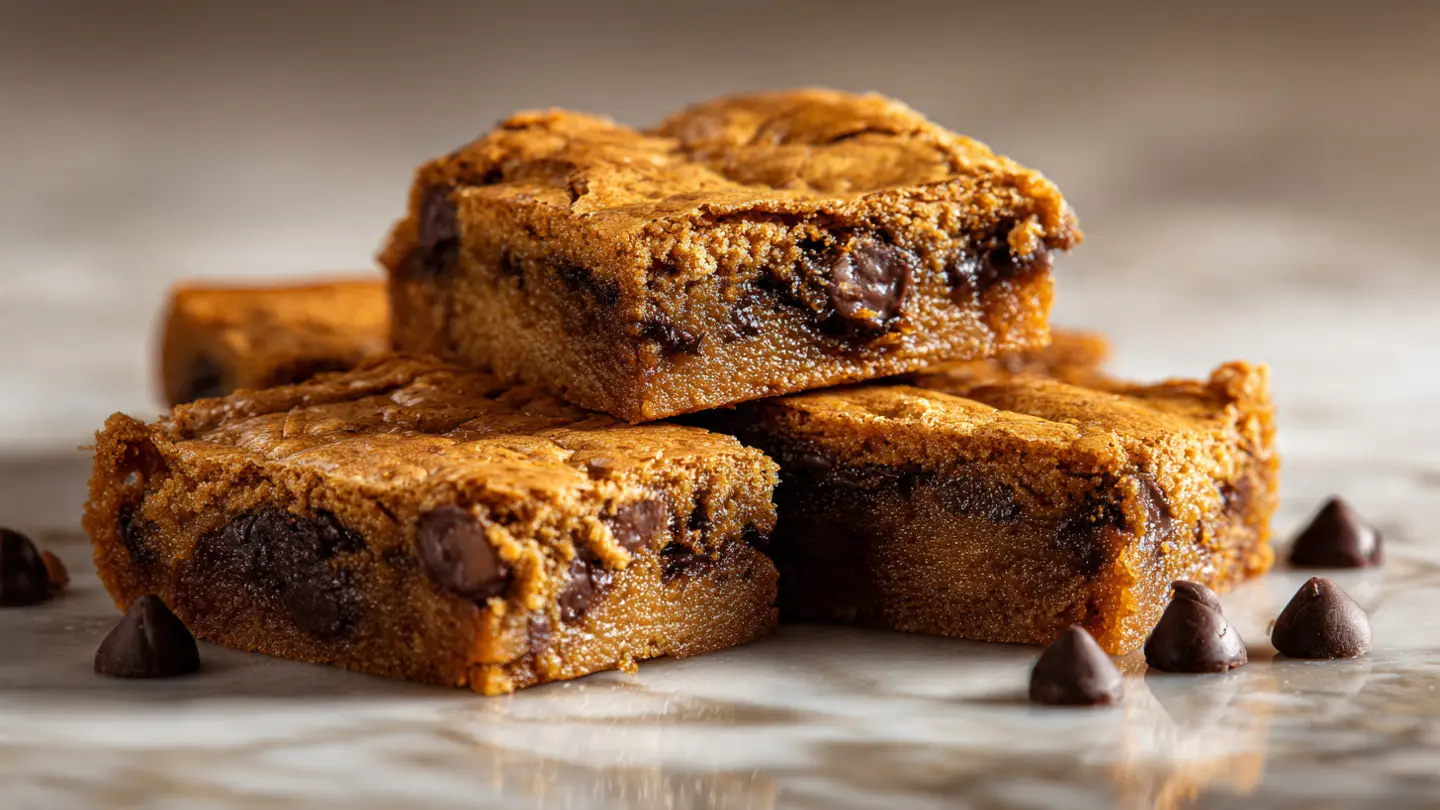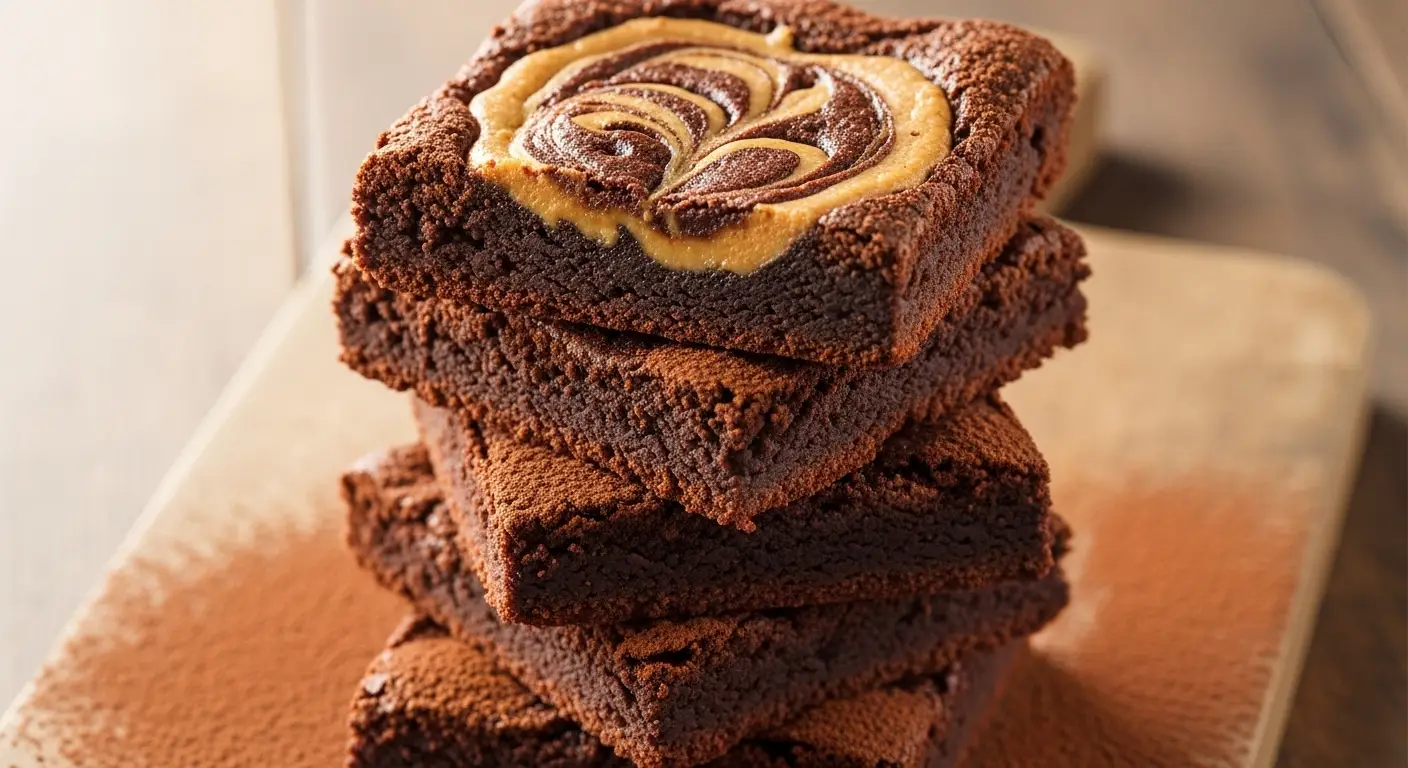
Peanut Butter Swirl Brownies
I love chocolate more than almost anything. There is something so special about a warm brownie right out of the oven. But you know what makes a brownie even better? Adding a big scoop of creamy peanut butter. This recipe is my favorite way to bake because it combines two of the best flavors in the world. You get a deep, dark chocolate base and a salty, nutty top that looks like art.
Today, I am going to show you how to make these Peanut Butter Swirl Brownies from scratch. You do not need a box mix to get that perfect crinkle top or the chewy middle. I will walk you through every step so your kitchen smells amazing. These are great for school parties, bake sales, or just a Tuesday night when you need a treat.
Check out the steps below to start baking your new favorite dessert!
Why This Recipe Works Every Time
Making brownies can be tricky if you do not have the right balance of fat and sugar. I spent a long time testing different amounts of butter and cocoa powder. This version works because it stays moist but still has enough structure to hold the heavy peanut butter swirl. The peanut butter does not just sit on top; it sinks in just enough to give you flavor in every single bite.
The Best Ingredients for Fudgy Brownies

To get the best taste, you need to use good cocoa powder. I usually pick the unsweetened kind because we add plenty of sugar later. You also need real butter. Some people use oil, but butter gives a much richer flavor that reminds me of a fancy bakery. For the peanut butter, stick to the regular creamy kind you find at the grocery store. Natural peanut butter that separates can be too oily for this specific swirl.
You will also need eggs, sugar, flour, and a pinch of salt. Salt is very important in chocolate recipes. It does not make the brownies salty. Instead, it makes the chocolate taste stronger. I also like to add a splash of vanilla extract. It adds a nice smell and rounds out the sweetness of the sugar. Make sure your eggs are at room temperature so they mix into the batter easily without leaving lumps.
Kitchen Tools You Will Need

You do not need fancy machines for this recipe. A simple glass bowl and a sturdy whisk will do the trick. I prefer using a square baking pan, usually 8 inches by 8 inches. This size makes the brownies nice and thick. If you use a bigger pan, they will be thin and might get crunchy. I always line my pan with parchment paper. This is a pro tip that makes cleanup so much easier later on.
Having a small microwave-safe bowl is also helpful for melting the butter. You can use a pot on the stove if you prefer. A butter knife or a toothpick is the secret tool for the swirl. You will use it to drag the peanut butter through the chocolate batter. It feels like painting, and it is the most fun part of the whole process. Just make sure your tools are dry before you start.
Recipe Quick Info
- Prep Time: 15 minutes
- Cook Time: 30 minutes
- Servings: 16 squares
- Difficulty: Easy
How to Prepare Your Batter
Before you start mixing, you must get your oven ready. I always turn mine on to 350 degrees right away. A hot oven is the only way to get that shiny, thin crust on top. I once forgot to preheat my oven and my brownies came out flat and oily. It was a sad day for my snack time! Learn from my mistake and let that oven get nice and hot while you work.
Mixing the Chocolate Base

First, melt your butter and mix it with the sugar. You want to whisk them together until the mixture looks shiny. Then, add your eggs one at a time. This helps the batter stay smooth. Once the eggs are in, stir in the vanilla and the cocoa powder. The batter will start to look very dark and thick. This is exactly what you want. It should look like melted chocolate bars in a bowl.
Slowly fold in the flour and salt. Use a spatula for this part instead of a whisk. If you mix too hard, you will put too much air in the batter. Air makes brownies cakey, but we want them fudgy. Stop stirring as soon as you cannot see any more white flour streaks. Over-mixing is a common mistake that leads to tough brownies. Keep it gentle and slow for the best results. FYI, the batter will be very thick, almost like frosting.
Creating the Peanut Butter Swirl

Now comes the best part. Pour your chocolate batter into the lined pan and spread it out flat. Take your peanut butter and put it in a small bowl. If it is too stiff, put it in the microwave for ten seconds. It should be soft enough to drop from a spoon. Drop small spoonfuls of peanut butter all over the top of the brownie batter. It will look like little islands of tan on a sea of dark brown.
Take your butter knife and gently drag it through the peanut butter spots. Go up and down, then side to side. Do not over-do it! If you swirl too much, the colors will just mix together and look messy. You want to see clear stripes of peanut butter and chocolate. This creates a beautiful pattern that looks like it came from a professional bakery. IMO, this is what makes these brownies look so impressive to friends.
Baking and Cooling for Success
Baking is a science, and timing is everything. You want to pull the pan out while there are still a few crumbs on a toothpick. If the toothpick comes out totally clean, you cooked them too long. They will still taste good, but they will not be as soft. I like to check mine at the 25-minute mark just to be safe. Every oven is a little bit different, so stay close by and use your nose to smell when they are done.
The Importance of Waiting

I know it is hard, but you must let the brownies cool down. If you cut them while they are hot, they will fall apart. The chocolate needs time to set so you get those clean, sharp edges. I usually wait at least one hour. I once tried to eat one five minutes after baking, and it was just a pile of goo. It still tasted great, but I could not share it with anyone! Patience is the hardest ingredient in this recipe.
Once they are cool, lift the parchment paper out of the pan. Place the whole block of brownies on a cutting board. Use a large, sharp knife to slice them into squares. I like to wipe my knife with a damp cloth between every cut. This keeps the peanut butter swirls looking sharp and pretty on every piece. You can make 16 small squares or 9 big ones if you are feeling extra hungry.
Variations to Try at Home

You can change this recipe to fit what you like. If you love crunch, add some chopped peanuts into the batter. You could also sprinkle flaky sea salt on top right after they come out of the oven. The salt makes the peanut butter taste even better. Some people like to add chocolate chips into the batter for extra pockets of melted chocolate. This makes the brownies very rich and sweet.
If you do not like peanut butter, you can use almond butter or even chocolate hazelnut spread. The steps are exactly the same. Just make sure whatever spread you use is soft enough to swirl. This recipe is very flexible. You can even top them with a scoop of vanilla ice cream for a fancy dessert. It is a great way to use what you have in your pantry without going to the store.
Pro Baking Tips
- Parchment Paper: Leave extra paper hanging over the sides to use as handles for easy lifting.
- Room Temp Eggs: Put cold eggs in a bowl of warm water for 5 minutes if you forgot to take them out.
- The Knife Trick: Use a plastic knife to cut brownies if they are still a bit warm; it sticks less than metal!
More Ideas for Your Brownies
These treats are not just for eating plain. You can get creative with how you serve them. They are heavy and rich, so a little bit goes a long way. I think they are the perfect gift for a new neighbor or a friend who is having a hard day. Everyone smiles when they see a tray of homemade brownies. Plus, they stay fresh for a long time if you keep them in a sealed container.
Storage and Saving for Later

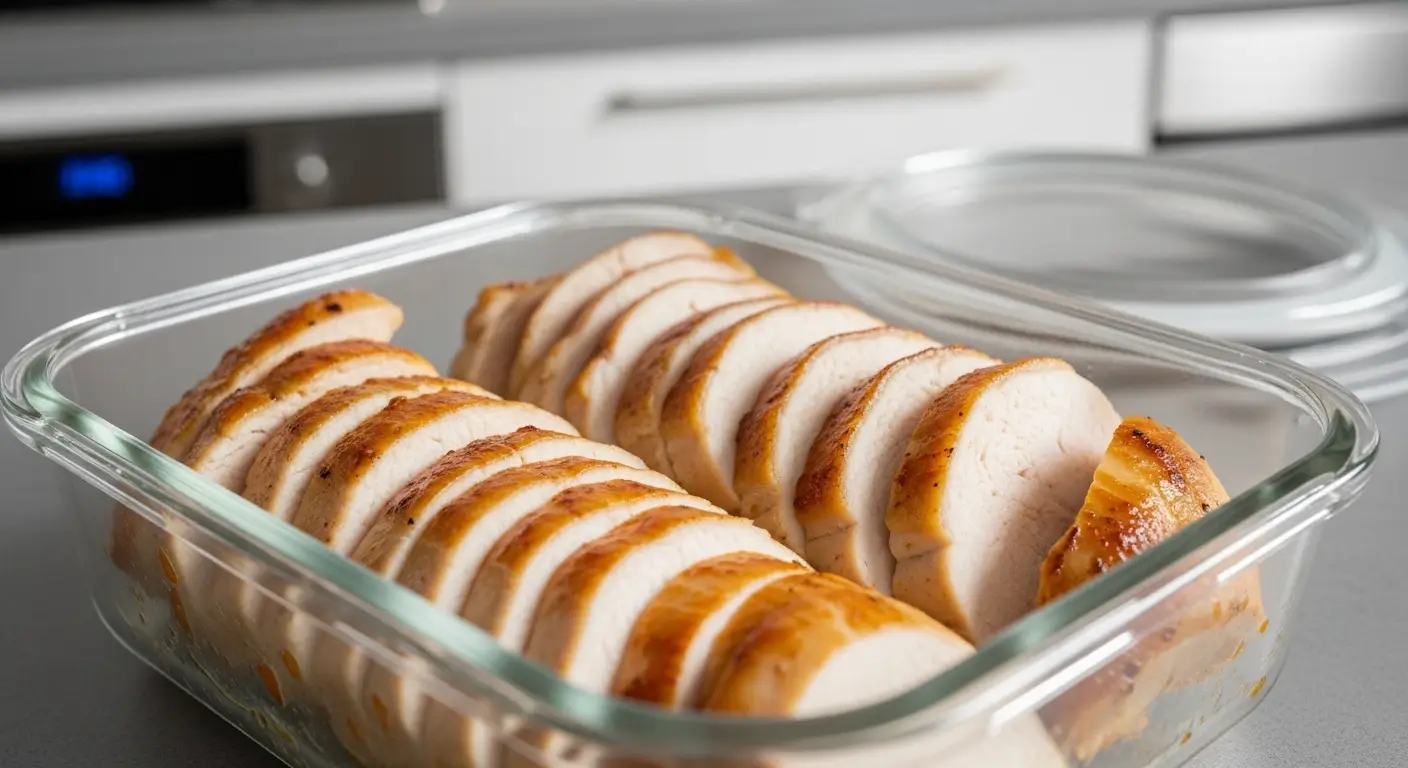
If you have leftovers, keep them in a container with a tight lid. They will stay soft at room temperature for about three to four days. If you want them to last longer, you can put them in the fridge. Cold brownies are actually very tasty because they get extra chewy. Just be sure to wrap them well so they do not pick up any other smells from the fridge.
You can also freeze these brownies! I do this all the time so I always have a treat ready. Wrap each square in plastic wrap and put them in a freezer bag. They will stay good for up to three months. When you want one, just let it sit on the counter for thirty minutes or pop it in the microwave for a few seconds. It will taste just like it was baked that morning. This is a great way to save money on snacks.
Serving Suggestions for Parties

When I have friends over, I like to make a brownie bar. I put out a big plate of these peanut butter swirl brownies and some toppings. You can offer whipped cream, fresh berries, or caramel sauce. The tartness of a strawberry goes really well with the salty peanut butter. It makes the dessert feel more like a special meal instead of just a quick snack.
Another fun idea is to crumble the brownies over a bowl of yogurt or oatmeal. It might sound strange, but it is a delicious breakfast treat. The peanut butter swirls add a lot of protein and flavor. Since these brownies are so thick, they hold up well even when broken into pieces. No matter how you eat them, they are sure to be a hit with everyone in your house.
Common Questions About Baking Brownies
Can I use natural peanut butter?
It is better to use regular creamy peanut butter. Natural types have too much oil and can make the swirl greasy or messy.
Why are my brownies more like cake?
You might have mixed the batter too much or used too many eggs. Stir gently and follow the measurements closely for a fudgy texture.
How do I know when they are done?
Stick a toothpick in the center. It should come out with a few moist crumbs on it, but not wet batter.
Can I make these gluten-free?
Yes! You can swap the flour for a 1-to-1 gluten-free flour blend. The texture will be very similar and still delicious.
My peanut butter is too hard to swirl. What do I do?
Put it in a microwave-safe bowl for 10-15 seconds. It will soften up and become easy to pour and swirl.
Time to Enjoy Your Treats
You now have all the tools to make the best brownies ever. These peanut butter swirl brownies are a perfect mix of sweet and salty. I hope you enjoy every bite and share some with your favorite people. Happy baking in your kitchen!