Best Ever Fluffy Buttermilk Biscuits for Morning Gravy
Making biscuits at home used to scare me. I thought you needed a magic touch or a secret family recipe to get them right. My first few tries were not great because they turned out like hard hockey pucks. I soon learned that the secret is all about how you handle the dough and keeping everything very cold. Now, these fluffy buttermilk biscuits are a staple in my house every Saturday morning.
You are going to learn exactly how to make biscuits that rise high and have many flaky layers. These are the best kind for pouring thick sausage gravy over. They stay soft on the inside but get a nice golden crunch on the outside. Once you see how easy it is to do this with just a few simple pantry items, you will never want to buy the kind from a can again.
Want to see how easy it is to bake these for your family? Let’s get started on these buttery treats.
Gathering Everything You Need for Success
Before you even turn on your oven, you need to make sure you have the right tools and ingredients. Making biscuits is like a small science project. If you have the right parts, the reaction will work perfectly every time. I like to clear off my whole counter so I have plenty of room to move. It makes the process much more fun when you are not cramped.
The most important thing to remember is that cold ingredients are your best friend here. If your butter starts to melt before it hits the oven, you will lose those beautiful layers. I often put my flour and my bowl in the fridge for ten minutes before I start. This might seem like extra work, but it makes a huge difference in how the biscuits rise. Try it once and you will see the light.
The Simple Ingredient List

You do not need a long list of fancy items to make great food. Most of these things are likely in your kitchen right now. You will need all-purpose flour, which provides the structure. Make sure you do not pack the flour into your measuring cup, or the biscuits will be too heavy. Just scoop it gently and level it off with a flat knife.
- 2 1/2 cups all-purpose flour
- 1 tablespoon baking powder
- 1/2 teaspoon baking soda
- 1 teaspoon salt
- 1/2 cup (1 stick) unsalted butter, very cold and cubed
- 1 cup cold buttermilk
- 1 tablespoon melted butter for the tops
Using buttermilk is key because the acid in it reacts with the baking soda. This reaction creates little air bubbles that make the dough puff up. If you do not have buttermilk, you can make a quick version by adding a splash of lemon juice to regular milk. It is not quite the same, but it works in a pinch! IMO, the real stuff always tastes better and gives a better tang.
Essential Kitchen Tools

Having the right tools makes the job much faster and cleaner. You will need a large mixing bowl to hold your dry ingredients. A pastry cutter is great for breaking up the butter without using your warm hands. If you do not have one, you can use two forks or even a cheese grater to shred the cold butter into the flour. Shredding the butter is a pro tip that keeps the pieces small and even.
You also need a round biscuit cutter. Try to find one with sharp edges. If you use a drinking glass, it can pinch the edges of the dough shut. When the edges are pinched, the biscuit cannot grow tall in the oven. A sharp cutter lets the layers expand outward. You will also need a baking sheet and some parchment paper so nothing sticks to the pan.
Recipe Quick Info
- Prep Time: 20 minutes
- Cook Time: 15 minutes
- Servings: 8-10 biscuits
- Difficulty: Easy/Medium
The Step by Step Way to Flaky Layers
Now that your tools are ready, it is time to mix. This part moves fast because we want to keep the butter solid. I always tell people to move with a purpose but do not rush so much that you make a mess. If you feel the dough getting warm or sticky, just put the whole bowl in the fridge for five minutes to chill out. It is a simple fix that saves the recipe.
Mixing the dough is about being gentle. You are not making bread, so you do not want to knead it for a long time. Overworking the dough makes the gluten too strong. That leads to tough biscuits that feel like rocks. We want soft, cloud-like biscuits that pull apart easily with your fingers. Watch the dough closely and stop as soon as it comes together.
Mixing the Dry Ingredients

First, whisk your flour, baking powder, baking soda, and salt together in your big bowl. This ensures that the leavening agents are spread out evenly. You do not want one biscuit to have all the baking powder while the others stay flat. I like to use a whisk because it also adds a little air to the flour, making it lighter from the start.
Once it is mixed, add your cold, cubed butter. Use your pastry cutter to press the butter into the flour. You are looking for pieces that are the size of small peas. Some pieces can be bigger and some smaller. These little lumps of butter will melt in the oven and create steam. That steam is what pushes the layers of dough apart to make them flaky.
Adding the Buttermilk

Make a small hole in the center of your flour mixture. Pour the cold buttermilk right into that hole. Use a large spoon or a spatula to gently fold the flour into the liquid. Do not stir it like a cake batter. Just turn it over until the flour is mostly wet and a shaggy dough starts to form. It will look a bit messy and lumpy, and that is perfectly okay.
If the dough seems too dry, you can add one extra tablespoon of buttermilk. Be careful not to add too much, or the dough will become a sticky paste. A slightly shaggy dough is much better than a wet one. Once it mostly holds together, you are ready to move it to the counter. Dust your surface with a little bit of extra flour so the dough does not stick to your table.
The Secret Folding Technique

This is the part that changed my biscuit game forever. Instead of just rolling the dough out, you want to fold it. Pat the dough into a rectangle about one inch thick. Fold it in half, then pat it down again. Do this about four or five times. This process creates physical layers of butter and dough, just like a croissant but much easier. FYI, this is called laminating the dough.
One mistake I used to make was folding it too many times. If you fold it ten or twenty times, you will melt the butter with your hands. Keep it to five folds max. After the final fold, pat the dough down to about one inch of thickness. You want them thick because they will rise even higher in the oven. I like my biscuits tall enough to hold a lot of butter and honey later on.
Cutting and Baking the Biscuits

Press your biscuit cutter straight down into the dough. Do not twist the cutter! If you twist it, you seal the edges, and they won’t rise. Just push down and pull straight back up. Place the biscuits on your baking sheet so they are just touching each other. When they touch, they help push each other up as they bake, which makes them taller. It is like they are all leaning on their friends for support.
Bake them at 425 degrees for about 12 to 15 minutes. You want the tops to be a beautiful golden brown. As soon as they come out of the oven, brush the tops with a little melted butter. This makes the crust soft and gives it a great shine. My kitchen always smells like a bakery at this point, and it is the best part of the whole morning. It is hard to wait for them to cool down.
Pro Baking Tips
- Cold is King: Keep your butter in the freezer for 10 minutes before cutting it.
- No Twisting: Press the cutter straight down for the highest rise possible.
- Crowded Pan: Let the biscuits touch on the tray so they climb higher.
Making the Most of Your Biscuits
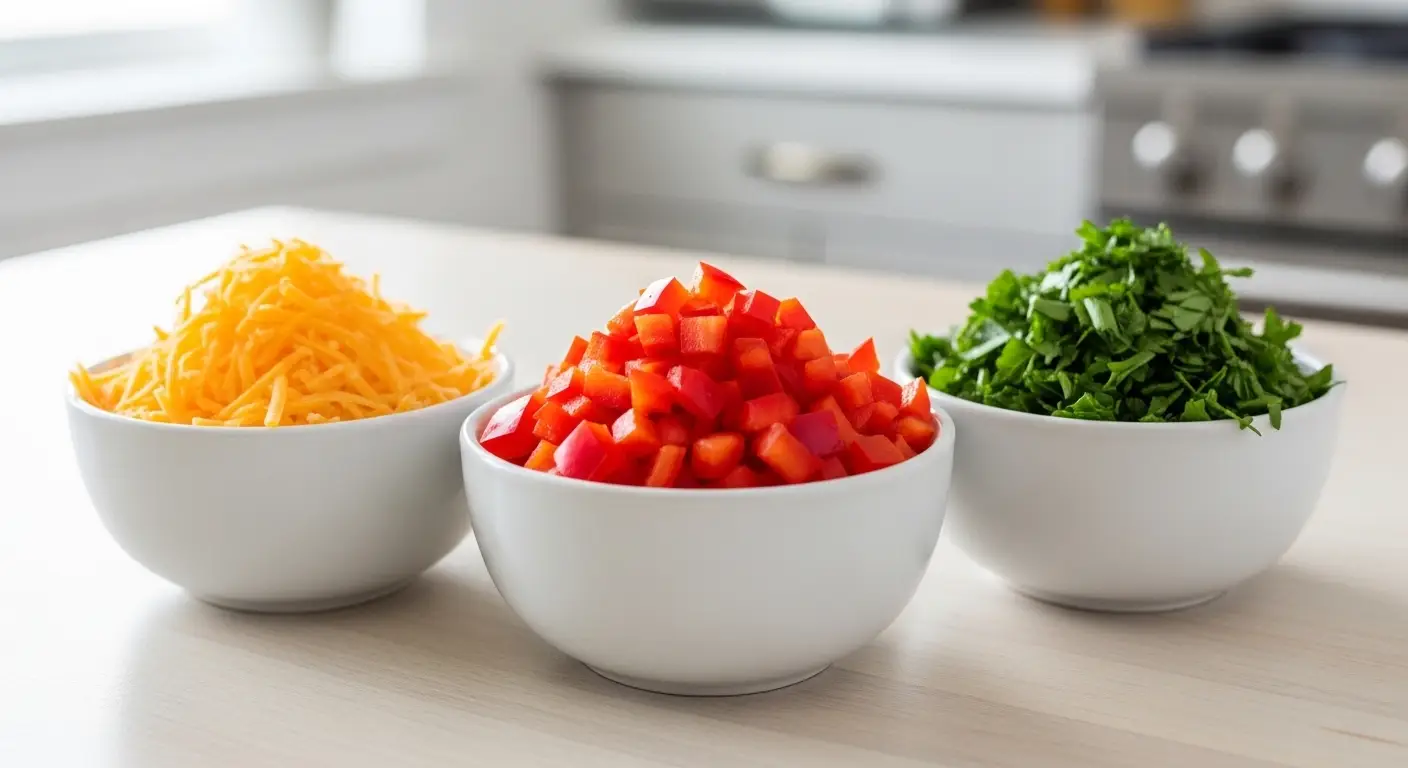
A biscuit is a blank canvas for so many flavors. While this recipe is designed for morning gravy, you can use them for almost anything. I have used them for strawberry shortcake by adding a little sugar to the dough. I have also added shredded cheddar cheese and chives for a savory dinner side. They are very flexible once you master the basic dough.
Because these are so fluffy, they are great at soaking up liquids. That is why they are the king of breakfast. Whether it is gravy, runny egg yolks, or just a lot of melted butter, these biscuits hold onto the flavor. They are sturdy enough to pick up but soft enough to melt in your mouth. Let’s look at a few ways to serve them and keep them fresh for later.
Serving with Morning Gravy

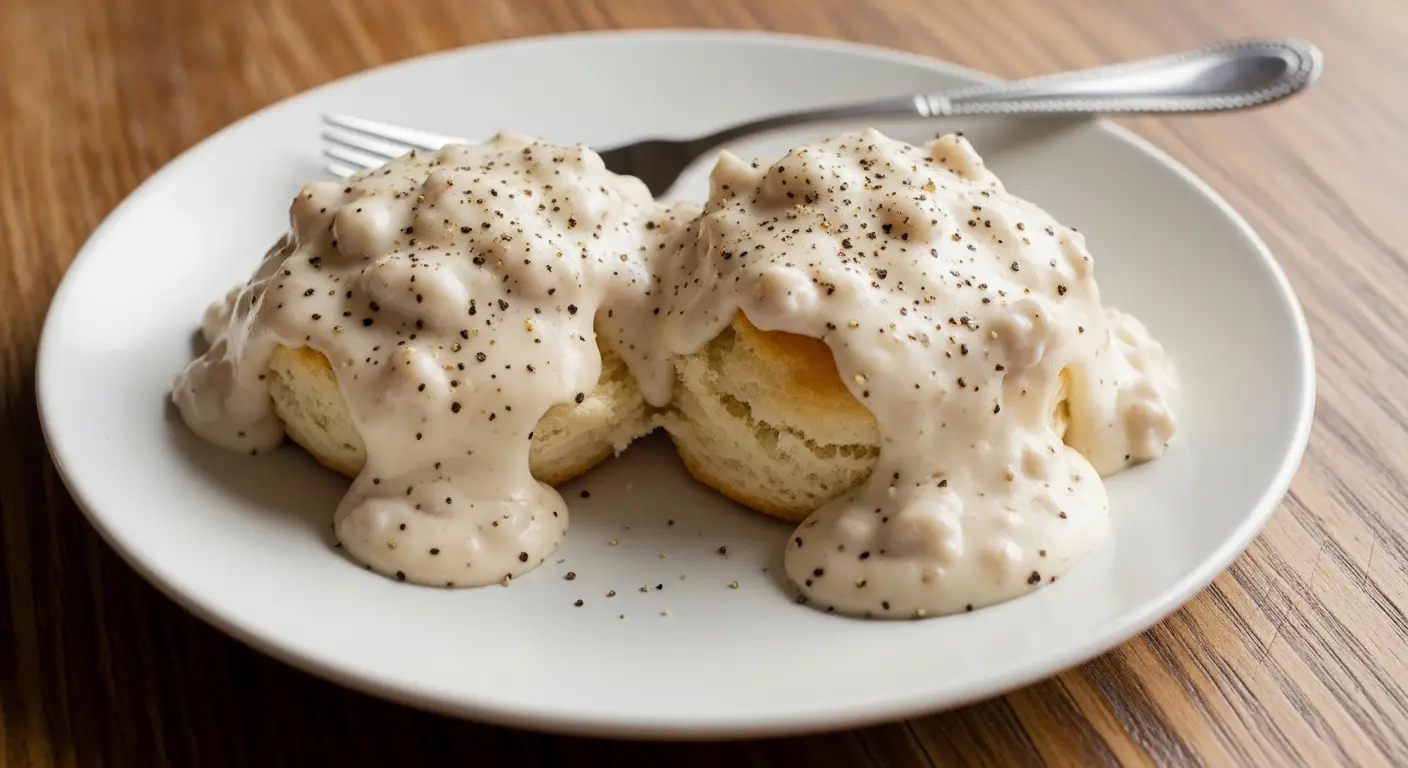
The classic way to eat these is with a thick white gravy. I usually brown some breakfast sausage in a pan, add flour to the fat, and then whisk in whole milk. Season it with lots of black pepper. Split your warm biscuit in half and pour that gravy right over the top. The flaky layers of the biscuit catch the gravy and make every bite perfect. This is a heavy breakfast, but it is pure comfort on a cold day.
If you are not a fan of meat gravy, you can make a simple sawmill gravy with just butter, flour, and milk. The key is to serve it while everything is hot. A cold biscuit with cold gravy is not very fun to eat. I like to set the table and have everyone sitting down before I even take the biscuits out of the oven. That way, they get the best experience possible.
Storing and Reheating Tips

If you have leftovers, which is rare in my house, you can save them for later. Put them in an airtight container once they have cooled down completely. They will stay fresh on the counter for about two days. If you want them to last longer, you can put them in the fridge for up to a week. They also freeze very well! Just wrap them tightly in plastic wrap and put them in a freezer bag.
To reheat them, do not use the microwave if you can help it. The microwave makes them soft and a bit chewy. Instead, put them in a toaster oven or a regular oven at 350 degrees for about five minutes. This brings back that crispy outer edge and warms the middle perfectly. If you are in a rush, a quick zap in the microwave for 15 seconds is okay, but the oven is always better. Trust me on this one.
Common Questions About Biscuits
Why did my biscuits not rise?
You might have twisted the cutter or used old baking powder. Always check the date on your box and press the cutter straight down into the dough.
Can I use margarine instead of butter?
You can, but the flavor will not be as rich. Margarine also has more water, which might change the texture. I highly recommend using real, cold butter.
What if I don’t have a biscuit cutter?
You can use a sharp knife to cut the dough into squares. This actually prevents waste because you don’t have to re-roll the scraps. It works great!
How do I get golden brown tops?
Brush the tops with buttermilk or melted butter before baking. A high oven temperature like 425 degrees also helps the browning process happen quickly.
Can I make the dough the night before?
Yes! You can cut the biscuits and put them on the tray, then cover and fridge them. Bake them straight from the fridge the next morning for easy prep.
Happy Baking at Home
Making your own biscuits is a skill that will make you a hero at the breakfast table. It takes a little practice to get the feel of the dough, but once you do, it is very rewarding. These fluffy buttermilk biscuits are the perfect way to start a slow weekend. Just remember to keep your butter cold and your heart warm. You can do this!