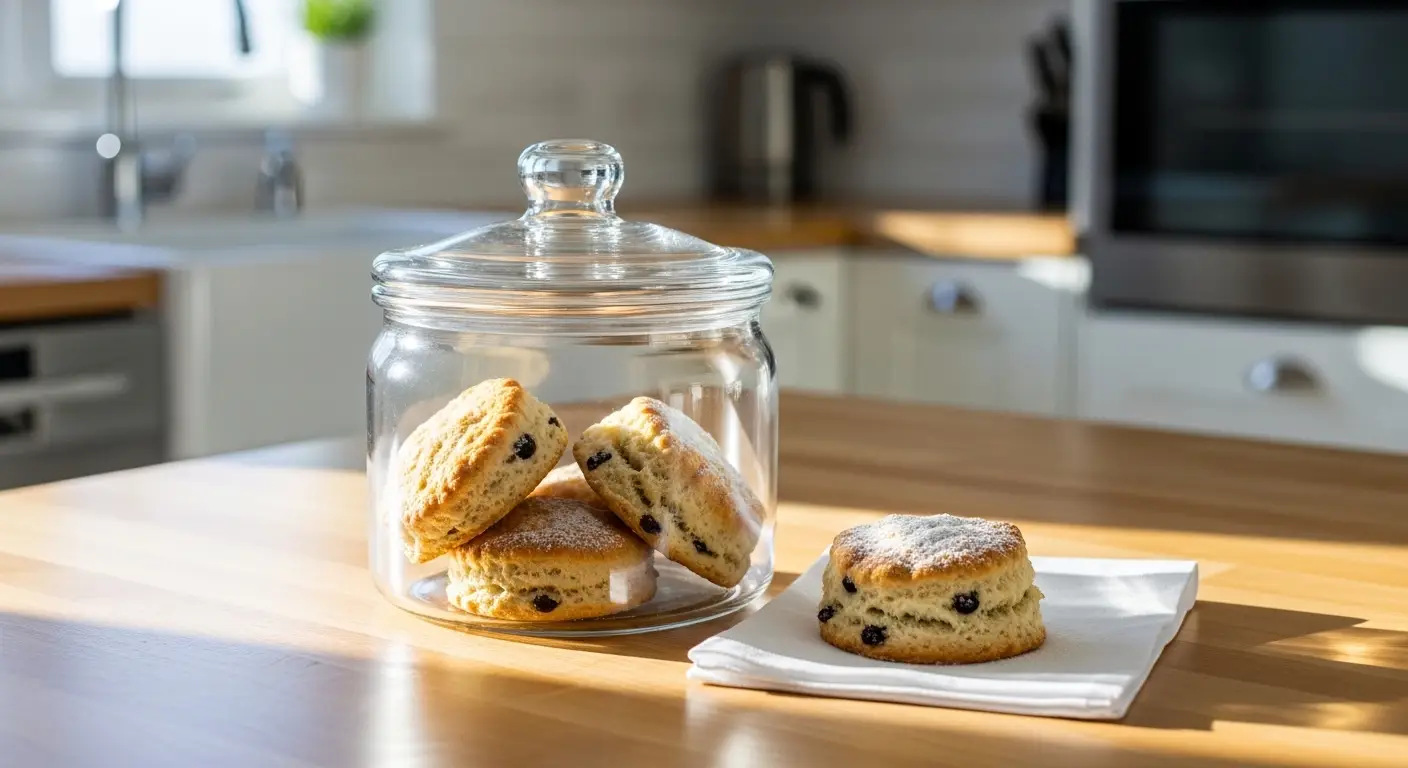
How to Bake Bakery Style Blueberry Scones at Home
Have you ever walked into a bakery and seen those huge, golden scones? They look so crunchy on the outside but soft and tender on the inside. For a long time, I thought I could never make those at home. My first few tries were a total mess because they turned out like hard, dry rocks. I almost gave up on baking them entirely until I learned a few simple tricks that changed everything. Now, I can make scones that taste even better than the ones you buy at the store.
Making great scones is not about being a master chef. It is about how you handle the butter and how much you stir the dough. If you follow my steps, you will learn how to keep the dough cold and flaky. You will also see how to get that pretty golden crust that everyone loves. These are perfect for a slow Sunday morning or a special snack with your friends and family.
In this guide, I will show you the exact list of things you need and the steps to take. We will talk about why cold butter is your best friend and how to keep your blueberries from turning the whole batch purple. Get your apron ready because your kitchen is about to smell like a dream. Let us get started on these delicious treats right now!
What You Need From Your Kitchen

Before you start mixing, you need to gather all your tools and food. Having everything ready on the counter makes the process much smoother. You do not want to be hunting for the salt while your butter is melting on the table. For the best results, use a large mixing bowl, a pastry cutter or two forks, and a baking sheet lined with parchment paper. Parchment paper is great because it stops the scones from sticking and makes cleanup a breeze.
The ingredients are simple things you likely already have. You will need all-purpose flour, granulated sugar, baking powder, and a little bit of salt. For the wet parts, you need heavy cream and one large egg. Of course, you cannot forget the star of the show: the blueberries. I prefer fresh berries, but frozen ones work too if you are careful. Just remember that cold ingredients make the best scones, so keep your cream and egg in the fridge until the very last second.
The Secret List of Ingredients

- 2 cups all-purpose flour (plus a little extra for your hands)
- 1/2 cup granulated sugar (save some to sprinkle on top)
- 1 tablespoon baking powder (this helps them get tall)
- 1/2 teaspoon salt
- 1/2 cup unsalted butter (it must be very cold and cut into cubes)
- 1/2 cup heavy cream (chilled)
- 1 large egg (chilled)
- 1 teaspoon vanilla extract
- 1 cup fresh blueberries
Each of these items plays a big role in how the scone feels in your mouth. The baking powder is what makes the scone rise up high instead of staying flat like a cookie. The sugar adds just enough sweetness so they are not bland. I use unsalted butter so I can control the salt myself. If you only have salted butter, just skip the extra half teaspoon of salt in the list. This recipe is very flexible, but the ratios matter a lot for that bakery texture.
Recipe Quick Info
- Prep Time: 20 minutes
- Cook Time: 22 minutes
- Servings: 8 large scones
- Difficulty: Easy to Medium
Preparing the Dry Mix and Butter

Start by whisking your flour, sugar, baking powder, and salt together in your big bowl. Make sure there are no big clumps of sugar hiding in there. Once that is mixed, take your cold butter cubes and drop them into the flour. This is where the magic happens. You want to use your pastry cutter or forks to press the butter into the flour. Keep going until the mix looks like small peas or coarse crumbs. You do not want the butter to disappear completely.
Small bits of butter are what create the flakes. When the scone hits the hot oven, those butter bits melt and create steam. That steam pushes the dough up and makes layers. If you over-mix and the butter melts into the flour before baking, your scones will be greasy and flat. One time, I used butter that was too soft, and my scones looked like pancakes! It was a sad day for my breakfast, but I learned my lesson. Always keep that butter ice cold for the best crunch.
Mixing the Wet Ingredients Together

In a separate smaller bowl, whisk the heavy cream, the egg, and the vanilla extract. Use a fork to beat the egg until the liquid is all one color. This ensures the egg is spread evenly through the dough. If you just dump the egg into the flour, you might get a big chunk of cooked egg in one scone, which is not very tasty. The vanilla adds a lovely smell that makes these feel like they came from a fancy cafe.
Pour this liquid mix into the bowl with your flour and butter. Use a big spoon or a spatula to gently fold it together. Do not stir it fast like you are making cake batter. You just want the flour to get wet enough to stay together. It is okay if there is a little dry flour at the bottom of the bowl. We will fix that when we shape the dough on the counter. Keeping the dough slightly shaggy is the key to a soft center. IMO, the less you touch it, the better it tastes.
Adding the Blueberries Gently

Now it is time to add the blueberries. If you are using fresh ones, just toss them in and give the dough two or three very gentle folds. You want to be careful not to pop the berries. If they pop, they will bleed blue juice everywhere and turn your dough a weird gray or purple color. They will still taste good, but they won’t look as pretty. If you use frozen berries, do not thaw them first. Put them in straight from the freezer so they stay firm while you work.
The blueberries add a burst of tart flavor that cuts through the rich butter. I love how they get soft and jammy in the oven. If you do not like blueberries, you can swap them for chocolate chips or dried cranberries. That is the fun part of baking at home! You get to choose exactly what goes inside. Just make sure whatever you add is also cold so it doesn’t warm up your dough. This is a simple step, but it makes a huge difference in how the final product looks on the plate.
Shaping the Scone Disc

Dust your clean countertop with a little bit of flour. Turn the dough out onto the surface. Use your hands to gently push the dough into a circle that is about one inch thick. It should be about 8 inches across. If the dough feels sticky, put a little flour on your hands. Try not to knead the dough like bread. Kneading develops gluten, and too much gluten makes scones tough like a rubber ball. We want them to melt in your mouth, not give your jaw a workout!
Once you have a nice circle, use a sharp knife to cut the disc into 8 triangles, just like a pizza. This shape is classic for bakery scones. I like to pull the triangles apart and place them on the baking sheet about two inches away from each other. They need space to grow in the oven. If they are too close, they will stick together and the sides won’t get crunchy. If you want them extra tall, you can put the whole tray in the fridge for 15 minutes before baking to chill the butter one last time.
The Golden Topping Trick

Before you put the tray in the oven, there is one last step for that “bakery look.” Take a little bit of extra heavy cream and brush it over the tops of the scones. You only need a tiny bit. This helps the tops turn a beautiful golden brown color. After brushing them, sprinkle a good amount of granulated sugar or coarse sugar over the cream. The sugar creates a sweet, crunchy lid that is the best part of the whole scone.
This little trick makes people think you spent hours in the kitchen. It adds a professional touch that separates a plain biscuit from a true scone. FYI, if you want a different flavor, you can mix a little cinnamon into the sugar before sprinkling. I usually stick to plain sugar so the blueberry flavor can shine. Make sure your oven is fully heated to 400 degrees Fahrenheit before you slide the tray in. A hot oven is necessary to make the dough jump up and get flaky.
Baking and Cooling Perfectly

Bake your scones for about 18 to 22 minutes. You are looking for the edges to be a deep golden brown and the tops to be firm. If you take them out too early, the middle will be doughy and raw. If you wait too long, they will be dry. Check them at the 18-minute mark just to be safe. Every oven is a little bit different, so your eyes are the best tool you have. When they are done, let them sit on the hot pan for about 5 minutes before moving them to a wire rack.
Letting them cool slightly is hard because they smell amazing, but it is important. The inside of the scone finishes cooking while it rests. If you cut into it right away, the steam escapes and the scone might feel a bit gummy. I usually wait until they are just warm to the touch. That is the perfect time to eat them with a little bit of butter or a smear of lemon curd. They are best eaten on the same day they are made, but I have some tips for saving them for later too.
How to Store and Reheat Your Scones

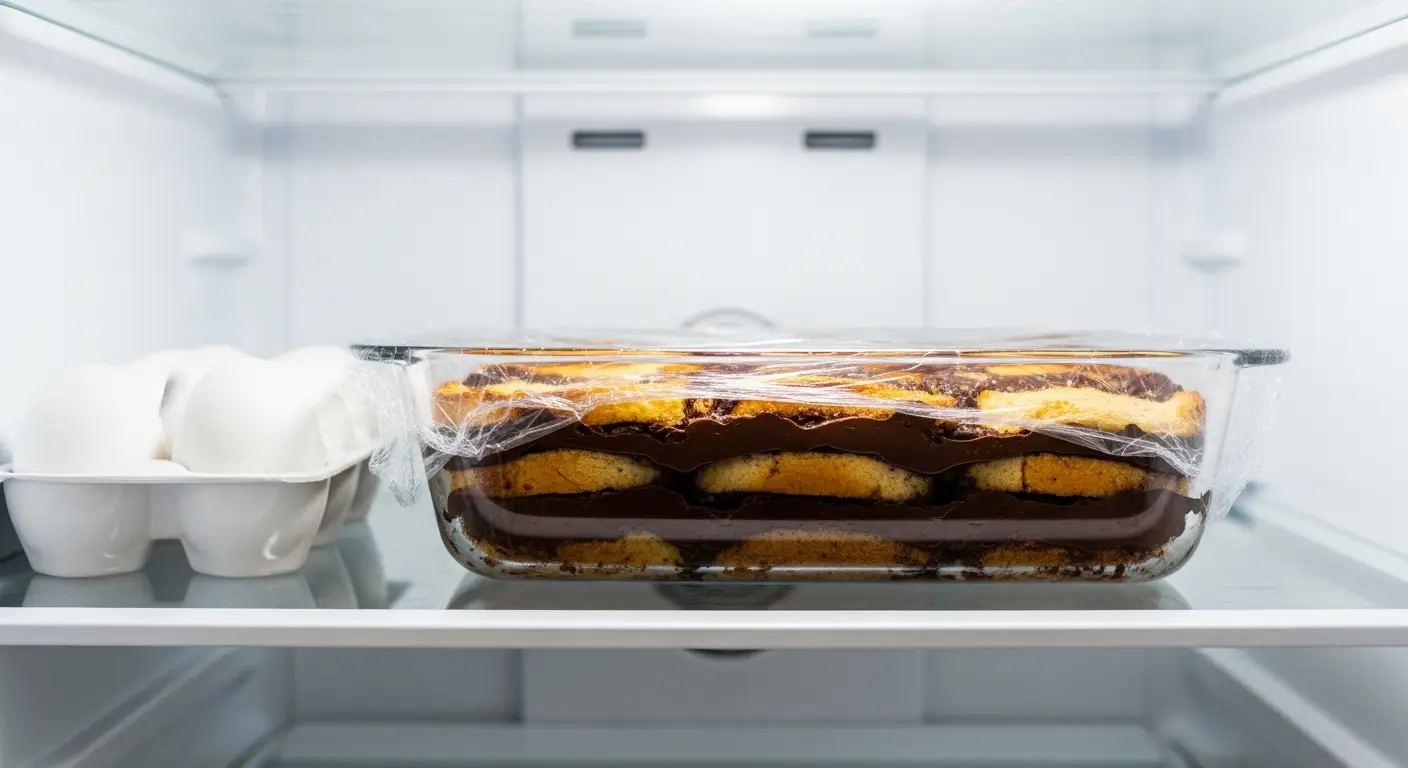
If you have leftovers, which doesn’t happen often at my house, you can keep them in an airtight container. They will stay fresh on the counter for about two days. If you want them to last longer, you can put them in the freezer for up to a month. Just wrap each one in plastic wrap so they don’t get freezer burn. Scones are one of those things that freeze really well, which is great for busy mornings when you want a quick treat.
To make them taste fresh again, do not use the microwave. The microwave makes them soft and soggy. Instead, put them back in a toaster oven or a regular oven at 350 degrees for about 5 to 10 minutes. This brings back the crunch on the outside and warms the berries on the inside. It feels like you just baked them all over again! This is a great way to enjoy a “bakery” breakfast on a Tuesday morning without doing any work.
Expert Baking Tips
- Frozen Butter: Grate your butter with a cheese grater for even faster mixing.
- No Over-mixing: Stop stirring as soon as the flour disappears.
- Cold Tools: Chill your bowl in the fridge if your kitchen is very hot.
Common Questions About Scone Baking
Can I use milk instead of heavy cream?
You can use whole milk, but the scones will be less rich and a bit thinner. Heavy cream has more fat, which makes the texture much softer and more like a bakery scone.
Why didn’t my scones rise very high?
Your baking powder might be old, or your butter was too warm. Make sure your baking powder is fresh and your butter stays cold until it goes into the oven.
Can I use frozen blueberries?
Yes! Do not thaw them first. Keep them in the freezer until you are ready to fold them into the dough. This prevents them from staining the dough purple.
How do I know when they are done?
The bottoms and edges should be a nice golden brown. The center should feel firm when you give it a very light tap with your finger.
Can I make the dough the night before?
Yes, you can shape the scones and leave them on the tray in the fridge overnight. Just bake them in the morning for a fresh, hot breakfast.
Happy Baking at Home
Baking scones at home is a fun way to bring a little bit of magic to your morning. You now know all the secrets to making them tall, flaky, and full of berries. Just remember to keep things cold and handle the dough with love. You will be a pro in no time!