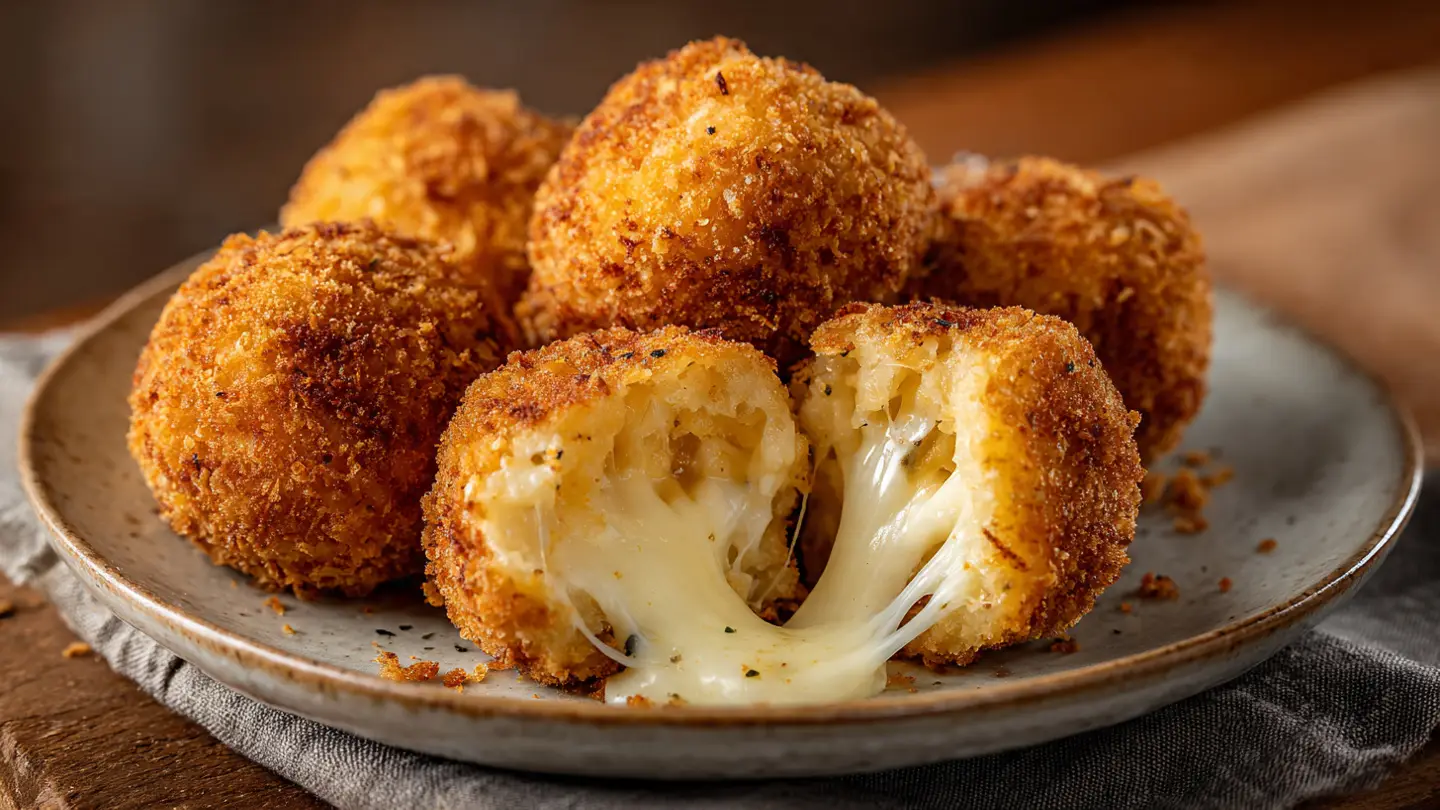
Cheesy Fried Rice Balls
Do you ever have leftover rice in your fridge? I usually make too much rice for dinner. It sits in a plastic bowl and looks kind of sad the next day. I used to throw it away, but then I learned a secret. You can turn that cold rice into something amazing. These cheesy fried rice balls are crispy on the outside and full of melted cheese on the inside.
I am going to show you how to make this snack from start to finish. It is very simple and fun to do. Kids love them because they are crunchy and cheesy. Adults love them because they taste like fancy restaurant food. You only need a few items from your kitchen to get started. Let’s get cooking!
Read on to see the full list of ingredients and the easy steps to follow.
Recipe Quick Info
- Prep Time: 20 minutes
- Cook Time: 15 minutes
- Servings: 4 people
- Difficulty: Easy
Gathering Your Kitchen Supplies
Before you start, you should get everything ready on your counter. I like to keep my space clean so I do not get confused. You will need a large bowl for mixing the rice. You will also need three small bowls for the coating. One bowl holds flour, one holds eggs, and one holds breadcrumbs. This is called a breading station. It helps the rice balls get that perfect crunch.
You also need a deep pan for frying. I use a heavy pot because it stays hot. Make sure you have a plate with paper towels nearby. This plate will catch the extra oil when the rice balls are finished. Having these tools ready makes the process much faster. It prevents a big mess in the kitchen later on.
The Simple Ingredients You Need

The main part of this dish is the rice. I find that white rice works best. It is sticky enough to hold its shape. You will also need some cheese. I love using mozzarella because it stretches when it is hot. You can buy a block of cheese and cut it into small cubes. These cubes will go right in the middle of each ball.
To make the rice taste good, you should add some salt and pepper. I also like to add a little bit of garlic powder. If you have fresh parsley, you can chop it up and mix it in. The coating needs all-purpose flour, beaten eggs, and breadcrumbs. Panko breadcrumbs are my favorite because they are extra flaky. They make the outside very loud and crunchy when you take a bite.
- 3 cups of cooked white rice (cold rice works best)
- 1 cup of shredded parmesan cheese
- 12 small cubes of mozzarella cheese
- 2 large eggs, beaten
- 1/2 cup of all-purpose flour
- 1 cup of Panko breadcrumbs
- 1 teaspoon garlic powder
- Salt and pepper to taste
- Vegetable oil for frying
How to Prepare the Rice Base

First, put your cold rice into a large bowl. If the rice is in one big clump, use a fork to break it apart. I once tried to use warm rice, and it was a total disaster. The balls fell apart in the oil because the rice was too soft. Cold rice is much stronger. It stays together while you work with it. This is the most important lesson I learned.
Now, add the parmesan cheese and the garlic powder to the rice. Add a pinch of salt and some black pepper. Mix it all together with your hands or a big spoon. The parmesan cheese helps act like glue. It makes the rice taste savory and salty. Taste a tiny bit of the rice now to make sure it has enough salt. Once you fry it, you cannot change the flavor inside.
Making the Perfect Rice Balls

Now comes the fun part. Scoop up about two tablespoons of the rice mixture. Flatten it in the palm of your hand like a small pancake. Place one cube of mozzarella cheese right in the center. Then, gently fold the rice over the cheese. Roll it between your palms until it looks like a round ball. It should be about the size of a golf ball.
Make sure there are no cracks in the rice. If you see cheese peeking out, the cheese will leak into the hot oil. That makes a big popping sound and can be scary! I always double-check every ball to make sure the cheese is safe inside. Line them up on a tray as you finish. You should get about 12 to 15 balls from this recipe. FYI, you can make them bigger or smaller if you want.
The Cooking Process
Cooking these treats is all about the coating and the heat. If the oil is too cold, the rice will soak up the grease and feel heavy. If the oil is too hot, the outside will burn before the cheese melts. I will help you find the middle ground. Using a thermometer is a great idea if you have one. If not, I have a trick to tell when the oil is ready for the rice.
We are going to use the “standard breading procedure.” This is a fancy name for a simple three-step bath. Every ball gets flour, then egg, then breadcrumbs. This creates a hard shell. This shell keeps the rice moist and the outside crispy. It is a bit messy, but it is the only way to get that golden brown color we all love.
Step-by-Step Breading Instructions

- Roll a rice ball in the bowl of flour until it is lightly coated.
- Shake off any extra flour so the coating is thin.
- Dip the floured ball into the beaten eggs. Make sure it is wet all over.
- Drop the wet ball into the breadcrumbs. Roll it around until it is fully covered.
- Press the crumbs gently with your fingers so they stick well.
- Place the coated ball back on the tray and repeat with the others.
I suggest using one hand for the dry steps and one hand for the wet steps. If you use both hands for everything, your fingers will turn into “club hands.” This means you get thick layers of dough stuck to your skin. It is annoying to wash off! Keeping one hand dry makes the whole job much cleaner and faster.
Frying to Golden Perfection

Pour about two inches of oil into your pot. Turn the heat to medium. To test the oil, drop a single breadcrumb into it. If it sizzles and stays on top, the oil is ready. Gently lower three or four balls into the oil. Do not crowd the pot. If you put too many in at once, the oil temperature drops. This makes the food soggy.
Fry them for about 3 to 4 minutes. Use a spoon to turn them so they brown on all sides. You are looking for a beautiful deep gold color. Once they look perfect, lift them out with a slotted spoon. Place them on your paper towel plate. Let them rest for a minute. This is hard because they smell so good, but the cheese inside is very hot! IMO, they taste best when they have cooled down just a little bit.
Pro Frying Tip
- Check the Bottom: Use a wooden spoon handle to test oil. If bubbles form around the wood, it is hot enough to fry.
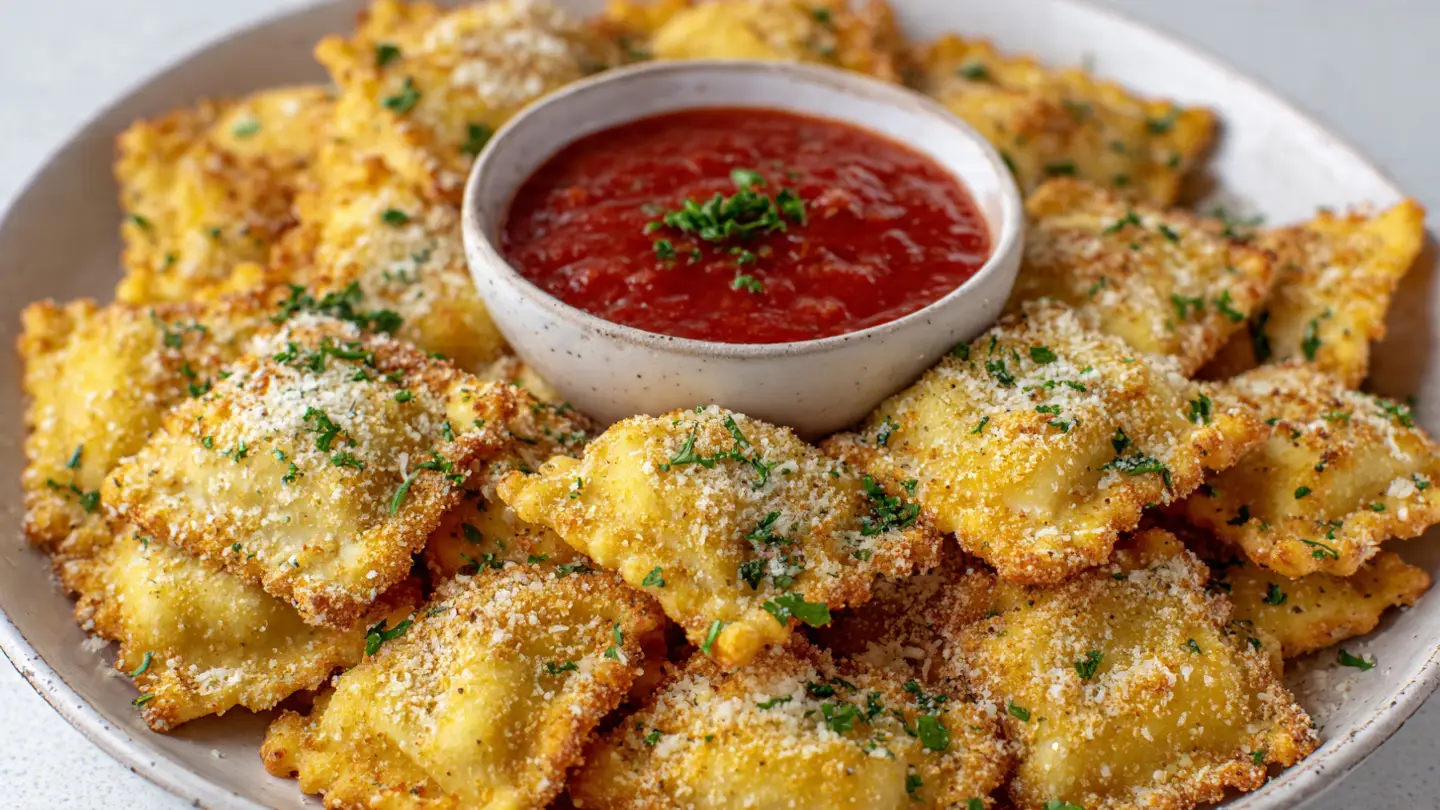
Serving Suggestions and Dips

These rice balls are great on their own, but a dip makes them better. I usually serve them with warm marinara sauce. The tomato flavor cuts through the rich cheese. You could also use ranch dressing or even a spicy mayo. If you like heat, try a little bit of hot honey drizzled over the top.
For a fancy look, sprinkle some fresh parmesan cheese and parsley over the platter. I like to serve these at parties because people can pick them up with their fingers. They are the ultimate finger food. You can even serve them alongside a big green salad to make it a full meal. This helps balance out the fried food with some fresh veggies.
Tips and Variations to Try

You can change this recipe to fit what you have in your kitchen. If you do not have mozzarella, you can use cheddar or pepper jack. Just know that cheddar does not stretch as much. You can also mix things into the rice. I have tried adding cooked peas or tiny bits of ham. It makes the rice balls more filling and adds extra color.
If you want a healthier version, you can try an air fryer. Spray the breaded balls with a little bit of oil. Cook them at 375 degrees for about 10 minutes. They will not be as dark or crispy as the deep-fried ones, but they still taste great. This may not work if the balls are too soft, so make sure your rice mixture is very firm before air frying.
Common Mistakes to Avoid
- Using Fresh Rice: Freshly cooked rice is too wet. It will turn into mush and fall apart.
- Cold Cheese: If the cheese cubes are frozen, they might not melt before the outside burns.
- Crowding the Pan: Too many balls at once will make them oily and pale.
Storage and Make-Ahead Tips

If you have leftovers, you can keep them in the fridge. Put them in a sealed container for up to three days. To heat them back up, do not use the microwave. The microwave makes the breadcrumbs soft and soggy. Instead, put them in the oven or toaster oven at 350 degrees. This helps the outside get crispy again.
You can also make these ahead of time. You can bread them and keep them in the fridge for a few hours before frying. This is great if you are having a party. You do all the messy work early. Then, when your friends arrive, you just fry them up and serve them hot. You can even freeze them before frying, but they take a few extra minutes to cook through from frozen.
The Best Way to Enjoy Your Snack
Making these rice balls is a great way to use up food. It saves money and tastes like a treat. I hope you enjoy making these as much as I do. They are a staple in my house now. Every time I see leftover rice, I get excited to make these golden snacks. Remember to take your time and have fun with it!
Don’t forget to share your photos with me if you try this recipe!
Common Questions About Rice Balls
Can I use brown rice for this recipe?
Yes, but brown rice is less sticky. You might need to add an extra egg to the rice mixture to help it hold its shape while you form the balls.
Why did my rice balls fall apart in the oil?
This usually happens if the rice was too warm or not packed tightly enough. Make sure to use cold rice and squeeze the balls firmly with your hands.
What is the best oil for frying?
Vegetable oil, canola oil, or peanut oil work best. They can handle high heat without burning or smoking in your kitchen.
Can I bake these instead of frying?
Yes. Bake them at 400 degrees for 15-20 minutes. Spray them with oil first so they get a little bit of color and crunch.
How do I know when the cheese is melted?
If you fry them for 3-4 minutes until golden, the heat will reach the center. The cheese cubes are small enough to melt quickly.
Your New Favorite Way to Use Rice
I hope you love these cheesy fried rice balls. They are the best way to turn old rice into a five-star snack. Just follow the steps and keep your oil hot. You will have a plate of crispy, gooey goodness in no time at all.