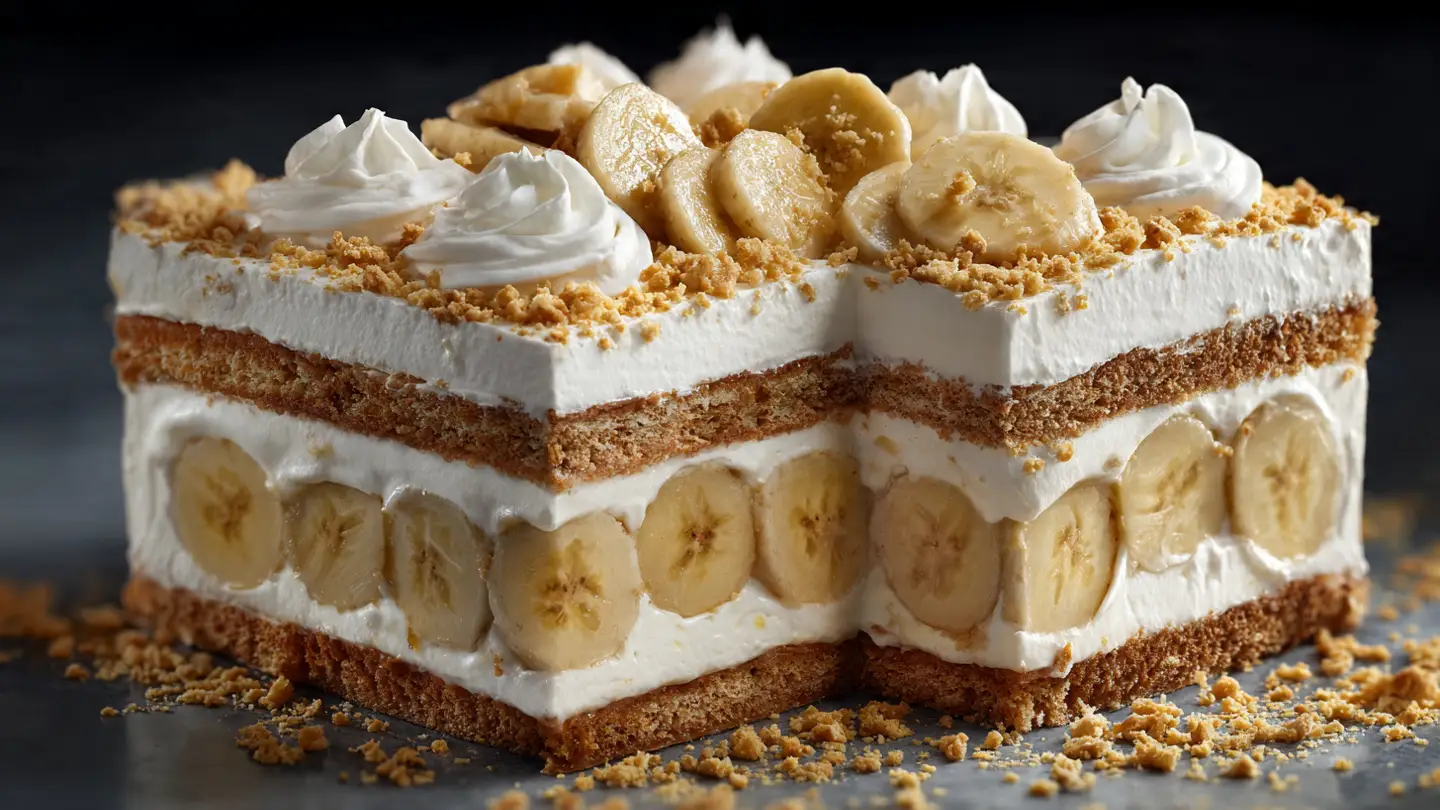
Impressive Mille Crepe Cake with Layers of Cream
Making a cake with twenty layers might sound like a lot of work. I used to think the same thing until I tried it myself. A mille crepe cake is just a big stack of very thin pancakes with sweet cream in between. It looks like it came from a fancy shop, but you can make it in your own kitchen with a simple pan. I am going to show you how to mix the batter, cook the crepes, and stack them so they look perfect.
This cake is great because you do not need an oven to bake it. You only need a stove and a little bit of patience. By the end of this page, you will know the secrets to making the layers stay straight and the cream stay fluffy. It is a fun project for a rainy afternoon or a special birthday surprise. Ready to start flipping some crepes? Let’s get to work!
Check out the steps below to make your best cake ever.
Recipe Quick Info
- Prep Time: 40 minutes
- Cook Time: 45 minutes
- Servings: 10 people
- Difficulty: Medium
What You Need to Get Started
Before we start cooking, we need to gather all our tools and food. You likely have most of these things in your pantry already. This cake uses basic items like flour, eggs, and milk. The magic happens in how you put them together. I find that having everything ready on the counter makes the process much faster and less messy. It also helps you avoid forgetting an important ingredient like sugar or salt.
One thing I learned is that the temperature of your ingredients matters a lot. Using cold milk or warm eggs can change how the batter feels. Try to let your eggs sit out for a bit so they are not freezing cold. This helps the batter stay smooth and prevents little lumps of flour from forming. A smooth batter is the key to a thin crepe that does not tear when you flip it.
The Simple Ingredient List

To make the perfect stack, you will need a few key items. First, grab some all-purpose flour. This gives the crepes their shape. You will also need a bit of granulated sugar for sweetness and a pinch of salt to make the flavors pop. For the liquid part, you need whole milk and large eggs. I think whole milk works best because it makes the cake taste rich and creamy. Don’t forget the melted butter! It adds a nice nutty flavor to the layers.
- 3 cups of whole milk
- 6 large eggs at room temperature
- 1.5 cups of all-purpose flour
- 1/4 cup of granulated sugar
- 1/2 cup of unsalted butter (melted and cooled)
- 1 teaspoon of vanilla extract
- A tiny pinch of salt
For the filling, you will need heavy whipping cream and more sugar. I like to add a splash of vanilla to the cream too. It makes the whole house smell like a bakery. If you want to be extra fancy, you can even add some cocoa powder to the batter to make a chocolate version. But for today, we will stick to the classic vanilla style that everyone loves.
Essential Kitchen Tools

You do not need a lot of expensive machines for this recipe. A good non-stick pan is the most important tool. I use an 8-inch or 10-inch pan so the crepes are the right size. If your pan is too big, the cake will be very flat. If it is too small, the cake will be very tall and might tip over. You will also need a whisk to mix everything together and a flat spatula to flip the crepes.
I also recommend using a plastic wrap or a clean towel to cover the crepes as they cool. This keeps them soft so they do not get crunchy edges. A crunchy crepe is hard to stack and might break. Having a large plate or a cardboard cake round is also helpful for building the cake later. It gives you a flat surface to work on so the cake stays level as you add more layers.
How to Make the Crepes
Now we get to the fun part of making the actual crepes. This is where you might need to practice a little bit. The first crepe usually looks bad, and that is okay! I always eat the first one while I cook the rest. It is like a little snack for the chef. The goal is to make each layer as thin as possible so the cake feels light when you eat it.
The secret to a good crepe is a rested batter. After you mix everything, let it sit in the fridge for at least thirty minutes. This lets the bubbles go away and helps the flour soak up the milk. If you skip this step, your crepes might be full of tiny holes. We want them to be solid so the cream does not leak through. Patience is your best friend when making this dessert.
Mixing the Perfect Batter

Start by whisking your eggs and sugar in a large bowl. Once they look pale, slowly add in the flour and salt. It will look like a thick paste at first. Do not panic! This is how we keep the lumps out. Gradually pour in the milk while you keep whisking. Finally, stir in the melted butter and vanilla. If you see any lumps, you can pour the batter through a fine strainer to make it perfectly smooth.
IMO, using a blender is a great shortcut if you are in a hurry. Just toss everything in and pulse for a minute. It makes the batter very airy, so you definitely need to let it rest if you use this method. Whether you use a whisk or a blender, the final result should look like thin cream. It should pour easily out of a spoon. If it feels too thick, add a tiny splash of milk.
Cooking and Flipping Layers

Heat your pan over medium heat. You only need a tiny bit of butter or oil for the first crepe. Pour about a 1/4 cup of batter into the center and quickly tilt the pan in a circle. The batter should cover the whole bottom in a thin layer. Cook it for about one minute until the edges start to turn brown and pull away from the side. This is when you know it is ready to flip.
Slide your spatula under the edge and quickly flip it over. Cook the second side for only thirty seconds. It should have pretty brown spots on it. Slide the finished crepe onto a plate and repeat the process until all the batter is gone. I usually end up with about twenty to twenty-five crepes. Let them cool completely before you even think about adding the cream. Warm crepes will melt the filling and make a big mess!
Building Your Masterpiece
Building the cake is like playing with blocks. You want everything to be centered and even. If one side gets higher than the other, the cake will look like the Leaning Tower of Pisa. I once made a cake that slid right off the plate because I used too much cream! Lesson learned: less is more when it comes to the filling between layers. You only need a very thin spread to hold everything together.
This part takes some time, so find a comfortable spot to work. You can put on some music or a podcast while you stack. It is very relaxing once you get into a rhythm. Make sure your cream is cold and stiff so it holds its shape. If it starts to get soft while you are working, just put it back in the fridge for ten minutes. Keeping everything cool is the best way to get those clean, sharp layers you see in photos.
Whipping the Sweet Cream

To make the filling, pour your heavy cream into a cold bowl. Add sugar and vanilla. Use a hand mixer to beat the cream until it forms stiff peaks. This means when you lift the beaters, the cream stands up straight and does not flop over. Be careful not to over-mix, or you will end up making butter! Stop as soon as it looks thick and spreadable. This cream is what makes the cake taste like a cloud.
If you want to try something different, you can fold in some lemon zest or a little bit of strawberry jam. This adds a nice fruity flavor. However, the classic vanilla cream is a crowd-pleaser and lets the texture of the crepes shine. I always make a little extra cream just in case I want to decorate the top or hide any mistakes on the sides. It is better to have too much than to run out halfway through.
The Stacking Process

Place your first crepe on a flat plate. Spoon about two tablespoons of cream onto the center. Use your spatula to spread it out to the edges in a thin, even layer. Place the next crepe on top and press down gently with your hands to remove any air bubbles. Repeat this until you reach the last crepe. Pick your prettiest, smoothest crepe to go on the very top of the stack.
Try to keep the stack straight as you go. If you notice it shifting, gently push the layers back into place. FYI, it helps to do this on a revolving cake stand if you have one. If not, just turn the plate as you work. Once the cake is built, I like to trim the edges with a sharp knife if they look messy, but a rustic look is also very charming. It shows that it is truly homemade with love.
Pro Baking Tip
- Chilling is Key: Always put the finished cake in the fridge for at least 4 hours before cutting. This lets the layers bond together so the slices come out clean.
Finishing Touches and Serving

Once the cake is stacked, it needs to rest. Put it in the fridge for at least four hours, or even overnight. This is the hardest part because you will want to eat it right away! But chilling is what makes the cake easy to slice. When you are ready to serve, you can dust the top with powdered sugar or cocoa powder. You could also pour a little chocolate sauce or caramel over the top for extra decadence.
To get those perfect slices, use a very sharp knife. Wipe the knife clean after every single cut. This prevents the cream from smearing across the beautiful layers. This cake looks amazing when you see all twenty layers stacked up. It is a showstopper for any party. People will think you spent all day at a fancy bakery! Serve it with a cup of tea or coffee for a perfect afternoon treat.
Your Cake Questions Answered
Can I make the crepes a day early?
Yes! You can cook the crepes, stack them with parchment paper in between, and keep them in the fridge. Just wrap them tight so they do not dry out before you add the cream.
Why are my crepes breaking when I flip them?
This usually happens if the pan is not hot enough or if the crepe is too thin. Let it cook a few seconds longer until the edges are crispy before you try to lift it.
Can I use store-bought whipped topping?
You can, but real whipped cream tastes much better and holds the layers together more firmly. Store-bought topping can be a bit too soft for a tall cake.
How long does the cake stay fresh?
The cake is best within 2 days. After that, the crepes might start to get a little soggy from the moisture in the cream. Keep it covered in the fridge at all times.
What if I do not have a non-stick pan?
You can use a regular pan, but you will need to use more butter for each crepe. It is a bit harder to flip them without sticking, so go slow and be careful.
Enjoy Your Homemade Creation
You did it! Making a mille crepe cake is a big win. You learned how to cook thin layers and stack them into a beautiful dessert. The best part is sharing a slice with friends and seeing their faces when they see all those layers. Enjoy your cake!