Low Carb Bacon Cheeseburger Casserole
I love a good cheeseburger. There is something so special about the salty bacon, the melted cheese, and the juicy meat. But sometimes, I do not want the bread. Maybe I am trying to eat fewer carbs, or maybe I just want a big bowl of comfort food. That is where this Low Carb Bacon Cheeseburger Casserole comes in. It has every single thing you love about a burger but in a dish you can scoop up with a fork.
In this post, I will show you how to make this simple dinner from start to finish. You will learn what ingredients to use, how to cook the meat so it stays moist, and how to get that perfect cheesy crust on top. It is a one-pan wonder that my family asks for every single week. Even the kids who love bread do not miss the bun when they taste this. It is that good!
Are you ready to make a dinner that everyone will actually finish?
Gathering Your Burger Ingredients
Before we turn on the stove, let us talk about what goes into this dish. This is not just a pile of meat. It is a smart mix of flavors that mimic a real burger. Since we are not using a bun, we need other things to make it feel satisfying. Quality matters here because there are only a few main items. If you get good beef and real cheese, the flavor will be much better. I always try to pick things that look fresh and bright at the store.
One thing I learned the hard way is to check the bacon. Some bacon has a lot of sugar added to it. If you want to keep this truly low carb, look for bacon that says ‘no sugar added’ on the package. It still tastes amazing and salty. For the cheese, I like to shred my own. The bags of pre-shredded cheese have a dusty coating on them to keep them from sticking. That coating adds carbs! Shredding a block of cheddar only takes a minute and it melts way smoother anyway. Trust me on this one.
The Full Shopping List

To make this recipe, you will need a few basic things from the grocery store. Most of these are likely in your kitchen right now. I keep these items stocked because they are great for many meals. For this casserole, grab two pounds of ground beef. I like the 80/20 mix because the fat keeps the meat from getting dry in the oven. You will also need eight slices of bacon. Don’t be shy with the bacon! It adds that smoky crunch that makes a burger feel real.
Next, get some onion and garlic. I use one small yellow onion and two cloves of fresh garlic. For the ‘sauce’ part that holds it all together, you need four large eggs and a half cup of heavy cream. This creates a custard-like texture that isn’t too heavy. You will also need two cups of shredded cheddar cheese. Pick a sharp cheddar for the best bite. Finally, grab some salt, black pepper, and maybe a little bit of yellow mustard or sugar-free ketchup for that classic burger tang.
- 2 lbs Ground Beef (80/20 mix)
- 8 slices Bacon, chopped
- 1 small Yellow Onion, diced
- 2 cloves Garlic, minced
- 4 large Eggs
- 1/2 cup Heavy Cream
- 2 cups Sharp Cheddar Cheese, shredded
- 1 tsp Salt
- 1/2 tsp Black Pepper
- 1 tbsp Yellow Mustard
Recipe Quick Info
- Prep Time: 15 minutes
- Cook Time: 35 minutes
- Servings: 6 people
- Difficulty: Easy
Smart Substitutions and Swaps

I know not everyone likes the same things. If you do not eat beef, you can use ground turkey or ground chicken. Just remember that turkey is very lean. You might want to add a splash of olive oil to the pan so it doesn’t stick. The flavor will be lighter, but the bacon will still give it a nice kick. If you want it spicy, swap the cheddar cheese for pepper jack. I do this when I want a ‘Western’ style burger feel. It adds a little heat without being too much for most people.
What if you don’t have heavy cream? You can use sour cream instead! It makes the casserole a bit more tangy and very creamy. I actually prefer the texture of sour cream sometimes. If you are avoiding dairy, this recipe is harder to make, but you can find vegan cheese that melts well. Just be sure to check the carb count on those, as many vegan cheeses are made from potato starch or nuts. IMO, the classic beef and cheddar combo is the winner, but don’t be afraid to experiment with what you have in your fridge.
How to Cook This Casserole Perfectly
Making a casserole is mostly about layers. You don’t just throw everything in a bowl and hope for the best. If you do that, the meat might be gray and the bacon might be soggy. We want crispy bacon and browned beef. Browning the meat first is a very important step. It creates a deep flavor that you just can’t get from steaming the meat in the oven. I always use a big skillet to get a good sear on the beef before it ever touches the baking dish.
One mistake I made once was not draining the fat. I thought ‘fat is flavor,’ right? Well, too much fat makes the casserole greasy and soupy. No one wants a puddle of oil at the bottom of their plate. I now make sure to pour off most of the grease after browning the beef. You want just enough left to coat the onions, but not so much that it swims. This keeps the dish light and keeps the cheese from sliding off the top.
Step 1: Prep and Brown the Meat

- Preheat your oven to 350 degrees Fahrenheit. This gives it time to get hot while you work.
- Place a large skillet over medium-high heat. Add your chopped bacon pieces.
- Cook the bacon until it is crispy. Use a slotted spoon to move the bacon to a paper towel. Keep the fat in the pan!
- Add the ground beef to that same pan with the bacon fat. Break it up with a spoon.
- Throw in the diced onions. Cook everything together until the beef is no longer pink and the onions are soft.
- Add the garlic, salt, and pepper. Stir for one more minute until it smells amazing.
- Drain the excess grease. Put the cooked meat and onion mixture into a 9×13 inch baking dish.
By cooking the onions in the beef and bacon fat, they soak up all that rich flavor. This is a pro tip that most people skip! It makes the whole dish taste like it came from a fancy burger joint. Make sure you spread the meat evenly in the baking dish so every bite has the same amount. At this point, I like to sprinkle half of the crispy bacon over the meat. Saving the other half for the very top keeps it crunchy even after baking.
Step 2: Mix the Creamy Binder

Now we need to make the liquid that holds the beef together. In a medium bowl, crack your four eggs. Add the half cup of heavy cream and your tablespoon of mustard. Whisk this very well. You want the eggs and cream to be totally combined until it looks like a pale yellow sauce. This mixture will seep down into the cracks of the beef. As it bakes, the eggs set and create a soft, rich texture that mimics a burger bun’s thickness without the carbs.
If you like a little zing, you can add a teaspoon of hot sauce or some worcestershire sauce to this mix. I find that the mustard is usually enough to give it that ‘burger’ taste. Pour this liquid slowly over the beef in your baking dish. Don’t stir it! Just let it flow down naturally. It will find its way to the bottom. This part of the process is what turns a pile of meat into a real casserole. It makes the dish easy to slice and serve later on.
Pro Baking Tip
- Rest the Meat: Let the cooked beef cool for 5 minutes before pouring the egg mix over it. If the meat is screaming hot, it might cook the eggs instantly and make them scrambled.
Step 3: The Cheesy Topping and Baking

This is the best part. Take your two cups of shredded cheese and spread them all over the top. Cover every inch! You want a thick blanket of cheese. Then, take the rest of your crispy bacon and sprinkle it over the cheese. This ensures that the bacon stays visible and crunchy. Put the dish in the oven on the middle rack. Bake it for about 20 to 25 minutes. You are looking for the cheese to be melted and starting to bubble at the edges.
If you want a really golden top, you can turn on the broiler for the last two minutes. Keep a close eye on it, though! Cheese can burn very fast under a broiler. I usually skip the broiler because the oven heat does a fine job. Once it is done, the kitchen will smell like a summer cookout. The cheese should be slightly browned in some spots. This adds a toasted flavor that is just delicious. FYI, this is the hardest part because you will want to eat it immediately, but it needs to sit for a minute.
Step 4: Resting and Garnishing

Do not cut into the casserole the second it comes out of the oven. If you do, the juices will run out and the eggs won’t be fully set. Give it about five to ten minutes to rest on the counter. This ‘carry-over cooking’ helps the casserole firm up so you can cut clean squares. While it rests, you can prep your toppings. A cheeseburger isn’t complete without the extras! I love to add diced pickles, fresh tomato, and maybe some shredded lettuce on top of my slice.
Adding cold toppings to the hot casserole creates a great contrast. It feels fresh and bright. Some people even like to drizzle a little bit of ‘burger sauce’ (mayo mixed with a little ketchup and relish) over the top. It makes the whole experience very authentic. My kids like to add extra mustard. Because this dish is low carb, you can be pretty generous with the fresh veggie toppings. It adds bulk and crunch without adding many calories or carbs. It is a win for everyone at the table.
Make the Most of Your Leftovers
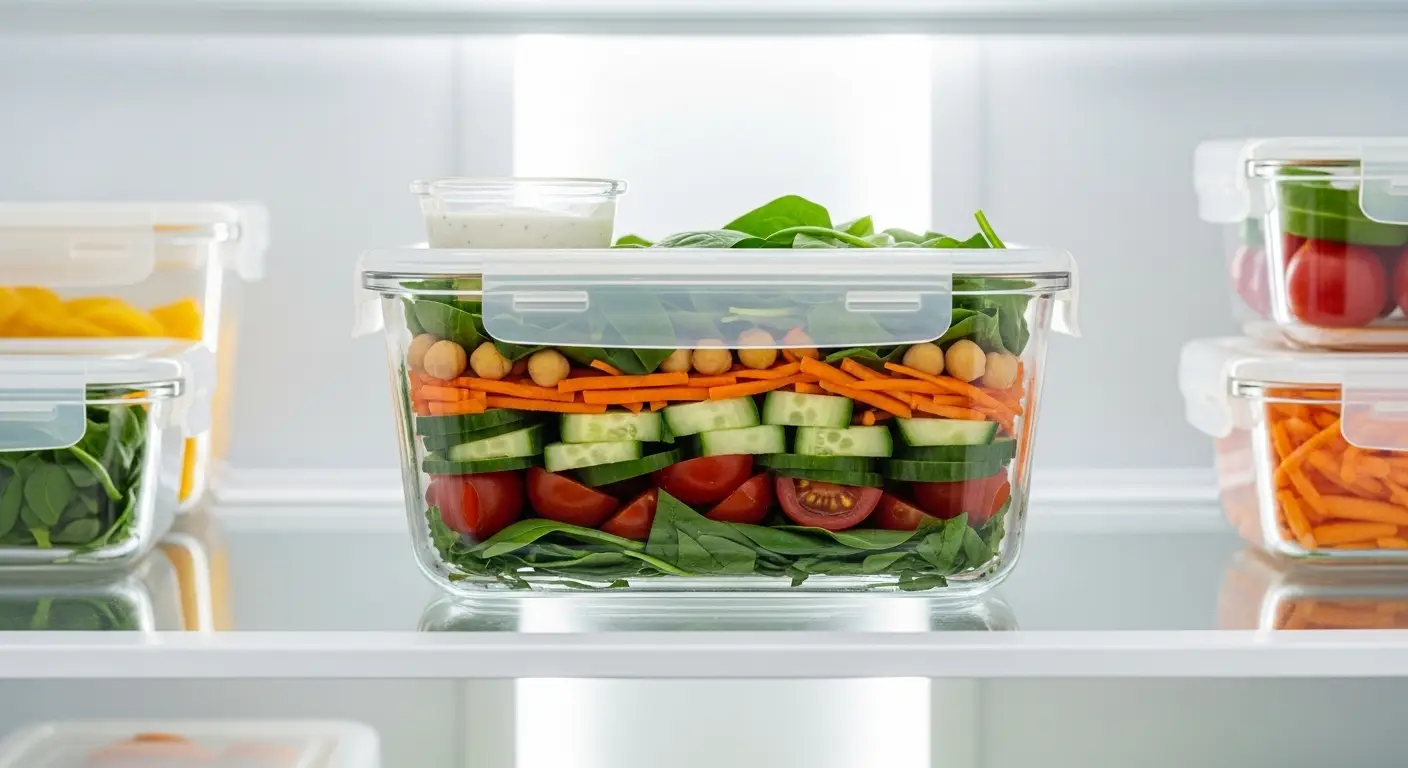
One of the reasons I love casseroles is because they taste even better the next day. The flavors have time to meld together in the fridge. This recipe makes a large batch, so unless you have a big family, you will likely have some left over. It is the perfect meal prep for a busy work week. I often pack squares of this for my lunch. It reheats beautifully and doesn’t get soggy like a real burger would in the microwave. It stays juicy and flavorful.
You can also freeze this dish! If you want to plan ahead, you can make the whole thing and freeze it before or after baking. If you freeze it before baking, just make sure the meat is cooled before adding the eggs. When you are ready to eat, let it thaw in the fridge overnight. Then bake as usual. It is a great way to save time on those nights when you really don’t feel like cooking from scratch. Just pull it out, pop it in, and dinner is served.
How to Store and Reheat

To store your casserole, let it cool completely first. Put it in an airtight container and keep it in the fridge. It will stay fresh for up to four days. When you want to reheat a slice, the microwave is the fastest way. Usually, 60 to 90 seconds is enough to get it hot all the way through. If you have more time, you can put a slice in a small oven-safe dish and warm it in the toaster oven at 300 degrees. This helps the cheese stay a bit crispier than the microwave does.
If you find the meat is getting a little dry when reheating, add a tiny splash of water or a little extra cheese on top before heating. This creates a bit of steam that keeps the beef moist. I personally think it tastes great cold too, almost like a savory snack, but most people prefer it warm. Just remember to keep the cold toppings like lettuce and pickles separate until you are ready to eat. Nobody likes warm, wilted lettuce!
Serving Suggestions for a Full Meal

Since this casserole is very rich, I like to serve it with something light and crispy. A simple green salad with a vinegar-based dressing is perfect. The acid in the dressing cuts through the heaviness of the beef and cheese. You could also serve it with roasted broccoli or cauliflower. If you miss the fries that usually come with a burger, try making some zucchini fries or jicama fries. They are low carb and give you that ‘side dish’ feeling without the potato carbs.
For a fun party idea, you can serve this casserole with ‘fat head’ dough rolls on the side. Or, you can scoop the casserole into large lettuce leaves to make ‘casserole wraps.’ It is a fun way to eat it with your hands if you miss the handheld aspect of a burger. My favorite way is just in a bowl with extra pickles. It is simple, filling, and hits all the right spots. You don’t need much else to make this a complete and happy meal.
Nutrition Facts (Per Serving)
- Calories: 420 kcal
- Net Carbs: 4g
- Protein: 32g
- Fat: 30g
Your Burning Burger Questions
Can I use pre-cooked bacon bits?
Yes, you can use them to save time. However, frying fresh bacon gives you the fat to cook the beef and onions in, which adds much more flavor to the final dish.
Is this recipe keto-friendly?
Yes! It is very high in protein and healthy fats while being very low in carbs. It fits perfectly into a keto or low-carb lifestyle.
What can I use instead of heavy cream?
You can use sour cream or full-fat coconut milk. Sour cream adds a nice tang, while coconut milk will keep it dairy-free if you also use a cheese sub.
Why did my casserole turn out watery?
This usually happens if the beef wasn’t drained well or if the onions released too much moisture. Make sure to brown and drain the meat thoroughly before baking.
Can I add other vegetables like mushrooms?
Absolutely! Sautéed mushrooms or peppers go great in this. Just cook them with the beef and onions so they don’t water down the casserole in the oven.
Wrap Up Your Casserole Night
This Low Carb Bacon Cheeseburger Casserole is a total winner for anyone who wants a big, meaty meal without the bread. It is easy to make, uses simple things you already have, and tastes just like a real burger. I hope you enjoy this cheesy dish as much as I do. It really proves that eating low carb doesn’t have to be boring or plain. Give it a try tonight and see how fast it disappears from the pan!