Muddy Buddy Cookies: A No-Bake Cereal Treat
I love snacks that do not need an oven. Sometimes it is just too hot to bake. Other times, I want a treat right now and do not want to wait for a timer. These Muddy Buddy Cookies are the perfect answer for those moments. They take a classic snack mix and turn it into a cookie shape that is easy to hold and eat.
You might know this flavor as Puppy Chow. It is a mix of crunchy cereal, melted chocolate, and creamy peanut butter. Most people eat it by the handful out of a big bowl. By making them into cookies, you get a thicker bite and less mess on your fingers. I will show you exactly how to mix, scoop, and coat these treats so they come out perfect every time.
This recipe is great for kids to help with because there is no high heat. It is also a safe bet for parties or bake sales where you need a lot of food fast. Let’s get into the kitchen and start making these sweet, crunchy bites! You are going to love how simple this is.
Would you like to see how to make these today?
The Magic of No-Bake Cereal Treats
No-bake cookies are a life saver when you have a busy day. I remember the first time I tried to make these. I was ten years old and wanted to surprise my mom. I did not realize how fast chocolate can burn if you are not careful! I learned that low heat is your best friend. These cookies work because the peanut butter and chocolate act like glue to hold the cereal together.
These treats are different from regular cookies because they stay crunchy. Most soft cookies get stale fast, but these keep their snap for days. They suit anyone who loves a mix of salty and sweet. If you are new to the kitchen, this is the best place to start. You cannot really mess up the shape, and they always taste good even if they look a little bumpy.
What You Need for the Base

The main part of this cookie is the cereal. I find that rice cereal squares work the best. They have lots of little holes and pockets. These pockets catch the chocolate and peanut butter so every bite is full of flavor. You want a cereal that is sturdy. If the cereal is too thin, it will crush into dust when you stir it. I always look for the store brand rice squares to save some money.
You also need a good peanut butter. I suggest using the regular creamy kind you find at any store. Natural peanut butter that has oil on top can be too runny. It might make your cookies fall apart. The chocolate is the next big part. Semi-sweet chocolate chips are my favorite. They are not too sugary, which is good because we will add powdered sugar later. If you like things very sweet, milk chocolate works too.
Essential Tools for Success

You do not need fancy machines for this recipe. A large mixing bowl is the most important tool. You need plenty of space to toss the cereal without breaking it. I like using a plastic or glass bowl because chocolate does not stick to them as much as metal. A sturdy spatula is also a must. A thin spoon might snap if the mixture gets too thick and heavy.
A cookie scoop or a large spoon helps make the cookies the same size. If they are all the same size, they look much better on a plate. You will also need some parchment paper or a silicone mat. This prevents the chocolate from sticking to your counter or pan. One time, I forgot the paper and had to scrape the cookies off with a knife! It was a big mess, so do not skip that step. FYI, wax paper works just as well if that is all you have.
The Perfect Ingredients List

Gather all your items before you start. This makes the process much faster. Here is what you will need for one big batch of cookies:
- 9 cups of square rice cereal
- 1 cup of semi-sweet chocolate chips
- 1/2 cup of creamy peanut butter
- 1/4 cup of unsalted butter
- 1 teaspoon of vanilla extract
- 1 1/2 cups of powdered sugar
- A pinch of salt to balance the sugar
Make sure your butter is not rock hard. It melts faster if it is at room temperature or cut into small cubes. I also like to sift my powdered sugar. Sometimes sugar gets big lumps in the bag. Sifting makes sure the cookies look snowy and white instead of having white rocks on top. It is a small step that makes a big difference in how they look.
Recipe Quick Info
- Prep Time: 15 minutes
- Cook Time: 5 minutes (melting)
- Servings: 24 cookies
- Difficulty: Very Easy
Step-by-Step Mixing Instructions

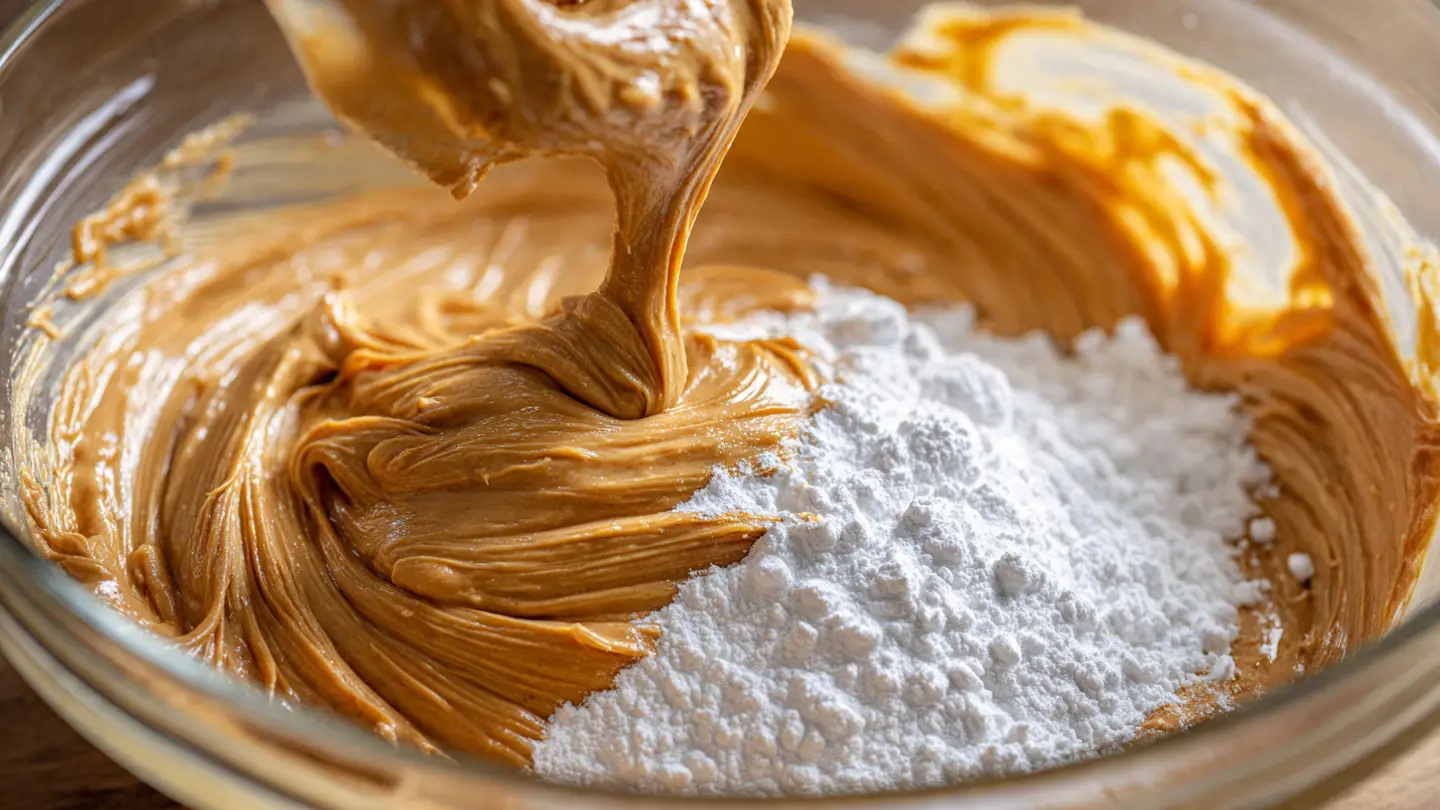
Start by putting your cereal into the largest bowl you own. Set it aside for now. In a small microwave-safe bowl or a pot on the stove, combine the chocolate chips, peanut butter, and butter. If you use a microwave, heat it for 30 seconds at a time. Stir it every time the timer goes off. If you do not stir, the middle will burn while the edges stay hard. Stop as soon as it looks smooth and shiny.
- Stir the vanilla extract and salt into the melted chocolate.
- Pour the warm chocolate mixture over the cereal in the big bowl.
- Fold the cereal gently. Do not stir fast or you will crush the squares.
- Keep folding until every piece of cereal is dark brown and covered in chocolate.
- Let the mix sit for 2 minutes so it thickens slightly. This helps the cookies hold their shape when you scoop them.
I once tried to pour the sugar in while the chocolate was still very hot. The sugar just melted and turned into a sticky gray paste. It still tasted fine, but it looked terrible! Waiting a few minutes is the secret to getting that bright white coating we all love. Patience is hard when chocolate is involved, but it pays off here.
How to Shape the Cookies

Now comes the fun part. Line a large tray with your parchment paper. Use a cookie scoop or two big spoons to grab a mound of the cereal mix. Press it together slightly so it sticks. Place the mounds on the paper. You do not need to leave much space between them because these cookies do not spread out like baked cookies do. They stay exactly the size you make them.
If the mixture is too loose, use your hands to gently squeeze the mounds into circles. Be careful because the chocolate is still a bit messy. IMO, using a scoop is much cleaner and faster. Once you have filled the tray, you can move on to the sugar coating. Some people like to wait until the cookies are cold to add sugar, but I find they need to be just a little tacky so the sugar sticks well.
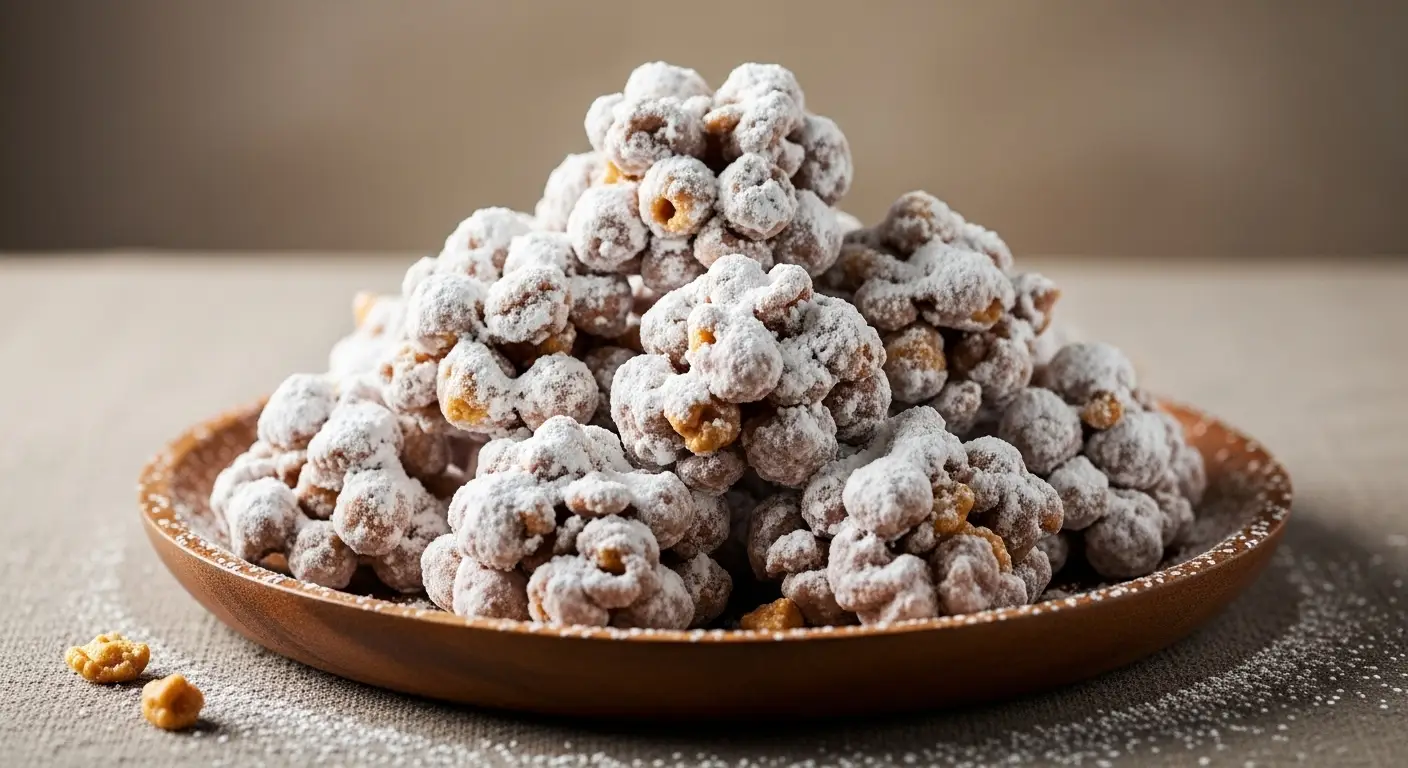
The Powdered Sugar Finish

There are two ways to do this. You can put the powdered sugar in a fine strainer and shake it over the cookies while they are on the tray. This looks very pretty and professional. The other way is more traditional. Put the powdered sugar in a large plastic bag. Put two or three cookies in at a time and shake the bag gently. This coats every single side of the cookie.
I prefer the bag method for flavor, but the sifter method for looks. If you are making these for a party, the sifter makes them look like they came from a bakery. Just make sure the cookies are cool enough that the sugar does not turn into a liquid. If you see the sugar disappearing into the chocolate, wait five more minutes before adding more. You want a thick, white crust on the outside of each one.
Tips for the Best Texture

Texture is everything with this snack. If your cookies feel too soft or soggy, you might have used too much butter. Stick to the measurements for the best result. Another tip is to check your cereal’s freshness. If the box has been open for a month, the cookies will taste stale. Always start with a fresh, crunchy box of cereal. This ensures that the “snap” is there when you take a bite.
If you want a different flavor, you can swap the peanut butter for almond butter or even cookie butter. Just know that some nut butters are thinner than others. If the mix looks too wet, add another cup of cereal to soak up the extra liquid. This recipe is very forgiving. You can always add more dry stuff if it is too wet, or more melted chocolate if it is too dry. It is hard to truly ruin these.
Pro Tips for Success
- Don’t Over-Stir: Handle the cereal like it is glass. If you break it, you get crumbs instead of cookies.
- Chill Out: Put the cookies in the fridge for 20 minutes to help them set faster if you are in a rush.
- Salt is Key: A tiny bit of salt makes the chocolate taste way better. Don’t skip it!
Storing and Serving Ideas

These cookies stay good for a long time if you store them right. Put them in an airtight container or a zip-top bag. They will stay crunchy for about a week at room temperature. If your house is very warm, the chocolate might get soft. In that case, keep them in the fridge. They actually taste amazing when they are cold and extra crunchy!
When serving, I like to put them on a bright colored plate to make the white sugar pop. They are a hit at football games, movie nights, or as a late-night snack. You can even crumble one over a bowl of vanilla ice cream. That is my favorite way to eat the leftovers. They also make great gifts. Just put a few in a clear bag with a ribbon. Since they do not break easily, they are easy to travel with.
Common Questions About No-Bake Treats
People often ask me if they can use different cereals or types of chocolate. The answer is usually yes! I have tried these with corn squares and even toasted oat circles. They all work, but the rice squares are the classic choice. Some people also worry about the peanut butter. If you have a nut allergy, you can use sunflower seed butter. It tastes almost the same and keeps the cookie together just as well.
Another common concern is the melting process. If your chocolate gets chunky and hard while melting, it is called “seizing.” This usually happens if a tiny drop of water gets into the bowl. Make sure your bowl and spoon are completely dry before you start. If it does seize, you might have to start over with fresh chocolate. It is a sad mistake, but it happens to everyone at least once!
Can I make these without peanut butter?
Yes. You can use sunflower butter or extra chocolate. However, the peanut butter helps them stay soft enough to bite, so without it, the cookies will be very hard.
Why is my powdered sugar melting?
The cookies are likely too warm. Let the chocolate set for a few more minutes until it is cool to the touch but still a bit sticky before adding the sugar.
Can I freeze Muddy Buddy cookies?
Yes! They freeze very well for up to three months. Just make sure they are in a sealed bag so they do not pick up smells from the freezer.
What is the best cereal to use?
Rice cereal squares are the best. They are light and have many holes to hold the chocolate. Corn squares also work but are a bit crunchier.
How do I keep my hands clean?
Use a cookie scoop and a sifter for the sugar. This way you never have to touch the wet chocolate with your fingers.
Enjoy Your Homemade Cookies
Muddy Buddy Cookies are a simple joy that anyone can make. They combine the best parts of a classic snack with the ease of a cookie. Whether you are making them for a party or just a Tuesday treat, they are sure to disappear fast. Just remember to keep them cool and enjoy that perfect crunch!