Easy Banana Pudding Cake: A Comfort Food Hybrid
I love food that feels like a big hug. Banana pudding is one of those things. It is cold, creamy, and sweet. Cake is another favorite. It is warm, soft, and fluffy. One day I thought about what would happen if I put them together. The result was amazing. This banana pudding cake is a hybrid. That means it takes two good things and makes them one great thing. It has the taste of the pudding you love but the shape of a real cake. It is the perfect treat for a rainy day or a big party.
Today you will learn how to make this simple dessert from scratch. You do not need to be a professional baker to get this right. I will show you every step. We will look at the ingredients you need and how to mix them. I will also share some secrets to keep the cake moist. This is a great way to use up those brown bananas on your counter. Let us get started on this sweet project.
Check out the steps below to make your own masterpiece.
Why This Hybrid Dessert Works So Well
Most people like cake because it is easy to eat with your hands or a fork. Most people like pudding because it is smooth. When you mix them, you get a texture that is out of this world. The cake acts like a sponge. It soaks up all the creamy flavor from the pudding layer. This keeps the cake from being dry. Even if you overbake it a little bit, the pudding saves the day. It is a very forgiving recipe. This is why I make it so often for my friends.
I remember the first time I tried to make a dessert like this. I used way too much liquid. The cake turned into mush. It looked like soup! I learned that you need a balance. You want enough moisture to make it soft, but enough structure to keep it standing. This recipe finds that middle ground perfectly. It uses common things you probably have in your kitchen right now. You do not need fancy tools or expensive oils to make it taste like it came from a bakery.
The Simple Ingredients You Need

To make this cake, you need things that are easy to find. You will need flour, sugar, and baking powder for the base. For the banana flavor, you need very ripe bananas. These are the ones with lots of brown spots. They are much sweeter than the bright yellow ones. I also like to use a box of instant vanilla pudding mix. This is a small trick that makes the cake extra soft. It adds a lot of vanilla flavor without needing a whole bottle of extract. It also helps the cake stay fresh for a few days longer.
You will also need eggs and some butter. Use unsalted butter so you can control the salt yourself. A little bit of milk helps thin the batter just enough. If you want a little crunch, you can grab some vanilla wafer cookies. These are the classic cookies people put in banana pudding. We will crush them up and put them on top. It gives a nice change in texture. IMO, the cookies are the best part because they remind me of the old-style pudding my grandma used to make.
Preparing Your Baking Pan

Before you mix anything, you must get your pan ready. I usually use a 9 by 13 inch metal pan. You can use glass too, but metal gives the edges a nice little crust. Take a piece of butter and rub it all over the inside. Make sure you get into the corners. If you miss a spot, the cake will stick. I hate it when half of my cake stays in the pan! After the butter, sprinkle a little flour inside. Shake the pan around until the flour covers the butter. Then tap the pan over the sink to get the extra flour out.
If you want to be extra safe, you can use parchment paper. This is a special paper that food does not stick to. You cut a piece to fit the bottom of the pan. This makes it very easy to lift the whole cake out later. However, for a pudding cake, I usually just stick with butter and flour. The pudding makes the cake heavy, so lifting it can be tricky. It is much easier to just cut squares right in the pan and serve them with a big spoon. It feels more home-style that way.
Mixing the Dry and Wet Parts

Mixing is where the magic happens. First, put your flour, sugar, baking powder, and a pinch of salt in a large bowl. Give it a quick stir with a whisk. This breaks up any lumps. In another bowl, mash your bananas. Use a fork and press down until they look like thick baby food. Add your eggs, melted butter, and milk to the bananas. Stir them until they are combined. It might look a little lumpy because of the bananas, and that is totally fine. Do not worry about making it perfectly smooth.
Now, pour the wet banana mix into the dry flour mix. Use a big spoon or a spatula to fold them together. Do not mix too fast or too hard. If you mix it too much, the cake will become tough like bread. Stop mixing as soon as you do not see any more white flour. FYI, a few small streaks of flour are better than over-mixing. This keeps the cake light and airy. It is better to be gentle here so the cake stays soft and melt-in-your-mouth good.
Recipe Quick Info
- Prep Time: 20 minutes
- Cook Time: 35 minutes
- Servings: 12 people
- Difficulty: Easy
Bringing the Pudding Element to Life
The pudding is what makes this cake different from a regular banana bread. There are two ways to do this. Some people put the pudding inside the batter. Other people pour it on top while the cake is still warm. I like to do both! Putting pudding mix in the batter makes the cake moist. Pouring extra liquid pudding on top makes it a poke cake. This means the pudding fills up holes in the cake. It makes every bite feel like a mix of cake and custard. It is very rich and creamy.
I once tried to use cook-and-serve pudding instead of instant. It did not work well. The cake got too soggy because that kind of pudding stays thin for a long time. Stick with the instant kind for the best results. It sets fast and has a great texture. This part of the recipe is what people will talk about. They will wonder how you got the cake so moist. It is our little secret. This step turns a simple cake into a real dessert that feels special for a holiday or a Sunday dinner.
How to Make the Pudding Topping

While the cake is in the oven, you can make the topping. Take your second box of pudding mix and put it in a bowl. Add cold milk. The box usually says to use two cups of milk. For this cake, I use a little bit less. Use about one and a half cups instead. This makes the pudding thicker. We want it to be thick so it sits on the cake and does not just run off the sides. Whisk it for two minutes. It will start to get heavy and shiny. That is exactly what you want to see.
Let the pudding sit in the fridge for a few minutes. This helps it firm up even more. If you want to get fancy, you can fold in some whipped cream. This makes the topping light and fluffy like a cloud. I usually do this if I am taking the cake to a party. It makes it look more like a pie. If you are just eating it at home, plain pudding is just as good. Either way, the vanilla flavor will go perfectly with the bananas in the cake base. It is a match made in heaven.
Assembling the Layers

Once the cake comes out of the oven, let it cool for just five minutes. Take the handle of a wooden spoon and poke holes all over the cake. Space them about an inch apart. Poke them about halfway down into the cake. Do not go all the way to the bottom. Now, take your thick pudding and pour it over the warm cake. Use a spatula to push the pudding into those holes. This is the best part. The cake is still warm, so it pulls the pudding inside. It creates little pockets of creaminess.
After you spread the pudding, let the cake cool completely. If you put the next layer on while it is hot, it will melt. I usually put the pan in the fridge for an hour. This sets the pudding and makes the cake easy to slice. This wait is the hardest part of the whole recipe! My kids always want to eat it right away. But trust me, waiting makes it taste much better. The flavors need time to get to know each other. It is like a party in the pan, and everyone needs to arrive before you start eating.
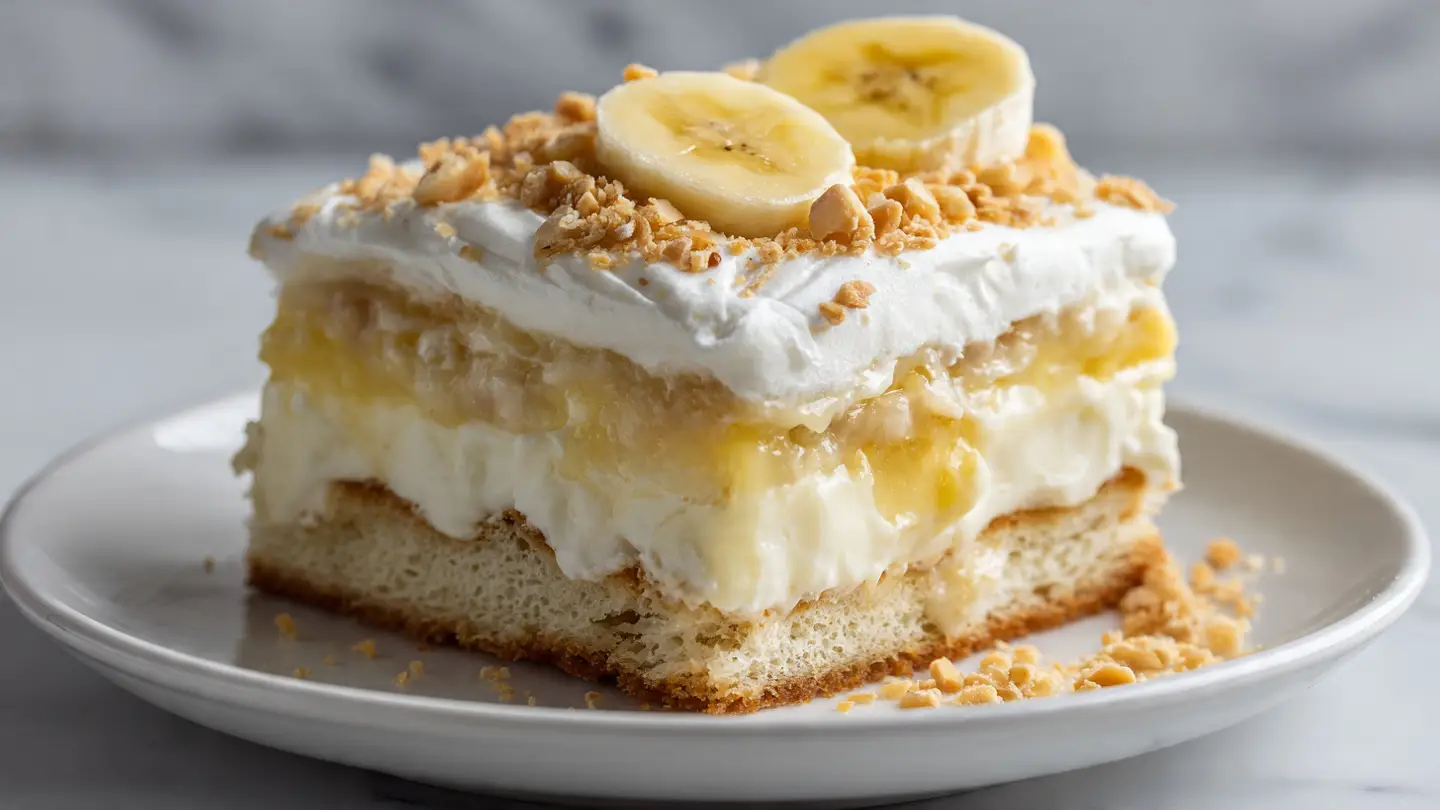
Adding the Final Touches

The final layer is the crowning glory. Spread a thick layer of whipped topping over the pudding. You can use the stuff from a tub or whip your own cream with sugar. On top of that, sprinkle your crushed vanilla wafers. I like to leave some pieces big and some pieces small. This gives a nice crunch. If you want it to look extra pretty, add some fresh banana slices right before you serve it. Do not add them too early, or they will turn brown and look sad. Fresh is always better here.
One limitation of this cake is that the cookies will get soft after a day. If you like them crunchy, only put the cookies on the pieces you are about to eat. If you like them soft and cake-like, put them all on at once. I actually like them when they get a little soft. They taste like part of the cake then. You can also drizzle some caramel sauce over the top if you want to be really wild. It adds a nice salty-sweet taste that everyone loves. This cake is very easy to change based on what you like.
Pro Baking Tips
- Banana Ripeness: Use bananas that are almost black for the most sugar.
- Milk Temperature: Use very cold milk for the pudding so it sets fast.
- Sifting: Sift your flour if it looks clumpy to keep the cake light.
Tips for Success and Storage
This cake is best served cold. Because it has milk and pudding, you cannot leave it on the counter for a long time. It needs to stay in the fridge. If you have leftovers, cover the pan with plastic wrap or a lid. It will stay good for about three days. After that, the bananas might start to change the flavor too much. But honestly, this cake usually disappears in one night at my house! It is hard to stop at just one square because it is so light and tasty.
If you are making this for a big event, you can make the cake part a day early. Just wait to add the pudding and whipped cream until the day you want to serve it. This keeps everything fresh. You can also make this in a trifle bowl if you want a different look. Just crumble the cake and layer it with the pudding and cream. It looks very fancy but takes the same amount of work. It is a great way to feed a crowd without spending all day in the kitchen.
Common Mistakes to Avoid

One big mistake is using bananas that are too green. Green bananas are starchy and not sweet. They will make your cake taste like grass. Wait until they have lots of spots. Another mistake is poking too many holes. If you poke too many, the cake will fall apart when you try to lift it. Keep the holes a bit apart so the cake stays strong. Also, make sure your melted butter is not boiling hot when you add it to the eggs. You do not want to cook the eggs by accident! Let the butter cool for a minute first.
Some people try to skip the cooling step. They pour the pudding on a cake that is straight out of the oven. This makes the pudding turn back into a liquid. It will soak in too much and make the cake soggy. Give the cake those five to ten minutes to breathe. It makes a big difference in the final texture. If you follow these small rules, your cake will turn out perfect every single time. It is all about being patient and following the steps in order. Baking is a science, but it is also a lot of fun when you know the tricks.
Serving and Variations

When you serve this cake, use a wide spatula. This helps support the weight of the pudding and cream. I like to serve it with a tall glass of cold milk. It is the best combination. If you want to try something different, you can use chocolate pudding instead of vanilla. Banana and chocolate are great together. You could also use peanut butter cookies instead of vanilla wafers. That would create a very rich and salty flavor. The base recipe is like a blank canvas for your favorite flavors.
For people who cannot have gluten, you can use a gluten-free flour blend. Just make sure it is a “measure for measure” kind. The pudding mix is usually safe, but always check the box. You can also use almond milk for the pudding, but use less of it. Nut milks do not always set as thick as cow’s milk. Whatever you choose, this dessert is sure to be a hit. It is simple, cheap to make, and brings a smile to everyone’s face. That is what comfort food is all about. I hope you enjoy making it as much as I do.
Your Questions Answered
Can I use frozen bananas for this cake?
Yes, you can! Thaw them completely first. Drain any extra water so the cake is not too wet. They will be very soft and easy to mash.
Do I have to use instant pudding mix?
Instant works best for this recipe. It sets quickly and holds its shape. If you use cook-and-serve, the cake might get too soggy before it firms up.
How long can the cake sit out at a party?
Try not to leave it out for more than two hours. Since it has dairy and pudding, it needs to stay cool to be safe and taste its best.
Can I make this cake without eggs?
You can use an egg replacer or half a cup of unsweetened applesauce. The cake will be a bit more dense, but the pudding will keep it moist.
Why did my cookies get soggy on top?
Cookies soak up moisture from the cream. If you want them crunchy, add them right before you serve the cake. Otherwise, they will soften overnight.
A Final Slice of Joy
This banana pudding cake is more than just a dessert. It is a way to bring people together with simple flavors. It is easy to make, hard to mess up, and tastes like a dream. Give it a try the next time you have some old bananas. You will be very happy you did!