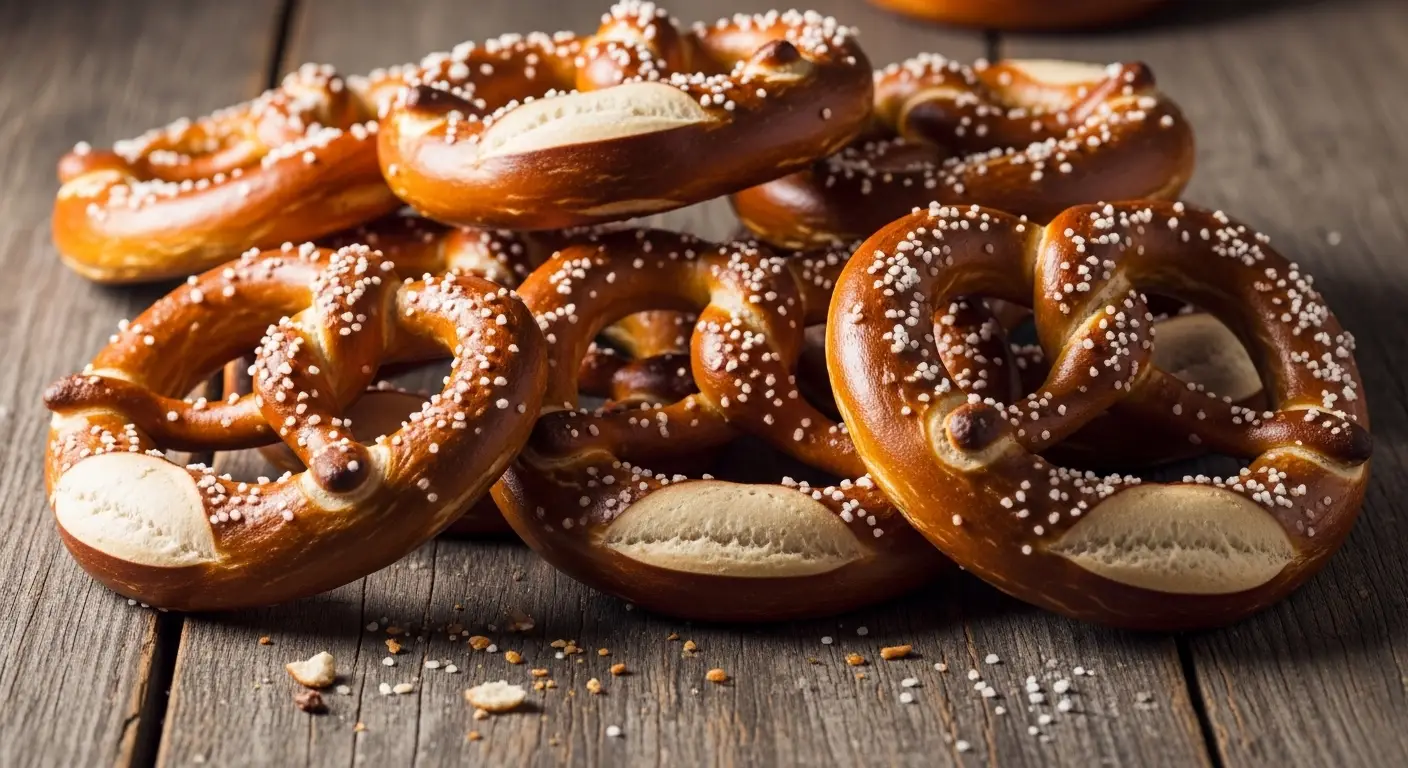
Soft Pretzels
Making soft pretzels at home is a lot of fun. You get to play with dough and watch it grow big. The best part is the smell of fresh bread filling up your whole house. I love how these turn out every single time I make them for my friends.
In this guide, you will learn how to mix the dough and shape it into a twist. I will show you the secret trick to getting that dark brown crust and chewy bite. It is much easier than you think, even if you are new to baking. Let’s get started on this salty treat!
Ready to see how easy it is? Read on to get the full list of what you need.
Getting Your Kitchen Ready
Before we start mixing, we need to talk about why home pretzels are so good. Store-bought ones are often dry or too hard. When you make them yourself, they are soft like a cloud on the inside. Plus, you can add as much salt as you want. I once forgot to add the salt on top, and it was a sad day. Do not be like me!
You do not need fancy tools for this recipe. A big bowl and a pot for boiling water are the main things. If you have a stand mixer, that is great. If not, your hands will do a perfect job of kneading the dough. It is a great way to get some exercise before you eat all the bread!
What You Need to Buy

To make these pretzels, you only need a few simple things. Most of these are likely in your pantry right now. You will need all-purpose flour or bread flour. Bread flour makes them a bit more chewy, which I really like. You also need warm water, but make sure it is not too hot. If it burns your finger, it will kill the yeast.
Speaking of yeast, you need one small packet of active dry yeast. This is what makes the bread rise. You also need a little bit of sugar to feed the yeast. A pinch of salt for the dough and some melted butter will make the flavor pop. Finally, you need baking soda for the water bath later on. That is the magic ingredient!
- 1.5 cups of warm water
- 1 tablespoon of sugar
- 2 teaspoons of sea salt
- 1 packet of active dry yeast
- 4.5 cups of all-purpose flour
- 2 ounces of melted butter
- 10 cups of water (for boiling)
- 2/3 cup of baking soda
- 1 egg (for the wash)
- Coarse salt for the top
Making the Dough Mix

First, grab your big bowl and pour in the warm water and sugar. Stir it up until the sugar disappears. Sprinkle the yeast on top and let it sit for about five minutes. You will see it start to look foamy or like tiny bubbles. This means the yeast is alive and ready to work! If it does not foam, your water might have been too cold or too hot.
Next, add the melted butter and the salt. Slowly stir in the flour one cup at a time. I usually use a wooden spoon for this part. Keep adding flour until the dough pulls away from the side of the bowl. It might feel a bit sticky, and that is okay. If it is too sticky to touch, add just a tiny bit more flour. Just do not add too much, or the pretzels will be tough.
Recipe Quick Info
- Prep Time: 60 minutes
- Cook Time: 12 minutes
- Servings: 8 large pretzels
- Difficulty: Medium
Kneading for Strength

Now it is time to work the dough. Sprinkle some flour on a clean table or counter. Plop the dough down and start pushing it away from you with the palms of your hands. Fold it back over and push again. This is called kneading. It helps the dough get strong so it can hold those bubbles of air. I find this part very relaxing, almost like playing with clay.
Do this for about five minutes. You want the dough to feel smooth and bouncy. If you poke it with your finger, it should spring back a little bit. Once it is ready, coat a bowl with a little oil. Put the dough inside and cover it with a clean towel. Put it in a warm spot and let it rest. It needs to double in size, which usually takes about one hour. FYI, the warmer the room, the faster it rises!
The Secret to the Perfect Crust
While the dough is growing, let’s talk about the secret step. Pretzels are not just baked bread. They are boiled first! This is what gives them that shiny, dark skin and the chewy texture. Without the boiling water and baking soda, they would just taste like regular dinner rolls. Still tasty, but not a pretzel.
I once tried to skip the boiling step because I was in a rush. The pretzels came out pale and soft like a bun. They did not have that special snap when you bite into them. Now I never skip it. It only takes thirty seconds per pretzel, and it makes a huge difference in how they look and taste.
How to Shape the Twist

Once your dough has grown big, poke it to let the air out. Turn it out onto the counter. Cut it into eight even pieces. Take one piece and roll it out with your hands into a long rope. It should be about 20 inches long. If the dough keeps shrinking back, let it rest for a minute and try again. Sometimes the dough just needs to chill out for a bit.
To make the shape, take the two ends of the rope and make a U-shape. Cross the ends over each other twice. Then, fold the ends down to the bottom of the U and press them in. Now you have a classic pretzel shape! It looks fancy, but it is just a simple twist. Don’t worry if the first one looks a bit wonky. They all taste the same in the end.
The Baking Soda Bath

Get a large pot and fill it with 10 cups of water. Add the baking soda and bring it to a boil. Be careful, because the baking soda can make the water bubble up very high. Drop one or two pretzels into the water at a time. Let them swim for about 30 seconds. They might float, and that is a good sign. Use a large flat spoon with holes to lift them out.
Let the extra water drip off before putting them on a baking sheet. Make sure your baking sheet has parchment paper or a silicone mat. If you put them straight on the metal, they will stick like glue. I learned that the hard way and had to scrape my dinner off the pan! Using a bit of oil on the paper helps too. This bath is what makes the crust so special.
Pro Baking Tip
- Drying Time: Let the pretzels sit for a minute after the bath before brushing with egg. This helps the salt stay on better.
Adding the Toppings

Now your pretzels are wet and sticky. This is the perfect time to add the flavor. Beat one egg in a small bowl with a teaspoon of water. Use a brush to paint the egg over the top of each pretzel. This makes them very shiny and gold when they bake. If you want them to be vegan, you can use a little bit of melted coconut oil instead, though they won’t be quite as shiny.
Sprinkle a good amount of coarse salt over the top. Use more than you think you need, as some will fall off. If you don’t like salt, you can use cinnamon sugar or even sesame seeds. My favorite is just plain old big salt crystals. They give that classic crunch that reminds me of the mall or a fair. Now they are ready for the hot oven!
Baking to Golden Perfection

Heat your oven to 450 degrees. This is very hot, so be careful. Put the tray inside and bake for about 12 to 15 minutes. You want them to turn a deep, dark brown. If they are light tan, they are not done yet. Keep a close eye on them during the last few minutes so they do not burn. The smell will be amazing at this point!
When they come out, move them to a wire rack. If you want them to stay extra soft, brush them with a little more melted butter while they are still hot. This adds a lot of richness. Let them cool for just a few minutes so you don’t burn your tongue. Trust me, waiting is the hardest part of this whole recipe. IMO, they are best eaten right away.
Fun Ways to Serve Them

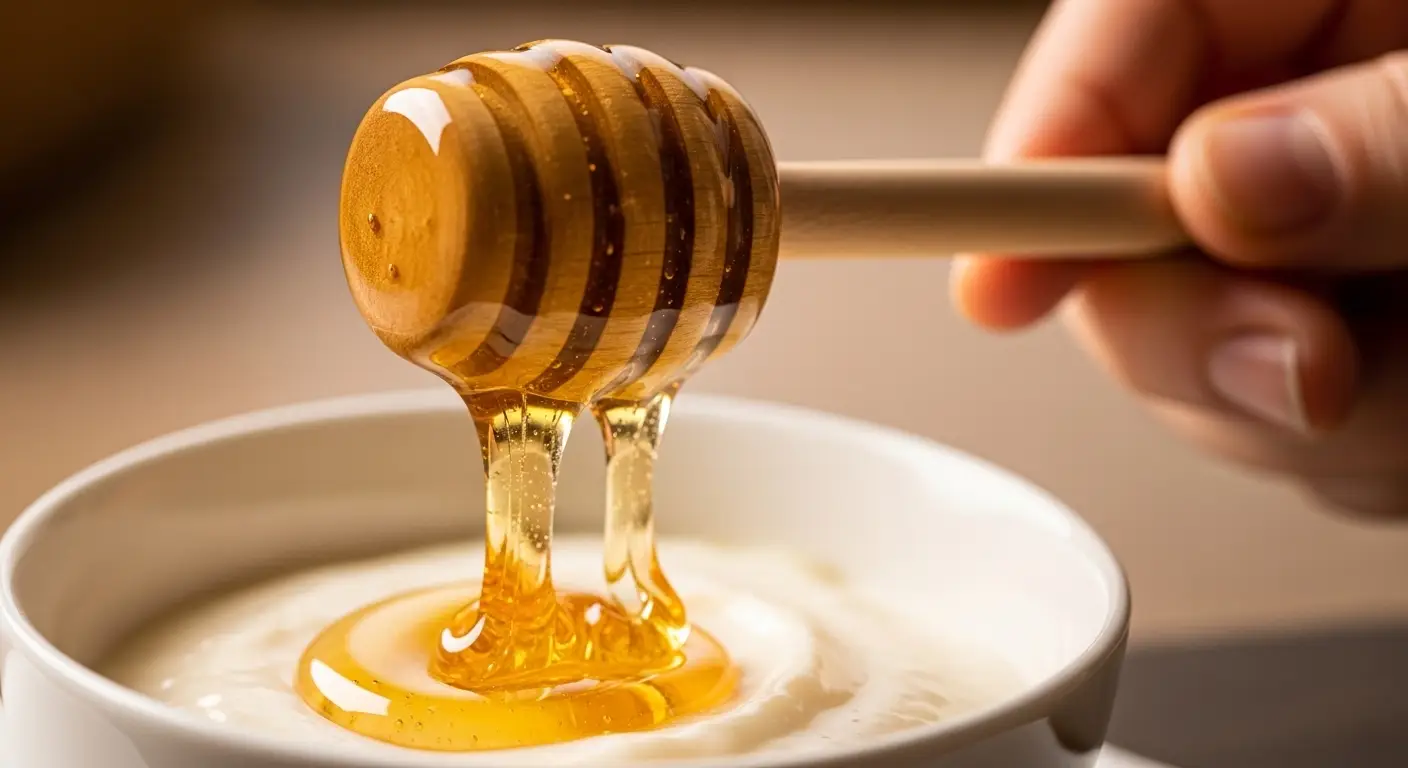
Soft pretzels are great on their own, but dips make them better. A simple yellow mustard is the classic choice. If you want something fancy, try a honey mustard or a spicy brown one. Many people love a warm cheese dip. You can melt some cheddar with a little milk to make a fast sauce at home.
For a sweet treat, dip them in chocolate sauce or caramel. You can even use these pretzels to make small sandwiches. Just cut them in half and add ham and cheese. They are perfect for a party or a movie night. No matter how you eat them, your family will think you are a pro baker. It is such a rewarding snack to share.
Creative FAQ for Pretzel Bakers
You might have a few questions as you start your baking journey. Here are some common things people ask me when they make these for the first time. Baking is a science, but it is also a lot of fun to experiment with.
Can I use whole wheat flour?
Yes, but use half whole wheat and half white flour. All whole wheat will make them very heavy and dense like a rock.
Why did my pretzels stick to the pan?
You must use parchment paper or a silicone mat. The baking soda bath makes the dough very sticky on hot metal pans.
How do I store the leftovers?
Put them in a bag and keep them on the counter for two days. To make them soft again, heat them in the oven for a few minutes.
Can I freeze the dough?
Yes! Shape them and freeze them before the water bath. Just thaw them out and boil them when you are ready to eat.
What if I don’t have baking soda?
You really need it for the color and taste. Without it, you just have bread. Try to go to the store and get some!
Happy Baking Everyone
You now know how to make the best soft pretzels ever. It takes a little time for the dough to rise, but the steps are very simple. Just remember to boil them before you bake. Enjoy your warm, salty, and chewy snacks with your favorite dip!