3 Secret Ingredients for the Most Delicious Homemade Granola
I used to buy granola at the grocery store every single week. It was easy, but it never tasted quite right. Some bags were too sweet, and others were as hard as rocks. I wanted something that felt like a treat but still gave me energy for the day. That is when I started playing around in my own kitchen to find the perfect mix.
Making your own breakfast at home is one of the best ways to save money. You also get to control exactly what goes into your bowl. In this post, I will show you how to make the crunchiest, most flavorful granola you have ever had. We will talk about the basic steps and the special items that make this recipe stand out from the rest. You are going to love how your house smells while this bakes!
Are you ready to stop buying the expensive bags and start making your own? Let’s get cooking!
Why Homemade Granola is Better Than Store Bought
When you walk down the cereal aisle, you see dozens of colorful boxes. They all promise to be healthy and tasty. However, if you look at the back of the bag, you might see words you cannot even say. Many brands use a lot of white sugar and cheap oils to make their snacks. When I make it at home, I use real food that I can find in my pantry. It makes a huge difference in how I feel after eating it.
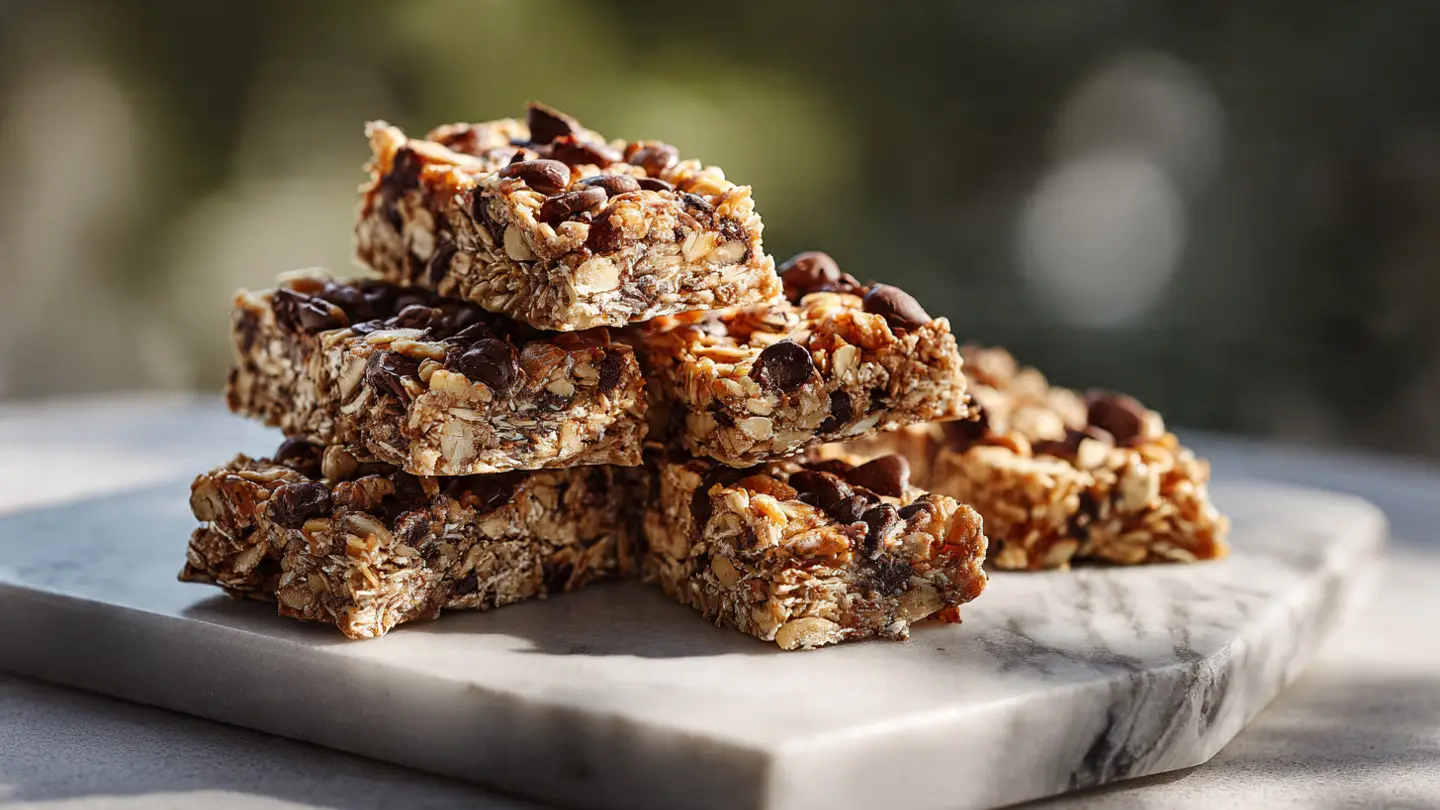
The best part about being the chef is the texture. Store-bought granola often gets crushed in the bag during shipping. You end up with a lot of dust at the bottom. When you bake it yourself, you can make those big, chunky clusters that everyone loves. Plus, you can change the nuts and seeds to fit what you like best. It is a win for your wallet and your tummy. IMO, once you try this, you will never go back to the boxed stuff.
The Three Secret Ingredients You Need

Most people just use oats, oil, and honey. Those are fine, but they are a bit boring. My first secret ingredient is white miso paste. I know that sounds weird for a sweet breakfast! But miso adds a salty, savory depth that makes the sweetness pop. It does not taste like soup; it just tastes rich. I learned this after making a batch that was way too sugary. I needed something to balance it out, and miso was the answer.
The second secret is egg whites. This is the trick for those giant clusters I mentioned. When you whip an egg white until it is frothy and fold it into the oats, it acts like a healthy glue. It holds everything together as it bakes. Without it, your granola might just be loose grains. The third secret is high-quality vanilla bean paste instead of cheap extract. The little black specks look beautiful and the flavor is much stronger. These three things turn a simple snack into something special.
The Master Ingredient List

To make this recipe, you need a few basic things from your pantry. You can find most of these at any local shop. I like to use old-fashioned rolled oats because they hold their shape well. Do not use quick oats or steel-cut oats here. Quick oats will turn into mush, and steel-cut oats will stay too hard and hurt your teeth! It is important to pick the right base for the best crunch.
- 3 cups of old-fashioned rolled oats
- 1 cup of raw pecans or walnuts (chopped roughly)
- 1/2 cup of raw pumpkin seeds or sunflower seeds
- 1/2 cup of pure maple syrup (the real stuff, not pancake syrup!)
- 1/3 cup of extra virgin olive oil
- 1 large egg white
- 1 tablespoon of white miso paste
- 2 teaspoons of vanilla bean paste
- 1 teaspoon of cinnamon
- A big pinch of flaky sea salt
How to Mix and Prep Your Tray

First, you need to heat your oven. I set mine to 300 degrees Fahrenheit. This is a low heat, but it is necessary. If the oven is too hot, the honey or syrup will burn before the oats get crispy. I made that mistake once and had to throw away a whole batch of burnt, bitter oats. It was a sad day for my breakfast! Now, I always tell people to be patient and keep the heat low.
In a large bowl, mix your oats, nuts, seeds, and cinnamon. In a smaller bowl, whisk together the maple syrup, olive oil, miso, and vanilla. You want the miso to be totally smooth so you don’t get a big salty lump in one bite. Now, take your egg white and whisk it in a separate cup until it looks like white bubbles. Pour the syrup mix and the egg white over the oats. Stir it all together until every single oat looks wet and shiny. This ensures the flavor is everywhere.
The Baking Process for Maximum Crunch

Line a big baking sheet with parchment paper. This is a pro tip: never bake granola directly on the metal pan. It will stick, and you will spend an hour scrubbing it off later. Spread the mixture out in a thin layer. You want it to reach all the corners of the pan. If the layer is too thick, the middle will stay soft. We want crunch from edge to edge!
- Put the pan in the middle rack of the oven.
- Bake for 15 minutes without touching it.
- Take it out and give it one gentle stir if you want small pieces.
- If you want big chunks, do NOT stir it at all! Just press it down with a spatula.
- Bake for another 15 to 20 minutes.
- Watch the edges closely. When they look golden brown, it is done.
Letting it Cool (The Hardest Part)

This is where most people mess up. When you take the tray out of the oven, the granola will still feel a bit soft. You might think it needs more time, but it does not! Granola gets hard and crunchy as it cools down on the counter. If you bake it until it is hard in the oven, it will taste burnt by the time you eat it. I usually wait at least one hour before I touch it. FYI, the smell in your house will be amazing during this time.
Once it is totally cold, you can break it into pieces. If you used the egg white trick and did not stir it too much, you will have huge, beautiful clusters. This is the moment when I usually sneak a few bites. It is so satisfying to hear that loud crunch. If it still feels soft after an hour, you can put it back in for five minutes, but that rarely happens if you follow the times correctly. Patience is the most important ingredient here.
Recipe Quick Info
- Prep Time: 10 minutes
- Cook Time: 35 minutes
- Servings: 8-10 servings
- Difficulty: Very Easy
Fun Ways to Eat Your Granola

Now that you have a big jar of the best snack ever, how do you eat it? My favorite way is over thick Greek yogurt with some fresh berries. The crunch of the oats goes perfectly with the creamy yogurt. You can also put it in a bowl with cold milk just like regular cereal. It stays crunchy much longer than the stuff from the box! Sometimes I even put a handful on top of a scoop of vanilla ice cream for a quick dessert.
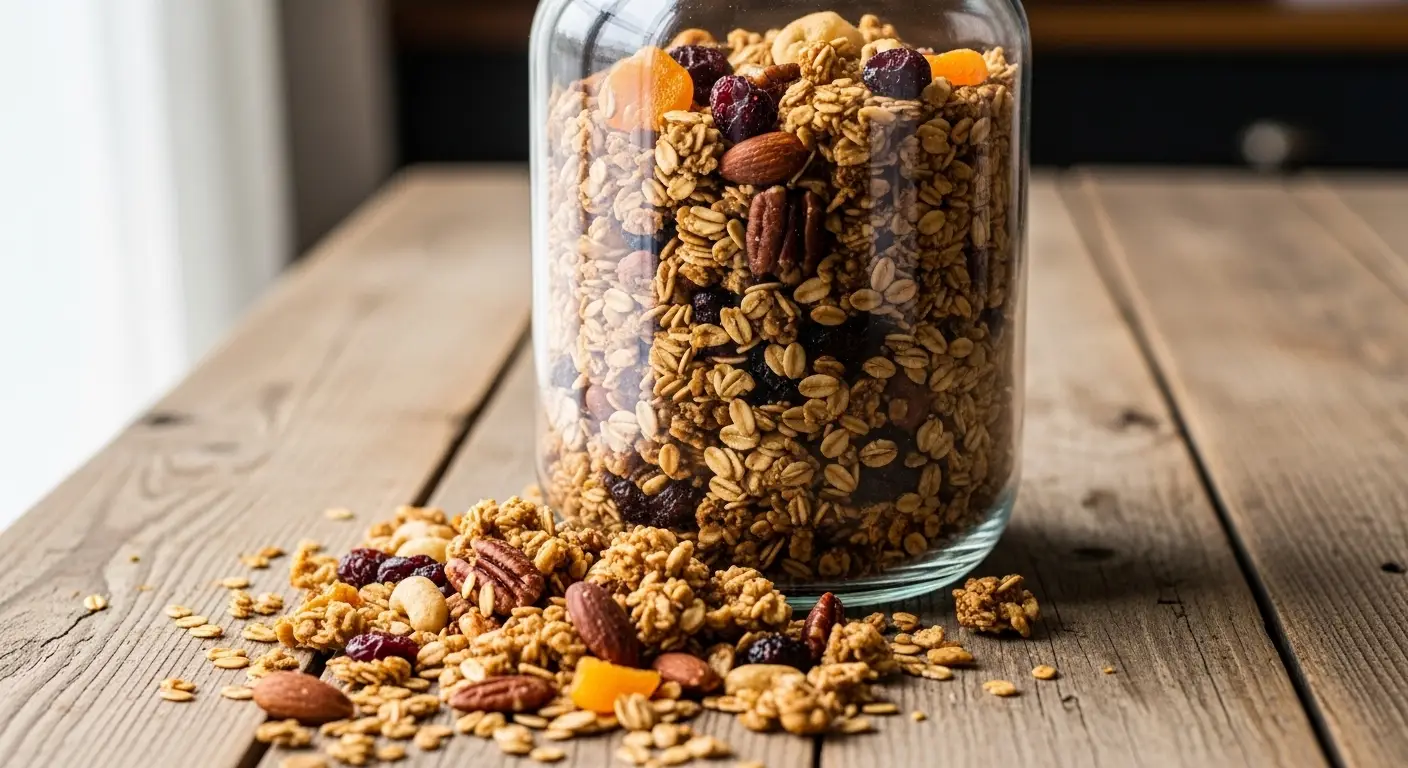
If you are going for a hike or a long walk, this granola is a great energy booster. You can mix in some chocolate chips or dried fruit after it has cooled down. Do not add chocolate while it is hot, or you will have a melted brown mess. I like to add dried cranberries or golden raisins for a little bit of chew. It makes a great gift too! I often put some in a glass jar with a ribbon and give it to my neighbors. They always ask for the recipe.
Pro Tips for Success
- Use Fresh Nuts: Old nuts can taste bitter. Check your pecans before adding them!
- The Salt Rule: Always add salt at the end too. Flaky salt makes the chocolate or fruit taste better.
- Storage Tip: Keep it in an airtight glass jar. It will stay fresh for up to three weeks.
Common Mistakes to Avoid

Even though this is easy, things can go wrong. One big mistake is using too much liquid. If you add too much oil or syrup, the oats will get heavy and won’t crisp up. Stick to the measurements I gave you. Another mistake is adding dried fruit before baking. I did this once with raisins, and they turned into tiny, hard rocks that almost broke my teeth! Always add things like raisins, cherries, or chocolate after the granola is completely cool.
Also, make sure your nuts are raw when you start. If you buy roasted nuts and then bake them for 30 minutes, they will burn. Raw nuts will toast perfectly at the same time as the oats. If you only have roasted nuts, stir them in during the last five minutes of baking just to warm them up. This recipe may not work if you use a liquid sweetener that is too thin, like simple syrup. Stick to maple syrup or honey for the best sticky results.
Your Questions Answered
Can I make this granola vegan?
Yes! Just skip the egg white. It will not have as many big chunks, but it will still taste great and be very crunchy.
How long does homemade granola last?
It stays fresh and crunchy for about 2 to 3 weeks if you keep it in a sealed jar or container in a cool place.
Can I use honey instead of maple syrup?
You sure can. Honey works just as well. It will have a slightly different flavor, but it still makes the oats very sweet and sticky.
What if I do not have miso paste?
You can leave it out, but you should add an extra pinch of salt to make sure the flavor is not too flat or boring.
Can I freeze granola?
Yes, granola freezes very well. Put it in a freezer bag and it will last for up to 3 months. Eat it straight from the freezer!
Start Your Healthy Breakfast Today
Making your own granola is a simple way to make your mornings better. It tastes amazing, saves you money, and uses real ingredients you can trust. Once you master the three secret ingredients, you will be the breakfast hero of your home!