Adorable Mini Pumpkin Pies for Thanksgiving
Thanksgiving is my favorite time of year because of the food. Every year, I try to make a big pumpkin pie, but it is hard to cut into even slices. Someone always gets a messy piece that falls apart on the plate. Last year, I decided to change things. I made tiny pies instead of one big one, and everyone loved them. They are cute, easy to hold, and you do not even need a fork if you are feeling brave.
In this post, you will learn how to make these adorable mini pumpkin pies from scratch. I will show you how to get a flaky crust and a smooth, spicy filling. These little treats are great for parties because people can just grab one and keep talking. They also look amazing on a dessert table next to some colorful leaves or candles. Let us get your kitchen smelling like cinnamon and autumn joy.
Want to be the star of your holiday dinner? Follow these steps to make the best bite-sized desserts ever!
Why Mini Pies are Better for Your Holiday
Big pies are classic, but they can be a bit of a pain to deal with during a busy dinner. When you have twenty people over, cutting a pie into tiny slivers is a chore. Mini pies solve that problem instantly. Each person gets their own special dessert that looks perfect. There is no crumbling crust or filling sliding out onto the tablecloth. Plus, the crust-to-filling ratio is much better in a small pie. If you love a crunchy, buttery edge, these are definitely for you.
I also find that kids enjoy these much more than a big slice. They are the perfect size for small hands. You can even set up a topping station where guests can add their own whipped cream or sprinkles. It makes the meal feel more like a fun event. These pies also bake much faster than a full-size version, which saves you precious oven space on a day when the turkey is taking up all the room.
What You Need to Gather

Before you start baking, you need to make sure your pantry is ready. Most of these items are things you probably already have if you bake often. You will need all-purpose flour, cold saltless butter, a bit of sugar, and very cold water for the crust. For the filling, the star is pumpkin puree. Make sure you buy the plain pumpkin in the can, not the one that already has pie spices in it. I once bought the wrong one by mistake, and my pie ended up tasting way too strong. It was a lesson I will never forget! FYI, fresh pumpkin works too, but the canned stuff is much smoother for this recipe.
p>You also need heavy cream and eggs to make the filling rich and steady. The spices are what give it that warm holiday smell. I use cinnamon, ginger, and a tiny pinch of cloves. If you do not have all of those, a pumpkin pie spice mix works just as well. Do not forget a muffin tin! That is the secret tool that gives these pies their shape. You do not need special tiny pie pans. A standard muffin tin or even a mini muffin tin will do the job perfectly.
- 2 cups all-purpose flour
- 1/2 cup cold butter, cubed
- 1 teaspoon salt
- 1 tablespoon sugar
- 4-6 tablespoons ice water
- 15 ounces pumpkin puree
- 2 large eggs
- 3/4 cup heavy cream
- 1/2 cup brown sugar
- 1 teaspoon ground cinnamon
- 1/2 teaspoon ground ginger
- 1/4 teaspoon ground cloves
Making the Perfect Flaky Crust

The crust is the most important part of any pie. For these mini treats, you want a crust that is sturdy enough to hold but flaky enough to melt in your mouth. Start by mixing your flour, salt, and sugar in a large bowl. Then, add your cold butter. I like to use my fingers to pinch the butter into the flour until it looks like small peas. Some people use a tool called a pastry cutter, which is great too. The trick is to keep the butter cold. If the butter melts before it goes in the oven, you lose those flaky layers.
Once the butter is mixed in, add the ice water one spoonful at a time. Mix it gently until the dough just starts to come together. Do not overwork it! If you handle it too much, the crust will turn out tough like bread instead of light and crispy. Wrap the dough in plastic and let it rest in the fridge for at least thirty minutes. This rest time lets the flour soak up the water and helps the dough relax. IMO, skipping the fridge step is the biggest mistake you can make with pie crust. It makes the dough much easier to roll out later.
How to Prepare the Pumpkin Filling

While your dough is resting, you can whip up the filling. This is the easy part because you just put everything in one bowl and stir. Start by whisking your eggs and brown sugar together. The brown sugar adds a deep flavor that white sugar just cannot match. Then, stir in the pumpkin puree. Make sure there are no lumps in the pumpkin. It should be very smooth and bright orange. This filling is very forgiving, so it is a great task for kids to help with if they want to join you in the kitchen.
Next, pour in the heavy cream and all your spices. As you stir, the smell will start to fill your kitchen. It smells like a cozy autumn afternoon. Make sure everything is mixed well so the spices are spread out evenly. You do not want someone to bite into a giant clump of cloves! The filling will look a bit thin and liquid, but do not worry. It will set up and become firm as it bakes in the oven. This recipe makes enough filling for about twelve to fifteen mini pies, depending on how deep your muffin tin is.
Recipe Quick Info
- Prep Time: 40 minutes
- Cook Time: 25 minutes
- Servings: 12 mini pies
- Difficulty: Easy to Medium
Cutting and Shaping Your Mini Pies

Now comes the fun part where the pies start to take shape. Take your chilled dough out of the fridge and roll it out on a floured surface. You want it to be about the thickness of a coin. If it sticks to the table, just add a little more flour. To get the perfect circles, I use a large round cookie cutter or even the top of a wide drinking glass. The circles need to be a little bit bigger than the holes in your muffin tin so they can go up the sides to form a crust wall.
Gently press each dough circle into the bottom and up the sides of the greased muffin tin. Try not to stretch the dough, or it might shrink while it bakes. If you have extra dough, you can use tiny leaf-shaped cutters to make decorations for the top. I love doing this because it makes the pies look like they came from a fancy bakery. Just place the little dough leaves on a baking sheet and bake them for a few minutes until they are golden brown. You can stick them on the finished pies later with a bit of whipped cream.
Baking to Golden Perfection

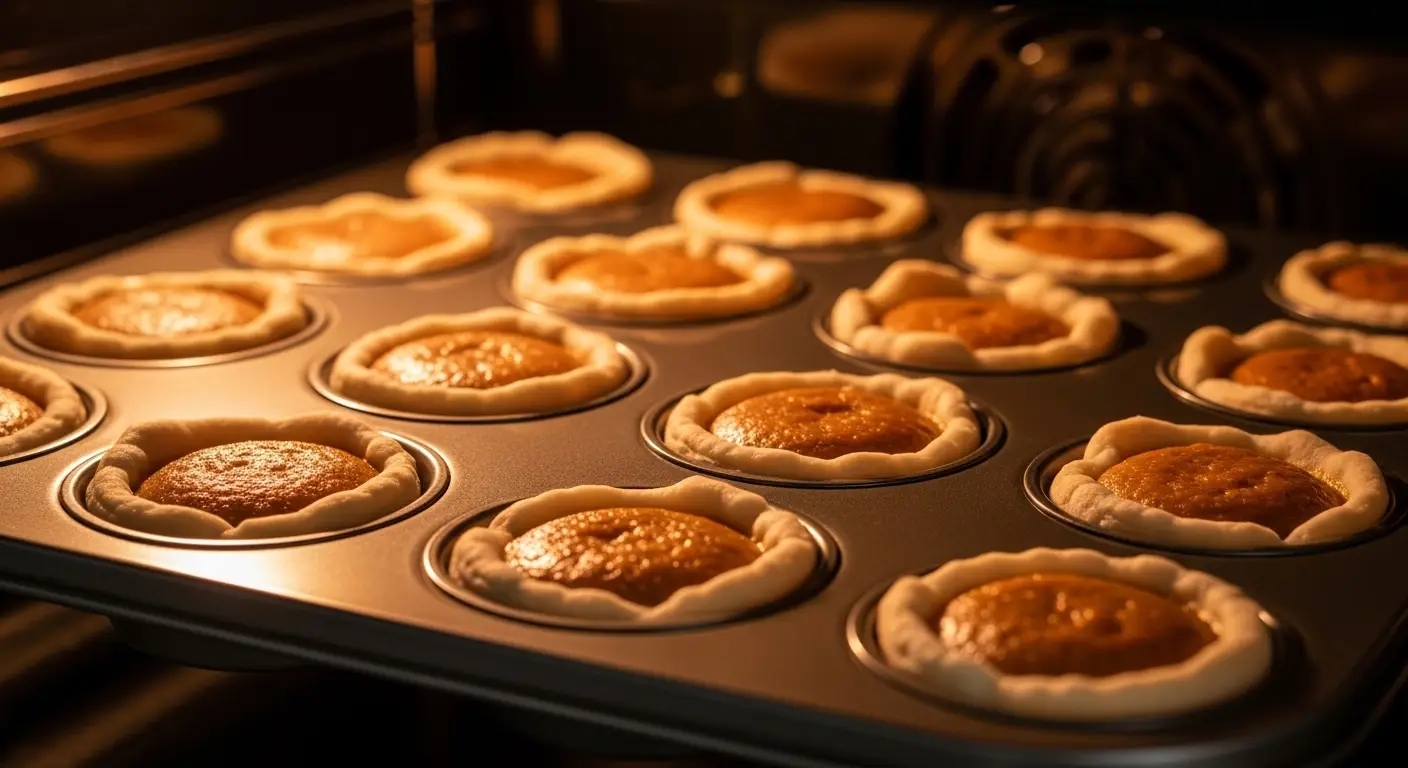
Preheat your oven to 375 degrees before you put the pies in. Using a spoon or a small pitcher, fill each dough cup with the pumpkin mixture. Fill them almost to the top, but leave a tiny bit of space so they do not overflow. Place the tin in the center of the oven. These little guys bake much faster than a big pie, usually taking about 20 to 25 minutes. You will know they are done when the crust is a light golden brown and the filling does not jiggle too much when you give the pan a tiny shake.
One thing to watch out for is the edges of the crust burning. Since they are small, they can go from perfect to burnt very quickly. If you see the edges getting too dark before the middle is set, you can cover the tin loosely with a piece of foil. Once they are done, take them out and let them cool in the pan for at least ten minutes. This helps the crust firm up so you can pop them out without them breaking. Use a butter knife to gently lift them out of the tin and move them to a wire rack to finish cooling completely.
Serving and Topping Ideas
These mini pumpkin pies look great all on their own, but toppings make them even better. A big dollop of homemade whipped cream is the classic choice. I like to add a tiny bit of vanilla and sugar to my cream before I whip it. If you want to get fancy, you can sprinkle a little extra cinnamon or pumpkin spice on top of the cream. For a bit of crunch, try adding some crushed pecans or a drizzle of caramel sauce. The caramel adds a nice salty-sweet touch that people really love.
If you are serving these at a party, I suggest putting them on a big wooden board or a pretty white platter. You can place them in paper cupcake liners to make them even easier for guests to pick up. This also keeps the bottom of the pies from getting soft if they sit out for a while. These pies are best served at room temperature or slightly chilled. If you have leftovers, they keep very well in the fridge. Just make sure to wait until right before serving to add the whipped cream, or it might melt and get messy.
Pro Baking Tips
- Cold Butter: Always keep your butter in the fridge until the very second you need to mix it into the flour.
- No Soggy Bottoms: Make sure your oven is fully preheated so the bottom crust starts cooking right away.
- Easy Removal: Spray your muffin tin well with non-stick spray, even if it says it is non-stick.
Secrets to Success with Mini Desserts
Working with small batches of dough can be tricky because it warms up fast. If you feel the dough getting soft or sticky while you are cutting your circles, put it back in the fridge for ten minutes. It is much better to wait a little bit than to struggle with sticky dough that tears. Also, remember that every oven is a little bit different. Start checking your pies at the 18-minute mark just to be safe. My oven runs a bit hot, so mine are often done sooner than the recipe says.
Another tip is about the pumpkin puree itself. If your canned pumpkin seems very watery, you can put it in a paper towel and gently squeeze some of the liquid out. This makes the flavor more concentrated and helps the filling set up faster. It is a small step that can make a big difference in the texture of your pie. These little details are what make a home-cooked dessert taste like it came from a professional kitchen. You do not need to be an expert to get these right; you just need to be patient and follow the steps.
Storing and Making Ahead
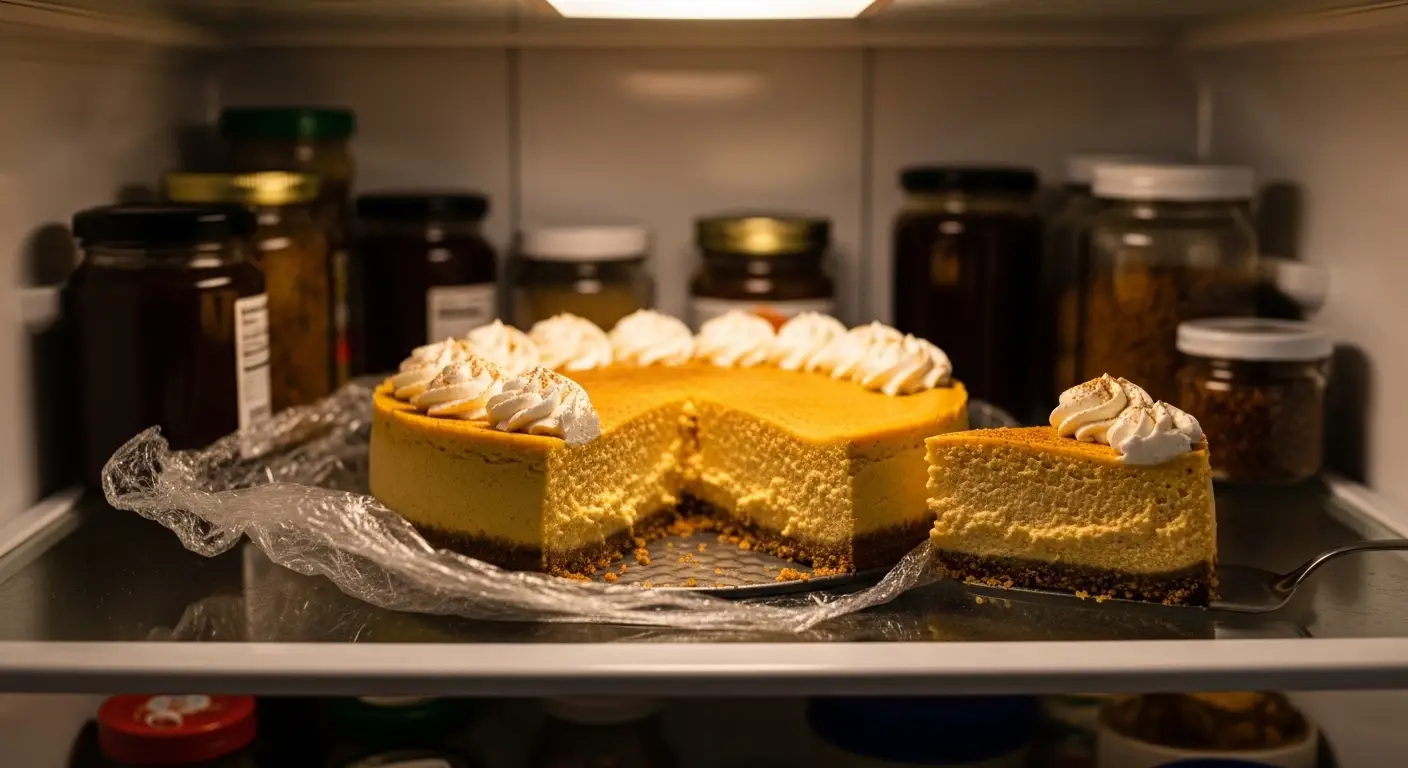
The best part about these mini pumpkin pies is that you can make them ahead of time. Thanksgiving morning is usually very busy with the turkey and side dishes. I usually make my pies the day before. Once they are totally cool, put them in an airtight container and keep them in the fridge. They stay fresh and delicious for up to three days. This takes one big task off your list for the actual holiday. You can even make the dough a few days early and leave it in the fridge until you are ready to roll it out.
I do not recommend freezing the finished pies with the filling, as the texture of the pumpkin can change and get a bit grainy when it thaws. However, you can freeze the unbaked crust circles! Just stack them with pieces of parchment paper in between so they do not stick together. When you are ready to bake, just let them thaw for a few minutes, press them into the tin, and add your filling. This is a great trick if you want to prep your holiday meals weeks in advance. It makes the final stretch of cooking much less stressful.
Common Questions About Mini Pies
Can I use store-bought pie crust?
Yes! You can use pre-made dough from the store. Just roll it out and cut your circles. It saves a lot of time and still tastes great with the homemade filling.
How do I stop the crust from shrinking?
Make sure to let the dough rest in the fridge. Also, do not pull or stretch the dough when you put it in the muffin tin. Let it fall into place naturally.
What if I do not have a cookie cutter?
No problem! Use a wide glass or a small bowl. Just place it upside down on the dough and cut around it with a small knife to get your circles.
Can I make these vegan?
Yes. Use vegan butter for the crust. For the filling, use a dairy-free cream like coconut cream and an egg replacer or a bit of cornstarch to help it set.
Why is my filling cracking?
Cracks usually happen if the pies are overbaked. Take them out when the center still has a tiny wiggle. They will finish firming up as they cool down on the counter.
Happy Thanksgiving Baking
Making mini pumpkin pies is a fun and easy way to bring some extra magic to your holiday table. They are small, sweet, and show your guests that you put in a little extra love. Whether you serve them with a big pile of whipped cream or a simple dusting of spice, they are sure to be a hit. I hope these tips help you feel confident in the kitchen this year. Enjoy your treats and have a wonderful holiday with your friends and family!