Chicken Katsu
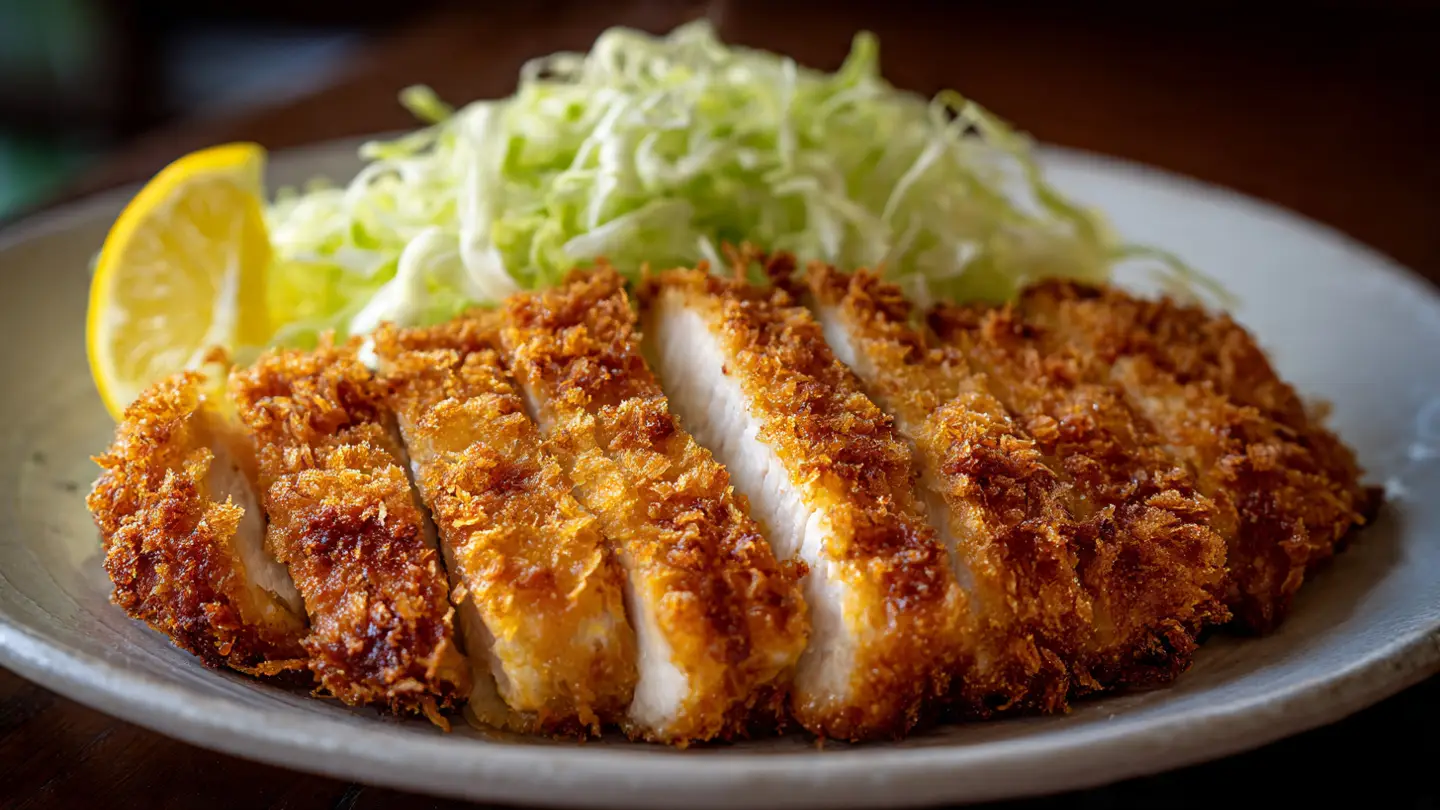
Chicken Katsu is a famous food from Japan. It is basically a fried chicken cutlet. The chicken is very juicy on the inside. The outside is super crunchy. This crunch comes from special breadcrumbs called panko. I love making this for my family because it is fast and everyone cleans their plate. It is much better than chicken nuggets from a box.
In this post, I will show you how to make this dish from start to finish. You do not need to be a pro chef to get it right. I will talk about the best chicken to buy and how to fry it safely. By the end, you will know how to make a meal that looks like it came from a fancy restaurant. It is a great skill to have for busy weeknights.
Ready to get cooking? Let’s go!
Recipe Quick Info
- Prep Time: 15 minutes
- Cook Time: 10 minutes
- Servings: 4 people
- Difficulty: Easy
What You Need to Buy
Before you start cooking, you need to check your kitchen. Most of these things are easy to find at any grocery store. I always keep these items in my pantry. If you have the right tools and food, the job is much easier. You do not want to realize you are out of eggs halfway through the recipe. Trust me, I have done that before and it is not fun.
The Short List of Ingredients
First, you need chicken breasts. You can also use thighs if you like dark meat. Next, you need all-purpose flour. This helps the egg stick to the meat. You also need two large eggs. These act like glue for the breadcrumbs. The most important part is the panko breadcrumbs. Do not use the tiny, sandy breadcrumbs from a round can. Panko is flaky and makes the chicken very loud when you bite it.
You will also need salt and black pepper for taste. For frying, pick an oil that does not smoke easily. Vegetable oil or canola oil work best. I also like to have a little bit of tonkatsu sauce for dipping. You can buy this in a bottle. It tastes like a mix of BBQ sauce and ketchup. It adds a nice sweet and salty kick to the fried chicken. IMO, the sauce is what makes the meal complete.
Tools for the Job

You do not need many tools for this. A heavy pan is the best thing to use. I like a cast iron skillet because it holds heat well. If the pan gets cold, the chicken will be greasy. You also need a meat mallet. This is a heavy tool used to bash the chicken until it is flat. If you do not have one, a heavy rolling pin or even a small frying pan works too. Just be careful not to hit your fingers.
A wire cooling rack is also a smart thing to have. When the chicken comes out of the oil, do not put it on a flat plate. If you do, the bottom gets soggy from the steam. Putting it on a rack lets air move all around it. This keeps it crispy on both sides. You will also need some tongs to flip the chicken. Try to avoid using a fork because it pokes holes and lets the juice run out.
How to Make It Step by Step
Now we get to the fun part. Cooking this dish is a process of steps. I call it the three-step coating station. It can get a little messy, but it is worth it. One tip I learned the hard way: use one hand for dry things and one hand for wet things. If you use both hands for everything, you will end up with breaded fingers. It feels like you are wearing big dough gloves!
Getting the Chicken Ready
- Place the chicken breast on a cutting board. If it is very thick, cut it in half like an open book. This is called butterflying.
- Cover the chicken with a piece of plastic wrap. This stops chicken juice from splashing everywhere.
- Hit the chicken with the flat side of your mallet. Start from the middle and move out.
- Keep hitting until the meat is about half an inch thick everywhere.
- Sprinkle salt and pepper on both sides of the meat.
Making the chicken flat is very important. If one side is thick and the other is thin, the thin part will burn before the thick part is safe to eat. I used to skip this step because I was lazy. My chicken always ended up dry or raw in the middle. Flattening the meat makes it cook fast and keeps it very tender. It also makes the piece of chicken look much bigger on the plate.
The Coating Station

Set up three bowls in a row. The first bowl gets the flour. The second bowl gets the eggs. Whisk the eggs with a fork until they are smooth. The third bowl gets the panko breadcrumbs. Take a piece of chicken and dip it in the flour. Shake off the extra flour. You only want a thin layer. If it is too thick, the crust will fall off later. This is a common mistake people make when they are in a hurry.
Next, dip the floured chicken into the egg. Make sure every spot is wet. Then, put it into the panko. Press down hard on the chicken. You want the breadcrumbs to really stick to the meat. I usually flip it a few times and press again. Set the breaded chicken on a clean plate. Do this for all the pieces before you start the stove. Having them all ready makes the frying part much less stressful.
Frying to Perfection

Pour about one inch of oil into your pan. Turn the heat to medium. You want the oil to be around 350 degrees. If you do not have a thermometer, drop a single breadcrumb in. If it bubbles and dances right away, the oil is ready. Carefully lay the chicken into the oil. Do not crowd the pan. If you put too much chicken in at once, the oil temperature drops. This makes the breading soak up oil like a sponge. FYI, greasy chicken is never the goal.
Cook the chicken for about 3 to 4 minutes on the first side. It should be a beautiful golden brown color. Use your tongs to flip it over. Cook the other side for another 3 minutes. When it is done, move it to your wire rack. Let it rest for at least two minutes. Resting lets the juices stay inside the meat. If you cut it right away, the juice runs out and the meat gets tough. Patience is the secret to a great dinner.
Expert Tips for Success
- Oil Temp: Keep the heat steady. If the oil smokes, turn it down.
- Dry Flour: Always shake off extra flour so the crust stays attached.
- Press Hard: Use your palms to push the panko into the meat.
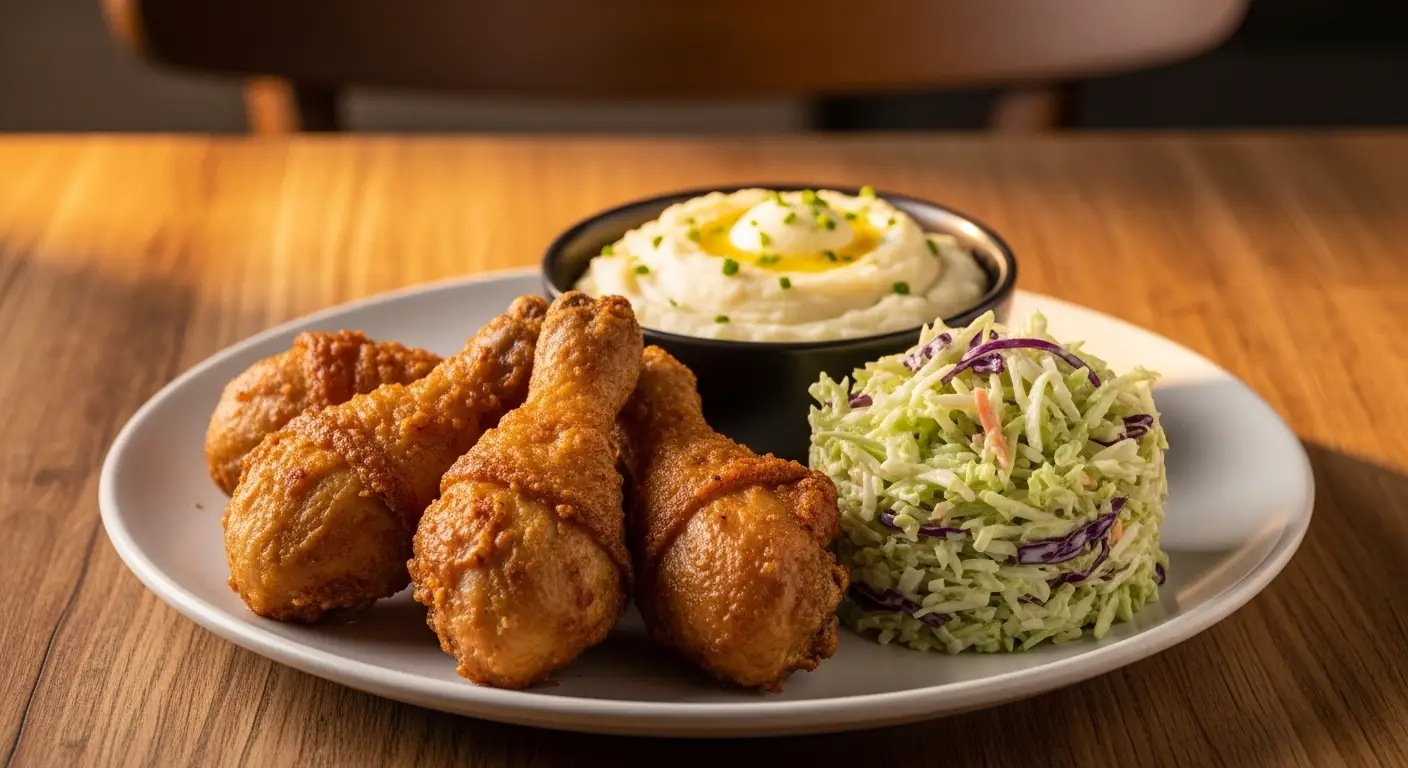
Making It a Full Meal
Chicken Katsu is great on its own, but it is better with sides. In Japan, it is almost always served with shredded cabbage. The cabbage is crunchy and fresh. It cuts through the heavy taste of the fried oil. You can also serve it with white rice. The rice soaks up the extra sauce. It is a very filling meal that gives you lots of energy for the day.
Serving Suggestions

Cut the chicken into long strips before putting it on the plate. This makes it easy to eat with chopsticks or a fork. Pile up a lot of very thin cabbage on the side. I use a vegetable peeler to get the cabbage really thin. It should look like a little mountain of green fluff. Put a big scoop of hot white rice next to it. Some people also like a slice of lemon. Squeezing lemon over the chicken makes the flavors pop.
Don’t forget the sauce! You can pour it over the chicken in a zig-zag pattern or keep it in a small bowl for dipping. If you want to try something different, you can make Katsu Curry. This is just the fried chicken served with a thick brown curry sauce and potatoes. It is the ultimate comfort food for cold days. I make it whenever I feel a little sad, and it always cheers me up.
Storing and Reheating

If you have leftovers, you are lucky! They make a great lunch the next day. Put the chicken in an airtight container and keep it in the fridge. It will stay good for about three days. However, the microwave is not your friend here. If you use a microwave, the breading will get soft and soggy. It will taste okay, but that great crunch will be gone forever. Nobody likes soggy fried chicken.
The best way to reheat it is in an air fryer or a toaster oven. Put the chicken in at 375 degrees for about five minutes. This brings back the crunch and heats the middle perfectly. You can also chop up the cold chicken and put it on a salad. The cold, crunchy chicken goes really well with ranch dressing or ginger dressing. It is a smart way to use up food so nothing goes to waste in your kitchen.
Secrets to the Best Crunch
Why does some katsu taste better than others? It is usually about the panko. Panko is made from bread that is baked with an electric current. This makes bread without a crust. The flakes are bigger and airier than normal crumbs. Because they are bigger, they don’t soak up as much oil. This keeps the chicken light. If you use regular breadcrumbs, the dish might feel too heavy or greasy for some people.
Variations to Try

You can get creative with this recipe. Some people like to put a slice of cheese inside the chicken before breading it. This is called Cheese Katsu. It is very popular and very gooey. You can also use pork instead of chicken. If you use pork, it is called Tonkatsu. The steps are exactly the same. Pork is a bit richer in flavor, while chicken is lighter. Both are delicious and easy to make.
If you are trying to be healthy, you can bake the chicken. It will not be as crunchy as the fried version, but it is still good. To do this, toast your panko in a pan with a little oil until it is brown first. Then bread the chicken and bake it at 400 degrees. This gives you the color and some crunch without a lot of oil. It is a good middle ground if you want to eat this every week without feeling bad about it.
Your Questions Answered
Can I use a different kind of flour?
Yes. You can use gluten-free flour if you need to. Just make sure it is a fine powder so it sticks to the chicken well.
Why does my breading fall off?
This happens if the chicken is too wet or if there is too much flour. Always pat the chicken dry with a paper towel before you start.
What oil is best for frying?
Use vegetable, canola, or peanut oil. These can get hot without burning. Do not use butter or extra virgin olive oil for this.
Can I make this ahead of time?
You can bread the chicken and keep it in the fridge for a few hours. Do not freeze it with the raw breading as it gets mushy.
Is chicken katsu healthy?
It is a fried food, so it has some fat. Serving it with lots of cabbage and rice makes it a balanced meal for most people.
Time to Start Cooking
Making Chicken Katsu is a great way to bring a taste of Japan into your home. It is easy, fast, and very satisfying. I hope you enjoy the crunch as much as I do. Just remember to flatten the meat and watch your oil heat!