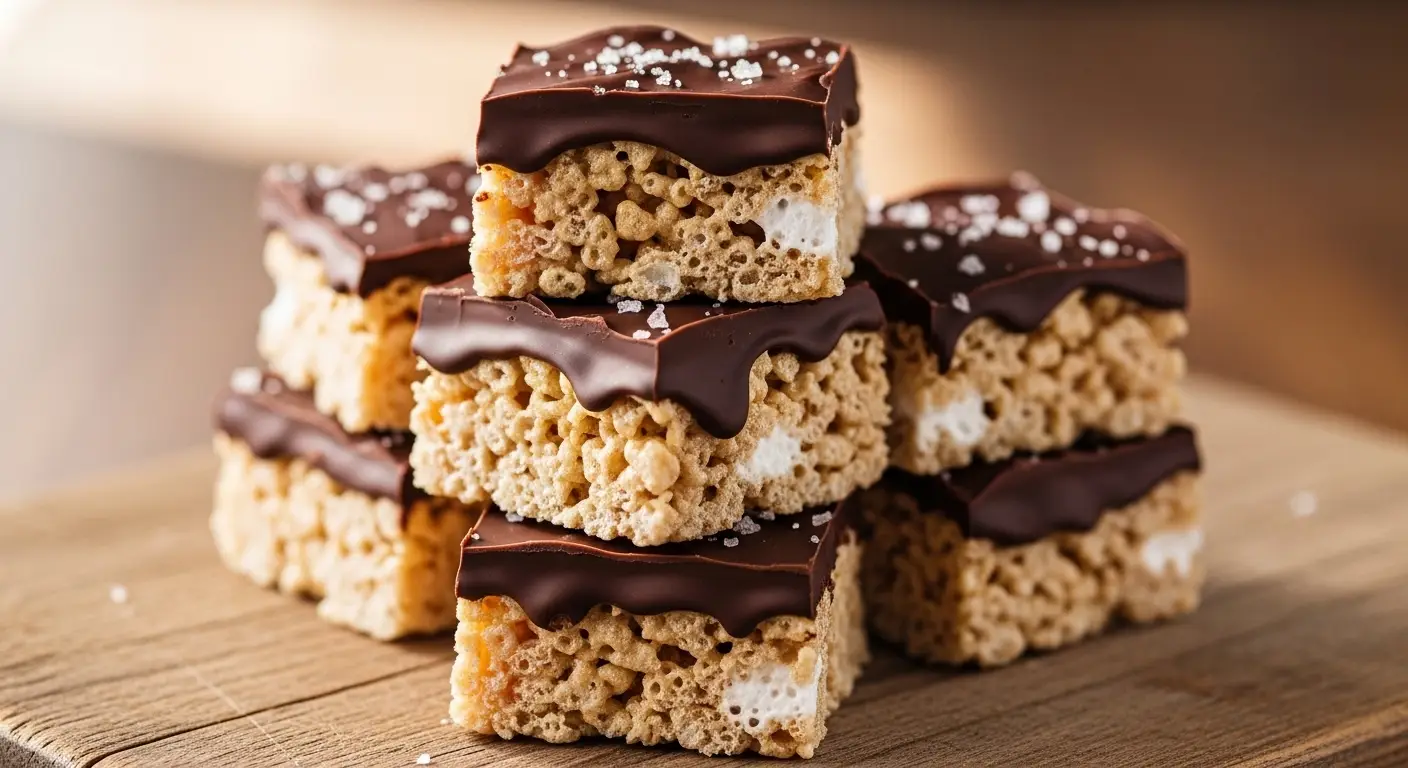
Homemade Healthy Rice Krispie Treats with Dark Chocolate and Sea Salt
I love snacks that taste like a treat but feel good in my body. Most store-bought rice bars are full of corn syrup and weird sugars that make me feel tired later. That is why I started making these at home using much better ingredients. You get the same crunch and chew, but with a rich chocolate twist on top.
Today, I will show you how to make the best healthy Rice Krispie treats you have ever had. They are sweet, salty, and very easy to put together without even turning on the oven. You only need a few simple things from your pantry to get started on this fun kitchen project.
Want to see how easy it is to make a snack that both kids and adults love? Let us get cooking!
Why You Will Love These Healthy Treats
These bars are great because they use real food instead of chemical stuff. Instead of marshmallows, which are mostly just sugar and air, we use nut butter and honey. This makes the treats feel more like a real meal and keeps you full for a longer time. They have a deep flavor from the dark chocolate that makes them feel fancy even though they are simple.
I also love that these are naturally gluten-free if you buy the right cereal. It makes them a safe choice for school lunches or parties where people might have allergies. You can change the ingredients based on what you have in your kitchen right now. They are very hard to mess up, which is my favorite kind of recipe.
The Ingredients You Need

To make these treats, you will need a few key items. First, get some crispy brown rice cereal. I like the brown rice kind because it stays crunchy longer and has a nice toasted flavor. You also need a sticky liquid to hold it all together. I usually use honey or maple syrup. If you want them to be vegan, maple syrup is the best choice.
Next, you need a creamy nut butter. Almond butter or peanut butter both work perfectly. This adds healthy fats and a bit of protein. Do not forget the vanilla extract and a pinch of salt to make the flavors pop. For the topping, you will need a bar of dark chocolate or some dark chocolate chips. A little bit of coconut oil helps the chocolate stay smooth when it melts. Finally, get some flaky sea salt for the very top.
- 6 cups crispy brown rice cereal
- 1 cup creamy almond butter or peanut butter
- 1/2 cup honey or maple syrup
- 1 teaspoon vanilla extract
- 1/4 teaspoon fine salt
- 1 cup dark chocolate chips
- 1 tablespoon coconut oil
- Flaky sea salt for sprinkling
Step by Step Instructions

First, line an 8-inch square baking pan with parchment paper. This is a very important step! If you do not use paper, the treats will stick to the pan and you will have a hard time getting them out. I learned this the hard way once and had to eat the treats with a spoon right out of the pan. Leave a little bit of paper hanging over the edges so you can lift the whole block out later.
In a large pot, combine your nut butter and honey over low heat. Stir them constantly until they melt together and look like a smooth, bubbly liquid. Once it is warm and runny, take the pot off the stove. Stir in the vanilla and the fine salt. Now, pour in your rice cereal. Use a big spoon or a spatula to fold the cereal into the sticky mix. Make sure every single piece of cereal is coated in the nut butter sauce so the bars do not fall apart.
- Prepare your pan with parchment paper so nothing sticks.
- Melt the nut butter and sweetener together on low heat until smooth.
- Stir in vanilla and salt after removing from heat.
- Mix in the rice cereal until fully coated.
- Press the mixture firmly into the pan using a flat spatula.
- Melt chocolate and coconut oil together and pour over the top.
- Freeze for 30 minutes before cutting into squares.
The Secret to Firm Bars

The biggest mistake people make is not pressing the mixture down hard enough. If you just lightly spread it in the pan, the bars will be crumbly. You want to use some muscle here! Use the back of a flat spatula or even the bottom of a heavy measuring cup to push the cereal down. You want it to be a tight, solid layer.
If the mixture is sticking to your hands or the spatula, here is a pro tip. Rub a tiny bit of water or oil on your hands or the tool. This keeps the honey from sticking to you instead of the cereal. Once the base is flat and firm, you are ready for the chocolate layer. Doing this correctly ensures your bars look like they came from a professional bakery.
Recipe Quick Info
- Prep Time: 15 minutes
- Cook Time: 5 minutes (melting only)
- Servings: 16 bars
- Difficulty: Very Easy
Adding the Dark Chocolate Layer

Dark chocolate makes everything better. To make the topping, put your chocolate chips and coconut oil in a microwave-safe bowl. Heat it in 30-second bursts. Stir it every time! If you heat it for too long without stirring, the chocolate can burn and become grainy. Once it is totally smooth and shiny, pour it right over your pressed cereal base.
Spread the chocolate out to the edges with a knife or spatula. While the chocolate is still wet, grab your flaky sea salt. Sprinkle a little bit all over the top. The salt is the best part because it cuts through the sweetness and makes the dark chocolate taste even richer. IMO, this is the step that turns a basic snack into something special.
Cooling and Cutting Tips

Patience is the hardest part of this recipe. You must let the treats set in the fridge or freezer before you try to cut them. If you cut them while they are warm, the chocolate will smear everywhere. I usually put mine in the freezer for about 20 to 30 minutes. This makes the nut butter firm and the chocolate hard.
When you are ready to cut, lift the whole block out of the pan using the parchment paper edges. Use a large, sharp knife. To get clean lines, you can dip your knife in hot water and wipe it dry between each cut. This melts through the chocolate smoothly. You can cut them into big squares, small bite-sized pieces, or even long thin bars for snacks on the go.
Pro Tips for Success
- Keep it Low: Never boil the honey or it will get too hard to bite.
- Fresh Cereal: Check the date on your cereal box so it is extra crunchy.
- Chocolate Choice: Use 70% dark chocolate for the best health benefits.
Serving and Storage Ideas

These treats are perfect for many occasions. You can put them in a lunchbox for a surprise dessert. They also look great on a platter for a party. If you want to get creative, you can drizzle white chocolate on top of the dark chocolate for a pretty pattern. FYI, these go really well with a cold glass of milk or a hot cup of coffee.
Store the leftovers in an airtight container. Since we use nut butter instead of marshmallows, they can get a little soft if it is very hot in your house. I like to keep mine in the refrigerator. They stay fresh for about a week, but honestly, they usually get eaten way faster than that in my home! You can even freeze them for up to a month if you want to save some for later.
Common Questions About This Recipe
Can I use white rice cereal instead?
Yes! White rice cereal works just fine. It will be a bit sweeter and less nutty than brown rice cereal, but the texture is exactly the same.
How do I make these nut-free?
You can use sunflower seed butter or tahini instead of almond butter. Just make sure the butter is creamy and easy to stir.
Why did my treats fall apart?
This usually happens if you did not press them down hard enough in the pan or if you did not use enough honey to bind the cereal.
Can I add other toppings?
Of course! You can add chopped nuts, dried fruit, or even sprinkles on top of the chocolate before it hardens.
Happy Snacking Everyone
Making your own snacks is a great way to eat better while still enjoying sweets. These healthy Rice Krispie treats are crunchy, chocolatey, and very satisfying. I hope you enjoy making them as much as I do. Keep them in the fridge for a quick bite whenever you need a boost of energy!